

Adding a roof to your patio can transform an open-air space into a comfortable, year-round outdoor living area. It protects you from the sun’s harsh rays and keeps you dry during unexpected rain showers. Many homeowners feel intimidated by this project, but with careful planning and the right guidance, it is an achievable goal.
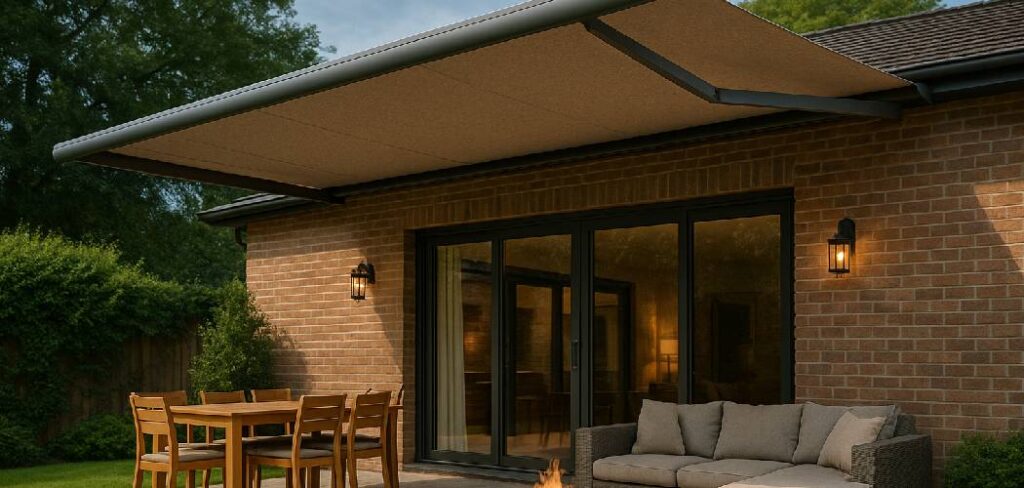
Understanding the fundamentals of how to attach a patio roof to an existing house is the first step toward expanding your usable living space. This guide provides a detailed, step-by-step approach to help you confidently tackle this rewarding home improvement project, ensuring a safe, stable, and beautiful addition to your home.
Why Planning Your Patio Roof Attachment Matters
Properly connecting a new structure to your home is crucial for safety, longevity, and aesthetics. A well-planned attachment ensures the new roof is structurally sound and can withstand environmental factors like wind uplift and snow load. It also prevents potential damage to your existing house, such as water leaks caused by improper flashing or siding penetration. Taking the time to plan considers essential details like local building codes, material selection, and the correct roof pitch for effective drainage. A thoughtful approach guarantees that your new patio roof not only looks like a natural extension of your home but also functions flawlessly for years to come.
7 Step-by-Step Guide: How to Attach a Patio Roof to an Existing House
This detailed guide will walk you through the essential steps for securely adding a patio roof to your home.
Step 1: Design, Plan, and Secure Permits
Before touching a single tool, create a detailed plan for your patio roof. Decide on the size, style, and materials. Your design must account for the roof pitch, ensuring adequate water drainage away from your house’s foundation. Research your local municipality’s requirements for building permits.
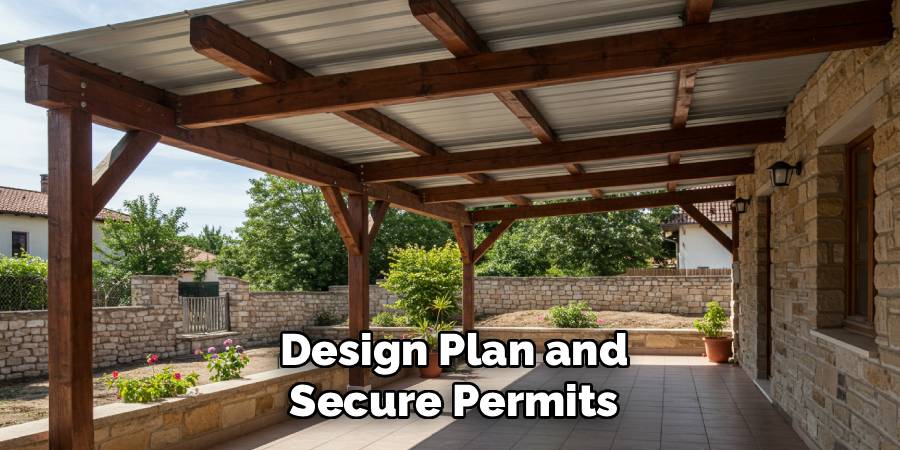
Most structural additions require a permit to ensure they meet safety and code compliance standards. Submitting detailed plans, including dimensions and attachment methods, is often necessary for approval. Getting this right from the start prevents costly rework and ensures your project is legal and safe.
Step 2: Prepare the Attachment Point
The most critical connection point is the ledger board, a horizontal piece of lumber that fastens directly to your house’s frame. Start by carefully removing the siding where the ledger will be installed. You must attach it to the house’s rim joist or wall studs, not just the sheathing. Use appropriately sized lag screws or structural bolts, spaced according to your local building codes, to secure the ledger. This board will carry a significant portion of the roof’s weight, so a solid connection is non-negotiable for structural integrity.
Step 3: Install Flashing for Weatherproofing
Proper weatherproofing is essential to prevent water from seeping behind the ledger board and causing rot or structural damage to your home. Install metal flashing over the top of the ledger board. This L-shaped piece of metal should slide up behind the siding and bend down over the front of the ledger. Sealing the flashing with high-quality exterior caulk provides an additional layer of protection. This step is one of the most important for preventing future leaks and costly repairs, so take your time to ensure a watertight seal.
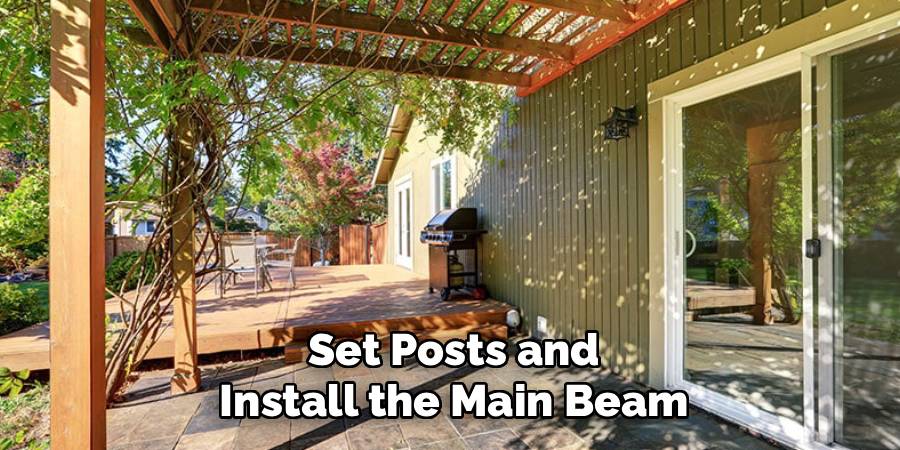
Step 4: Set Posts and Install the Main Beam
The outer edge of your patio roof will be supported by vertical posts anchored to concrete footings. Dig holes for the footings to the depth and width required by your local code, which often depends on your region’s frost line. Pour concrete and set post anchors into the wet concrete, ensuring they are level and properly aligned. Once the concrete has cured, attach your support posts to the anchors. Finally, install the main support beam securely across the tops of the posts. This beam will support the outer ends of the roof rafters.
Step 5: Installing Rafters
With the ledger board and main beam in place, you can begin installing the roof rafters. These boards will span from the ledger on the house to the outer support beam. Use joist hangers to connect the rafters to the ledger board for a strong, secure fit. These metal connectors simplify the process and provide superior strength compared to toenailing. The rafters should be cut at an angle on the ledger side to match your desired roof pitch. Ensure the spacing between rafters is consistent and meets the specifications in your plan and local building codes.
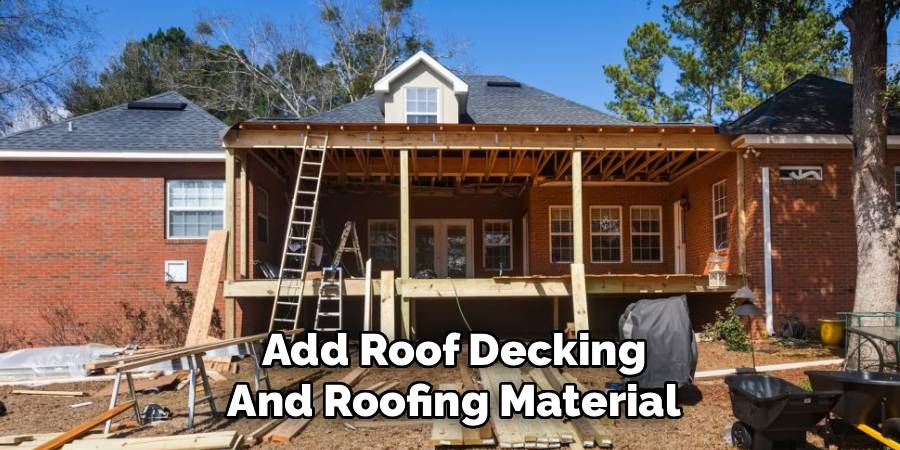
Step 6: Add Roof Decking and Roofing Material
Once the rafters are installed, cover them with roof decking, which is typically OSB or plywood sheathing. This creates a solid surface for your final roofing material. Nail or screw the sheathing to the rafters according to the manufacturer’s recommendations. Next, install a layer of roofing felt or a synthetic underlayment for another layer of water protection. Finally, install your chosen roofing material, such as asphalt shingles, metal panels, or polycarbonate sheets, following the manufacturer’s instructions carefully. Start from the bottom edge and work your way up to the peak.
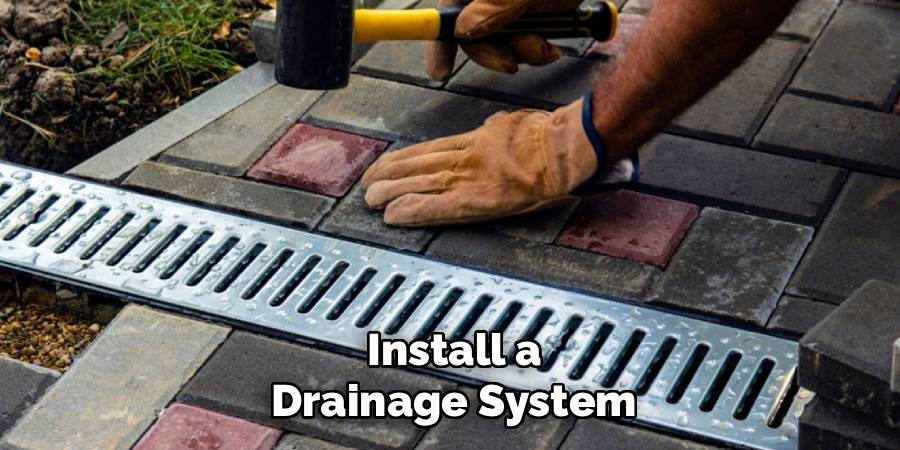
Step 7: Install a Drainage System
The final step involves adding the finishing touches that make your patio roof complete and functional. Install fascia boards along the ends of the rafters for a clean, finished look and to protect them from the elements. You may also want to add a soffit underneath the roof overhang. Most importantly, install a gutter system along the low edge of the roof to collect rainwater and direct it away from your patio and your home’s foundation. Proper drainage is key to preventing soil erosion and water damage around your home.
Safety Tips and Precautions
When working on your patio roof, safety should always be a top priority. Here are some essential safety tips to keep in mind:
- Use Proper Safety Gear: Wear gloves, safety goggles, and sturdy footwear to protect yourself from sharp tools, splinters, and falling debris. If you’re working at heights, consider wearing a safety harness.
- Secure Your Ladder: Ensure your ladder is stable and placed on a flat surface. Have someone hold it for additional support while you’re climbing or working on it.
- Be Mindful of Weather Conditions: Avoid working during inclement weather, such as rain or strong winds, as these conditions can make surfaces slippery and increase the risk of accidents.
- Handle Tools with Care: Make sure your tools are in good working condition and use them according to their instruction manuals. Keep power tools away from water to prevent electrical hazards.
- Watch for Overhead Hazards: Be cautious of overhead power lines when installing the roof or using tall ladders, and maintain a safe distance at all times.
- Take Breaks as Needed: Prolonged physical work can lead to fatigue, so ensure you take regular breaks to stay alert and hydrated.
By following these precautions, you can complete your patio roof project safely and effectively.
Frequently Asked Question (Faq)
What Is the Best Way to Attach a Ledger Board?
The best method is to bolt it directly to the house’s frame, specifically the rim joist or wall studs. Use appropriately sized lag screws or through-bolts with washers, spaced according to engineering specifications or local code. Never attach a ledger board only to the wall sheathing or siding.
Do I Need a Permit to Build a Patio Roof?
Almost always, yes. Since a patio roof is a permanent structural addition to your home, most municipalities require a building permit. This process ensures your design meets local safety codes, including requirements for snow load, wind uplift, and proper footing depth. Always check with your local building department first.
How Do I Determine the Correct Roof Pitch?
The ideal pitch depends on your climate and roofing material. A minimum slope of 1/4 inch per foot is often recommended for drainage.
- Rainy climates: May require a steeper pitch (e.g., 3:12 or more) to shed water effectively.
- Snowy climates: Require a steeper pitch to prevent heavy snow accumulation.
What Kind of Footings Do I Need for the Support Posts?
You will need concrete footings that extend below the frost line for your region to prevent heaving during freeze-thaw cycles. The diameter and depth of the footings depend on the size of your roof and the local soil conditions. Your local building code will specify the exact requirements.
Can I Attach a Patio Roof to the Fascia or Eaves?
Attaching a roof directly to the fascia or eaves is generally not recommended. These components are not designed to support the significant weight of a new roof structure. A proper attachment requires a ledger board bolted securely to the house’s main framing for a safe and durable installation.
Conclusion
Building a patio roof is a significant undertaking, but breaking it down into manageable steps makes the project achievable. From securing permits and installing a solid ledger board to setting posts and weatherproofing, each phase is critical for success. By following these guidelines, you can create a beautiful and structurally sound addition that enhances your home and provides a new space for relaxation and entertainment. Now that you have a clearer understanding of how to attach a patio roof to an existing house, you are ready to start planning your project and turning your outdoor living dreams into a reality.
About
Jovie Mathews is a distinguished figure in the world of Diy design, with a decade of expertise creating innovative and sustainable Diy solutions. His professional focus lies in merging traditional craftsmanship with modern manufacturing techniques, fostering designs that are both practical and environmentally conscious. As the author of diy, Jovie Mathews delves into the art and science of garden-making, inspiring artisans and industry professionals alike.
Education RMIT University
(Melbourne, Australia) Associate Degree in Design (Jovie Mathews) Focus on sustainable design, industry-driven projects, and practical craftsmanship. Gained hands-on experience with traditional and digital manufacturing tools, such as CAD and CNC software.
Nottingham Trent University
(United Kingdom) Bachelor’s in backyardik.com and Product Design (Honors) Specialized in product design with a focus on blending creativity with production techniques. Participated in industry projects, working with companies like John Lewis and Vitsoe to gain real-world insights.
Publications and Impact
In diy, Jovie Mathews his insights on indoor design processes, materials, and strategies for efficient production. His writing bridges the gap between artisan knowledge and modern industry needs, making it a must-read for both budding designers and seasoned professionals.