

Building your own furniture can be an incredibly rewarding experience, offering a sense of accomplishment and a custom piece you can’t find in stores. A patio table is the centerpiece of any outdoor gathering space, perfect for morning coffees, family dinners, and summer barbecues.
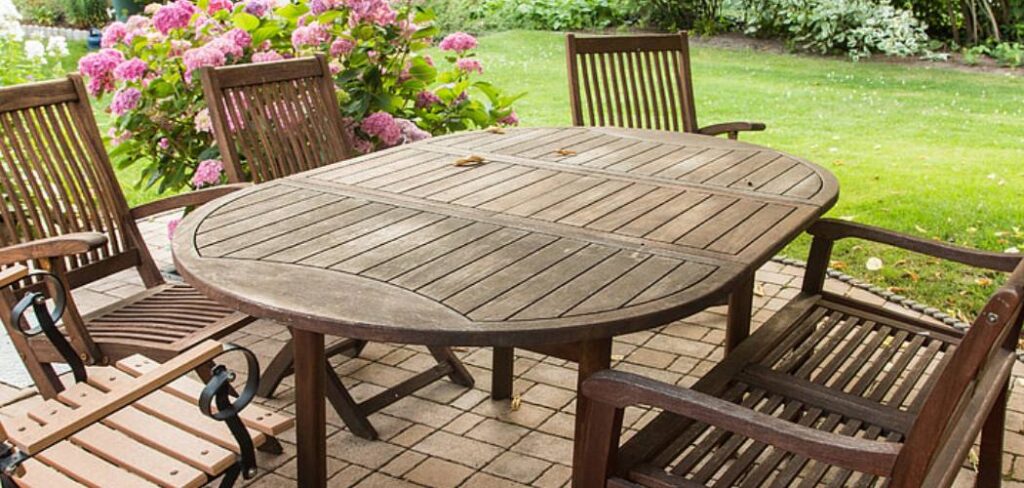
Many people think this project requires advanced woodworking skills, but it’s more accessible than you might imagine. This guide is designed for beginners, providing clear instructions on how to make a patio table that is both beautiful and durable. We will walk you through every stage, from planning and cutting to assembly and finishing, ensuring you have the confidence to create a stunning addition to your outdoor living area.
Building Your Own Outdoor Table
Creating your own patio furniture goes beyond just saving money. It allows for complete customization in size, style, and materials to perfectly fit your space and aesthetic. You can choose high-quality lumber like cedar or redwood for natural weather resistance or opt for a more budget-friendly treated pine. This project empowers you with new skills, from using a miter saw to drilling pocket holes and applying a professional-grade finish. The end result is a sturdy, handcrafted table made with a level of care and quality that mass-produced items often lack. It becomes a functional piece of art that holds personal value.
7 Step-by-Step Guide on How to Make a Patio Table
This detailed guide will lead you through the process of building a sturdy and stylish table for your outdoor space.
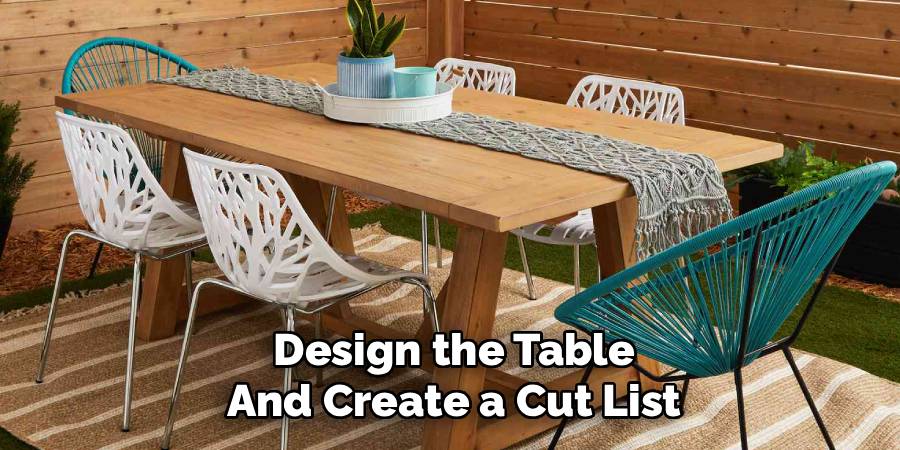
Step 1: Design the Table and Create a Cut List
Before you buy any materials, finalize your table’s design and dimensions. A standard dining table is about 30 inches tall, but you can adjust the length and width to suit your patio. Sketch out your design, noting the measurements for the tabletop, legs, and the supporting frame, or apron. From this drawing, create a detailed lumber list and a cut list. This organized approach ensures you buy the correct amount of wood and can make all your cuts efficiently. For a classic look, plan on using 2×6 boards for the top and 4×4 posts for the legs.
Step 2: Cut the Lumber for the Frame and Legs
With your cut list in hand, it’s time to make the initial cuts. Using a miter saw will ensure your cuts are straight and square, which is critical for a stable table. Cut the 4×4 posts to your desired leg height. Next, cut the lumber for the apron pieces—these will form the rectangular frame that sits directly under the tabletop and connects the legs. Always remember to measure twice and cut once. Wearing safety glasses is essential during this step to protect your eyes from sawdust and wood chips.
Step 3: Assemble the Table Frame
Assembling the frame is a foundational step. The easiest way to create strong joints is by using a pocket-hole jig. Drill two pocket holes into both ends of your shorter apron pieces. Then, apply wood glue to the ends and join them to the longer apron pieces using 2.5-inch exterior-grade pocket-hole screws. Use clamps to hold the pieces tightly together while you drive the screws to ensure a gap-free, square frame. Check for squareness by measuring the diagonals; they should be equal. This sturdy apron will support the tabletop and provide a solid structure for attaching the legs.
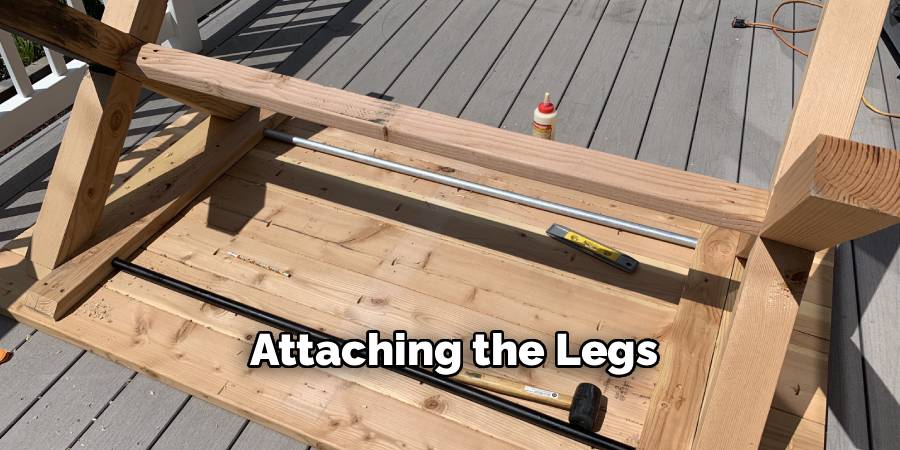
Step 4: Attaching the Legs
With the rectangular apron assembled, it’s time to attach the legs. Place a leg inside each corner of the frame, ensuring it is flush with the top and sides of the apron. Use clamps to hold each leg firmly in place. Attach the legs by driving exterior-grade screws through the apron into the leg from two adjacent sides. Using at least two or three screws per side creates a very strong connection. Alternatively, for a more robust joint, you can use lag bolts. This step establishes the table’s core stability, so take your time to ensure the legs are secure and perfectly vertical.
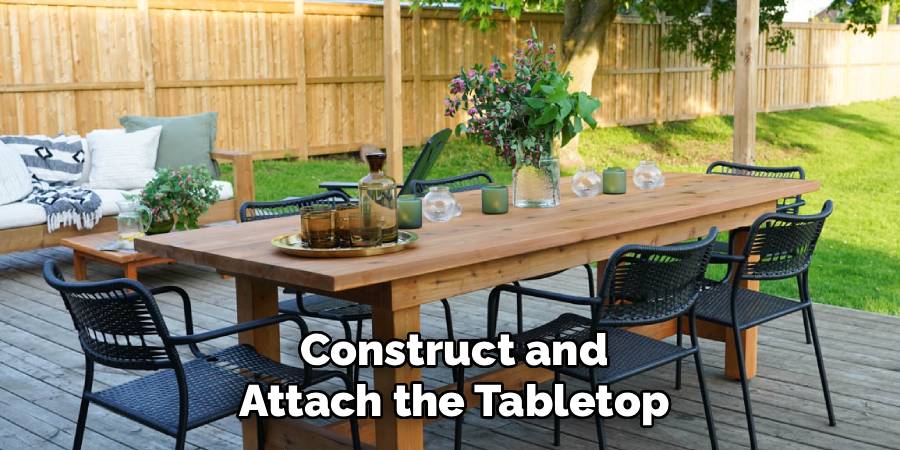
Step 5: Construct and Attach the Tabletop
Now you will build the surface of your table. Lay your tabletop boards out on a flat surface, with the best side facing down. To create a uniform tabletop, you can join the boards together using pocket holes drilled along the edges. It is also important to leave a slight gap (about 1/8 to 1/4 inch) between each board to allow for wood expansion and contraction with changing weather and to let rainwater drain through. Once the tabletop is assembled, center the base frame on top of it and attach it by driving screws up through the apron into the tabletop boards.
Step 6: Add Cross-Bracing for Stability (Optional but Recommended)
For larger tables, adding cross-bracing can prevent the legs from wobbling and increase overall rigidity. You can install a stretcher or cross-brace between the legs. One simple method is to run a board between the two sets of legs on the long sides of the table, attaching it with screws. Another option is to create an “X” brace that connects to the center of the apron. While not always necessary for smaller tables, this extra support ensures your table remains solid and stable for years of use, especially if it will be moved around frequently.
Step 7: Sand, Finish, and Weatherproof the Table
The final stage is to give your table a smooth, professional finish and protect it from the elements. Start by sanding the entire table, beginning with a lower grit sandpaper (like 80-grit) to remove any marks and smooth sharp edges, then progressing to a finer grit (like 220-grit) for a silky feel. After wiping away all the dust, apply your chosen finish. An exterior-grade stain can add color, while a clear wood sealer or several coats of outdoor polyurethane will provide essential protection against moisture and UV rays. This is the most crucial step for longevity.
Maintenance and Care Tips
To ensure your outdoor table remains in excellent condition, regular maintenance is key. Clean the table periodically with a soft cloth and mild soap to remove dirt, pollen, or other debris. Avoid using abrasive cleaners or scrubbers, as they can damage the finish. Inspect the table for any signs of wear, such as peeling finish or cracks, and reapply the protective coating as needed, typically every 1-2 years. If possible, use a furniture cover or move the table to a sheltered area during harsh weather conditions, like heavy rain or snow, to extend its lifespan. Small precautions and routine care will keep your table looking beautiful and functional for many years.
Frequently Asked Question (Faq)
What Is the Best Wood for an Outdoor Patio Table?
Cedar and redwood are excellent choices as they are naturally resistant to rot, decay, and insects. For a more budget-friendly option, pressure-treated pine is very durable, but it’s important to let it dry out completely before building. Teak and acacia are also premium, highly weather-resistant hardwoods.
How Do I Make My Patio Table Weatherproof?
Proper finishing is key. After sanding, apply multiple coats of an exterior-grade wood sealer, stain with a built-in sealant, or marine varnish. Pay extra attention to end grains, as they absorb the most moisture. Reapplying a topcoat every one to two years will maintain the protection.
Should I Leave Gaps Between the Tabletop Boards?
Yes, leaving a small gap of about 1/8 to 1/4 inch between each board is crucial. This allows for:
- Rainwater drainage, preventing water from pooling.
- Natural expansion and contraction of the wood with changes in humidity and temperature, which prevents warping and buckling.

How Do I Add an Umbrella Hole to My Table?
To add an umbrella hole, first fully assemble the table. Mark the exact center of the tabletop. Use a hole saw attachment on your drill that matches the diameter of your umbrella pole (typically 1.5 to 2 inches). Drill straight down through the tabletop to create a clean hole.
How Can I Ensure My DIY Table Is Level on an Uneven Patio?
The easiest solution is to install adjustable leveling feet. These are small threaded feet that screw into the bottom of each table leg. Once the table is in place on your patio, you can simply twist each foot up or down individually until the tabletop is perfectly level and stable.
Conclusion
Creating a custom piece of furniture for your home is an immensely satisfying project. By following these steps, you have learned the fundamentals of building a strong, functional, and attractive table that will become the heart of your outdoor space. From selecting the right wood and assembling the frame to applying a durable, weatherproof finish, you now have the knowledge to succeed. The process requires patience and attention to detail, but the reward is a high-quality, handcrafted piece you can be proud of. Now that you know how to make patio table, it’s time to gather your tools and start building.