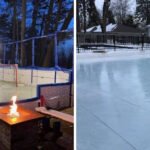
Imagine stepping out your back door into a winter wonderland, complete with a glistening sheet of ice perfect for skating. The convenience of having a rink just feet away means endless hours of fun for the whole family, from impromptu hockey games to leisurely skating under the stars. Building your own rink might seem like a monumental task reserved for seasoned DIY experts, but it is surprisingly achievable with careful planning and the right materials.
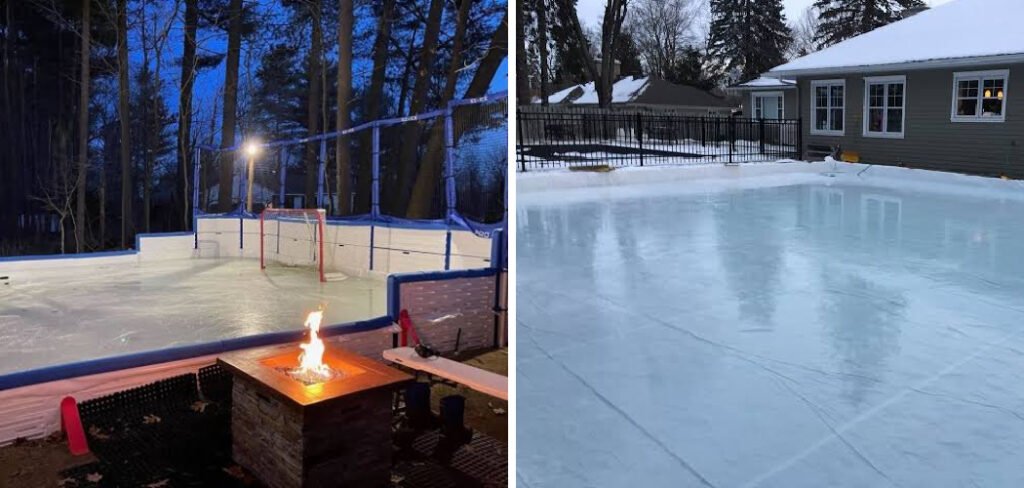
The key is a level surface, consistently cold weather, and a bit of patience. This guide is designed to demystify the process, offering clear and straightforward instructions for first-timers. We will show you exactly how to build a ice rink in your backyard, turning a patch of frozen grass into a source of unforgettable winter memories.
Building your own backyard ice rink is not only a fun winter project but also a way to bring family and friends together for memorable outdoor experiences. Whether you’re an aspiring hockey player, an avid skater, or simply someone looking to make the most of the colder months, creating your own rink is an incredibly rewarding endeavor. It doesn’t require professional expertise—just some basic materials, a bit of preparation, and a willingness to embrace the winter weather. With this guide, you’ll have everything you need to transform your backyard into a winter wonderland.
7 Step-by-Step Guide on How to Build a Ice Rink in Your Backyard
Step 1: Choose and Prepare Your Location
The success of your rink hinges on selecting the right spot. Look for the flattest, most level area in your yard. Even a slight slope can make a huge difference, requiring significantly more water and a stronger frame on the low side to contain it. A level surface ensures a uniform ice depth and a faster, more even freeze. Before the first freeze, clear the area of any rocks, sticks, or sharp objects that could puncture your rink liner. It is also wise to choose a spot that gets plenty of shade, as direct sunlight, even on a cold day, can soften and melt your ice surface, making maintenance more difficult.
Step 2: Construct the Frame
Your frame is what will hold the water in place as it freezes. You can purchase a prefabricated rink kit, or you can build your own using 2×8 or 2×10 lumber and corner brackets. Lay out your boards to form the perimeter of your desired rink size. Connect the corners securely with screws and metal L-brackets. For larger rinks, it is essential to add support stakes every few feet along the outside of the frame to prevent the boards from bowing outward under the pressure of the water. This sturdy frame is the skeleton of your project and is critical for containing the water and creating a defined skating area.
Step 3: Lay Down and Secure the Rink Liner
The liner is the most important component, as it creates the waterproof basin for your rink. A heavy-duty, white plastic tarp (at least 6-mil thick) is the best choice. White plastic reflects sunlight, which helps keep the water cold and promotes a solid freeze. Carefully unfold the liner inside your frame, making sure there is enough excess material to go up and over the sides of the frame boards. Gently smooth out the liner across the base of the rink, removing as many large wrinkles as you can. Secure the liner to the outside of the frame using a staple gun, pulling it taut as you go to create a smooth basin.
Step 4: Begin Filling the Rink with Water
Now for the exciting part—adding water. Before you turn on the hose, check the weather forecast. You need several consecutive days where the temperature will remain well below freezing (ideally in the low 20s °F or colder) for the initial freeze. It is best to fill the rink all at once to achieve a single, solid slab of ice. A slow, steady fill from one or two garden hoses works well. The goal is to fill the rink with about three to four inches of water. Filling it too deep will take much longer to freeze and put unnecessary stress on your frame.
Step 5: Let It Freeze
This step requires nothing but patience. Once the rink is filled, you must let mother nature do the work. Resist the temptation to step on the ice until it is completely frozen solid all the way through. Walking on it too early can create weak spots or crack the ice, forcing you to start over. Depending on the temperature and water depth, this initial freeze can take anywhere from three to seven days. You can test for readiness by gently tapping a corner with a hockey stick. It should feel rock-solid with no give or watery sound underneath.
Step 6: Flood the Surface for a Smooth Finish
Once you have a solid frozen base, the secret to a glass-smooth skating surface is flooding. This involves applying very thin layers of water that freeze quickly. On a very cold night, use your garden hose with a spray nozzle to apply a fine mist over the entire surface. This process, often called “resurfacing,” fills in any cracks, bumps, or skate marks from previous use. Each thin layer freezes almost instantly, creating that perfect, smooth finish you see at professional rinks. You will need to repeat this maintenance flooding regularly, especially after heavy use, to keep your ice in top condition.
Step 7: Perform Regular Rink Maintenance
A backyard rink requires ongoing care to remain usable. After every skate, you should clear the ice of any snow or ice shavings using a shovel or a specialized ice scraper. Snow acts as an insulator and can prevent the ice from staying frozen, so it is important to remove it promptly. If cracks or holes appear, you can patch them by packing them with a slushy mixture of snow and water, then smoothing it over. This will freeze in place and repair the damage. Regular maintenance is a key part of the process and ensures your rink lasts all season long.
Frequently Asked Questions (FAQ)
How Cold Does It Have to Be to Build a Backyard Ice Rink?
For the initial freeze, you need a sustained cold snap. Ideally, you should have at least three to five consecutive days where the temperature stays below 20°F (-7°C). For ongoing maintenance and to keep the rink frozen, daytime highs should consistently remain below the freezing point (32°F or 0°C).
How Do I Fix a Leak in My Rink Liner?
Finding a leak can be tricky. If you notice the water level dropping, look for a wet spot in the snow or ground around the outside of the rink frame. Once you locate the general area, you may need to wait until the rink thaws to find the hole. You can patch small holes in the liner using specialized waterproof patch tape, which is available online or at hardware stores.
What Is the Best Size for a Backyard Rink?
The size is entirely up to you and the space you have available. A good starter size for family skating is around 20×40 feet. This provides enough room for a few people to skate comfortably without being overwhelmingly large to build and maintain. Remember that a larger rink will require a larger liner, a stronger frame, and significantly more water.
Can I Build a Rink on Uneven Ground?
Yes, but it is more challenging. On a slope, the water will be much deeper on the low end. This means you will need to:
- Build a much stronger, taller frame on the low side to contain the extra water pressure.
- Use more water to achieve a level ice surface.
- Wait longer for the deeper sections to freeze completely.
If your yard has a significant slope, building up the low end with packed dirt or sand before you start can help.
How Much Does It Cost to Build a Backyard Ice Rink?
The cost can vary widely. A simple DIY rink using lumber and a tarp can cost between $200 and $500, depending on the size. The main expenses are the wood for the frame and the heavy-duty liner. If you opt for a pre-made kit, prices can range from $500 to several thousand dollars, but these often include everything you need and are easier to assemble.
Conclusion
Building a backyard ice rink is a rewarding winter project that provides a unique source of joy and activity right at home. The process boils down to a few key elements: a level site, a sturdy frame, a quality liner, and a good stretch of cold weather. While it requires an initial investment of time and effort, the maintenance becomes a simple routine of shoveling and flooding.
The payoff—the sound of skates carving across the ice and the laughter of family and friends—is well worth it. Now that you have a clear plan on how to build a ice rink in your backyard, you are ready to create a new winter tradition that will be cherished for years to come.

About
Jovie Mathews is a backyard and outdoor expert writer with over 12 years of hands-on experience transforming neglected outdoor spaces into thriving gardens and functional retreats. Raised in a family where weekends meant digging in the soil and building raised beds from scratch, Jovie developed a genuine love for the outdoors long before it became a career.
She writes with a practical, no-fluff approach — always testing ideas in her own backyard before sharing them with readers. From composting systems and native plant selection to patio design and pest control, Jovie covers the full spectrum of backyard life with equal parts expertise and enthusiasm.
Education
B.Sc. in Horticulture Science
University of Florida (UF) · Gainesville, FL · 2014
IFAS College of Agricultural and Life Sciences
Minor in Environmental Studies
University of Florida (UF) · Gainesville, FL · 2014
College of Liberal Arts and Sciences
Areas of expertise
- Lawn & Garden Care
- Soil prep, planting, seasonal care
- Outdoor DIY Projects
- Raised beds, fencing, pathways
- Composting & Soil Health
- Organic methods, amendments
- Native Plants & Wildlife
- Pollinators, habitat gardening
When she is not writing, Jovie can be found testing new composting techniques, growing tomatoes in questionable quantities, or convincing her neighbors that clover lawns are actually a great idea. She currently gardens in the Pacific Northwest.