A relaxing soak in your hot tub can quickly be ruined by an unwelcome layer of foam. While a few bubbles are normal, a thick, persistent foam indicates an imbalance in your water. This unsightly buildup is a common issue for many hot tub owners, often pointing to underlying problems with water chemistry or contaminants. Fortunately, solving this problem is usually straightforward.
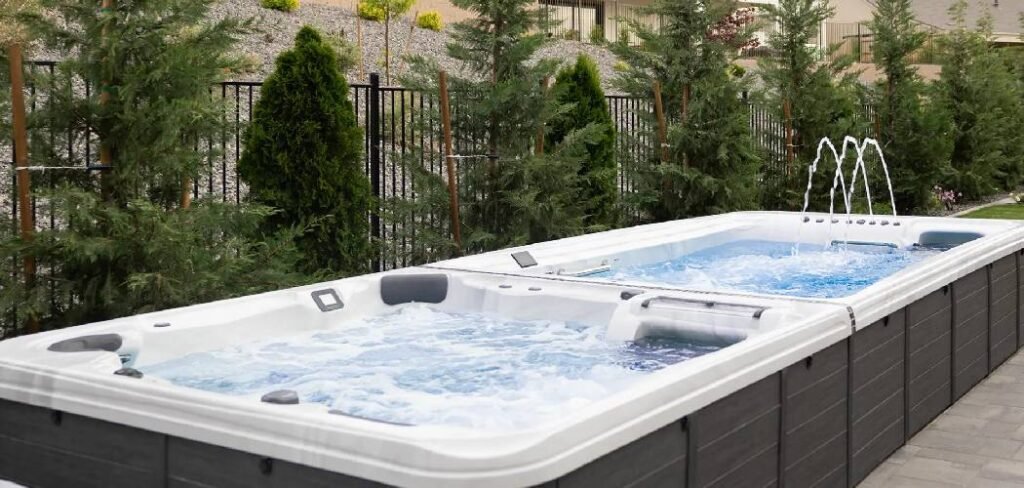
This guide will walk you through exactly how to remove foam from hot tub, explaining the causes and providing a clear, step-by-step process to restore your water to its crystal-clear, inviting state. Get ready to enjoy a clean, foam-free spa experience again.
Why Does Foam Form in Hot Tubs?
Foam in a hot tub is created when air is mixed with water that contains surfactants. Surfactants are compounds that lower the surface tension of water, allowing bubbles to form and last longer. When your hot tub jets are running, they aggressively mix air into the water. If surfactants are present, they trap this air, creating a stable foam that doesn’t dissipate quickly.
These surfactants come from a wide variety of sources. The most common culprits are everyday products we carry on our bodies. Lotions, deodorants, makeup, hair products like shampoo and gel, and even residual laundry detergent on swimsuits all introduce oils and soaps into the water.
Additionally, low calcium hardness in your spa water can make it “soft,” which is more prone to foaming. Over time, these substances accumulate and lead to total dissolved solids (TDS) buildup, creating the perfect environment for persistent, unattractive foam.
8 Step-by-Step Guide on How to Remove Foam from Hot Tub
Step 1: Turn Off the Jets
Before you begin any treatment, turn off your hot tub’s jets and air blowers completely. This stops the agitation that creates and sustains the foam, allowing the water to settle. By doing this, you can get a clearer view of the water’s condition and accurately assess the severity of the foam issue.
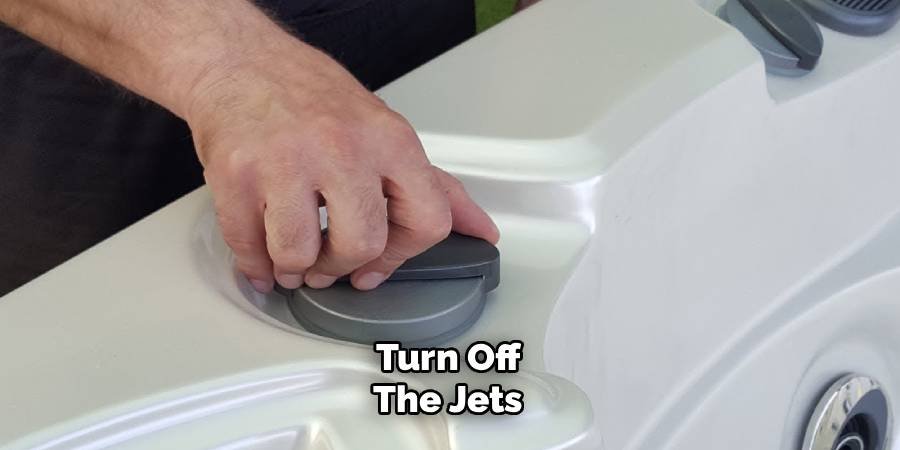
It also ensures that any chemicals you add will distribute evenly throughout the water rather than getting trapped in the foam itself. This simple first step makes the entire cleaning process more effective and helps you diagnose the root cause of the problem more easily.
Step 2: Manually Skim the Foam
With the jets off, grab a skimmer net or a small bucket to manually remove as much of the surface foam as possible. This immediate action provides a quick cosmetic fix and reduces the total volume of contaminants you need to treat chemically. Scooping out the foam removes the oils, soaps, and other dissolved solids that are trapped within the bubbles.
This physical removal lightens the load on your filter and any anti-foam chemicals you might use later, making the subsequent steps in the cleaning process much more efficient. Be thorough and try to collect all visible foam.
Step 3: Test the Water Chemistry
Now that the surface is clearer, it’s time to test your water. Use a reliable test kit—either strips or a liquid reagent kit—to check the key chemical levels. Pay close attention to the pH, total alkalinity, and calcium hardness. An imbalanced pH or low alkalinity can contribute to a variety of water issues, including foaming.
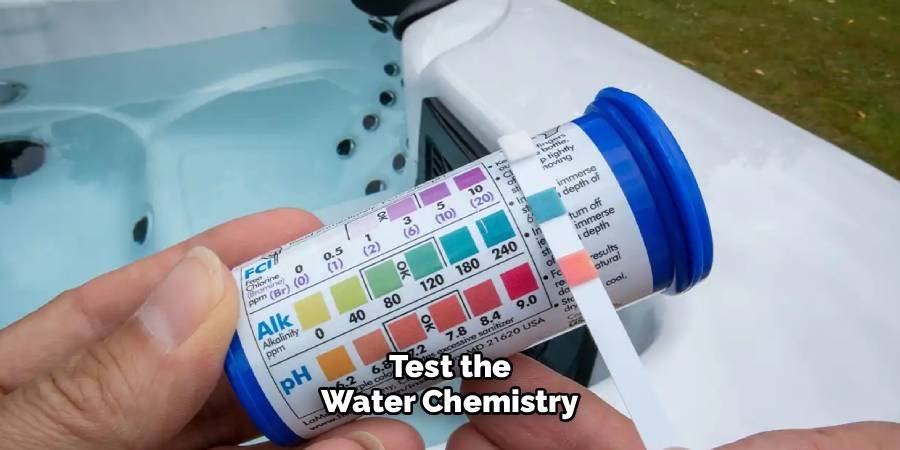
More importantly, very low calcium hardness creates “soft” water, which is a primary cause of excessive suds. Knowing these levels is crucial for diagnosing the underlying problem and ensuring your next steps are effective.
Step 4: Apply an Anti-Foam Agent
For an immediate, albeit temporary, solution, use a dedicated anti-foam or foam-remover chemical. These products are specifically designed to break the surface tension of the water, causing the bubbles to pop instantly. Follow the dosage instructions on the product label carefully, applying a small amount directly to the foam.
The foam should dissipate within seconds. While highly effective for a quick fix, remember that an anti-foam agent only treats the symptom, not the cause. The foam will likely return until you address the root contaminants in the water.
Step 5: Shock the Hot Tub Water
To eliminate the organic contaminants causing the foam, you need to shock your spa. A chlorine or non-chlorine shock treatment will oxidize and break down the lotions, oils, cosmetics, and other waste products that have accumulated in the water.
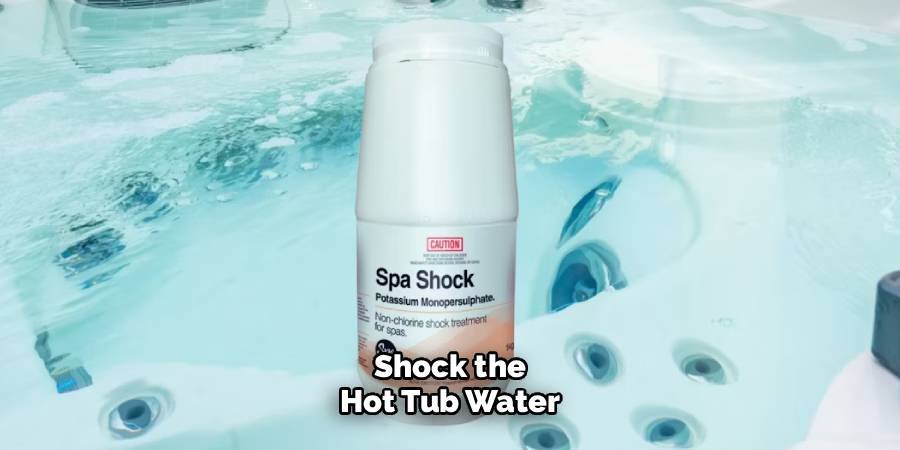
Turn the jets back on to circulate the water and add the shock treatment according to the package directions. It is best to leave the hot tub cover off for at least 20-30 minutes after shocking to allow the chemicals to gas off properly. This step is essential for truly cleaning the water.
Step 6: Clean or Replace the Hot Tub Filter
Your filter is your first line of defense against impurities. A dirty or clogged filter cannot effectively remove the particles that lead to foam. Remove the filter cartridge and give it a thorough cleaning using a filter cleaner solution or a high-pressure hose nozzle.
If the filter is old, worn, or remains discolored after cleaning, it’s time to replace it. A clean, functioning filter is critical for maintaining clear water and preventing future foam outbreaks. This is a non-negotiable step for long-term water quality.
Step 7: How to Remove Foam from Hot Tub by Draining and Refilling
If the foam is severe or keeps returning despite your efforts, the best solution is often to drain the hot tub completely. Over time, the concentration of total dissolved solids (TDS) becomes too high for chemicals to manage effectively. Draining the tub, cleaning the shell with a non-foaming spa cleaner, and refilling it with fresh water provides a complete reset.
This removes all contaminants at once and gives you a blank slate for balancing your water chemistry properly. Most experts recommend draining and refilling your hot tub every 3-4 months.
Step 8: Balance the Fresh Water Chemistry
After refilling your hot tub with fresh water, it’s time to balance it. Use your test kit again to check the new water’s pH, total alkalinity, and calcium hardness. Adjust these levels using the appropriate chemicals until they are all within the recommended ranges for your spa.
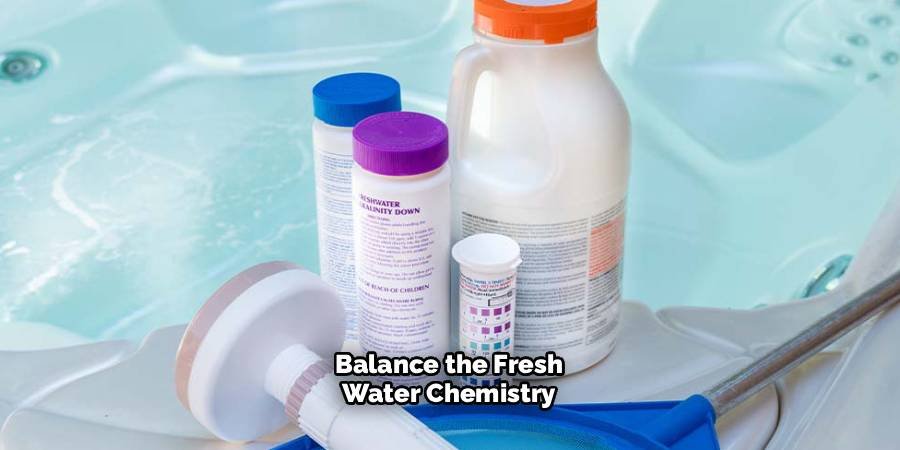
Proper balance is key to preventing future issues, including foam. Pay special attention to calcium hardness, as tap water can often be too soft. Raising the calcium level will make the water less susceptible to foaming from the start, ensuring your fresh start lasts.
Common Mistakes to Avoid
When maintaining your spa, it’s easy to make small mistakes that can lead to larger problems over time. One common error is overusing chemicals, which can throw off the water’s balance and potentially irritate skin or damage spa components. Another mistake is neglecting regular water testing, as this can result in unchecked imbalances that may lead to foam or buildup.
Additionally, failing to clean the spa filters as recommended can reduce their efficiency, making it harder to keep the water clean and clear. Lastly, many overlook the importance of proper draining and refilling schedules, which are crucial to maintaining fresh, healthy water in the long term. By staying mindful of these potential pitfalls, you can ensure your spa remains a relaxing and trouble-free oasis.
Frequently Asked Questions
Is It Safe to Get in a Foamy Hot Tub?
While the foam itself isn’t necessarily dangerous, it is a sign that the water is dirty and filled with contaminants like oils, lotions, and bacteria. This environment can potentially cause skin irritation or other issues. It is best to treat the foam and ensure the water is clean and sanitized before getting in.
What Is the Fastest Way to Get Rid of Hot Tub Foam?
The quickest method is to use a chemical anti-foam agent. These products are designed to break the water’s surface tension, and a small amount will typically dissipate foam within seconds. However, this is a temporary fix. The foam will return if you don’t address the underlying cause, such as contaminants or imbalanced water chemistry.
Can Low Sanitizer Levels Cause Hot Tub Foam?
Yes, indirectly. Low levels of sanitizer, like chlorine or bromine, allow organic compounds (oils, lotions, sweat) to build up in the water instead of being broken down. These organic materials act as surfactants, which are the primary cause of foam. Maintaining proper sanitizer levels is a key part of preventing foam from forming in the first place.
How Can I Prevent Foam from Coming Back?
Prevention is the best strategy. You can prevent foam by:
- Encouraging users to shower before entering the hot tub.
- Washing swimsuits in water only, without laundry detergent.
- Routinely cleaning your filters.
- Maintaining balanced water chemistry, especially calcium hardness.
- Regularly shocking the water to eliminate organic waste.
Does Hard Water or Soft Water Cause More Foam?
Soft water, which has low calcium hardness, is much more likely to cause foam in a hot tub. The lack of minerals makes it easier for soaps and oils to create suds. If your water is naturally soft, you will need to use a calcium hardness increaser to bring the levels up to the recommended range (typically 150-250 ppm) to help prevent foaming.
Conclusion
Dealing with a foamy hot tub can be frustrating, but it’s a solvable problem. By understanding that foam is a symptom of contaminants and water imbalance, you can take effective action. Following the steps from skimming the surface and testing the water to shocking the spa and cleaning your filter will help restore clarity.
For persistent issues, a complete drain and refill offers a fresh start. By taking these measures and adopting preventative habits, you have a clear roadmap for how to remove foam from hot tub and keep it from returning, ensuring your spa remains a pristine and relaxing retreat.

About
Jovie Mathews is a backyard and outdoor expert writer with over 12 years of hands-on experience transforming neglected outdoor spaces into thriving gardens and functional retreats. Raised in a family where weekends meant digging in the soil and building raised beds from scratch, Jovie developed a genuine love for the outdoors long before it became a career.
She writes with a practical, no-fluff approach — always testing ideas in her own backyard before sharing them with readers. From composting systems and native plant selection to patio design and pest control, Jovie covers the full spectrum of backyard life with equal parts expertise and enthusiasm.
Education
B.Sc. in Horticulture Science
University of Florida (UF) · Gainesville, FL · 2014
IFAS College of Agricultural and Life Sciences
Minor in Environmental Studies
University of Florida (UF) · Gainesville, FL · 2014
College of Liberal Arts and Sciences
Areas of expertise
- Lawn & Garden Care
- Soil prep, planting, seasonal care
- Outdoor DIY Projects
- Raised beds, fencing, pathways
- Composting & Soil Health
- Organic methods, amendments
- Native Plants & Wildlife
- Pollinators, habitat gardening
When she is not writing, Jovie can be found testing new composting techniques, growing tomatoes in questionable quantities, or convincing her neighbors that clover lawns are actually a great idea. She currently gardens in the Pacific Northwest.