Owning a swimming pool is a luxury, but maintaining it can often feel like a second job. Thankfully, modern technology has gifted us with the robotic pool cleaner, a tireless aquatic servant designed to scrub and vacuum while you relax. However, unboxing this high-tech device can be slightly intimidating for a first-time user.

Between the power supply unit, the floating cable, and the robot itself, figuring out the correct sequence to get everything running safely is crucial. You want to ensure the machine cleans effectively without damaging itself or your pool liner. Whether you have a Dolphin, Polaris, or another brand, the fundamental principles of operation remain largely the same. This guide is here to demystify the process.
We will walk you through a safe, logical startup routine that protects your investment and ensures crystal-clear water. By following these instructions on how to turn on pool vacuum robot units, you will transform a chore into a simple button press, reclaiming your weekends for actual swimming.
Why Use a Pool Vacuum Robot?
Maintaining a clean pool can be a time-consuming and labor-intensive task, especially during peak swimming seasons. A pool vacuum robot streamlines this process by autonomously handling debris removal, leaving your pool spotless with minimal effort.
These devices are designed to save energy, reduce the need for manual cleaning, and extend the lifespan of your pool equipment by preventing clogs or excessive strain. Furthermore, their thorough cleaning capabilities help maintain balanced water chemistry, ensuring a healthier swimming environment for you and your family.
Investing in a pool vacuum robot isn’t just about convenience—it’s about preserving your pool’s value and enjoying more leisure time.
7 Step-by-Step Guide on How to Turn On Pool Vacuum Robot
Step 1: Prepare the Pool Area for Cleaning
Before you even touch the robot, you need to ensure the swimming pool is ready for a cleaning cycle. This involves clearing out large debris that could clog or damage the vacuum’s intake mechanism. Use a pool net to skim off any big leaves, branches, or toys floating on the surface or resting on the bottom. It is also important to check the chemical balance of the water.

While robots are built to withstand pool water, extremely high levels of chlorine or incorrect pH can degrade plastic components over time. Additionally, remove any obstacles like ladders or thermometers if your specific model struggles to navigate around them. Creating a clear path ensures the robot can map the area effectively and cover every inch of the floor and walls without getting stuck or tangling its cord.
Step 2: Position the Power Supply Unit Correctly
The power supply unit is the brain of the operation, converting high-voltage electricity from your outlet into a safe, low-voltage current for the robot. Place this unit at least 10 to 12 feet away from the water’s edge to prevent it from accidentally being pulled into the pool, which would be a catastrophic safety hazard.

Most units are water-resistant but not waterproof, so do not leave it in a puddle or where it will be directly hit by lawn sprinklers. Ensure the power supply is plugged into a Ground Fault Circuit Interrupter (GFCI) outlet for maximum electrical safety. Do not switch the power on yet; positioning the unit securely on dry ground is a critical safety precursor before you proceed with the rest of the setup.
Step 3: Uncoil and Inspect the Floating Cable
One of the most common issues pool owners face is a tangled cable that restricts the robot’s movement. Before placing the cleaner in the water, completely uncoil the blue floating cable across the pool deck. Remove any kinks, knots, or twists that may have formed during storage. A straight cable allows the swivel mechanism to work correctly, preventing tangles during the cleaning cycle.
Inspect the cable for any cuts or exposed wires, which could indicate wear and tear. Once the cable is straight, connect the end to the power supply unit. Align the notch on the connector with the groove on the socket, push it in, and screw the locking ring tight. This secure connection is essential for the machine to receive power and data commands.
Step 4: Submerge the Robot to Remove Air
Now you are ready to put the unit in the water. Hold the robot by its handle—never by the cable—and lower it gently into the pool. Once it is in the water, tilt it side to side or upside down to release any trapped air. You will see bubbles rising to the surface. This step is vital because if air remains trapped inside the casing, the robot will float or struggle to stay flat on the floor, resulting in poor cleaning performance.

Wait until the robot sinks completely to the bottom of the pool. It needs to be fully submerged and resting on its tracks or wheels before the motor engages. Starting the vacuum while it is dry or floating can damage the pump seals and void your warranty.
Step 5: Feed the Correct Amount of Cable
Do not just dump the entire coil of cable into the water. You only need enough cable for the robot to reach the furthest corner of your pool, plus a little extra slack. Excess cable floating in the water increases the likelihood of tangling and can actually hinder the robot’s navigation logic.
Leave the remaining cable coiled neatly on the pool deck near the power supply. Many modern units have a swivel on the cable to help prevent twisting, but managing the length manually is still a best practice. By feeding the appropriate length, you ensure the robot has the freedom to roam without being tethered too tightly or getting wrapped around itself in deep water.
Step 6: The Power Button
With the robot safely submerged and the cable managed, walk back to the power supply unit. Locate the power button, which is usually a large, obvious switch on the face of the controller. Press the button once to turn the system on. On most models, a light will illuminate to indicate the unit is receiving power. The robot might not move immediately; many have a built-in delay of a few seconds to calibrate or perform a self-check.

Once the cycle starts, you will see the unit begin to move across the pool floor and water flowing from the top discharge outlet. If your unit has programmable cycles or Bluetooth connectivity, this is the moment to select your desired cleaning mode via the app or control panel.
Step 7: Monitor the Initial Operation
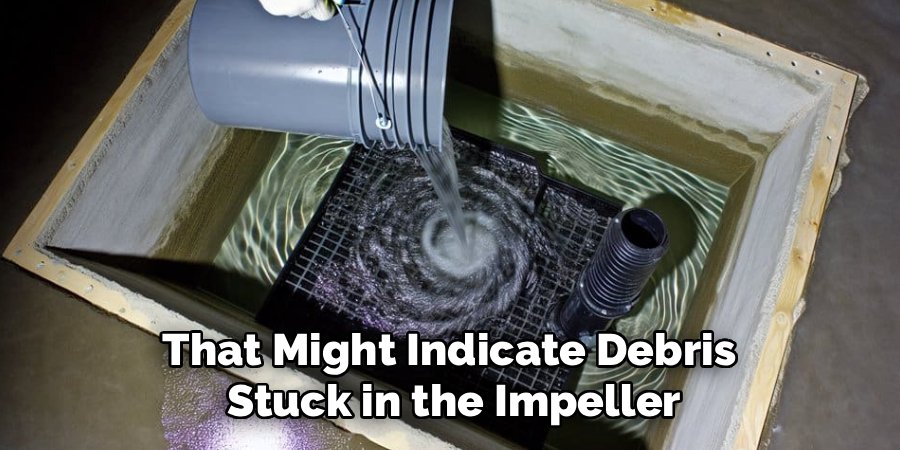
Do not walk away immediately after pressing the button. Watch the robot for the first few minutes of its cycle to ensure it is operating correctly. It should move steadily along the bottom, climb walls if it is designed to do so, and not get stuck on the main drain. Listen for any unusual grinding noises that might indicate debris stuck in the impeller.
If the robot seems to be moving sluggishly or floating up, you may need to repeat the air release step. Observing the initial phase confirms that the setup was successful and that the machine is tackling the dirt effectively. Once you are satisfied it is running smoothly, you can leave it to complete its cycle, which typically takes between two to three hours.
Frequently Asked Questions (FAQ)
Can I Leave the Robot in the Pool All the Time?
It is generally not recommended to leave your robot in the pool 24/7.
- Chemical Damage: Prolonged exposure to pool chemicals like chlorine can fade the plastic and degrade the rubber tracks or brushes.
- Algae Growth: If the robot sits idle in the water, algae can start to grow on the unit itself.
- Best Practice: Remove the robot after its cleaning cycle, rinse it with fresh water, and store it in a shaded area.
Why Is My Pool Robot Moving But Not Picking Up Dirt?
If the unit is moving but leaving debris behind, the issue is usually with the filters.
- Clogged Filters: If the filter bag or cartridges are full, the vacuum loses suction power. Remove and clean them thoroughly.
- Impeller Obstruction: Check the impeller (the fan at the top) for hair or leaves that might be blocking the water flow.
- Intake Flaps: Ensure the flaps at the bottom of the unit are not stuck open or closed.
Is It Safe to Swim While the Robot Is Cleaning?
No, you should strictly avoid swimming while the robot is in operation.
- Electrical Safety: Although the voltage is low, mixing electricity and water with people is an unnecessary risk.
- Tangling Hazard: Swimmers can easily get tangled in the floating cable, which could lead to panic or injury.
- Current Disruption: The water movement caused by swimmers can confuse the robot’s navigation sensors, leading to an incomplete cleaning job.
How Often Should I Run My Pool Robot?
The frequency depends on how quickly your pool gets dirty.
- Standard Use: For most pools, running the robot 2 to 3 times a week is sufficient to keep the water clear.
- Heavy Debris: During storm seasons or autumn when leaves are falling, you may need to run it daily.
- Maintenance: Regular running prevents algae spores from settling on the walls and floor, reducing the need for heavy chemical shocks later.
What Do I Do If the Power Supply Gets Wet?
If your power supply unit accidentally falls into the pool or gets soaked by rain:
- Unplug Immediately: Do not touch the wet unit. Go to your main circuit breaker and cut the power to that outlet first.
- Dry It Out: Retrieve the unit once power is off. Do not try to turn it on. Place it in a dry, warm place with rice or silica gel packs for several days.
- Replacement: Often, water damage ruins the internal electronics. You will likely need to purchase a replacement power supply from the manufacturer.
Conclusion
Operating a robotic pool cleaner does not have to be a complicated technical endeavor. It is all about following a logical sequence: preparation, safety, and execution. By taking the time to clear the pool, position the power supply safely, and ensure the unit is fully submerged before hitting that switch, you guarantee a long lifespan for your device and a pristine swimming environment for your family.
These machines are incredible time-savers, but they rely on human input to start their job correctly. Now that you have mastered the essential steps of how to turn on pool vacuum robot systems, you can confidently deploy your automated helper. Say goodbye to manual scrubbing and hello to crystal-clear water, all with the simple push of a button.

About
Jovie Mathews is a backyard and outdoor expert writer with over 12 years of hands-on experience transforming neglected outdoor spaces into thriving gardens and functional retreats. Raised in a family where weekends meant digging in the soil and building raised beds from scratch, Jovie developed a genuine love for the outdoors long before it became a career.
She writes with a practical, no-fluff approach — always testing ideas in her own backyard before sharing them with readers. From composting systems and native plant selection to patio design and pest control, Jovie covers the full spectrum of backyard life with equal parts expertise and enthusiasm.
Education
B.Sc. in Horticulture Science
University of Florida (UF) · Gainesville, FL · 2014
IFAS College of Agricultural and Life Sciences
Minor in Environmental Studies
University of Florida (UF) · Gainesville, FL · 2014
College of Liberal Arts and Sciences
Areas of expertise
- Lawn & Garden Care
- Soil prep, planting, seasonal care
- Outdoor DIY Projects
- Raised beds, fencing, pathways
- Composting & Soil Health
- Organic methods, amendments
- Native Plants & Wildlife
- Pollinators, habitat gardening
When she is not writing, Jovie can be found testing new composting techniques, growing tomatoes in questionable quantities, or convincing her neighbors that clover lawns are actually a great idea. She currently gardens in the Pacific Northwest.