An outdoor patio is a cherished extension of the home, a place for summer barbecues, quiet morning coffees, and evening relaxation. But as families grow or hosting needs change, that once-perfect patio can start to feel a bit cramped. You might find yourself wishing for just a little more space for a larger dining table, a fire pit area, or some comfortable lounge chairs. The good news is that you do not need to tear everything out and start from scratch.
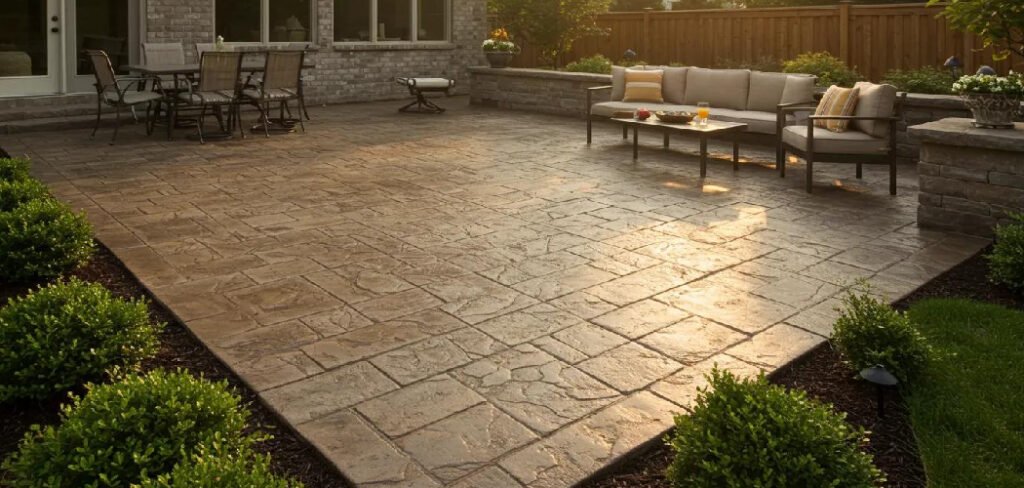
Expanding your existing patio is a manageable and rewarding DIY project that can dramatically improve your outdoor living experience. This guide will provide clear, step-by-step instructions on how to extend patio slabs, ensuring you can create a durable and beautiful addition that looks like it was there all along.
Adding more space to your patio not only enhances its functionality but also opens up new possibilities for outdoor gatherings, relaxation, and entertainment. Whether you’re envisioning a larger area for hosting friends and family or simply creating a cozy retreat for yourself, extending your patio is a practical way to maximize your outdoor space. With the right tools, materials, and a bit of patience, you can seamlessly blend the new extension with your existing patio, ensuring a cohesive and polished look.
Why Extend Your Patio?
Extending your patio can significantly enhance both the functionality and aesthetics of your outdoor space. A larger patio allows for more versatility, whether you want to host larger gatherings, create distinct zones for dining and relaxation, or simply enjoy more room to move around comfortably.
Additionally, a well-designed patio extension can increase the value of your home by improving its curb appeal and creating an inviting outdoor area. By extending your current patio, you make better use of your yard, transforming it into a space that meets your lifestyle needs while also boosting your property’s overall appeal.
How to Extend Patio Slabs: A Step-by-Step Guide
Step 1: Plan and Measure Your Extension
Before you pick up a shovel, you need a solid plan. Decide on the size and shape of your desired extension. Use stakes and string to outline the new perimeter, which will give you a clear visual of the final footprint. Measure the area to calculate how many new pavers and how much base material you will need.
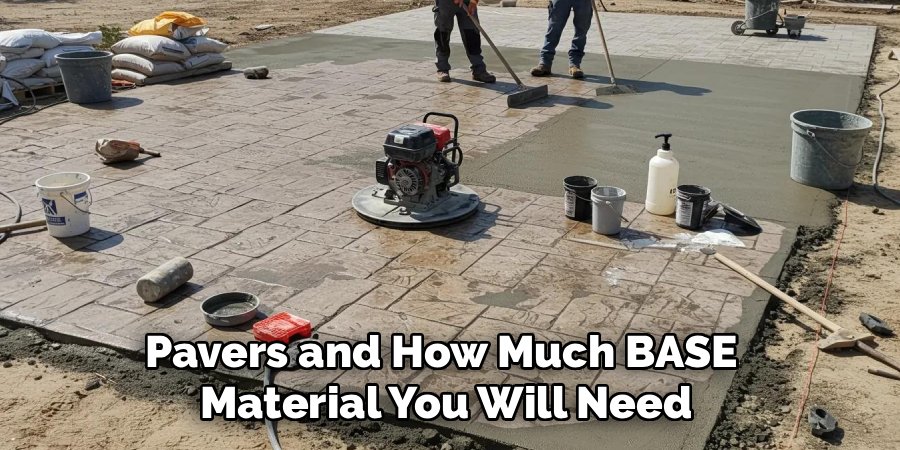
During this stage, it is crucial to find pavers that match or complement your existing ones. If you cannot find an exact match, consider creating a deliberate border with a contrasting paver style. This planning phase ensures you have all the necessary materials on hand and helps you avoid costly mistakes or running out of supplies mid-project.
Step 2: Excavate the Area for the New Base
With your new patio area marked out, the real physical work begins. You must excavate the soil to the correct depth to build a stable foundation. The depth will depend on your climate and soil type but generally ranges from 6 to 8 inches. This depth accounts for a 4- to 6-inch layer of paver base (crushed stone), a 1-inch layer of sand, and the thickness of the pavers themselves.
Use a flat spade to dig out the turf and soil within your marked perimeter. Ensure the bottom of the excavated area is as level as possible and has a slight slope away from your house—about a quarter-inch drop per foot—for proper drainage.
Step 3: Build the Foundation
A durable patio extension is only as strong as its foundation. Once the area is excavated, the next step is to add your paver base material, typically a crushed aggregate like gravel. Add the base in 2-inch layers, and after spreading each layer, use a hand tamper or a rented plate compactor to pack it down firmly.
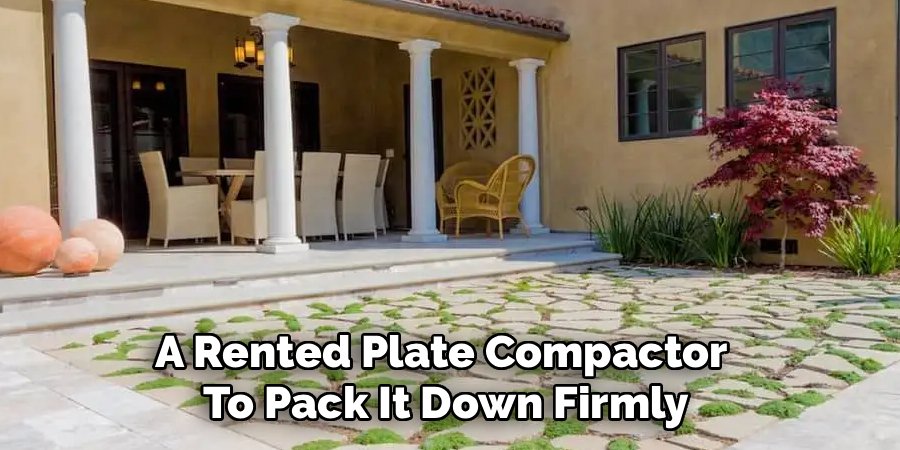
Compacting the base is a non-negotiable step; it prevents the pavers from sinking or shifting over time. Continue adding and compacting layers until your base reaches the desired height, which is usually the thickness of your paver plus one inch of sand. This solid, compacted base is the secret to a long-lasting patio.
Step 4: Add and Screed the Sand Layer
With the gravel base compacted and level, it is time to add the one-inch bedding layer of coarse construction sand. This sand layer is what you will actually set the pavers into. Spread the sand evenly over the entire base. To ensure a perfectly flat and consistent depth, you need to “screed” the sand.
Lay two parallel pipes or straight boards on the base, set to a one-inch height. Then, drag a straight 2×4 board across the tops of the pipes to level the sand, removing any excess. Once an area is screeded, carefully remove the pipes and fill in the voids with a little extra sand.
Step 5: Lay the New Patio Slabs
Now for the satisfying part: laying the pavers. Start from the edge of your existing patio and work your way outwards. This helps ensure a tight, seamless connection between the old and new sections. Place each paver gently onto the sand bed; do not slide or press them into place, as this can disturb the level sand.
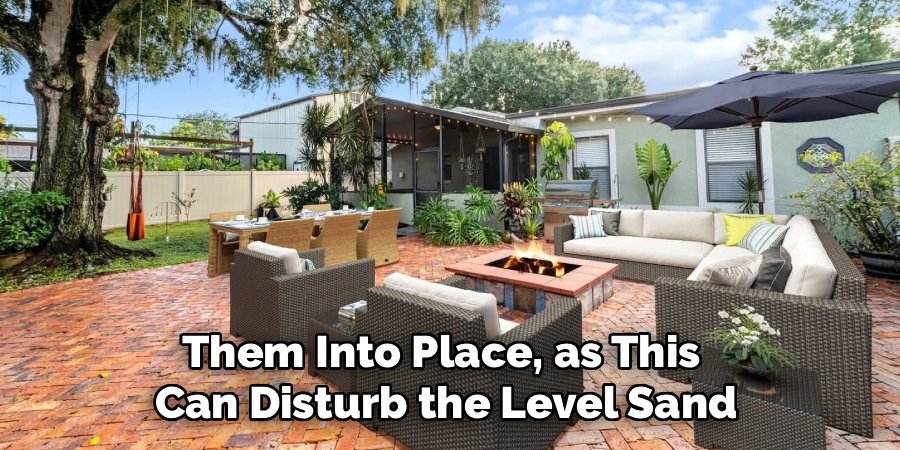
Use your existing patio as a guide to continue the pattern. Use a rubber mallet to gently tap each paver to set it and ensure it is level with its neighbors. A level placed across several pavers at once will help you check for high or low spots. This is a vital part of learning how to extend patio slabs correctly.
Step 6: Cut Pavers for the Edges
Unless your extension is a perfect rectangle made of full-sized pavers, you will need to cut some slabs to fit along the new perimeter. Measure the gaps carefully and mark the cutting lines on the pavers with a pencil. To cut the pavers, you can use a hammer and a masonry chisel for rougher cuts or rent a wet saw for clean, precise edges.
A wet saw is highly recommended for achieving a professional finish, especially if you have many cuts to make. Always wear safety goggles and a dust mask when cutting any type of masonry to protect yourself from flying chips and silica dust.
Step 7: Fill the Joints with Polymeric Sand
Once all the pavers are laid and cut, the final step is to lock them into place. Install a paver edge restraint system around the new perimeter to prevent the slabs from spreading outwards over time. Then, sweep polymeric sand across the entire surface of the new extension, working it into all the joints between the pavers.
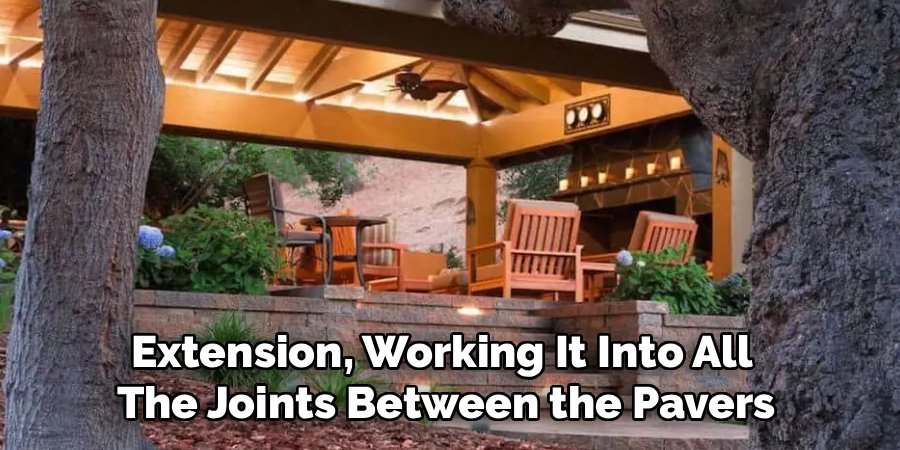
Polymeric sand contains a binder that hardens when activated with water. Use a leaf blower on a low setting to blow excess sand off the paver surfaces, then lightly mist the area with a hose. This locks the pavers together, prevents weeds from growing in the joints, and completes your project.
Frequently Asked Questions (FAQ)
Can I Lay Patio Slabs Directly on Soil?
No, you should never lay patio slabs directly on soil. Without a proper foundation of compacted paver base and sand, the soil underneath will shift with weather changes and foot traffic. This will cause your pavers to become uneven, sink, and create dangerous tripping hazards. A proper base is the most critical component for ensuring a stable and long-lasting patio.
How Do I Match New Pavers to My Old Ones?
Matching pavers can be tricky, as colors and styles change over time.
- Take a Sample: If possible, take a spare old paver with you to the supplier.
- Find a Complement: If an exact match is impossible, choose a paver in a complementary color and style to create an intentional border or a separate “zone.”
- Manufacturer: If you know the original manufacturer, they may have records of the style you used.
What Is the Difference Between Paver Sand and Polymeric Sand?
Paver sand (or bedding sand) is a coarse sand that is used to create the 1-inch layer that pavers are set into. Polymeric sand is a fine sand mixed with a polymer binder that is swept into the joints after the pavers are laid. When misted with water, the binder hardens, locking the pavers together and preventing weed growth. They serve two different, essential purposes.
Do I Need to Slope the Patio Extension?
Yes, a slight slope is crucial for proper water drainage. Your patio extension should slope away from your house’s foundation to prevent water from pooling against the wall and causing potential moisture damage. A standard rule of thumb is to create a drop of about one-quarter inch for every foot of patio. This gentle slope is usually unnoticeable visually but is very effective at directing rainwater away.
How Do I Make the New and Old Sections Look Seamless?
To create a seamless look, start laying your new pavers directly against the old ones, continuing the same laying pattern. After filling the joints of the new section with polymeric sand, it is a good idea to also sweep some into the seam between the old and new sections and mist it. This will help to visually and physically tie the two areas together. A good pressure washing of the entire patio once you are done can also help blend the old and new pavers.
Conclusion
Expanding your outdoor living area is one of the most rewarding home improvement projects you can undertake. It provides more space for family, friends, and relaxation, directly enhancing your quality of life. The process, while physically demanding, is straightforward and follows a logical progression from planning and digging to laying and locking.
By building a solid foundation and paying close attention to detail, you can create a durable and attractive extension that seamlessly integrates with your existing patio. Now that you have a comprehensive understanding of how to extend patio slabs, you can confidently take on this project and build the spacious outdoor oasis you have been dreaming of.

About
Jovie Mathews is a backyard and outdoor expert writer with over 12 years of hands-on experience transforming neglected outdoor spaces into thriving gardens and functional retreats. Raised in a family where weekends meant digging in the soil and building raised beds from scratch, Jovie developed a genuine love for the outdoors long before it became a career.
She writes with a practical, no-fluff approach — always testing ideas in her own backyard before sharing them with readers. From composting systems and native plant selection to patio design and pest control, Jovie covers the full spectrum of backyard life with equal parts expertise and enthusiasm.
Education
B.Sc. in Horticulture Science
University of Florida (UF) · Gainesville, FL · 2014
IFAS College of Agricultural and Life Sciences
Minor in Environmental Studies
University of Florida (UF) · Gainesville, FL · 2014
College of Liberal Arts and Sciences
Areas of expertise
- Lawn & Garden Care
- Soil prep, planting, seasonal care
- Outdoor DIY Projects
- Raised beds, fencing, pathways
- Composting & Soil Health
- Organic methods, amendments
- Native Plants & Wildlife
- Pollinators, habitat gardening
When she is not writing, Jovie can be found testing new composting techniques, growing tomatoes in questionable quantities, or convincing her neighbors that clover lawns are actually a great idea. She currently gardens in the Pacific Northwest.