There is nothing quite like gathering around a crackling fire on a cool evening, roasting marshmallows, and sharing stories with friends and family. The warmth and ambiance create unforgettable memories, but every great evening must eventually come to an end. While lighting the fire is often the exciting part, knowing how to properly extinguish it is arguably the most critical responsibility of any host.
Leaving a fire smoldering or assuming it will die out on its own can lead to dangerous reignition, property damage, or even wildfires. Many people mistakenly believe that a few splashes of water are enough, but ensuring total safety requires a bit more diligence.
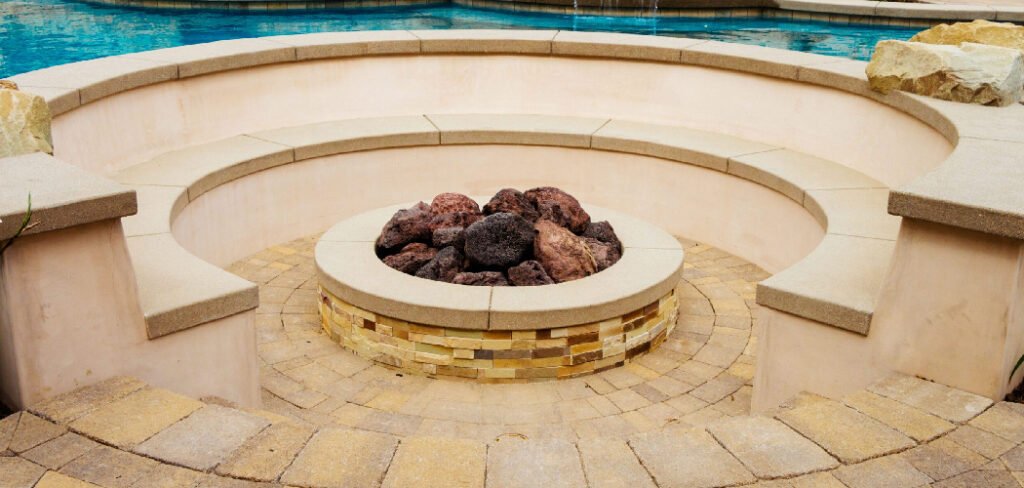
Learning the correct method for how to put out a bonfire pit ensures that you can sleep soundly, knowing your embers are completely cold and your property is safe. This guide provides a comprehensive, easy-to-follow approach to extinguishing your fire effectively, so you can enjoy your outdoor space responsibly every time.
Why Properly Extinguishing a Bonfire is Important
Properly extinguishing a bonfire is crucial for several reasons. First and foremost, it significantly reduces the risk of accidental fires. Smoldering embers left unattended can reignite, especially in windy conditions, potentially leading to wildfires or property damage. Additionally, extinguishing the fire thoroughly helps ensure the safety of people and animals in the surrounding area, as hot coals or residual flames could cause burns or injuries.
Taking the time to correctly put out your bonfire also demonstrates respect for the environment, preventing harm to nearby plants and minimizing pollution from lingering smoke. By understanding the importance of properly extinguishing a bonfire, you can ensure your outdoor activities remain safe, responsible, and enjoyable.
Step-by-Step Guide on How to Put Out a Bonfire Pit
Step 1: Let the Wood Burn Down Naturally
The safest way to begin the extinguishing process is actually patience. Ideally, you should stop adding new logs or fuel to the fire about an hour before you plan to head inside. By allowing the wood to burn down to ash and smaller embers naturally, you significantly reduce the intensity of the heat you need to manage later.
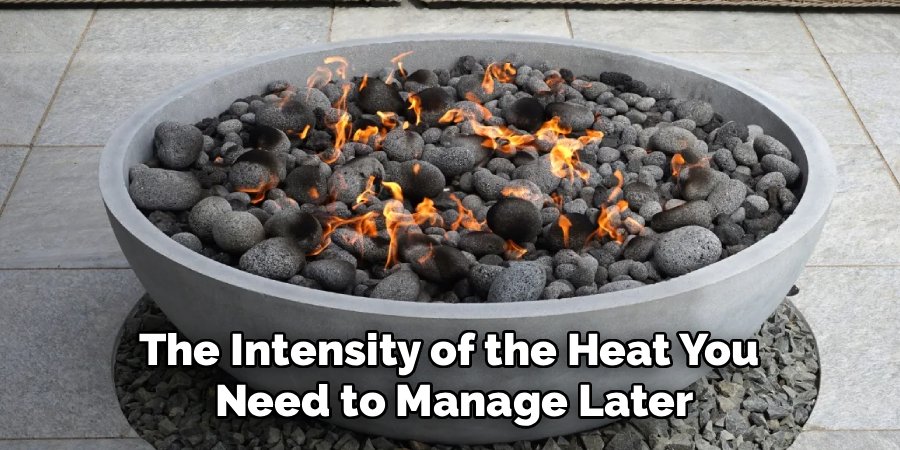
Trying to extinguish large, roaring logs is difficult and can create excessive steam and smoke. This waiting period allows the bulk of the combustible material to be consumed, leaving you with a manageable bed of coals. If you are in a rush, you can carefully separate the remaining logs with a poker to break the heat connection, speeding up the burnout process, but patience remains your best tool for a safe conclusion to the evening.
Step 2: Douse the Fire with Water Slowly
Once the flames have died down and you are left with glowing embers, it is time to introduce water. However, you must do this carefully. Using a garden hose or a bucket, sprinkle water gently over the coals rather than dumping a massive deluge all at once. Pouring water too quickly onto hot stones or metal can cause thermal shock, potentially cracking your masonry or warping a metal fire bowl.
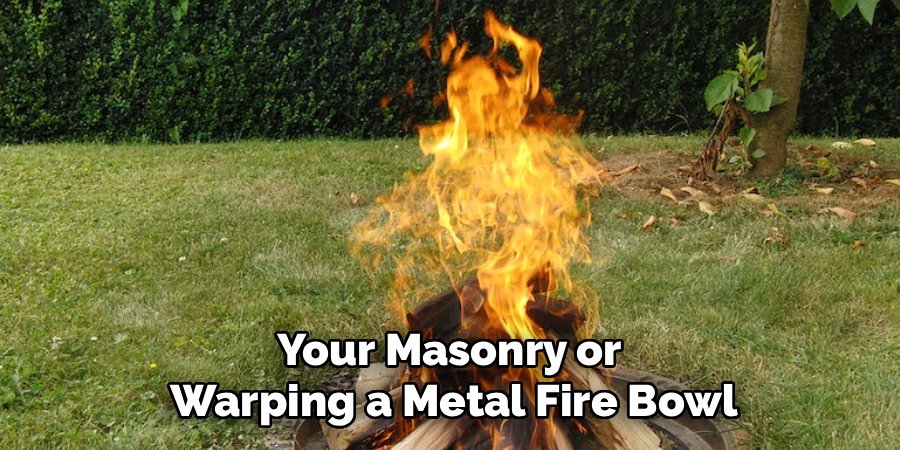
The goal is to hiss out the heat, not flood the pit instantly. Stand upwind to avoid the rising steam and ash cloud that will inevitably form. Continue to sprinkle water methodically over the entire surface area of the fire pit until the hissing sound begins to subside, indicating that the surface heat is dissipating.
Step 3: Stir the Ashes and Embers thoroughly
Simply pouring water on the top layer is rarely enough, as heat can remain trapped deep beneath the surface ash. To address this, grab a shovel or a sturdy metal poker and mix the wet ash with the remaining dry embers underneath. This action is similar to mixing batter; you want to ensure that every single coal gets exposed to the moisture.
Stirring helps to cool down the hidden pockets of heat that could easily reignite if a breeze were to kick up later in the night. As you stir, you might notice the hissing sound return, which is a good sign that you are reaching the hot spots. This mechanical agitation is a crucial part of learning how to put out a bonfire pit effectively.
Step 4: Apply More Water to the Mix
After you have thoroughly stirred the pit and exposed the buried embers, you need to apply a second round of water. The stirring process likely revealed dry, hot coals that were insulated by the ash layer. Gently pour or spray more water over these newly exposed areas. You want to reach a consistency that resembles a thick, wet soup or sludge.
It might seem messy, but this saturation is necessary to ensure that the water penetrates the core of every piece of unburned wood and charcoal. Continue to add water until the steam generation stops completely. If you still see steam rising or hear hissing, the fire is not out, and you must continue dousing the area to prevent any chance of a flare-up.
Step 5: Check for Hidden Heat Sources
Visual inspection is not enough when dealing with fire safety; you need to verify the temperature. After the steam has cleared, carefully place the back of your hand near the ashes—do not touch them yet—to feel for radiating heat. If you sense warmth, the fire is still active. For a more direct check, once you are confident the intense heat is gone, you can carefully touch the wet debris with a shovel or a stick to turn it over again.
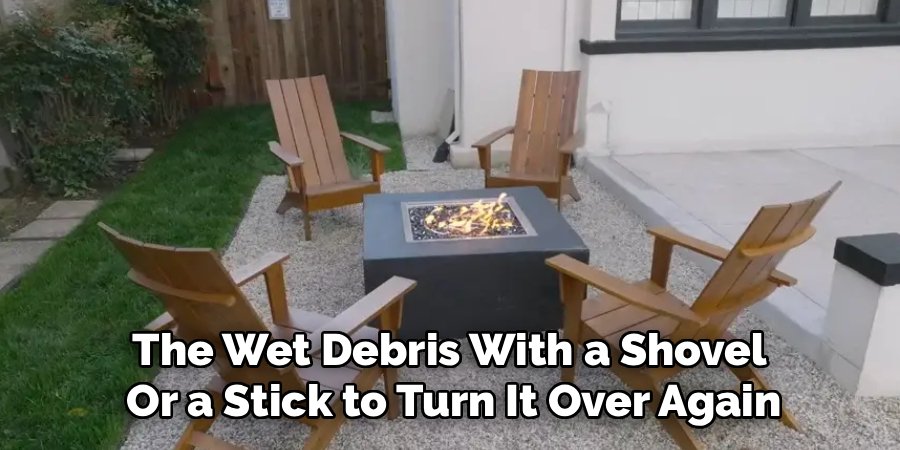
Look for any faint orange glows or grey spots that dry out quickly, indicating internal heat. You must be absolutely certain that no heat remains. Even a single hot ember can be carried by the wind and start a fire elsewhere, so this verification step is non-negotiable.
Step 6: Dispose of the Ashes Properly
Once you have confirmed that the fire is completely extinguished and the pit is cold, you need to decide what to do with the wet ash. Do not leave the wet mess in a metal fire pit for too long, as the combination of ash and water creates a corrosive lye-like substance that can rust out the bottom of your bowl.
Use a shovel to scoop the cold, wet sludge into a designated metal ash can. Do not put these ashes into a plastic trash bag, cardboard box, or compost bin immediately. Even if they feel cold, chemical reactions can sometimes generate heat. Store the metal can away from combustible structures like your deck or wooden fence for a few days before final disposal.
Step 7: Clean the Area for Next Time
The final step in the process of how to put out a bonfire pit is preparing the area for your next gathering. Once the pit is empty and dry, wipe down the rim and any surrounding stones to remove soot and debris. If you have a metal fire pit, check the drain holes to ensure they are not clogged with ash paste, which could cause water to pool and rust the unit.
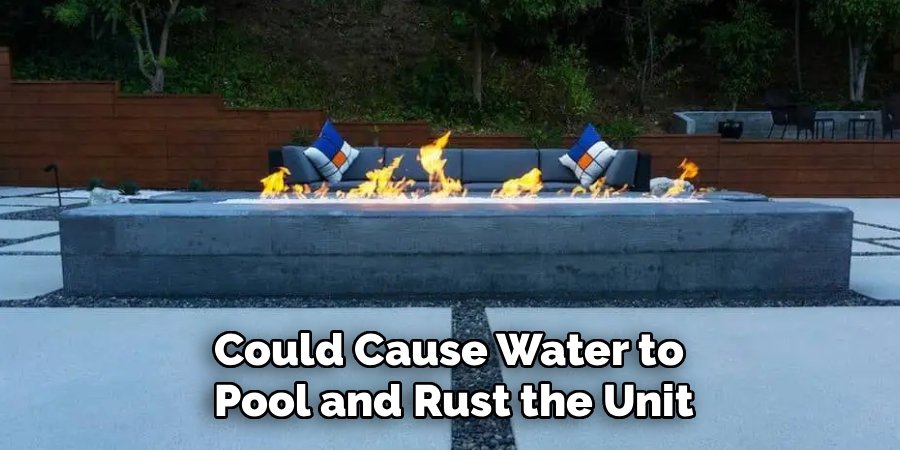
Cover your fire pit with a weather-resistant lid or tarp once it is completely dry. This protects it from rain and keeps leaves and animals out. Leaving your fire pit clean and covered not only extends its lifespan but also ensures it is safe and ready to use the next time you want to enjoy a cozy fire.
Frequently Asked Questions (FAQ)
Can I Use Sand or Dirt Instead of Water?
Yes, you can use sand or dirt, but it works differently than water.
- Suffocation: Sand deprives the fire of oxygen, suffocating the flames. This is a good method for metal pits where water might cause rust.
- Heat Retention: The downside is that sand insulates the heat. The coals underneath can stay hot for many hours or even days.
- Cleanup: It also makes a significant mess that you will have to scoop out later. Water is generally preferred for total extinguishment unless you are in a survival situation or protecting specific metal types.
Why Should I Avoid Burying a Campfire?
Burying a fire sounds like a good idea, but it is actually dangerous.
- Root Fires: If you bury hot coals in the ground, the heat can travel through root systems and start a wildfire days later and feet away from the pit.
- Trap Hazards: It creates a hidden hazard for humans and animals who might step on the seemingly cool dirt, only to burn their feet on the hot coals underneath.
- Best Practice: Always drown, stir, and feel. Never just bury.
How Long Do Ashes Stay Hot?
Ashes can remain surprisingly hot for a very long time.
- Duration: In the right conditions, insulated by a layer of ash, embers can stay hot enough to start a fire for up to four days.
- Precaution: This is why you should never put fresh ashes directly into a plastic garbage bin. Always use a metal container with a tight-fitting lid and store it on a non-combustible surface like concrete.
What Should I Do If I Don’t Have a Hose Nearby?
If a garden hose isn’t accessible, preparation is key.
- Buckets: Always have at least two 5-gallon buckets of water filled and ready before you light the fire.
- Shovel: Keep a shovel nearby to mix the water and ash to maximize the efficiency of the water you have.
- Alternative: In a pinch, large jugs of water or even a cooler full of melted ice can be used. Never start a fire without a planned extinguishing method on hand.
Is It Safe to Let the Fire Burn Out Overnight?
No, it is never recommended to leave a fire unattended, even if it looks like it is dying down.
- Wind Shifts: A sudden gust of wind can pick up hot embers and carry them to nearby dry grass, leaves, or your home’s roof.
- Animals: Wildlife or pets could wander too close to the hot pit.
- Rule of Thumb: If it is too hot to touch, it is too hot to leave. You should always actively extinguish the fire before going to sleep.
Conclusion
Extinguishing a fire pit properly is the hallmark of a responsible homeowner and outdoor enthusiast. It brings a definitive and safe end to your evening, ensuring that the warmth you enjoyed doesn’t turn into a hazard while you sleep. By following the “douse, stir, and douse again” method, you eliminate the risks of reignition and protect your property and the environment. Remember, fire is a powerful element that requires respect from the moment you strike the match until the last ember is cold.
Taking those extra few minutes to perform these steps correctly is a small price to pay for safety and peace of mind. Now that you understand exactly how to put out a bonfire pit, you can confidently host your next gathering, knowing you have the knowledge to handle the cleanup safely and effectively.

About
Jovie Mathews is a backyard and outdoor expert writer with over 12 years of hands-on experience transforming neglected outdoor spaces into thriving gardens and functional retreats. Raised in a family where weekends meant digging in the soil and building raised beds from scratch, Jovie developed a genuine love for the outdoors long before it became a career.
She writes with a practical, no-fluff approach — always testing ideas in her own backyard before sharing them with readers. From composting systems and native plant selection to patio design and pest control, Jovie covers the full spectrum of backyard life with equal parts expertise and enthusiasm.
Education
B.Sc. in Horticulture Science
University of Florida (UF) · Gainesville, FL · 2014
IFAS College of Agricultural and Life Sciences
Minor in Environmental Studies
University of Florida (UF) · Gainesville, FL · 2014
College of Liberal Arts and Sciences
Areas of expertise
- Lawn & Garden Care
- Soil prep, planting, seasonal care
- Outdoor DIY Projects
- Raised beds, fencing, pathways
- Composting & Soil Health
- Organic methods, amendments
- Native Plants & Wildlife
- Pollinators, habitat gardening
When she is not writing, Jovie can be found testing new composting techniques, growing tomatoes in questionable quantities, or convincing her neighbors that clover lawns are actually a great idea. She currently gardens in the Pacific Northwest.