Replacing a patio door is a fantastic way to upgrade your home’s energy efficiency, security, and aesthetic appeal. Whether you are swapping out an old, drafty slider for a modern French door or simply updating a worn-out frame, the success of your project hinges entirely on one critical factor: accurate measurements. Many homeowners feel intimidated by the prospect of measuring for such a large installation, fearing that a small mistake could lead to a costly custom order that doesn’t fit.
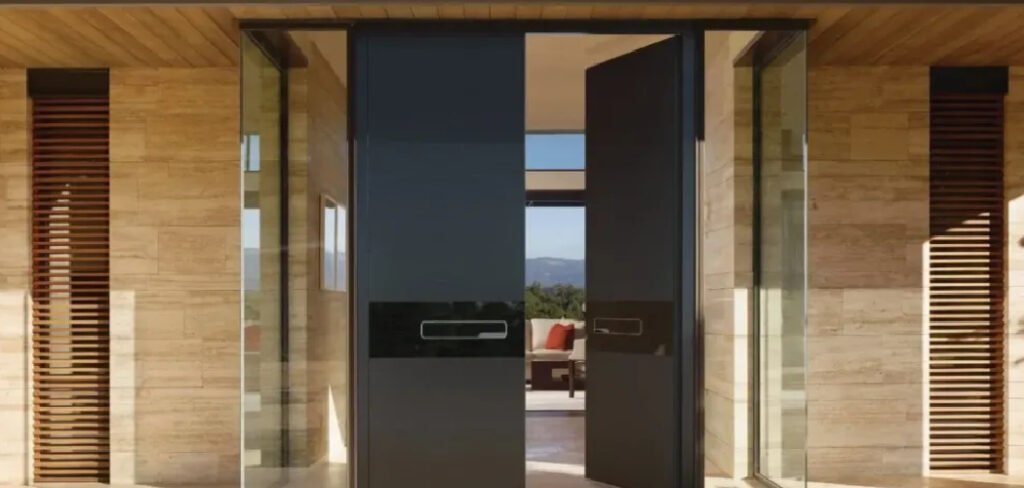
However, you do not need to be a professional contractor to get precise numbers. With a sturdy tape measure, a notepad, and a little patience, you can gather the exact dimensions needed to order your new unit with confidence. This guide is designed to demystify the process, walking you through how to measure patio door size step-by-step so you can ensure a flawless installation and enjoy your beautiful new entryway without any sizing headaches.
Step-by-Step Guide on How to Measure Patio Door Size
Step 1: Measure the Width of the Door Frame
The first dimension you need to capture is the width of the existing unit. To get an accurate reading, take your tape measure and extend it horizontally across the door frame from the inside of the left side jamb to the inside of the right side jamb. It is crucial to measure at three different points: the top, the middle, and the bottom of the door opening.
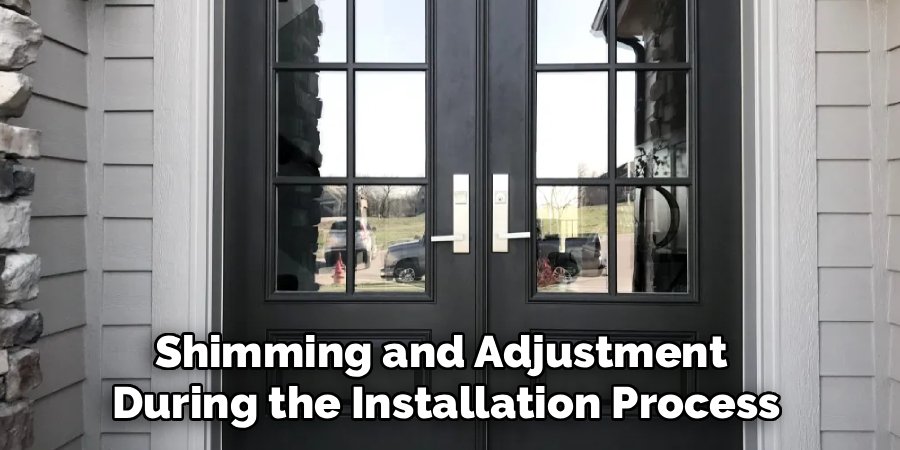
Structural settling can cause frames to bow or warp over time, leading to slight variations in width. Record the smallest of these three measurements as your final width. This ensures that the new door unit you order will slide easily into the opening without being too tight, which allows for proper shimming and adjustment during the installation process.
Step 2: Measure the Height of the Door Frame
Once you have the width, you must determine the vertical height of the opening. Place the end of your tape measure on the floor or the threshold at the bottom of the door and extend it up to the underside of the top header jamb. Just like with the width, you need to measure at three distinct locations to account for any irregularities: the left side, the center, and the right side of the frame.
Record the smallest measurement of the three as your final height. Using the smallest dimension is a standard industry practice because it is much easier to fill a small gap with shims and insulation than it is to force a door that is too tall into a space that cannot accommodate it.
Step 3: Check the Diagonal
Measuring the width and height gives you the basic dimensions, but it does not tell you if the opening is truly square. To verify this, measure diagonally from the top left corner of the frame down to the bottom right corner. Then, measure from the top right corner down to the bottom left corner.
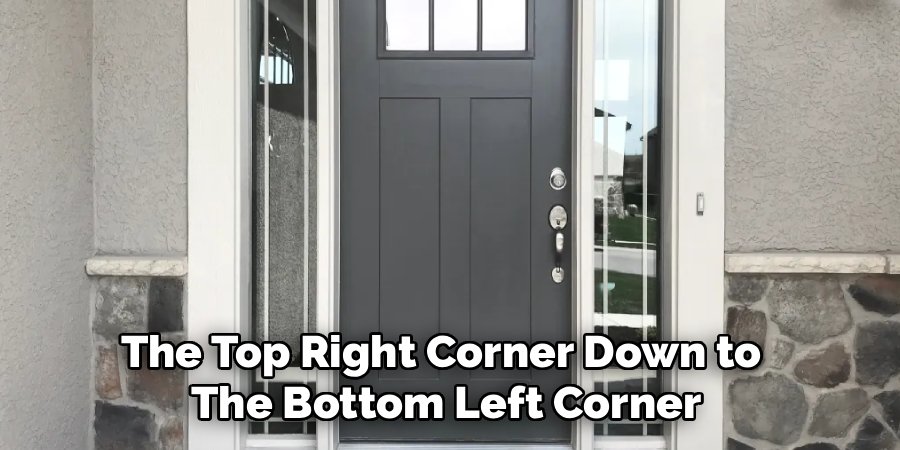
Compare these two numbers carefully. If the measurements are within a quarter of an inch of each other, your frame is square, and a standard replacement door should fit without major modifications. If the difference is significant, it indicates that the opening is out of square, which might require additional adjustments or a custom-sized door to ensure proper operation and sealing against the elements.
Step 4: Measure the Door Thickness and Jamb Depth
The depth of the door jamb is a detail that is often overlooked but is vital for a clean installation. Open the door and measure the thickness of the existing wall from the interior drywall edge to the exterior siding or stucco edge. This measurement determines the width of the door frame needed to cover the wall cavity completely.
Standard walls typically require a jamb depth of about four to six inches, depending on construction materials like 2×4 or 2×6 framing. Accurately recording this depth ensures that your new patio door will sit flush with your walls, preventing the need for extensive drywall repair or custom interior trim work after the door is installed.
Step 5: Determine the Handing and Operation
Before ordering, you must identify the “handing” or operating direction of your patio door. Stand outside your home looking at the door. Note which panel is the operating panel that slides or swings open and which side the handle is on. For sliding doors, determine if it slides from left to right or right to left.
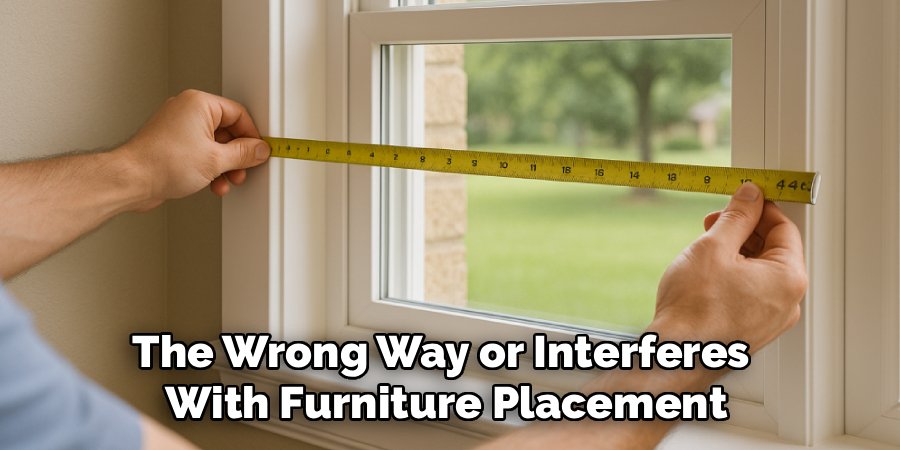
For swinging doors, note if they swing inward into the room or outward onto the patio. This is not strictly a measurement of inches, but it is a critical specification for ordering. Writing down “left-hand operational” or “right-hand operational” alongside your numerical data prevents the frustration of receiving a door that opens the wrong way or interferes with furniture placement.
Step 6: Measure the Rough Opening if Possible
If you are planning a full-frame replacement rather than just swapping out the door panels, you need the dimensions of the “rough opening.” This is the structural opening in the wall studs without any frame or trim. To get this, you may need to carefully remove the interior casing or trim around the door to expose the studs. Measure the width between the jack studs (the vertical wood supports) and the height from the subfloor to the header beam.
The rough opening should generally be about a half-inch to three-quarters of an inch wider and taller than the actual door unit size. Knowing these structural limits is the most precise method for how to measure patio door size for major renovations.
Step 7: Photograph the Existing Door and Trim
While not a measurement with a ruler, taking clear photographs is an invaluable part of the data collection process. Snap pictures of the entire door unit from both the interior and exterior. Take close-up shots of the threshold, the top track, and how the frame meets the siding or brick. These visual references are incredibly helpful when you visit a showroom or consult with a window and door specialist.
They can spot potential installation challenges, such as unique siding profiles or non-standard trim, that raw numbers might not convey. Having these images alongside your measurements provides a complete picture of the project, ensuring that the experts can guide you toward the perfect product for your specific home.
Frequently Asked Questions (FAQ)
What Is the Standard Size for a Patio Door?
While custom sizes are available, most manufacturers produce patio doors in standard dimensions to fit common rough openings.
- Height: The standard height is typically 80 inches (6 feet 8 inches), though 82 inches and 96 inches (8 feet) are also common in modern homes with high ceilings.
- Width: Common widths for a standard two-panel sliding door are 5 feet (60 inches), 6 feet (72 inches), and 8 feet (96 inches).
- Availability: Sticking to these standard sizes usually results in lower costs and faster delivery times compared to custom orders.
Do I Measure the Door Slab or the Frame?
This depends on what you are replacing.
- Slab Only: If you are only replacing the moving part (the door slab) and keeping the old frame, measure the actual height and width of the existing glass panel or wood slab.
- Full Replacement: If you are replacing the entire unit (which is recommended for better energy efficiency), you must measure the entire frame from jamb to jamb, or ideally, the rough opening as described in the guide.
Should I Include the Trim in My Measurements?
No, do not include the trim (casing) in your width or height measurements.
- The Rule: You want to measure the actual door unit or the space between the studs, not the decorative wood around it.
- The Risk: Including trim will result in measurements that are significantly larger than the actual opening, leading you to order a door that is too big to fit in the wall. Always measure from the inside edge of the jambs or remove the trim to measure the rough opening.
What Is the Difference Between a Retrofit and a New Construction Door?
- New Construction: These doors have a nailing fin (a flange) around the perimeter and are designed to be installed when the wall studs are exposed, typically before siding is put on.
- Retrofit (Replacement): These doors generally have a flush frame (no nailing fin) and are designed to slide into the existing opening without disturbing the exterior siding or interior drywall significantly. Knowing which type you need is crucial for accurate sizing.
What if My Door Measurements Don’t Match Standard Sizes?
If your measurements are off by more than a half-inch from standard sizes, you likely have a custom opening.
- Custom Order: You will need to order a custom-sized door, which is more expensive and takes longer to manufacture.
- Modification: Alternatively, a contractor can sometimes frame in the opening to make it smaller to fit a standard door, or cut the wall to make it larger, though this involves significant construction work including drywall and siding repairs.
Conclusion
Measuring your patio door accurately is the foundation of a successful home improvement project. It bridges the gap between a frustrating installation struggle and a seamless upgrade that enhances your home’s comfort and value. By methodically checking the width, height, and squareness, and verifying the depth and handing, you eliminate the guesswork that leads to costly errors.
Remember that the smallest measurement is usually the most important one, as it ensures your new unit fits comfortably within the existing space. Armed with these precise numbers and a clear understanding of how to measure patio door size, you are now ready to confidently browse catalogs, speak with suppliers, and order the perfect door that will open up your home to the outdoors for years to come.

About
Jovie Mathews is a backyard and outdoor expert writer with over 12 years of hands-on experience transforming neglected outdoor spaces into thriving gardens and functional retreats. Raised in a family where weekends meant digging in the soil and building raised beds from scratch, Jovie developed a genuine love for the outdoors long before it became a career.
She writes with a practical, no-fluff approach — always testing ideas in her own backyard before sharing them with readers. From composting systems and native plant selection to patio design and pest control, Jovie covers the full spectrum of backyard life with equal parts expertise and enthusiasm.
Education
B.Sc. in Horticulture Science
University of Florida (UF) · Gainesville, FL · 2014
IFAS College of Agricultural and Life Sciences
Minor in Environmental Studies
University of Florida (UF) · Gainesville, FL · 2014
College of Liberal Arts and Sciences
Areas of expertise
- Lawn & Garden Care
- Soil prep, planting, seasonal care
- Outdoor DIY Projects
- Raised beds, fencing, pathways
- Composting & Soil Health
- Organic methods, amendments
- Native Plants & Wildlife
- Pollinators, habitat gardening
When she is not writing, Jovie can be found testing new composting techniques, growing tomatoes in questionable quantities, or convincing her neighbors that clover lawns are actually a great idea. She currently gardens in the Pacific Northwest.