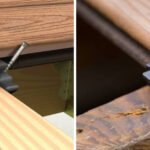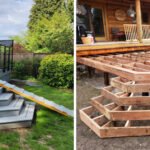

The cut ends of composite deck boards are the one detail beginners almost always overlook. Those raw edges expose the hollow or grainy core of the board, and they can make an otherwise clean deck look unfinished. The good news is that finishing them is simple once you know your options.
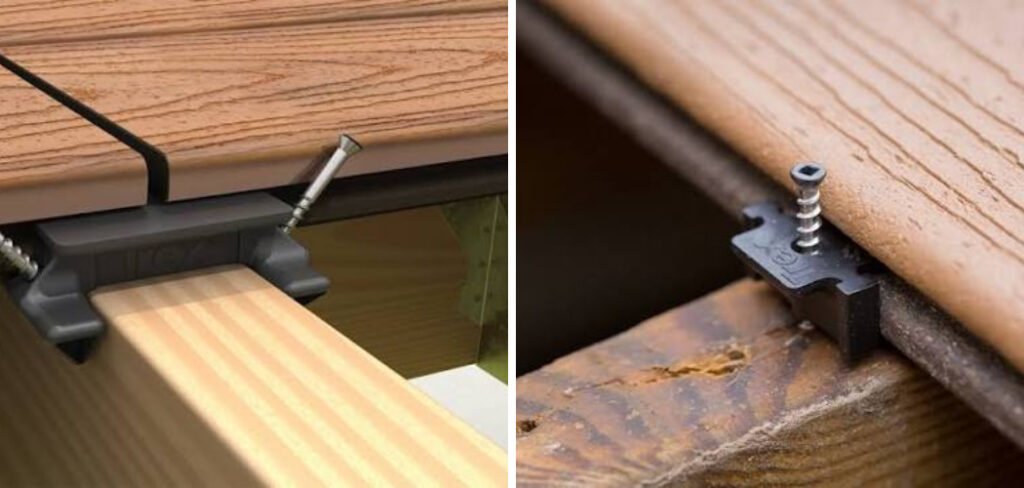
So how do you hide the ends of Trex decking without hiring a pro? You use a mix of fascia boards, picture framing, and tidy trim techniques that wrap the perimeter and conceal every cut. This guide walks you through the tools, the exact steps, and the small mistakes that trip up first-timers, so your deck looks polished from every angle.
Why Hiding the Ends of Your Trex Decking Matters
Hiding your deck ends does more than look good. Exposed composite edges show the board’s inner core, which has a different texture and color than the capped top surface. Left visible, those ends draw the eye and signal an amateur build.
There are practical reasons too. Clean edges keep debris and moisture from collecting against open board ends. They also protect the rim joist — the outer framing board that runs along the deck’s perimeter — from sun and weather.
For backyard beginners, finishing the ends is the step that turns a functional platform into a finished space. It’s low-cost, beginner-friendly, and one of the fastest ways to lift the quality of your entire project.
Tools and Materials You’ll Need
Gather everything before you start so you’re not pausing mid-project. Most of these items are easy to find at any hardware store.
- Trex fascia boards: wide, flat composite trim made to cover the deck perimeter and rim joist.
- Circular saw or miter saw: for clean, square cuts and angled mitered corners.
- Composite or stainless deck screws: rust-resistant fasteners that won’t stain the boards.
- Hidden fastener clips: if your boards use a grooved-edge system.
- Tape measure and pencil: for accurate marking.
- Speed square: to keep cuts and corners true.
- Cordless drill and driver bits: for fast, controlled fastening.
- Color-matched end caps: small covers that snap or glue onto exposed board ends.
- Sandpaper or a file: to smooth rough cut edges.
- Knee pads (optional): a small comfort that makes a big difference on a long day.
8 Step-by-Step Guide on How Do You Hide the Ends of Trex Decking
Step 1 – Inspect and measure your deck perimeter
Start by walking the edge of your deck and noting every spot where a board end is exposed. Run your hand along the boards — you’ll feel the rougher, uncapped core where the saw cut through. These are the edges you’ll cover.
Measure the full length of each side with your tape measure, and write the numbers down. Accuracy here saves you from short fascia pieces later. Check whether your boards overhang the rim joist or sit flush, since that affects how your trim will sit.
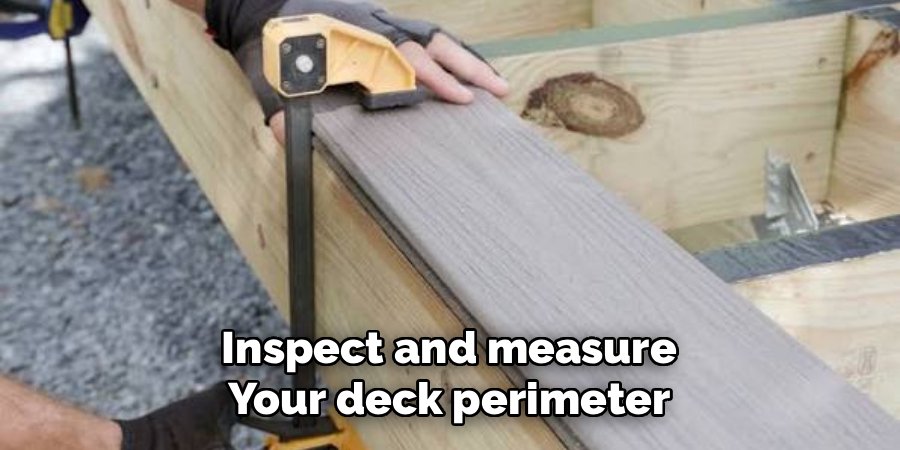
Knowing exactly how do you hide the ends of Trex decking starts with this honest look at your deck. A few minutes of measuring now prevents wasted material and frustrating do-overs.
Step 2 – Trim board ends to a clean, straight line
Uneven board ends are hard to cover neatly, so square them up first. Snap a chalk line across the overhanging ends to mark a straight cutting path. This gives you one crisp edge instead of a ragged row.
Set your circular saw to the right depth and cut along the line in a smooth, steady pass. You’ll hear the blade bite through the composite and smell a faint plastic-and-wood scent — that’s normal. Support the offcut so it doesn’t splinter as it falls.
Once cut, the ends should form a clean line ready for fascia. Sweep away the dust and run your fingers along the edge to confirm it’s even before moving on.
Step 3 – Sand and smooth the cut edges
Fresh cuts often leave a slightly rough lip on composite boards. Smooth them with sandpaper or a file before you cover anything. This step matters even when the edges will be hidden, because a clean edge sits tighter against the fascia.
Work the sandpaper in light, even strokes until the surface feels smooth under your fingertips. Wipe the dust away with a dry cloth so nothing gets trapped behind your trim.
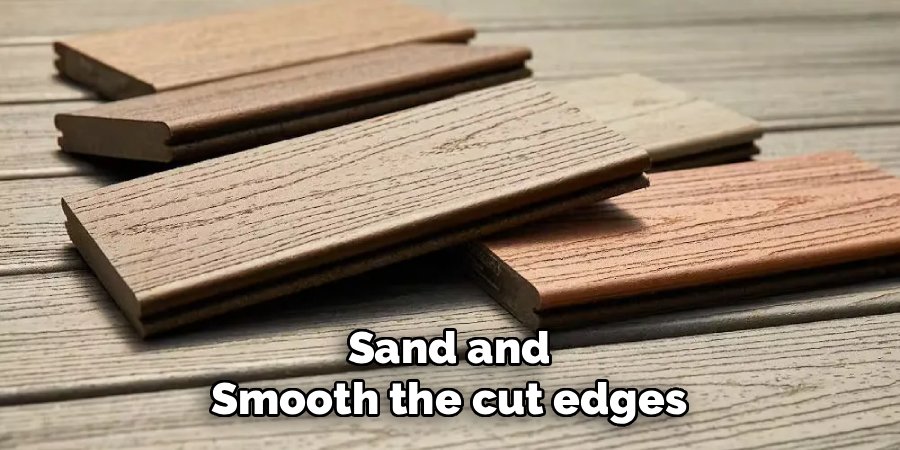
Take a moment to check the color of the exposed core. On many boards it’s noticeably lighter than the capped surface, which is exactly why these ends need covering. Smooth, clean edges now mean a flush, professional fit in the next steps.
Step 4 – Choose your finishing method
You have two main ways to hide exposed ends, and your deck layout decides which fits best.
Fascia boards wrap the outer rim joist and hide the board ends behind a wide, flat panel. They’re the simplest choice and work on almost any deck.
Picture framing runs a border board around the deck’s perimeter, so the field boards butt into the frame and their ends disappear underneath it. This gives a higher-end look but takes more planning and mitered corners.
For small fixes, color-matched end caps cover individual board ends with a snap-on or glued cover. Many beginners combine methods — fascia along the sides and a picture frame on the most visible edge.
Step 5 – Cut your fascia boards to length
Measure each side again before cutting, because real decks rarely match the original plans exactly. Transfer your measurements onto the fascia board with a pencil and use your speed square to mark a true line.
Cut the fascia with your saw in one clean pass. For corners, set your miter saw to 45 degrees so two pieces meet in a tidy mitered corner rather than an overlapping butt joint. Dry-fit each piece against the deck before fastening — hold it in place and check the fit by eye.
This is the heart of how do you hide the ends of Trex decking: a well-cut fascia board covers every raw edge in one smooth, continuous line. Adjust now while the boards are still easy to recut.
Step 6 – Attach the fascia to the rim joist
With your fascia cut and dry-fit, you’re ready to fasten. Hold the board firmly against the rim joist, keeping the top edge just below the deck surface so it doesn’t catch toes or chairs.
Drive composite or stainless deck screws through the fascia and into the framing, spacing them evenly along the board. Stainless or coated screws resist rust and won’t bleed dark stains down your new trim. Predrill if the composite feels dense.
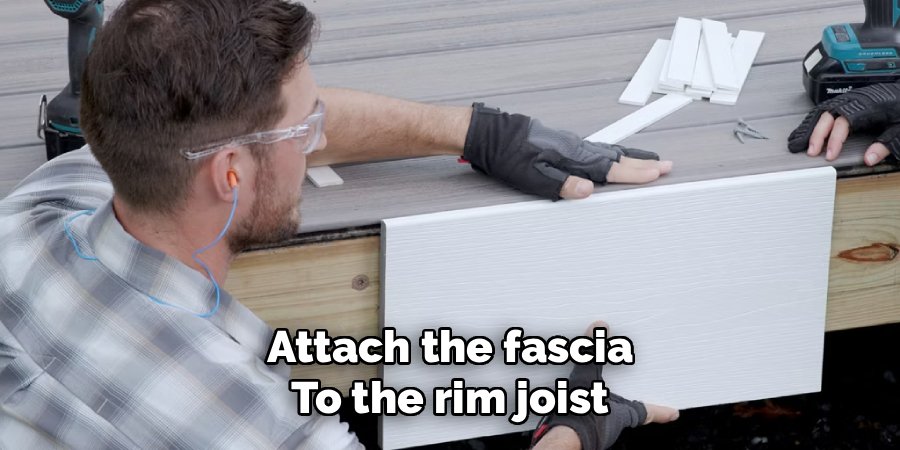
Listen for the screw to seat snugly without sinking too deep — overdriving dimples the surface. Work from one corner to the next, checking that each piece stays level and tight against the deck as you go.
Step 7 – Finish corners and exposed ends with caps
Corners and any leftover exposed spots need their own attention. Fit your mitered corners together so the angled cuts meet cleanly, then fasten each side. A small gap here is the first thing a sharp eye notices, so take your time.
For board ends that no fascia reaches — like along stairs or odd angles — press color-matched end caps over them. Most snap on or attach with a dab of construction adhesive. Hold each cap until it grips.
Step back and look down the length of the deck. Every cut edge should now be hidden behind fascia, framing, or a cap, giving you a smooth, continuous border that looks built by a pro.
Step 8 – Clean up and inspect your work
Finishing touches separate a good job from a great one. Sweep away sawdust and screws, then wipe the fascia and deck surface with a damp cloth to reveal the true color match.
Walk the full perimeter and run your hand along every edge. You shouldn’t feel any rough core or sharp lip — only smooth, capped surfaces. Look for gaps at corners, loose caps, or screws that sit proud, and fix them now while your tools are still out.
Check the deck in different light too. Morning and evening sun can reveal small color or alignment differences you’d miss midday. When every end is hidden and every corner is tight, your deck is finished and ready to enjoy.
Common Mistakes When Hiding Trex Decking Ends
A few predictable errors trip up most first-time deck builders. The most common is using the wrong fasteners. Regular steel screws rust against composite and leave ugly streaks within months. Always reach for stainless or coated composite screws designed for the job.
Another frequent mistake is cutting fascia boards before squaring the field board ends. If your board ends wander in a ragged line, no fascia will sit flush against them. Square the ends first, then cut your trim to match.

Many beginners also rush their mitered corners. A 45-degree cut that’s even slightly off leaves a visible gap where two pieces meet. Dry-fit every corner before fastening, and shave a hair off the angle if it doesn’t close cleanly.
Overdriving screws is another quiet problem. Sink them too deep and you dimple the composite surface, creating little pockets that collect water and dirt. Drive each screw until it’s snug, then stop.
Finally, some skip color matching. Mismatched fascia or end caps stand out more than bare ends ever did. Buy trim from the same line and color as your decking for a seamless finish.
Expert Tips
A little forethought makes the whole project smoother. Buy extra trim: order about 10% more fascia than you measured, so a miscut or damaged piece doesn’t stall your day.
Work in mild weather: composite expands in heat and contracts in cold, so installing on a moderate day gives you the most stable fit. Leave a small gap at board ends to allow for that movement.
Dry-fit everything first: holding each piece in place before fastening catches problems while they’re still easy to fix. Match your hidden fasteners to your board’s groove system if you used one, so the look stays consistent. And keep a damp rag nearby — wiping dust as you go lets you judge the true color match in real time.
Frequently Asked Questions
Do you have to cover the ends of Trex decking?
You don’t have to, but you should. Exposed ends reveal the board’s uncapped core, which looks rougher and lighter than the finished surface. Covering them with fascia, picture framing, or end caps gives a clean, professional look and helps keep debris from collecting against the open edges. It’s a small step that noticeably improves the finished deck.
What is the best way to hide composite deck board ends?
Fascia boards are the simplest and most popular choice for most decks. They wrap the rim joist and cover every cut end behind one flat panel. For a higher-end look, picture framing borders the deck so field boards tuck under the frame. Color-matched end caps work well for small or hard-to-reach spots like stairs and angles.
Can I use regular wood trim on a Trex deck?
You can, but it’s not the best match. Wood trim weathers, fades, and rots at a different rate than composite, so it may look mismatched and need repainting over time. Trex fascia and trim are made from the same composite material, so they resist moisture and hold their color alongside your deck boards for a longer-lasting, seamless result.
How do I match the color of my fascia to my deck?
Buy your fascia and end caps from the same product line and color as your decking. Manufacturers design matching trim for exactly this purpose. If you’re shopping in person, compare samples in natural light, since indoor lighting can shift how colors appear. Wiping away dust during installation also helps you judge the true match before you commit.
Do I need special screws for composite fascia?
Yes. Use stainless steel or coated composite deck screws rather than standard steel ones. Regular screws rust when exposed to weather and leave dark streaks down your fascia within a few months. The right fasteners resist corrosion, hold securely in composite, and keep your finished edges looking clean for the life of the deck.
Conclusion
Finishing the ends of your deck is one of the most satisfying steps in the whole build. You measure carefully, square your board ends, smooth the cuts, and then wrap everything in fascia, picture framing, or end caps until no raw edge remains. The result is a tidy, continuous border that makes your deck look like a professional built it.
Remember the details that matter most: use rust-resistant fasteners, dry-fit your mitered corners, and match your trim color to your decking. Those small choices carry the finish.
If you’ve ever wondered how do you hide the ends of Trex decking, you now have a clear, beginner-friendly path from raw edge to polished perimeter. Take your time, work in mild weather, and check your progress in different light. With a little patience and the right materials, you’ll turn those exposed cuts into clean, capped edges — and enjoy a backyard deck you’re proud to show off for years to come.