

A patio heater is a fantastic addition to any outdoor space, extending the usability of your deck or garden into the cooler months. However, their tall, bulky, and somewhat delicate nature can make moving them seem like a daunting task.
Whether you are moving to a new home, taking it to a vacation property, or simply putting it into storage for the summer, knowing the proper method is key. This guide will provide clear, actionable steps on how to transport a patio heater safely and efficiently.
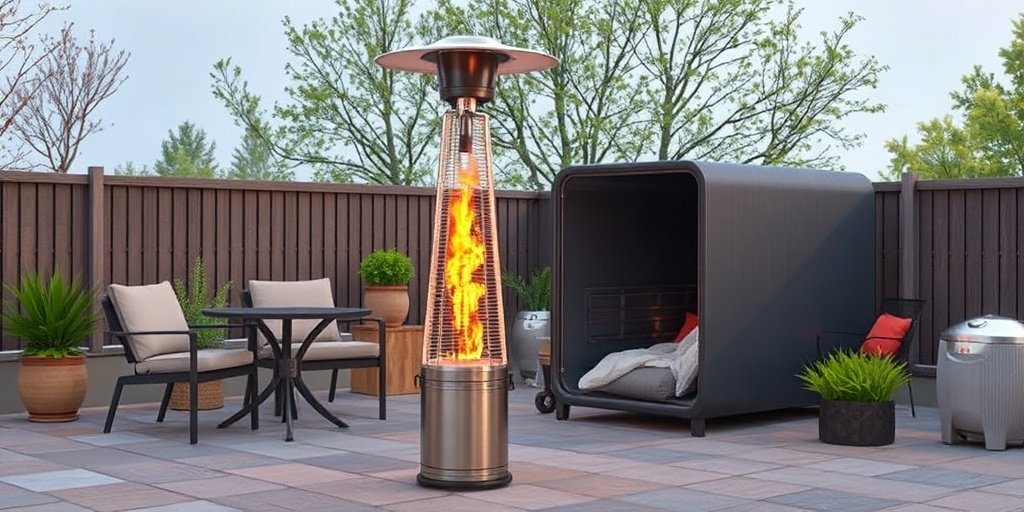
With the right preparation and a bit of care, you can ensure your heater arrives at its destination without damage, ready to provide warmth for your next outdoor gathering.
Transporting a patio heater may seem overwhelming at first, but it doesn’t have to be. By taking the time to understand your heater’s components and the best way to disassemble and pack them, you can make the process much smoother.
This guide will walk you through each step, helping you avoid common pitfalls and ensure your patio heater remains in excellent condition during transit. Attention to detail and proper handling are essential to protecting your investment and enjoying its benefits for years to come.
The Importance of Proper Transport Preparation
Moving a patio heater isn’t as simple as just loading it into a truck. These appliances have sensitive components, such as the burner assembly, pilot light, and the large reflector hood, that can be easily damaged if not handled correctly.
More importantly, they involve fuel—either a propane tank or a natural gas line—which presents significant safety risks if not managed properly before moving. A poorly secured heater can tip over during transit, causing dents, breaking the glass tube on some models, or damaging the regulator.
Taking the time to disassemble and secure the unit properly not only protects your investment but also ensures your safety and the safety of those around you.
Step-by-Step Guide: How to Transport a Patio Heater
Step 1: Disconnect the Fuel Source Completely
The absolute first and most critical step is to completely and safely disconnect the fuel source. For propane heaters, this means turning the valve on top of the propane tank clockwise until it is tightly closed. Once the tank valve is shut, you can unscrew the regulator hose from the tank.
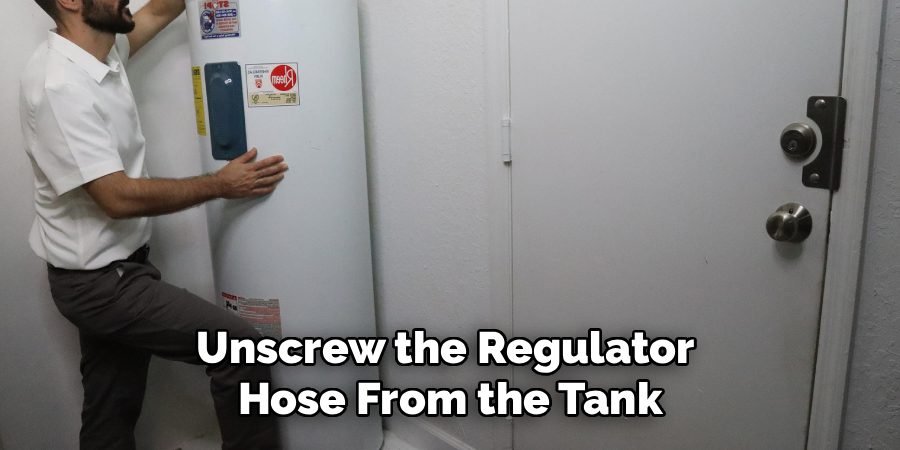
There might be a small release of gas trapped in the hose, which is normal. For natural gas heaters, you must shut off the gas supply valve leading to the heater. This process is crucial for safety to prevent any leaks during transit. Never attempt to move a heater with the fuel source still attached.
Step 2: Remove the Propane Tank
Once the regulator is disconnected, you must remove the propane tank from the heater’s base. Most patio heaters have a housing or compartment at the bottom where the tank sits, often secured by a strap or a small barrier. Unfasten any restraints and carefully lift the tank out of the base.
Propane tanks should always be transported in an upright, secure position in a well-ventilated area, such as the bed of a truck, never in an enclosed car trunk. Storing and moving the tank separately is a non-negotiable safety rule to prevent potential leaks and hazards.
Step 3: Detach the Reflector Hood
The large, dome-shaped reflector hood at the top of the heater is wide, thin, and highly susceptible to bending or denting. To protect it, you should detach it before moving. It is typically attached to the main emitter screen with three or four small screws or wing nuts.
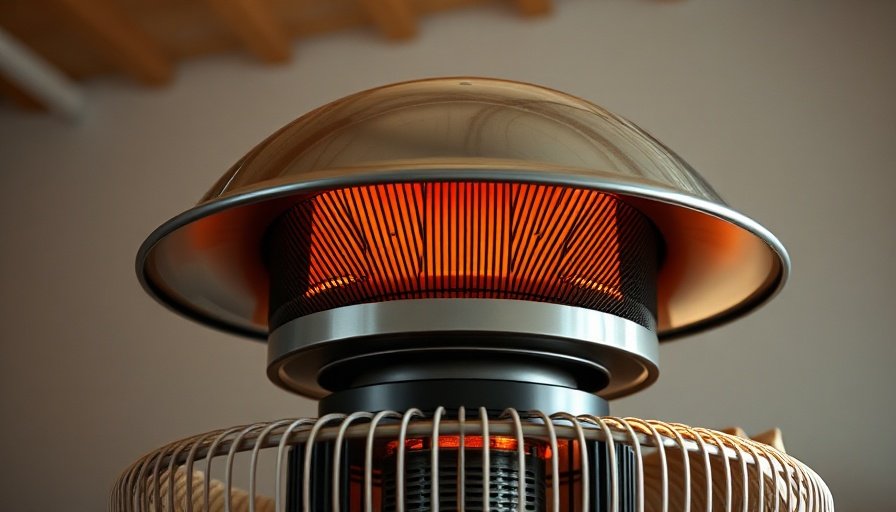
Using a screwdriver or your fingers, carefully remove these fasteners and store them in a small bag so they don’t get lost. Gently lift the hood off the top of the heater. It’s best to wrap the hood in a moving blanket or bubble wrap to protect its surface from scratches and dents during the move.
Step 4: Disassemble the Main Pole if Possible
Many “mushroom-style” patio heaters are designed with a multi-part main pole that can be disassembled. Look for joints or screws halfway up the post. Taking the heater apart into two or three smaller sections makes it much more manageable to carry and fit into a vehicle. This significantly lowers its center of gravity, reducing the risk of it tipping over.
If you disassemble the pole, keep all screws and hardware together in a labeled bag. This is a crucial technique for anyone learning how to transport a patio heater, as it simplifies the entire process and makes it a one-person job.
Step 5: Secure the Burner Head Assembly
The burner head is the heart of the patio heater and contains the most sensitive components, including the emitter screen and pilot assembly. If you did not disassemble the main pole, the burner head is left exposed. To protect it, wrap the entire head unit in a thick blanket or bubble wrap and secure it with packing tape or bungee cords.
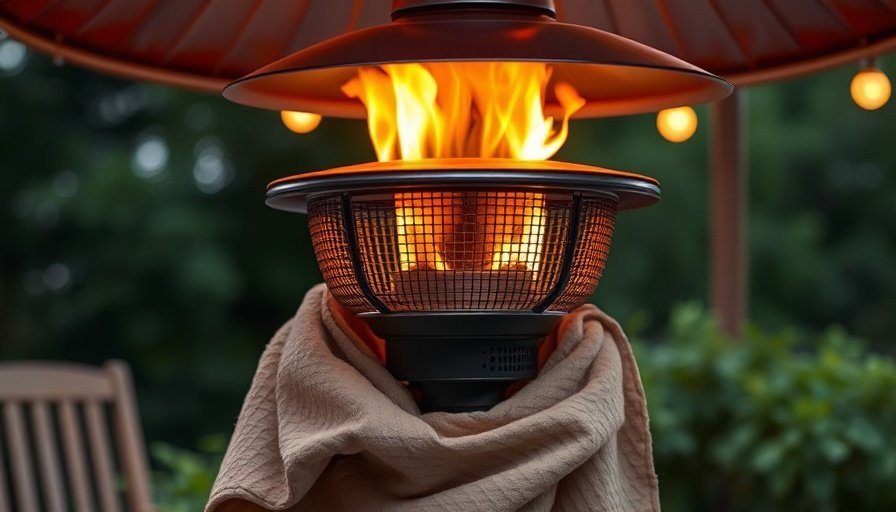
This padding will absorb shock and prevent damage if the unit bumps into something or shifts during transit. Protecting this part is vital to ensuring the heater functions correctly when you set it up again.
Step 6: Wrap the Base and Remaining Components
The base of the patio heater is heavy, which is great for stability but can make it prone to scratching floors or getting damaged itself. Wrap the base in a moving blanket to protect it and any surfaces it might come into contact with.
If your heater has a glass tube, as seen in pyramid-style models, it must be removed with extreme care according to the manufacturer’s instructions and transported in a well-padded box. Any other loose components, like wheels or decorative panels, should also be wrapped or boxed securely to prevent loss or damage.
Step 7: Load and Secure the Heater in the Vehicle
When loading the heater into your moving truck or vehicle, it is best to lay it down horizontally. Place it on a flat surface on top of a moving blanket to prevent it from rolling or sliding. Position the heavier base towards the front of the vehicle.
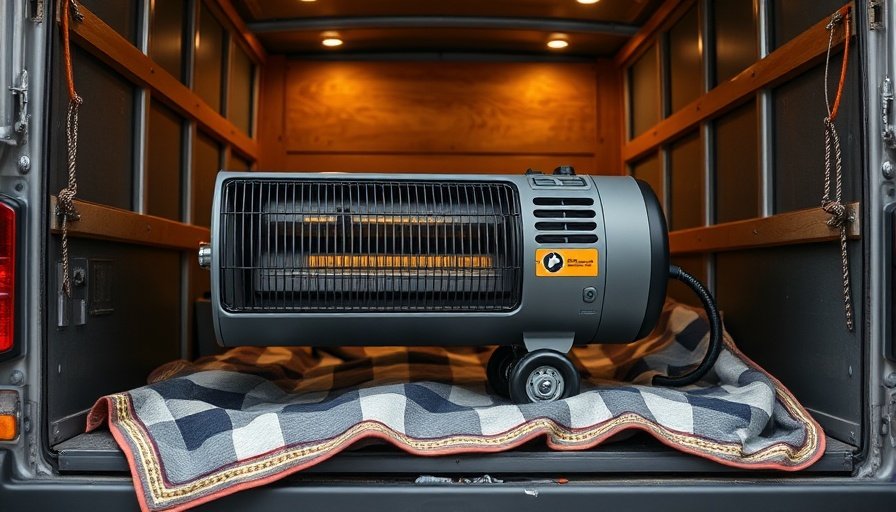
Use moving straps, bungee cords, or ropes to firmly secure the heater to the sides of the truck, ensuring it cannot shift, slide, or tip over during transit. A well-secured heater is a safe heater. An unsecured unit can become a dangerous projectile during a sudden stop.
Step 8: Reassemble Carefully at the Destination
Once you arrive at your new location, carefully unload all the components. Reassemble the heater in the reverse order of how you took it apart. Start by re-connecting the main pole sections, then attach the burner head. Securely fasten the reflector hood back on top.
Place the heater in its new desired spot before putting the propane tank back into the base. Reconnect the regulator hose to the tank, ensuring a tight seal. Perform a leak check by applying soapy water to the connection and opening the tank valve; if bubbles form, you have a leak and must re-tighten.
Frequently Asked Questions (FAQ)
Can You Transport a Patio Heater Lying Down?
Yes, it is safest to transport a patio heater lying down. This lowers its center of gravity and prevents it from tipping over. Ensure it is placed on a padded surface, like a moving blanket, and securely strapped down inside the vehicle so it cannot slide or roll during transit.
Is It Safe to Transport a Full Propane Tank?
Yes, but you must follow safety rules. The tank must be disconnected from the heater and transported in an upright, stable position. It should be in a well-ventilated area, like a truck bed, never inside a car’s passenger area or trunk, to prevent the dangerous accumulation of gas if a leak occurs.
Do I Need to Disassemble the Heater Before Moving It?
While not always mandatory, disassembling the heater is highly recommended. Removing the large reflector hood prevents it from bending, and separating the main pole makes the unit much easier and safer to carry and fit into a vehicle. It significantly reduces the risk of damage during the move.
How Do I Protect a Glass Tube Heater During Transport?
For pyramid-style heaters with a glass tube, you must be extremely careful. The glass tube is fragile and should be removed from the heater’s frame according to the manufacturer’s instructions. Pack it securely in its original box or a well-padded moving box to prevent it from breaking.
What Tools Do I Need to Transport My Patio Heater?
You will likely need a few basic tools. A screwdriver or wrench may be needed to detach the reflector hood and disassemble the pole. You will also need moving blankets or bubble wrap for padding and straps or bungee cords to secure the heater and its parts in the vehicle.
Conclusion
With the right approach, figuring out how to transport a patio heater is a manageable task that protects both your safety and your investment.
By carefully disconnecting the fuel source, disassembling the most vulnerable parts like the reflector hood, and wrapping everything securely, you can prevent common damages like dents and broken components. Securing the unit properly in your vehicle is the final, crucial step to ensure it arrives at its new home in perfect condition.
Now that you are equipped with this knowledge, you can confidently move your heater whenever needed, ensuring you’ll have a reliable source of warmth for many more cozy evenings outdoors.

About
Jovie Mathews is a backyard and outdoor expert writer with over 12 years of hands-on experience transforming neglected outdoor spaces into thriving gardens and functional retreats. Raised in a family where weekends meant digging in the soil and building raised beds from scratch, Jovie developed a genuine love for the outdoors long before it became a career.
She writes with a practical, no-fluff approach — always testing ideas in her own backyard before sharing them with readers. From composting systems and native plant selection to patio design and pest control, Jovie covers the full spectrum of backyard life with equal parts expertise and enthusiasm.
Education
B.Sc. in Horticulture Science
University of Florida (UF) · Gainesville, FL · 2014
IFAS College of Agricultural and Life Sciences
Minor in Environmental Studies
University of Florida (UF) · Gainesville, FL · 2014
College of Liberal Arts and Sciences
Areas of expertise
- Lawn & Garden Care
- Soil prep, planting, seasonal care
- Outdoor DIY Projects
- Raised beds, fencing, pathways
- Composting & Soil Health
- Organic methods, amendments
- Native Plants & Wildlife
- Pollinators, habitat gardening
When she is not writing, Jovie can be found testing new composting techniques, growing tomatoes in questionable quantities, or convincing her neighbors that clover lawns are actually a great idea. She currently gardens in the Pacific Northwest.