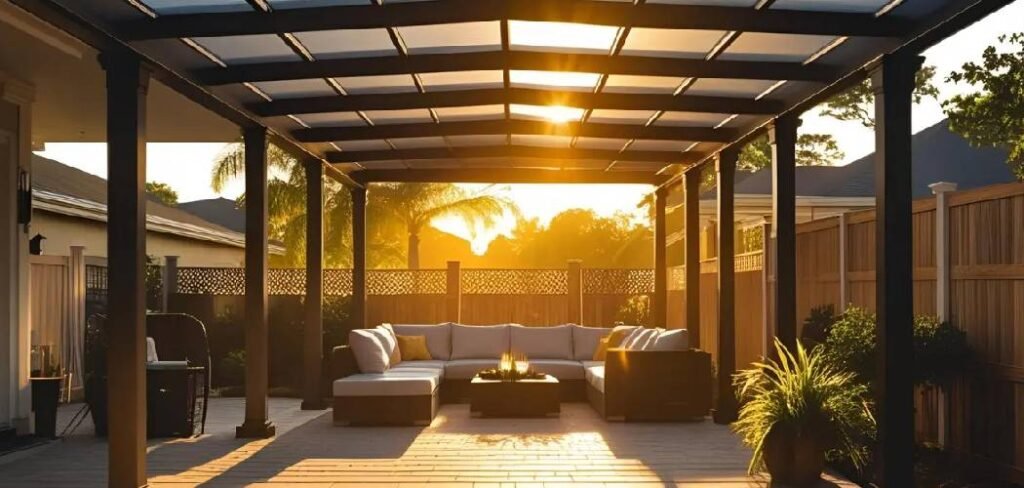
Building a patio cover is one of the most transformative home improvement projects you can undertake. It extends your living space outdoors, provides crucial protection from the elements, and creates a designated area for relaxation or entertainment.
Whether you want a shady spot for afternoon reading or a sheltered area for summer barbecues, this addition changes how you utilize your backyard. While the project requires some carpentry skills and patience, it is entirely achievable for a motivated DIY enthusiast.
Before swinging a hammer, it is vital to understand the scope of work, including structural requirements and local building codes. Safety and precision are your best tools during this process. This guide is designed to break down the complex construction process into manageable chunks, ensuring you feel confident at every stage.
By following these instructions carefully, you will save money on labor costs and gain the immense satisfaction of building something permanent for your home. Ultimately, learning how to build patio cover attached to house is a rewarding journey that enhances both your property value and your daily quality of life.
Why Learn How to Build Patio Cover Attached to House?
Taking on the project of building your own patio cover offers benefits that go far beyond simple aesthetics. First and foremost, a patio cover provides essential shade, reducing the temperature of your outdoor space significantly. This protection allows you and your plants to thrive even during the hottest parts of the day.
For home gardeners, this created microclimate is perfect for shade-loving potted plants that might otherwise struggle in direct sunlight. Additionally, an attached cover helps cool the adjacent interior rooms of your home by shading windows, potentially lowering your energy bills during summer months.
7 Step-by-Step Guide on How to Build Patio Cover Attached to House
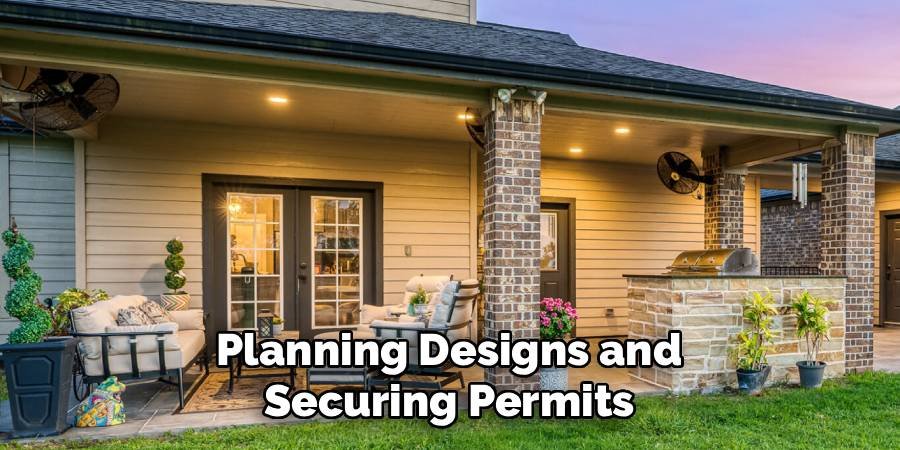
Step 1: Planning Designs and Securing Permits
The first and most critical phase of your project involves meticulous planning and navigating legal requirements. You must visit your local building department to understand specific zoning laws, setback requirements, and load-bearing standards for your area. Creating a detailed sketch of your proposed structure is essential, as you will need to submit this to obtain the necessary building permits.
This drawing should include dimensions, lumber sizes, and the spacing of your posts and rafters. Ignorance of local codes can lead to fines or the forced removal of your hard work, so never skip this step. Once your plan is approved, mark out the exact footprint of the patio cover on the ground using stakes and string. This visual guide ensures your foundation will be square and precise before you purchase any materials.
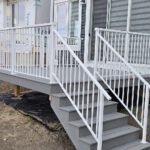
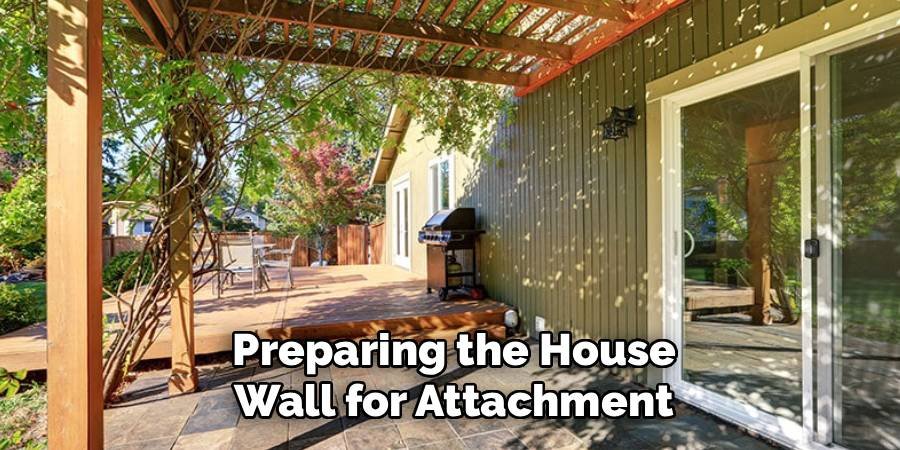
Step 2: Preparing the House Wall for Attachment
To create a secure connection point, you must prepare the exterior wall of your house where the ledger board will sit. The ledger board is the horizontal beam that anchors the patio cover to your home’s structure, so its placement is paramount. You need to locate the house’s rim joist or wall studs to ensure the lag screws will bite into solid wood, not just hollow siding.
If your home has vinyl or wood siding, you must carefully cut it away to expose the sheathing underneath. This removal ensures the ledger board sits flush against the house frame. We recommend snapping a level chalk line to mark exactly where the top of the ledger will go. When you are figuring out how to build patio cover attached to house, ensuring this specific connection is watertight and structurally sound is the most important safety factor of the entire build.
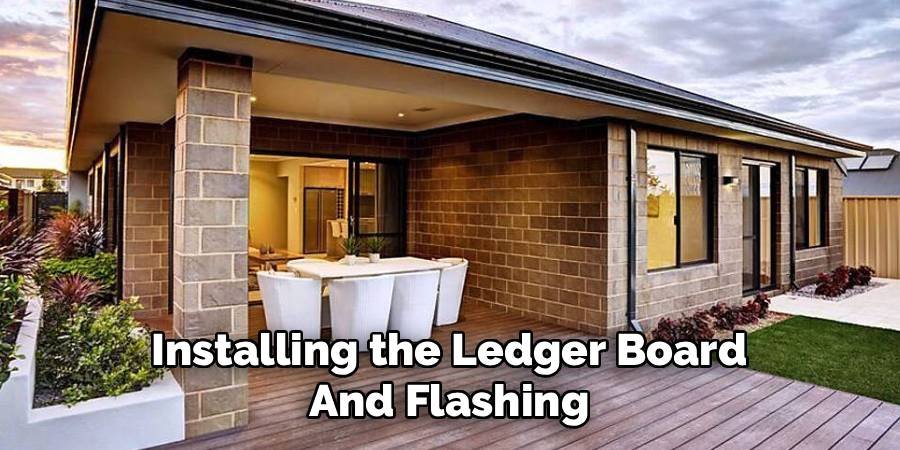
Step 3: Installing the Ledger Board and Flashing
Once the siding is removed, you will mount the ledger board to the house frame. You should use pressure-treated lumber for this component to resist rot and decay. Drill pilot holes in a staggered pattern to prevent the wood from splitting, then secure the board using heavy-duty lag screws or structural screws, typically inserting two at every stud location. Before tightening everything fully, install metal Z-flashing along the top edge of the ledger board.
This flashing must tuck under the existing house siding above and drape over the ledger. This crucial step prevents water from seeping behind the board, which could cause severe rot to your home’s rim joist over time. Apply a generous bead of silicone caulk behind the ledger and around the bolt heads to add a secondary layer of moisture protection.
Step 4: Digging and Pouring Concrete Footings
With the ledger board secure, turn your attention to the ground to establish the foundation for your posts. Based on your string layout, identify the exact center points for your support posts. You must dig holes that meet your local code’s depth requirements, which usually means digging below the frost line to prevent heaving during winter freezes. The diameter of the holes generally needs to be about 12 inches, but this varies by soil type and load.
After digging, pour a few inches of gravel into the bottom for drainage before filling the holes with concrete mix. While the concrete is still wet, insert your post base brackets, ensuring they are perfectly aligned with the ledger board and level with each other. Allow the concrete to cure for at least 24 to 48 hours before applying any weight.
Step 5: Setting the Posts and Support Beam
After the concrete has fully cured, you can install the vertical posts into the metal brackets. Cut your 4×4 or 6×6 pressure-treated posts to roughly the desired height, keeping them slightly long for final trimming later. Plumb each post using a spirit level to ensure they are perfectly vertical, then secure them to the brackets with appropriate structural nails or bolts.
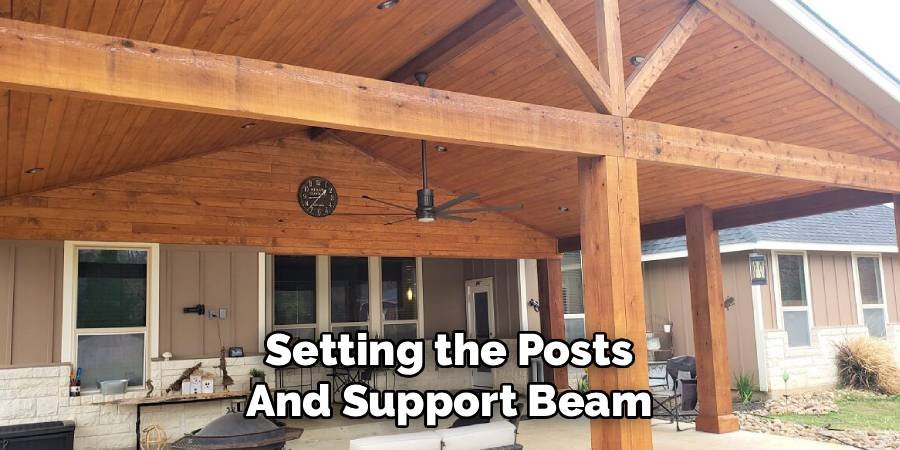
Once the posts are standing, you will hoist the main support beam to rest on top of them or be bolted to their sides, depending on your design. This beam runs parallel to the house and supports the weight of the rafters. You must ensure this beam is level across the span. Use temporary wooden braces to hold the posts and beam in place while you drill and fasten everything permanently.
Step 6: Cutting and Installing the Rafters
The rafters form the skeleton of your roof, connecting the ledger board on the house to the support beam you just installed. You will typically space these boards 16 or 24 inches apart on center, depending on the weight of your roofing material. On the ledger board side, you attach the rafters using metal joist hangers for a secure hold.
On the beam side, you may need to cut a “birdsmouth” notch into each rafter so it sits flat on the beam, or use hurricane ties to secure them. It is essential to verify that each rafter creates a slight slope away from the house to facilitate proper water runoff. A minimum slope of 1/4 inch per foot is standard for flat roofs, but check your roofing manufacturer’s specifications.
Step 7: Installing Blocking and Battens
To prevent the rafters from twisting over time and to increase the overall rigidity of the structure, you should install blocking. These are short pieces of lumber cut to fit snugly between the rafters, typically placed over the support beam or in the middle of the span. Nail them securely in place to lock the rafters together. If you are installing a metal or polycarbonate roof, you will also need to install purlins or battens.
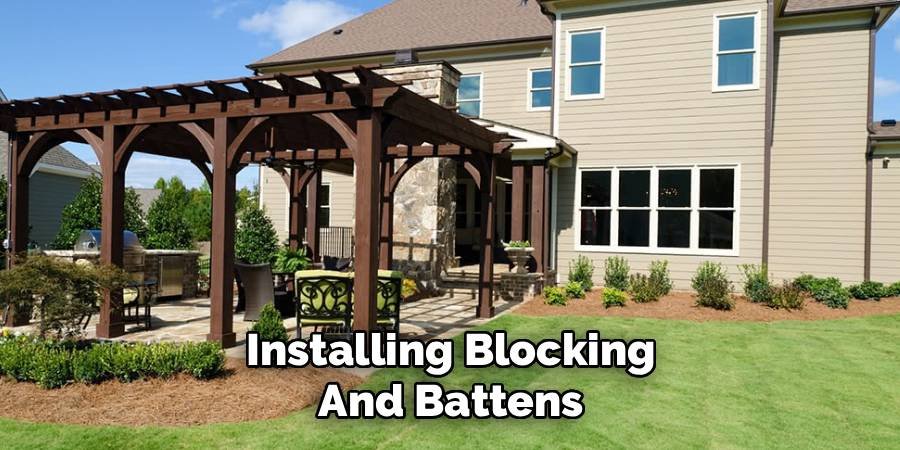
These are strips of wood that run perpendicular across the top of the rafters, typically spaced 24 inches apart. They provide a nailing surface for the roofing panels and help distribute the load evenly. This cross-hatching of lumber creates a incredibly strong grid that can withstand wind and snow loads effectively.
Frequently Asked Questions (FAQ)
Do I Need A Permit For A Patio Cover?
You almost certainly need a building permit for an attached patio cover. Because you are attaching a new structure to your existing home, you are altering the structural load and footprint of the house. Most municipalities require a permit to ensure the addition meets safety codes regarding snow loads, wind resistance, and property setbacks. Skipping this step can result in fines, issues when selling your home, or insurance denials if the structure causes damage. Always check with your local city planning or building department before purchasing materials.
What Is The Best Wood For Patio Covers?
The best wood choices for outdoor structures are those that naturally resist rot and insect damage. Pressure-treated pine is the most affordable and durable option for the structural frame, such as posts and ledgers, because it is chemically treated to withstand the elements. For visible components like rafters or beams where aesthetics matter, Cedar and Redwood are premium choices. They offer natural resistance to decay and have a beautiful grain, though they are more expensive. Douglas Fir is also strong but requires diligent painting or staining to survive outdoors.
How Deep Should Post Footings Be?
The required depth for post footings depends entirely on the frost line in your specific geographic location. The bottom of the footing must sit below the depth where the ground freezes to prevent “frost heave,” which can push the posts up and warp your structure. In warmer climates, a depth of 12 to 18 inches might suffice, whereas colder northern regions may require depths of 36 to 48 inches or more. You must consult your local building code to get the exact requirement for your area.
Can I Attach A Patio Cover To The Eaves?
Attaching a patio cover strictly to the eaves or fascia board is generally not recommended and is often a code violation. The fascia board is not designed to carry the significant weight of a roof addition, especially under snow or wind load. The structural connection must be made to the house’s framing, typically the rim joist or wall studs. If you must attach near the eaves, you usually need to use special roof brackets that mount onto your existing roof’s top plate or rafters to transfer the load correctly.
How Much Does It Cost To Build A Patio Cover?
The cost varies widely based on size, materials, and whether you do the work yourself. For a standard DIY 10×10 foot attached wooden patio cover, you can expect to spend between $1,000 and $3,000 on materials alone. High-end materials like cedar, composite lumber, or insulated aluminum panels will push the cost higher. If you hire a professional contractor, labor costs can easily double the total price, bringing the range to $4,000 to $10,000 or more. DIY offers significant savings but requires an investment of time and tools.
Conclusion
Building your own attached patio cover is a significant undertaking, but the payoff is well worth the effort. You gain a beautiful, functional outdoor room that adds value to your property and enhances your lifestyle. By following the proper steps—from securing permits to laying the final shingle—you ensure that your structure is safe, durable, and attractive.
We hope this guide has demystified the construction process and given you the confidence to pick up your tools. Don’t let the scope of the project intimidate you; tackle it one step at a time, and soon you will be relaxing in the shade of your own creation. Now that you know how to build patio cover attached to house, you are ready to transform your backyard into the ultimate retreat.
Read More :
- How to Cover Patio Doors
- How to Cover Sand in Backyard
- How to Cover Dirt in Backyard for Party
- How to Keep Rain Off Covered Patio
About
Jovie Mathews is a backyard and outdoor expert writer with over 12 years of hands-on experience transforming neglected outdoor spaces into thriving gardens and functional retreats. Raised in a family where weekends meant digging in the soil and building raised beds from scratch, Jovie developed a genuine love for the outdoors long before it became a career.
She writes with a practical, no-fluff approach — always testing ideas in her own backyard before sharing them with readers. From composting systems and native plant selection to patio design and pest control, Jovie covers the full spectrum of backyard life with equal parts expertise and enthusiasm.
Education
B.Sc. in Horticulture Science
University of Florida (UF) · Gainesville, FL · 2014
IFAS College of Agricultural and Life Sciences
Minor in Environmental Studies
University of Florida (UF) · Gainesville, FL · 2014
College of Liberal Arts and Sciences
Areas of expertise
- Lawn & Garden Care
- Soil prep, planting, seasonal care
- Outdoor DIY Projects
- Raised beds, fencing, pathways
- Composting & Soil Health
- Organic methods, amendments
- Native Plants & Wildlife
- Pollinators, habitat gardening
When she is not writing, Jovie can be found testing new composting techniques, growing tomatoes in questionable quantities, or convincing her neighbors that clover lawns are actually a great idea. She currently gardens in the Pacific Northwest.