An inflatable hot tub offers a fantastic way to relax and unwind, even when the temperatures drop. However, without proper preparation, the cold can quickly turn your warm oasis into an energy-draining appliance.
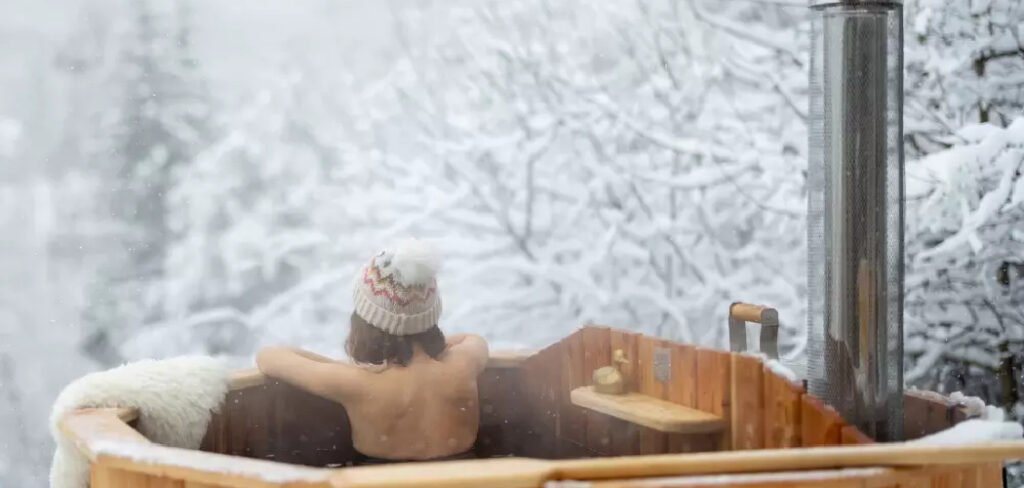
Keeping the water heated during winter requires smart insulation to prevent heat loss, save on electricity bills, and ensure your spa is always ready for a soothing soak. Learning how to insulate inflatable hot tub in winter is a straightforward process that makes a significant difference. This guide will walk you through the essential steps to keep your hot tub cozy and efficient all season long.
Why Insulating Your Inflatable Hot Tub in Winter is Essential
Using an inflatable hot tub in winter without proper insulation is like trying to heat a room with the windows wide open. The thin vinyl walls of an inflatable spa are not designed to retain heat effectively in cold air.
As the outside temperature plummets, the heater must work constantly to maintain the desired water temperature. This continuous operation leads to a sharp increase in your energy consumption and, consequently, a much higher electricity bill.
Furthermore, excessive strain on the heater can shorten its lifespan, leading to costly repairs or replacements. By insulating your hot tub, you create a thermal barrier that traps heat, reducing the heater’s workload.
This not only saves you money but also ensures a more consistent and enjoyable hot tub experience. A well-insulated spa heats up faster and stays warm longer, making it the perfect retreat from the winter chill.
8 Step-by-Step Guide on How to Insulate Inflatable Hot Tub in Winter
Step 1: Choose a Sheltered Location
The first step in protecting your hot tub from winter’s chill is selecting the right location. Placing your spa in a spot that is shielded from wind and harsh weather can dramatically reduce heat loss. Look for an area near a wall, under a covered patio, or within a gazebo.
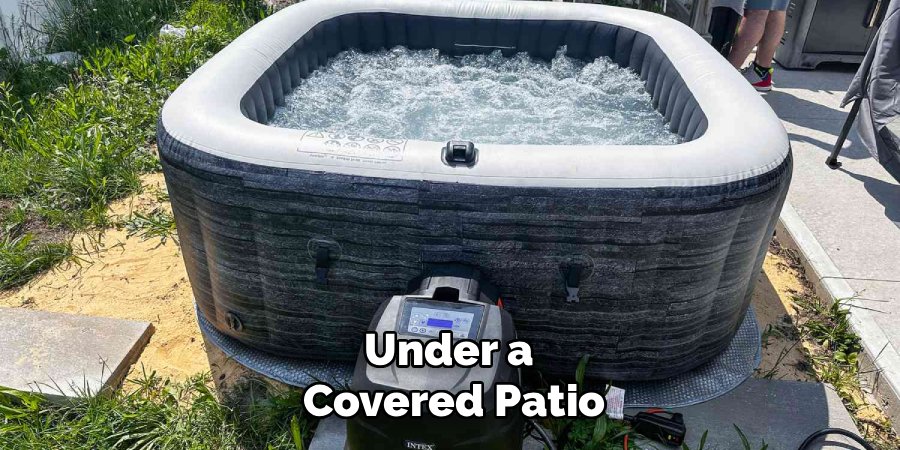
These structures act as a natural windbreak, preventing cold air from constantly blowing across the surface of the tub and its equipment. A sheltered spot also protects the vinyl from exposure to snow and ice, which can cause damage over time. This simple placement strategy is your first line of defense.
Step 2: Create a Solid, Insulated Base
A significant amount of heat is lost through the bottom of the hot tub, especially when it sits directly on cold ground like concrete or pavers. To combat this, create an insulated foundation. High-density foam floor tiles, often used in gyms or playrooms, are an excellent choice.
These interlocking tiles form a durable, waterproof barrier between the ground and your spa. Alternatively, you can use a thermal spa blanket or a custom-cut piece of rigid foam insulation board. This base not only prevents heat from escaping downwards but also provides a soft, stable surface for your hot tub.
Step 3: Insulate the Sides of the Hot Tub
With the base secured, the next focus is insulating the vertical walls of your spa. Wrapping the exterior is a highly effective way to trap warmth. You can use reflective foil insulation, which looks like bubble wrap coated in aluminum, to encircle the tub.
This material reflects heat back toward the spa while blocking the cold air from the outside. Secure the wrap with strong, waterproof tape to create a snug fit. For a more permanent and aesthetically pleasing solution, you can build a simple wooden frame around the tub and line the inside of it with rigid foam insulation panels.
Step 4: How to Insulate Your Inflatable Hot Tub in Winter With a Top Cover
The majority of heat loss—up to 90%—occurs through the water’s surface. While your inflatable hot tub comes with a cover, it may not be sufficient for freezing temperatures. Enhance its insulating power by adding a floating thermal blanket.
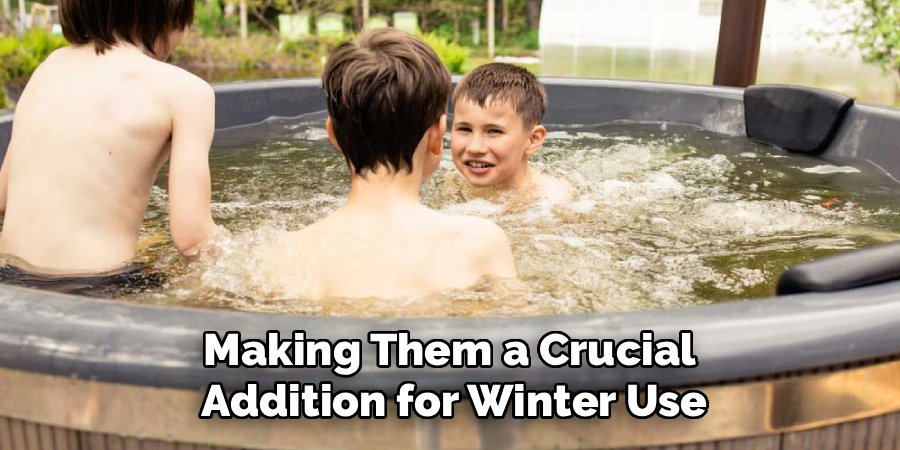
This thin, solar-style cover floats directly on the water, underneath the main structural cover. It creates an additional layer of trapped air, significantly reducing evaporation and heat loss. These blankets are inexpensive and can be easily trimmed to fit the exact shape of your spa, making them a crucial addition for winter use.
Step 5: Upgrade to an Insulated Hard Cover
For the ultimate protection, consider investing in an inflatable hot tub “hard” cover or an inflatable thermal bladder. The standard vinyl cover that comes with most inflatable spas can sag under the weight of snow or rain, creating gaps where heat can escape.
An inflatable bladder sits on the water’s surface, creating a dome shape that prevents pooling and adds a thick layer of air insulation. These covers are designed to fit snugly over the top rim of the spa, forming a tight seal that locks in warmth far more effectively than a standard-issue cover alone.
Step 6: Insulate the Pump and Heater Unit
The pump and heating unit are the heart of your hot tub, and they need protection from the cold too. These components can be vulnerable to freezing, which can cause irreparable damage. An easy way to insulate them is by using an insulated pump cover or by building a small, ventilated box around the unit.
Fill any empty space inside the box with foam or fiberglass insulation, but be sure to leave adequate ventilation to prevent overheating. This simple enclosure will protect the machinery from frigid temperatures and help it operate more efficiently.
Step 7: How to Insulate Your Inflatable Hot Tub in Winter by Minimizing Use in Extreme Cold
While insulation makes a huge difference, it’s also important to be practical. During periods of extreme cold—such as temperatures dropping well below freezing for extended periods—your hot tub’s heater may struggle to keep up, even with insulation. Using the jets introduces cold air into the water, causing the temperature to drop more quickly.
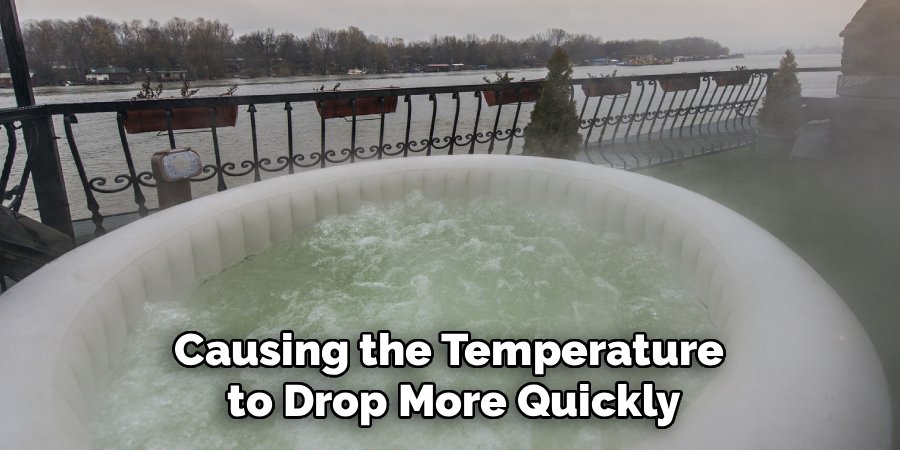
On the coldest days, consider limiting your soak time or avoiding using the air jets altogether to help the heater maintain a consistent temperature. This strategic approach will help conserve energy and reduce wear on your system.
Step 8: Monitor and Maintain Regularly
Consistent monitoring is key to a successful winter hot tubbing season. Regularly check your water temperature to ensure the heater is functioning correctly and the insulation is effective. Clear any snow or ice from the top cover to prevent it from sagging or cracking under the weight.
Also, check your chemical levels frequently, as balanced water is crucial for the proper functioning of the entire system. A few minutes of maintenance each week can prevent major issues and ensure your spa is always ready for you to enjoy.
Frequently Asked Questions
Can I Leave My Inflatable Hot Tub Out in Winter?
Yes, you can leave an inflatable hot tub out in winter, but only if you take the proper precautions. It is essential to insulate it thoroughly and ensure the heater runs continuously to prevent the water and internal components from freezing.
If you do not plan to use it or cannot guarantee it will remain powered on (e.g., during a power outage), it is safer to drain, clean, and store it indoors to avoid damage from freezing temperatures.
How Much Does It Cost to Run an Inflatable Hot Tub in Winter?
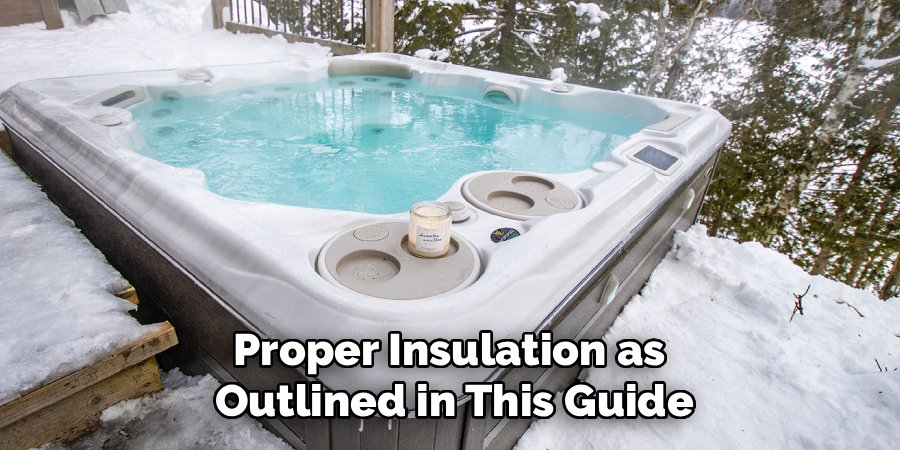
The cost can vary widely based on your electricity rates, the ambient temperature, and how well the tub is insulated. An uninsulated hot tub in a cold climate could add over $100 per month to your energy bill. However, with proper insulation as outlined in this guide, you can often cut that cost by 50% or more. Investing in insulation materials like foam panels and thermal blankets will quickly pay for itself in energy savings.
What Is the Best Base for an Inflatable Hot Tub in Winter?
The best base is one that is both supportive and insulating. Interlocking high-density EVA foam tiles are an excellent choice because they are:
- Waterproof and durable.
- Excellent at preventing heat loss into the cold ground.
- Soft, protecting the spa’s liner from punctures.
A specialized thermal ground mat designed for hot tubs is also a great option. Avoid placing the tub directly on frozen ground, snow, or cold concrete without this thermal barrier.
How Cold Is Too Cold for an Inflatable Hot Tub?
Most inflatable hot tubs are designed to operate in ambient temperatures as low as 40°F (4°C). Below this, the heater may struggle to maintain water temperature, and there is a significant risk of water freezing in the pump and pipes if the unit loses power. If your region experiences prolonged periods of sub-freezing weather, it is crucial to have excellent insulation and a reliable power source.
Will a Solar Cover Help Insulate My Hot Tub?
Absolutely. A solar cover, also known as a floating thermal blanket, is one of the most effective and affordable insulation tools. It floats directly on the water, under the main cover, and works by reducing evaporation, which is a major source of heat loss. By creating this extra barrier, it helps the water retain heat for much longer, significantly reducing the amount of time the heater needs to run to keep the tub warm.
Conclusion
Enjoying your inflatable hot tub throughout the winter is an achievable luxury. By taking the time to properly prepare your spa for the cold, you can create an efficient and reliable backyard retreat.
From building an insulated base to upgrading your cover and protecting the pump, each step plays a vital role in trapping heat and minimizing energy costs. Following this guide on how to insulate inflatable hot tub in winter will ensure you can soak in warm, bubbling water even on the frostiest of days, making the season much more enjoyable.

About
Jovie Mathews is a backyard and outdoor expert writer with over 12 years of hands-on experience transforming neglected outdoor spaces into thriving gardens and functional retreats. Raised in a family where weekends meant digging in the soil and building raised beds from scratch, Jovie developed a genuine love for the outdoors long before it became a career.
She writes with a practical, no-fluff approach — always testing ideas in her own backyard before sharing them with readers. From composting systems and native plant selection to patio design and pest control, Jovie covers the full spectrum of backyard life with equal parts expertise and enthusiasm.
Education
B.Sc. in Horticulture Science
University of Florida (UF) · Gainesville, FL · 2014
IFAS College of Agricultural and Life Sciences
Minor in Environmental Studies
University of Florida (UF) · Gainesville, FL · 2014
College of Liberal Arts and Sciences
Areas of expertise
- Lawn & Garden Care
- Soil prep, planting, seasonal care
- Outdoor DIY Projects
- Raised beds, fencing, pathways
- Composting & Soil Health
- Organic methods, amendments
- Native Plants & Wildlife
- Pollinators, habitat gardening
When she is not writing, Jovie can be found testing new composting techniques, growing tomatoes in questionable quantities, or convincing her neighbors that clover lawns are actually a great idea. She currently gardens in the Pacific Northwest.