Dealing with an old, rusty fence can be one of the most frustrating parts of landscaping. Whether you are reconfiguring your property lines, replacing damaged hardware, or simply opening up your backyard for a new garden bed, getting those stubborn steel stakes out of the ground is a necessary first step. Many homeowners feel intimidated by the prospect of digging up concrete footings or using heavy machinery, but the process is manageable with the right technique and patience.
You do not need to hire expensive contractors or rent heavy excavators to get the job done. With some basic household tools, a bit of physics, and some elbow grease, you can clear your yard efficiently. In this article, we will walk you through the entire process, teaching you exactly how to remove metal fence post structures safely so you can get back to enjoying your outdoor space.
Why Removing Old Fence Posts Matters
Before we dive into the labor, it is helpful to understand why taking the time to remove these posts correctly is so important for your garden’s health and safety. Many homeowners are tempted to simply cut the post off at ground level and cover it with dirt. While this might seem like a quick fix, it creates a hidden hazard in your yard. A sharp, rusting metal edge lurking just below the grass line can cause serious injury to children, pets, or anyone digging in the garden later. Furthermore, leaving the concrete footing in the ground prevents you from planting trees or installing new fencing in that same line.
Removing the post entirely also preserves the integrity of your soil. Old metal can leach rust and other corrosion byproducts into the ground, which isn’t ideal for vegetable gardens or sensitive plants. Additionally, if the post was set in a large concrete plug, that concrete acts as a permanent barrier to root growth and water drainage. By extracting the entire unit, you restore the soil structure, allowing you to amend the earth and replant whatever you choose. It is a cleaner, more professional approach that adds value to your property and ensures your yard remains safe for years to come.
8 Step-by-Step Guide on How to Remove Metal Fence Post
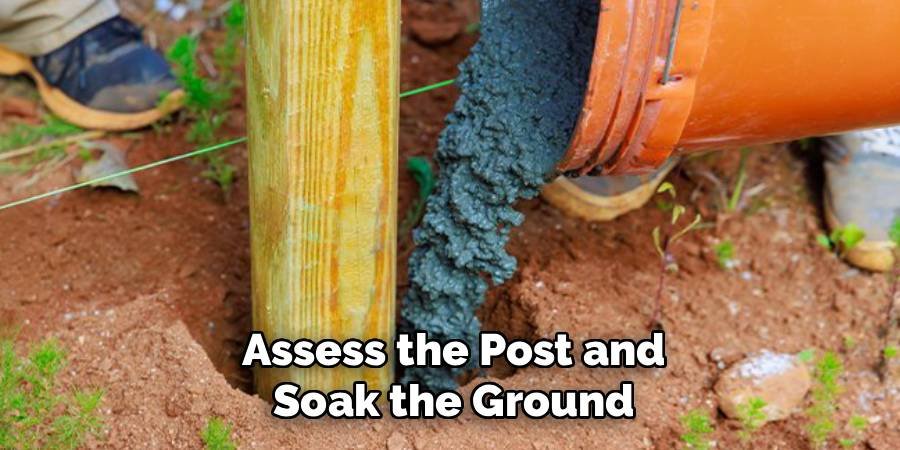
Step 1: Assess the Post and Soak the Ground
Before you grab a shovel, you need to examine what you are up against. Take a close look at the base of the post to determine if it is set in concrete or simply driven into the raw earth. If the ground is dry and hard, your job will be significantly more difficult because dry soil grips the metal and concrete like a vice.
To make the extraction smoother, thoroughly water the area around the base of the post the night before you plan to work. Let the hose trickle for about twenty minutes to ensure deep saturation. This softens the clay or dirt, reducing friction and making the digging process much easier on your back and your tools.
Step 2: Clear the Vegetation and Topsoil
Once the ground is adequately softened, you must clear the immediate workspace to ensure you have safe footing and visibility. Use a garden hoe or a spade to remove any grass, weeds, or decorative rocks surrounding the metal pole. You want a clear circle of dirt about two feet in diameter around the target.
This clearance prevents you from tripping while you are applying force later and ensures that your tools have a clean bite into the soil. Carefully remove the top layer of sod and set it aside on a tarp if you plan to replace it later. This preparation phase is often overlooked, but a clean workspace is essential for applying the necessary leverage safely.
Step 3: Dig a Relief Trench Around the Base
Now that your area is clear, pick up your shovel or a post-hole digger to begin excavation. You do not need to dig all the way to the bottom of the post, but you do need to expose the upper portion of the concrete footing or the buried metal. Dig a trench roughly six to eight inches deep around the entire circumference of the pole.
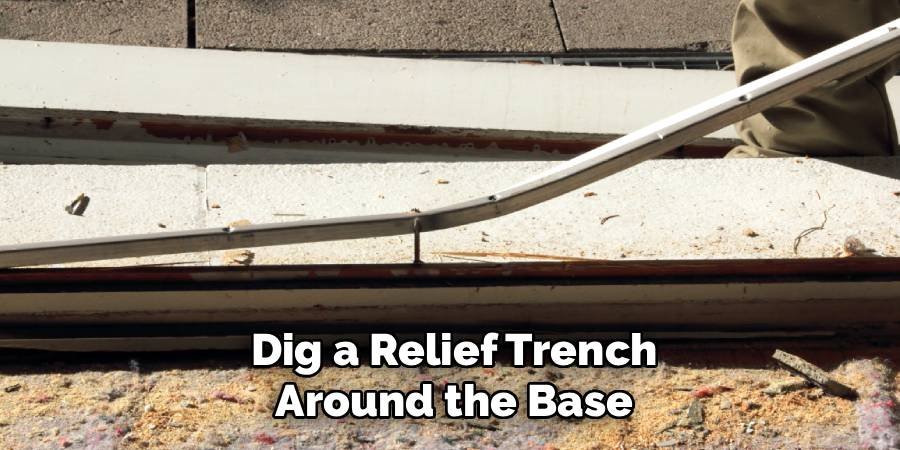
This relief trench disconnects the upper soil structure from the post, reducing the suction effect that holds it in place. If you encounter large roots, use loppers to cut them away. As you dig, keep checking the stability of the post; often, removing just the top layer of packed earth significantly reduces the effort required to pull the object free.
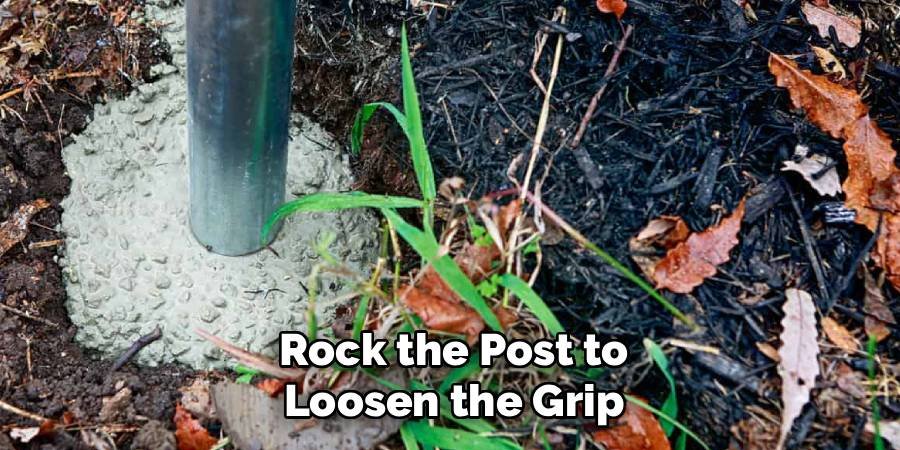
Step 4: Rock the Post to Loosen the Grip
After digging your relief trench, it is time to use manual force to break the seal between the post and the surrounding subsoil. Wearing heavy work gloves to protect your hands from rust and sharp edges, grip the post firmly at chest height. Push it forward, pull it backward, and rock it side to side with steady, rhythmic pressure.
You aren’t trying to pull it out yet; you are simply trying to widen the hole underground. If the post is set in concrete, you will see the entire concrete plug moving slightly within the earth. This motion creates a small gap between the footing and the dirt, which is crucial for the next steps involving leverage. Continue this rocking motion until you feel significant play in the post.
Step 5: Establish a Sturdy Fulcrum Point
Physics is your best friend when learning how to remove metal fence post footings without injuring your back. You need to set up a fulcrum near the edge of your hole to act as a pivot point for lifting. A standard concrete block, a thick piece of scrap timber, or even a spare tire rim works excellently for this purpose.
Place your chosen fulcrum object on firm, undisturbed ground about six inches away from the edge of the hole you dug. Ensure it is stable and won’t sink into the mud when pressure is applied. This fulcrum changes the direction of your force, allowing you to push down to lift the heavy post up, multiplying your strength significantly.
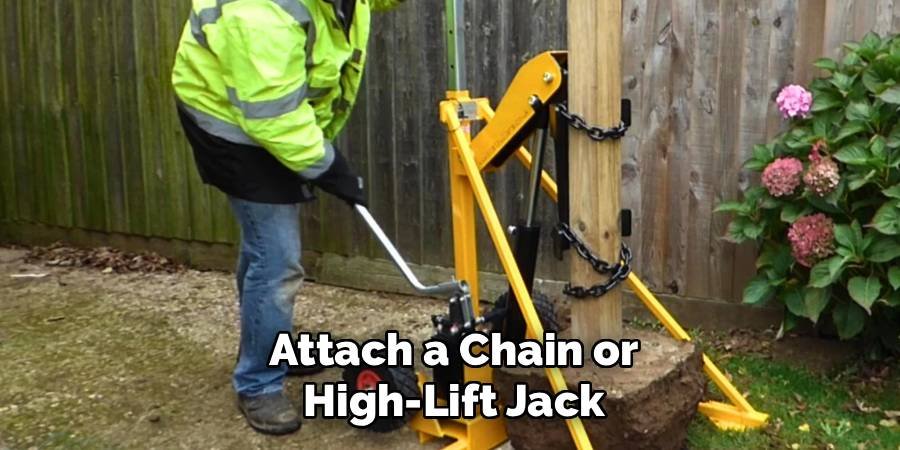
Step 6: Attach a Chain or High-Lift Jack
Secure a heavy-duty chain around the base of the metal post, as close to the concrete footing or ground level as possible. To prevent the chain from slipping up the smooth metal as you pull, wrap it tightly or use a specialized post-puller clamp if you have one. If you are using a high-lift farm jack, position the jack on top of your fulcrum block and hook the lifting nose under the chain loop.
Ensure everything is vertical and aligned correctly to prevent the jack from tipping over under load. The connection needs to be rock-solid because if the chain slips while under tension, it can be dangerous. Double-check your knots and hooks before applying any real pressure to the system.
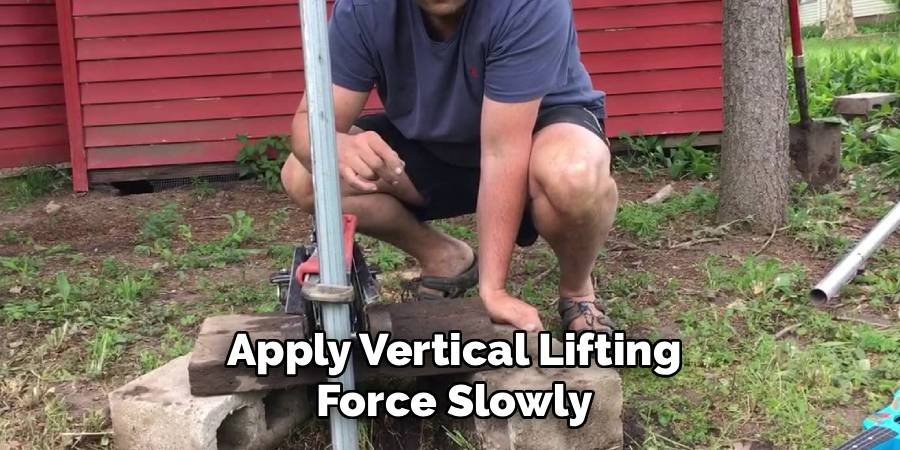
Step 7: Apply Vertical Lifting Force Slowly
With your mechanism in place, begin to apply lifting force. If you are using a long pry bar and fulcrum, push down on the far end of the bar. If you are using a farm jack, ratchet the handle up and down steadily. Do not rush this process. As you apply pressure, the post should begin to slide upward.
You might hear sucking sounds as the vacuum seal at the bottom of the hole breaks. If the post stops moving, stop lifting and add more water to the hole or rock the post again to loosen stubborn rocks. The goal is a smooth, vertical extraction. Watch the fulcrum carefully to ensure it isn’t sinking; if it sinks, reset it on a wider base like a piece of plywood.
Step 8: Extract and Manage the Concrete Weight
As the post rises, the heavy concrete footing will eventually breach the surface. Be prepared for the weight shift; a standard fence post footing can weigh anywhere from fifty to eighty pounds. Once the concrete is clear of the hole, do not try to lift the entire assembly with your back.
Instead, tilt the post over and let the concrete rest on the ground next to the hole. If the concrete is massive and too heavy to move manually, you may need to use a sledgehammer to break it off the metal post right there on the grass. Wearing safety glasses is mandatory for this part, as concrete chips will fly. Once separated, the pieces are much easier to haul away to your disposal area.
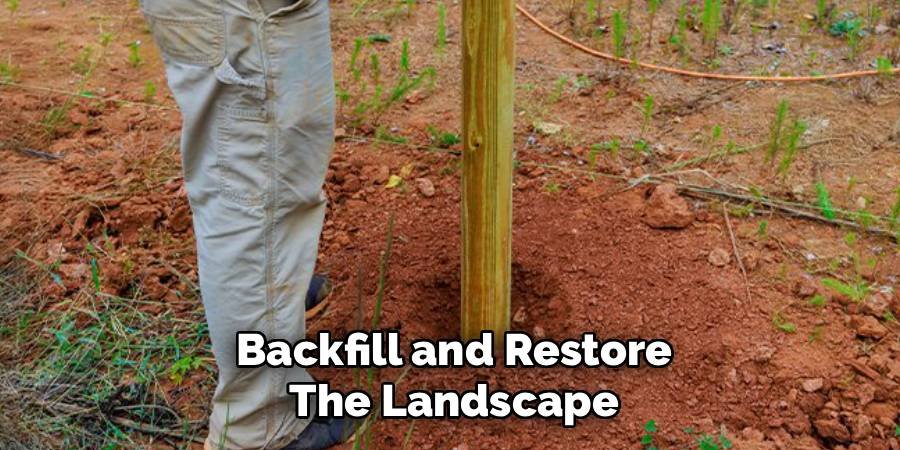
Backfill and Restore the Landscape
With the obstruction successfully removed, you are left with a gaping hole that presents a tripping hazard. Immediately fill this void to prevent accidents. If you saved the soil from the excavation step, shovel it back into the hole. You will likely need additional topsoil or garden fill because the volume of the post and concrete is now gone.
Pack the soil down firmly with your foot every few inches to minimize future settling. If the area is in a lawn, rake the surface smooth and scatter grass seed or lay the reserved sod back over the patch. Water the area well to help the ground settle. By completing this restoration immediately, you ensure your garden looks pristine and ready for its next project.
Frequently Asked Questions
Can I Remove A Metal Post Without A Jack?
Yes, you can remove a post without a jack, though it requires more physical effort. The most common alternative method involves using a long digging bar or a sturdy 2×4 piece of lumber as a lever. You create a fulcrum with a brick or wood block, slide the lever under a crosspiece or bolt on the post, and push down. For smaller posts not set in concrete, simply soaking the ground and rocking the post back and forth is often sufficient.
What Should I Do With The Old Concrete?
Disposing of old concrete requires specific handling because you cannot put it in regular trash bins.
- Reuse it: Break it into smaller chunks with a sledgehammer to use as drainage rock or base filler for new projects.
- Recycle centers: Many local waste management facilities have specific drop-off areas for masonry and concrete.
- Hauling services: If you have many posts, hiring a junk removal service might be the most convenient option.
How Deep Are Metal Fence Posts Usually Buried?
The depth of a fence post depends on the height of the fence and local frost lines, but there are general standards. Typically, a fence post is buried about one-third of its total length, or roughly two to three feet deep. In colder climates, posts must be set below the frost line to prevent heaving, which means you might find them buried as deep as four feet. Understanding this depth helps you gauge how much digging is required.
Is It Safe To Leave The Concrete In The Ground?
It is generally not recommended to leave the concrete in the ground, although some people do it to save time. Leaving the concrete creates a “dead zone” where grass and plants cannot grow deep roots, leading to yellow spots in your lawn. It also poses a serious obstruction if you or a future owner ever wants to install a new fence in the same location. Removing it is the best practice for long-term yard health.
What Safety Gear Do I Need For This Project?
Safety is paramount when working with heavy metal and rusty objects.
- Gloves: Heavy leather gloves protect against rust, splinters, and blisters.
- Eye Protection: Safety glasses are essential, especially if you are chipping concrete or metal.
- Steel-toed boots: These protect your feet if the heavy concrete footing slips or falls.
- Long pants: protecting your legs from scrapes and insect bites while working in the dirt is important.
Conclusion
Removing old metal fence posts might seem like a daunting chore at first glance, but it is a manageable DIY project that makes a huge difference in the look and safety of your yard. By following a methodical approach—soaking the soil, digging correctly, and using leverage rather than brute force—you can clear your property of these rusty eyesores without injuring yourself or renting expensive machinery.
Remember, the key is preparation and patience. Don’t rush the digging process, and always prioritize your safety by wearing the right gear. Now that you know how to remove metal fence post footings effectively, you are ready to reclaim your garden and start planning your next landscaping transformation. Whether you are planting a new hedge or installing a modern fence, you have cleared the way for a beautiful fresh start.
About
Jovie Mathews is a backyard and outdoor expert writer with over 12 years of hands-on experience transforming neglected outdoor spaces into thriving gardens and functional retreats. Raised in a family where weekends meant digging in the soil and building raised beds from scratch, Jovie developed a genuine love for the outdoors long before it became a career.
She writes with a practical, no-fluff approach — always testing ideas in her own backyard before sharing them with readers. From composting systems and native plant selection to patio design and pest control, Jovie covers the full spectrum of backyard life with equal parts expertise and enthusiasm.
Education
B.Sc. in Horticulture Science
University of Florida (UF) · Gainesville, FL · 2014
IFAS College of Agricultural and Life Sciences
Minor in Environmental Studies
University of Florida (UF) · Gainesville, FL · 2014
College of Liberal Arts and Sciences
Areas of expertise
- Lawn & Garden Care
- Soil prep, planting, seasonal care
- Outdoor DIY Projects
- Raised beds, fencing, pathways
- Composting & Soil Health
- Organic methods, amendments
- Native Plants & Wildlife
- Pollinators, habitat gardening
When she is not writing, Jovie can be found testing new composting techniques, growing tomatoes in questionable quantities, or convincing her neighbors that clover lawns are actually a great idea. She currently gardens in the Pacific Northwest.