

A backyard bonfire is the quintessential way to enjoy summer nights or crisp autumn evenings, bringing friends and family together for warmth and laughter. Unfortunately, the morning after often reveals a less pleasant sight: a distinct, unsightly patch of scorched earth where your portable fire pit stood. Whether it was radiant heat baking the soil or an accidental ember escape, the result is a brown, crispy eyesore in the middle of your otherwise green lawn.
Many homeowners panic, thinking the damage is permanent or that they need to replace huge sections of sod immediately. The good news is that grass is incredibly resilient. With patience and the right technique, you can nurse that damaged patch back to health. This guide is designed to walk you through the process of how to fix burnt grass from fire pit incidents, transforming that barren burn mark back into a lush, thriving part of your landscape.
If you have a fire pit in your backyard, chances are you’ve experienced the frustration of finding burnt grass surrounding it. While it may seem like a major issue at first, rest assured that the damage is not permanent and can be easily fixed with some simple steps.
Understanding the Cause of Burnt Grass
Before we dive into the solution, it’s important to understand why your grass gets burnt around your fire pit in the first place. The most common causes include:
- Embers from the fire landing on dry grass
- Heat radiating from the bottom of the pit
- Spills of flammable liquids such as gasoline or lighter fluid
It’s important to take precautions and prevent these incidents from happening, as burnt grass not only looks unsightly but can also be a fire hazard.
Preventing Burnt Grass
To avoid burning your grass around your fire pit, here are some simple tips you can follow:
- Clear the area around your fire pit of any dry leaves or debris that could easily catch fire.
- Use a non-flammable material such as gravel or sand around your fire pit instead of grass.
- Avoid using flammable liquids to start or fuel your fire.
- Keep a bucket of water nearby to quickly extinguish any stray embers.
- Opt for a raised or portable fire pit, as heat can easily transfer to the ground and cause damage.
- Monitor wind direction and speed before starting a fire to prevent sparks from reaching surrounding grass.
7 Step-by-Step Guide on How to Fix Burnt Grass from Fire Pit
Step 1: Assess the Severity of the Heat Damage
The first step in your recovery mission is to determine exactly how deep the damage goes. Not all burns are created equal. Get down on your hands and knees and inspect the affected area closely. Pull gently on a few blades of the brown grass. If the blades come away easily but you see green growth near the soil surface or the roots still feel firmly anchored when you tug, the damage might just be superficial heat stress.
However, if the entire plant pulls up with no resistance and the soil beneath feels hard and baked, the roots are likely dead. Understanding the depth of the injury is crucial because superficial burns may only need water, while deep scorching requires reseeding. This assessment phase ensures you don’t waste time on a quick fix when a full repair is needed.
Step 2: Rake Away Dead Debris and Thatch
Once you have determined that repair is necessary, you need to clear the slate. Dead grass forms a thick, impenetrable mat that prevents water, air, and nutrients from reaching the soil below. Using a stiff metal garden rake, vigorously work over the burnt patch. Your goal is to remove as much of the crispy, dead plant material as possible. Do not be afraid to be a little aggressive here; you want to expose the bare dirt underneath.
This process, often called scarifying or detaching, is essential for preparing a healthy seedbed. Leaving dead thatch in place is a common mistake that hinders recovery. By clearing away the debris, you are opening up the ground to receive the necessary treatments that will eventually help you learn how to fix burnt grass from fire pit areas successfully.
Step 3: Aerate and Loosen the Compacted Soil
Fire pits are heavy, and the combination of their weight plus the intense heat can severely compact the soil underneath. Compacted soil acts like concrete, suffocating potential new roots and preventing water drainage. To fix this, you need to aerate the area. If the patch is small, you can use a hand trowel or a simple garden fork.
Drive the tines about three to four inches deep into the soil and gently rock them back and forth to break up the hardpan. Ideally, you want to turn the top few inches of soil over completely, creating a loose, crumbly texture. This mechanical loosening introduces vital oxygen into the ground and creates the perfect soft environment for fragile new grass roots to penetrate and establish themselves quickly.
Step 4: Amend the Soil with Rich Organic Matter
Heat doesn’t just kill grass; it can also sterilize the soil, killing off the beneficial microbes and drying out the organic matter that grass needs to thrive. To restore fertility, you must amend the soil before planting. Mix a generous amount of high-quality compost or topsoil into the area you just loosened.
You can also add a specialized starter fertilizer that is high in phosphorus, which promotes strong root development. Work these amendments evenly into the top two inches of the existing dirt. This step essentially recharges the battery of your soil, providing a nutrient-dense foundation that will support rapid germination. This preparation is often the difference between a patch that struggles to grow and one that seamlessly blends back into the rest of your lawn.
Step 5: Reseed the Area
Now comes the critical planting phase. Select a high-quality grass seed that matches your existing lawn type, whether it is Kentucky Bluegrass, Fescue, or Bermuda. Sprinkle the seed generously over the prepared soil patch. You want good coverage, but avoid piling the seeds on top of each other, as overcrowding can lead to competition and fungal issues.
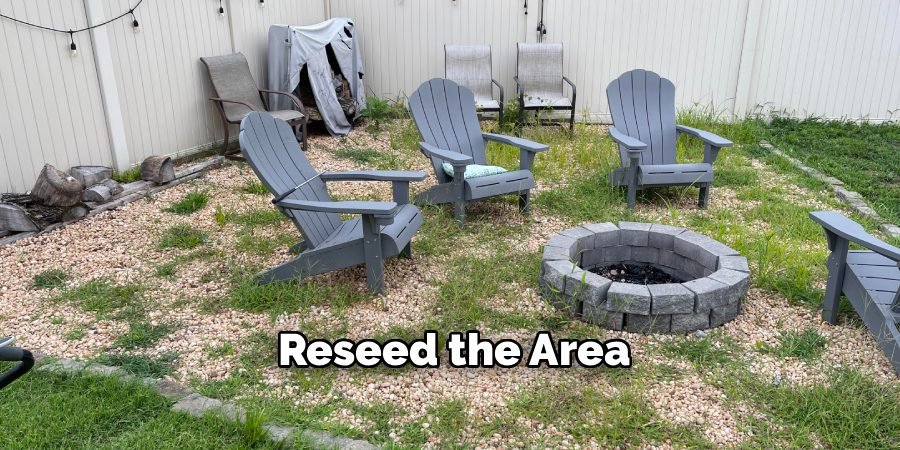
A good rule of thumb is to see about 50% soil and 50% seed. After spreading the seed, use the back of your rake to gently press them into the dirt. Seeds need direct contact with the soil to germinate. If they are just sitting on top of loose fluff, they may dry out and die before they ever sprout.
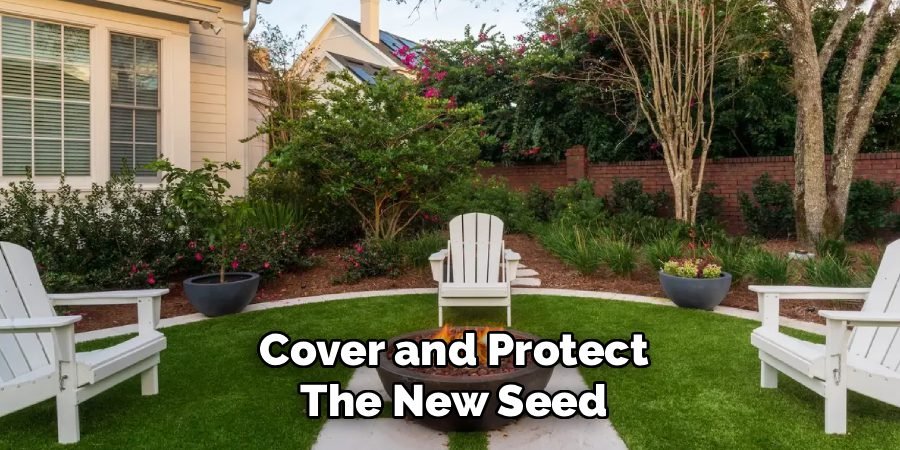
Step 6: Cover and Protect the New Seed
Naked grass seeds are vulnerable to hungry birds, strong winds, and the drying rays of the sun. To give your repair job the best chance of survival, you need to add a protective layer. Cover the newly seeded patch with a thin layer of straw, peat moss, or a biodegradable seed mat.
This covering should be light enough to let sunlight through but thick enough to retain moisture. It acts as a mini-greenhouse, keeping the seeds damp and warm. This step is particularly important for small patches in the middle of an established lawn, as it also signals to family members and pets that this specific area is off-limits while the baby grass is trying to grow.
Step 7: Establish a Strict Watering Routine
The final and most ongoing step is hydration. New grass seeds have zero drought tolerance. You must keep the soil consistently moist—like a wrung-out sponge—until germination occurs. This usually means watering the patch lightly two to three times a day, depending on the weather.
You do not want to flood the area, which can wash the seeds away, but you cannot let it dry out completely. Once the new grass reaches about two inches in height, you can gradually reduce the frequency of watering but increase the depth to encourage roots to grow downward. Consistency is key here. Neglecting the water for just one hot afternoon can kill the delicate sprouts and undo all your hard work.
Frequently Asked Questions (FAQ)
Will Burnt Grass Grow Back on Its Own?
It depends entirely on the severity of the heat damage. If the grass is just yellow or slightly brown but the crown (the base of the plant near the soil) is still green and firm, it can recover on its own with deep watering over a few weeks. However, if the spot is completely dead, crispy, and pulls out easily by the roots, it will not regenerate. In those cases, you must remove the dead material and reseed or re-sod the area to fill in the bare patch.
How Long Does It Take for Burnt Grass to Recover?
The recovery timeline varies based on the grass type and the method of repair.
- Watering Only: For minor heat stress, you might see greening in 10 to 14 days.
- Reseeding: Germination typically takes 7 to 21 days, depending on the seed variety. You will likely need another 3 to 4 weeks for the grass to become established enough to mow.
- Sod: Laying a new piece of sod provides an instant cosmetic fix, but rooting takes about two weeks.
Can I Use Sugar to Fix Burnt Grass?
Using sugar is a popular gardening myth, but it is not a direct cure for burnt grass. The theory is that sugar stimulates beneficial bacteria in the soil. While carbon sources can help microbes, pouring sugar directly on a burn spot can attract ants and pests. It is far more effective to use proper soil amendments like compost or a high-quality organic fertilizer designed for lawn repair. Stick to proven methods like aeration, reseeding, and watering for reliable results.
How Can I Prevent My Fire Pit from Burning the Grass?
Prevention is much easier than repair.
- Use a Heat Shield: Place a specialized heat-resistant mat or a layer of concrete pavers under your portable fire pit.
- Elevate the Pit: Ensure your fire pit has legs that raise the bowl at least 10 inches off the ground.
- Wet the Area: Lightly watering the grass around and under the pit before and during use can help lower the soil temperature, though it won’t stop intense radiant heat completely.
Is It Better to Use Seed or Sod for Repair?
Both have pros and cons.
- Seed: It is cheaper and easier to match to your specific lawn blend, but it takes longer to establish and requires diligent watering.
- Sod: It offers an instant patch that looks good immediately and is less prone to weed invasion. However, it can be harder to find small quantities (single rolls) and might look like a slightly different color patch until it blends in over time.
Conclusion
Seeing a charred circle in the middle of your backyard can be disheartening, but it is rarely a permanent disaster. Nature is forgiving, and with a little bit of manual labor and attention, you can erase the evidence of your bonfire mishap. By clearing away the dead thatch, revitalizing the soil with nutrients, and protecting your new seeds, you are essentially performing a mini-renovation that will leave that spot stronger than before.
The most important tool in your arsenal is patience; grass needs time to establish deep roots. Now that you have mastered the steps of how to fix burnt grass from fire pit damage, you can look forward to your next outdoor gathering—perhaps this time with a good heat shield in place—knowing that you have the skills to keep your lawn looking pristine all season long.

About
Jovie Mathews is a backyard and outdoor expert writer with over 12 years of hands-on experience transforming neglected outdoor spaces into thriving gardens and functional retreats. Raised in a family where weekends meant digging in the soil and building raised beds from scratch, Jovie developed a genuine love for the outdoors long before it became a career.
She writes with a practical, no-fluff approach — always testing ideas in her own backyard before sharing them with readers. From composting systems and native plant selection to patio design and pest control, Jovie covers the full spectrum of backyard life with equal parts expertise and enthusiasm.
Education
B.Sc. in Horticulture Science
University of Florida (UF) · Gainesville, FL · 2014
IFAS College of Agricultural and Life Sciences
Minor in Environmental Studies
University of Florida (UF) · Gainesville, FL · 2014
College of Liberal Arts and Sciences
Areas of expertise
- Lawn & Garden Care
- Soil prep, planting, seasonal care
- Outdoor DIY Projects
- Raised beds, fencing, pathways
- Composting & Soil Health
- Organic methods, amendments
- Native Plants & Wildlife
- Pollinators, habitat gardening
When she is not writing, Jovie can be found testing new composting techniques, growing tomatoes in questionable quantities, or convincing her neighbors that clover lawns are actually a great idea. She currently gardens in the Pacific Northwest.




