There are few things more annoying than planning a relaxing afternoon on your patio, only to be chased back inside by a steady drip of rainwater coming from the ceiling. Aluminum patio covers are fantastic for providing shade and protection, but over time, they are prone to developing leaks at the seams, screw heads, or flashing points.
These leaks can damage your outdoor furniture, cause unsightly staining on the concrete, and eventually lead to more severe structural issues if left unaddressed. Many homeowners assume that a leaky roof signals the end of its lifespan and requires an expensive replacement. Fortunately, this is rarely the case.
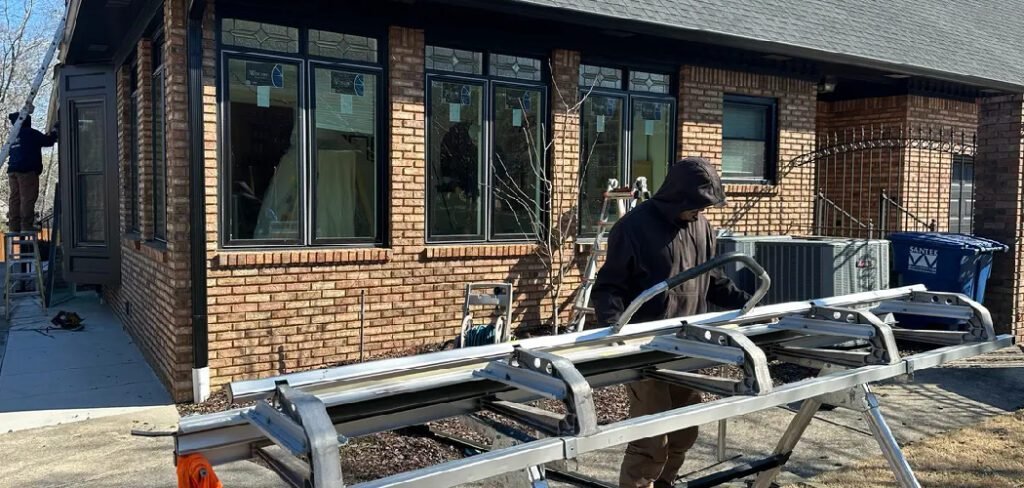
With the right sealants and a systematic approach, you can restore your cover’s integrity yourself. This comprehensive guide will teach you how to fix a leaking aluminum patio roof using simple tools and materials found at any hardware store.
By following these steps, you can stop the water intrusion and get back to enjoying your outdoor living space, rain or shine.
Step-by-Step Guide on How to Fix a Leaking Aluminum Patio Roof
Step 1: Safely Locate and Mark the Source of Water Intrusion
The first and most crucial part of the repair process is identifying exactly where the water is entering. Start by clearing any debris, such as leaves or twigs, from the roof surface, as these can trap moisture and hide cracks. Since water travels, the drip point on your patio floor might not be directly beneath the actual hole.

The best method is to use a garden hose on a dry day. Have a helper stand underneath the patio cover while you gently spray water onto different sections of the roof, starting from the lowest point and working your way up.
\When your helper spots a drip, mark the corresponding area on top with a piece of painter’s tape or a grease pencil. Be thorough in your inspection, checking seams, fasteners, and especially where the aluminum meets the house wall.
Step 2: Thoroughly Clean and Prep the Repair Area
Once you have identified the problem spots, you must prepare the surface for the sealant. Adhesives will not bond correctly to dirty, oxidized, or oily aluminum. Mix a solution of warm water and a mild degreasing detergent, like dish soap, in a bucket.
Use a stiff-bristled scrub brush to vigorously clean the area around the leak, extending at least six inches in every direction. If there is old, cracking caulk or roofing tar present, use a putty knife or scraper to remove it completely.
After scrubbing, rinse the area with fresh water and allow it to dry completely. Any remaining moisture will compromise the seal, so wait for a sunny day or use a clean rag to ensure the metal is bone dry before proceeding to the next stage of the repair.
Step 3: Tighten or Replace Loose Fasteners and Screws
A very common cause of leaks in metal roofs is loose hardware. Over time, the expansion and contraction of the aluminum due to temperature changes can cause the screws that hold the panels together to back out slightly. This creates a tiny gap where water can seep through.
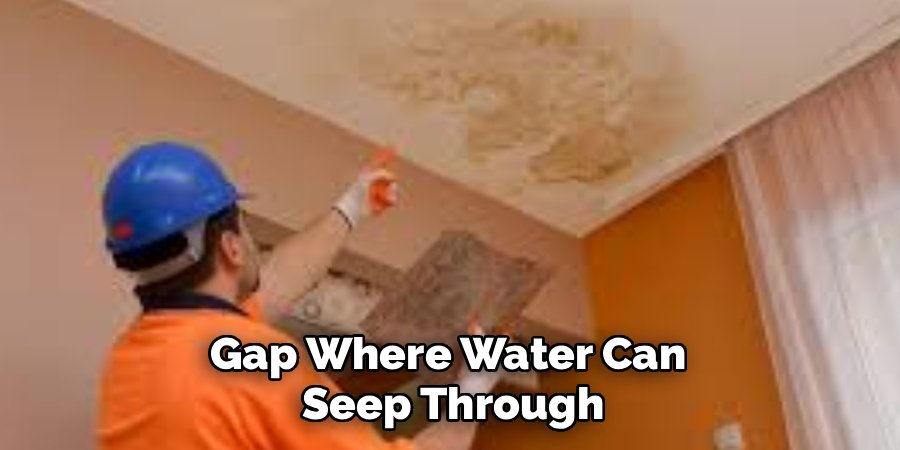
Inspect all the screws in the vicinity of the leak. Use a screwdriver or drill to gently tighten them, being careful not to strip the threads or crack the metal. If you find screws that are rusted or have worn-out rubber washers, remove them entirely and replace them with new, slightly larger self-tapping screws that have fresh neoprene washers.
These washers are critical because they compress against the metal to create a watertight seal around the screw hole, stopping one of the most frequent leak sources.
Step 4: Apply Elastomeric Sealant
For leaks occurring along the seams where two aluminum panels overlap, a high-quality sealant is your best defense. You should choose an elastomeric roof sealant or a specialized aluminum gutter caulk, as these products remain flexible after curing.
This flexibility allows the sealant to move with the metal as it expands and contracts in the heat, preventing cracks from forming later. Load the sealant into a caulking gun and cut the tip of the tube at a 45-degree angle.
Apply a generous, continuous bead of sealant along the entire length of the suspect seam, not just the exact spot of the leak. Use a gloved finger or a smoothing tool to press the sealant into the gap and smooth it out, ensuring there are no air bubbles. This creates a robust barrier against wind-driven rain.
Step 5: Install Peel-and-Stick Flashing Tape
If you encounter larger holes, cracks, or stubborn leaks that caulk alone cannot handle, repair tape is the superior solution. Look for a foil-backed, butyl rubber “peel-and-stick” flashing tape designed for metal roofing. Cut a piece of tape that is large enough to cover the damage with at least two inches of overlap on all sides.

Peel off the backing paper and carefully position the tape over the hole. Press it down firmly, starting from the center and working your way outward to push out any trapped air.
Use a small hand roller to apply heavy pressure, which activates the adhesive bond. This tape essentially becomes a second skin for your roof, offering a permanent and highly durable patch that is impervious to water and UV rays.
Step 6: Seal the Joint Between the House and the Patio Cover
The intersection where your aluminum patio cover attaches to the exterior wall of your home is a notorious trouble spot. If the flashing here fails, water can run down the side of your house and underneath the patio roof. Inspect the metal flashing strip that bridges this gap.
If the seal is broken, apply a thick bead of high-grade polyurethane flashing cement or clear silicone caulk along the top edge of the flashing where it meets the house siding. Ensure you also seal any vertical seams in the flashing itself.
If the flashing is bent or rusted through, you may need to slide a new piece of L-shaped flashing under your home’s siding and over the patio roof panels before sealing. Securing this transition point is vital for keeping your patio dry and protecting your home’s siding from water damage.
Step 7: Apply a Liquid Roof Coating
For older roofs with multiple small leaks or general wear, a spot repair might only be a temporary fix. To extend the life of the entire structure, consider applying a liquid rubber roof coating over the entire surface.
This product is rolled on like thick paint and cures into a seamless, waterproof membrane. Pour the coating onto the roof and use a paint roller with a long extension pole to spread it evenly. Pay extra attention to the seams and screw heads you previously repaired, ensuring they are well-covered.
This coating not only seals microscopic pinholes that you might have missed but also reflects sunlight, which can help keep your patio cooler. It acts as a final, comprehensive shield that rejuvenates the appearance and functionality of your aluminum cover.
Frequently Asked Questions (FAQ)
What Is the Best Sealant for Aluminum Patio Roofs?
You should look for a sealant specifically designed for metal roofing or gutters.
- Polyurethane Caulk: This is highly recommended because it is extremely durable, waterproof, and adheres excellently to metal.
- Silicone: While clear silicone works, it is sometimes harder to paint over later.
- Elastomeric Sealants: These are fantastic because they stretch. Since aluminum expands and contracts significantly with heat, a rigid sealant will crack, but elastomeric ones move with the metal.
Can I Use Roofing Tar on Aluminum?
It is generally better to avoid standard black roofing tar or asphalt mastic on an aluminum patio cover.
- Aesthetics: It looks unsightly and messy on a residential patio.
- Damage: Petroleum-based products can sometimes react poorly with certain finish coatings on the aluminum.
- Performance: Asphalt products tend to dry out and crack relatively quickly when exposed to direct sun on a hot metal surface. Stick to modern silicone or polyurethane products instead.
How Long Will a Patch Repair Last?
The longevity of your repair depends on the materials used and the quality of the application.
- Caulk/Sealant: A good bead of high-quality polyurethane sealant can last 10 to 20 years.
- Butyl Tape: Foil-backed butyl tape is incredibly durable and can last upwards of 15 to 20 years.
- Maintenance: Regularly clearing leaves and debris from the roof prevents water from pooling, which extends the life of any repair significantly.
Why Does My Patio Roof Leak Only During Heavy Rain?
If leaks only appear during torrential downpours, it might be an issue with capacity rather than a hole.
- Overflowing Gutters: If the gutters attached to the patio cover are clogged, water can back up and flow underneath the roofing panels.
- Slope: The roof might not have enough pitch (slope). If water cannot run off fast enough, it pools and finds its way through tiny overlaps that are normally safe during light rain.
Is It Worth Fixing or Should I Replace It?
In most cases, repair is the better financial option.
- Cost: A tube of sealant costs $10, while a new patio cover costs thousands.
- Structure: If the aluminum panels are structurally sound (not rusted through or bent), resealing them effectively restores their function.
- Replacement: You should only consider replacement if the metal is severely corroded, structurally unsafe, or if the leaks are so widespread that a coating won’t seal them.
Conclusion
A leaking patio roof doesn’t have to dampen your outdoor enjoyment or drain your bank account. By taking the time to properly identify the source of the intrusion and applying the correct modern sealants, you can extend the life of your aluminum cover by years.
Whether it is a simple loose screw or a compromised seam, the solution is usually within reach of the average DIY enthusiast. Remember that preparation is just as important as the application; a clean, dry surface is the secret to a long-lasting bond.
With a little effort and a sunny afternoon, you can confidently solve the problem of how to fix a leaking aluminum patio roof, transforming your wet, frustrating space back into the dry, comfortable haven it was meant to be.
Read More :
- How to Build a Gable Roof Patio Cover
- How to Coyote Proof Your Yard
- How to Build a Shed Roof
- How to Build a Barn Roof

About
Jovie Mathews is a backyard and outdoor expert writer with over 12 years of hands-on experience transforming neglected outdoor spaces into thriving gardens and functional retreats. Raised in a family where weekends meant digging in the soil and building raised beds from scratch, Jovie developed a genuine love for the outdoors long before it became a career.
She writes with a practical, no-fluff approach — always testing ideas in her own backyard before sharing them with readers. From composting systems and native plant selection to patio design and pest control, Jovie covers the full spectrum of backyard life with equal parts expertise and enthusiasm.
Education
B.Sc. in Horticulture Science
University of Florida (UF) · Gainesville, FL · 2014
IFAS College of Agricultural and Life Sciences
Minor in Environmental Studies
University of Florida (UF) · Gainesville, FL · 2014
College of Liberal Arts and Sciences
Areas of expertise
- Lawn & Garden Care
- Soil prep, planting, seasonal care
- Outdoor DIY Projects
- Raised beds, fencing, pathways
- Composting & Soil Health
- Organic methods, amendments
- Native Plants & Wildlife
- Pollinators, habitat gardening
When she is not writing, Jovie can be found testing new composting techniques, growing tomatoes in questionable quantities, or convincing her neighbors that clover lawns are actually a great idea. She currently gardens in the Pacific Northwest.