A patio is a wonderful extension of your home, but harsh sun or unexpected rain can often send you running back indoors. A well-designed patio cover transforms your outdoor area into a true all-weather living space, providing shade, shelter, and architectural character.
While simple flat or sloped roofs are common, a gable roof—with its classic triangular peak—adds a sense of height, improved airflow, and a more substantial, integrated look that can significantly boost your home’s curb appeal and value.
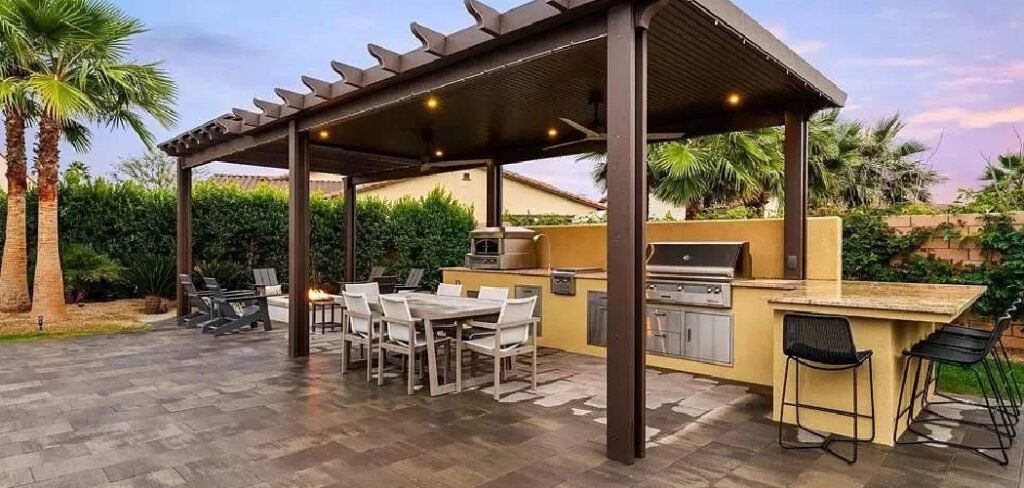
\Building one might seem like a project reserved for professional contractors, but with careful planning and the right guidance, it is a very achievable DIY endeavor.
This guide will provide a comprehensive overview of how to build a gable roof patio cover, breaking down the construction process into clear, manageable steps to help you create the backyard retreat you have always wanted.
A gable roof patio cover is a stylish and functional addition to any outdoor space. It provides shelter from the elements, adds an architectural highlight to your yard, and creates a cozy area for relaxation or entertaining guests.
By incorporating a sloped, triangular design, this type of patio cover ensures efficient water drainage while offering a timeless aesthetic. Whether you’re looking to enhance your home’s exterior or increase your outdoor living options, taking on this project can be both rewarding and transformative.
Step-by-Step Guide on How to Build a Gable Roof Patio Cover
Step 1: Create a Detailed Plan and Check Local Codes
Before you purchase any lumber, the most important step is to create a solid plan. Determine the exact dimensions of your desired cover, including its length, width, and height. A standard gable roof has a pitch, or slope, which you must also decide upon; a 4/12 pitch is common for these structures.

Draw a detailed diagram of your design, noting the placement of support posts and the ledger board attachment to your house. With this plan in hand, you must visit your local building department.
Most attached structures require a building permit to ensure they are safe and comply with local zoning laws, setback requirements, and snow load regulations. Getting this approval upfront is non-negotiable and prevents major headaches later.
Read More : How to Attach a Patio Roof to an Existing House
Step 2: Set the Support Posts in Concrete
The foundation of your patio cover is the set of support posts that will carry the weight of the roof. Based on your plan, use marking paint to indicate the location for each post footing on your patio. You will need to dig holes that are typically twice the width of your post and extend below the frost line for your region to prevent heaving.
Place a few inches of gravel at the bottom for drainage. Then, set your pressure-treated wood posts (often 6x6s for strength) into the holes, using a level to ensure they are perfectly plumb.
Brace them securely in place and mix and pour concrete into the holes, sloping the top of the concrete away from the post to shed water. Let the concrete cure completely for several days.
Step 3: Install the Ledger Board and Support Beams
The ledger board is the horizontal framing member that attaches the patio cover directly to your house. It must be securely bolted into the house’s framing, not just the siding.
You will need to remove siding where the ledger will go, install flashing to prevent water intrusion, and then attach the ledger board with heavy-duty lag screws or structural bolts. Once the ledger is set, you can install the main support beams.
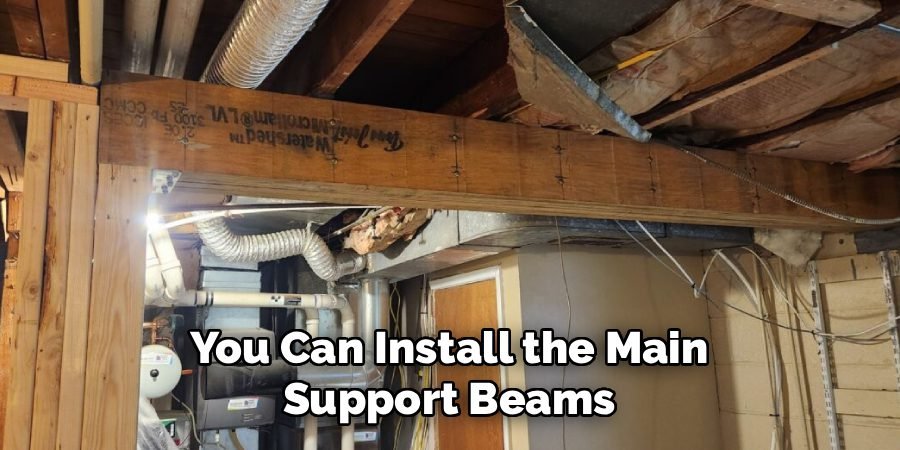
These large beams will span the distance between your newly set posts and will be connected using post-to-beam hardware. Ensure these beams are level and securely fastened, as they form the primary support system for the entire roof structure. This is a critical point in learning how to build a gable roof patio cover.
Step 4: Construct and Install the Ridge Beam and Rafters
The gable roof gets its shape from the central ridge beam, which runs along the peak of the roof. You will need to install two taller posts, called ridge posts, on top of your front and back support beams to hold this ridge beam in place. With the ridge beam secured, you can begin cutting and installing the rafters.
The rafters are the angled boards that extend from the ledger board and the outer support beam up to the ridge beam. Each rafter needs an angled cut at the top where it meets the ridge (a plumb cut) and a notch at the bottom where it rests on the support beam (a bird’s mouth cut).
Install the rafters at regular intervals, typically 16 or 24 inches on center, using hurricane ties or other metal connectors for strength.
Step 5: Install Roof Decking or Purlins
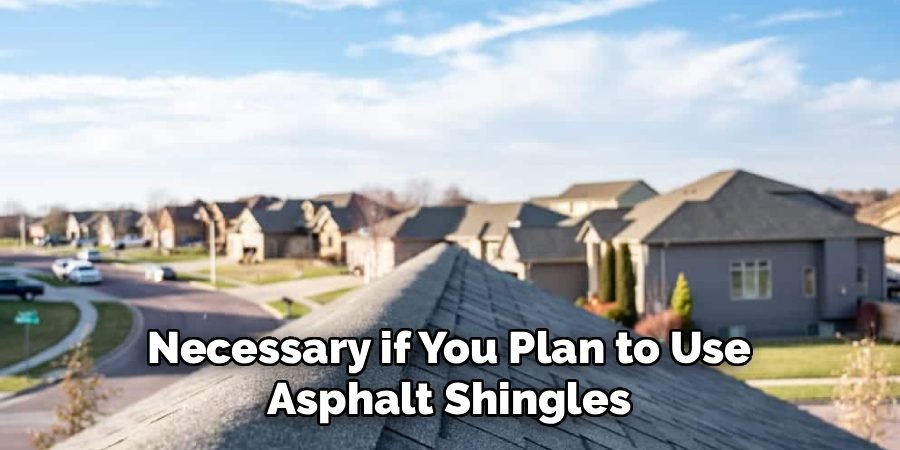
With the rafter framework complete, you need to add a surface to attach your roofing material. You have two main options here. The first is to install a solid roof deck, which involves covering the rafters with sheets of plywood or OSB (oriented strand board). This creates a solid surface and is necessary if you plan to use asphalt shingles.
The second option, often used with metal roofing, is to install purlins. Purlins are horizontal boards that are attached across the tops of the rafters. This method leaves the space between rafters open from below, creating a more rustic, open-ceiling look while still providing a secure attachment point for the roofing panels.
Read More : How to Build Patio Cover Attached to House
Step 6: Add Roofing and Flashing
Now you will make your structure waterproof. If you installed a solid deck, start by laying down roofing felt or a synthetic underlayment, overlapping each course. If you are using asphalt shingles, install them starting from the bottom edge and working your way up to the ridge.
For metal roofing, you will screw the panels directly to the purlins or decking, ensuring the panels overlap correctly to shed water. A crucial part of this step is installing flashing where the patio roof meets the house wall.
This L-shaped metal piece slides under the house siding and over the new roof, creating a channel that directs water away from the joint and prevents leaks.
Step 7: Finish with Soffit, Fascia, and Final Touches
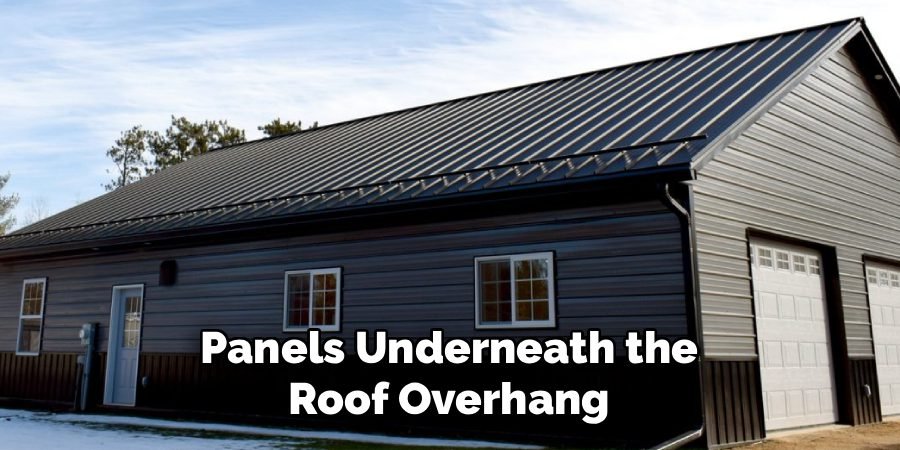
The final step involves the finishing details that give your patio cover a professional look. Install the fascia boards along the ends of the rafters to create a clean, finished edge. If you want an enclosed look from below, you can install soffit panels underneath the roof overhang.
At this point, you can also add any desired extras, such as gutters and downspouts to manage rainwater, or run electrical wiring for an outdoor ceiling fan or lights.
Finally, apply a coat of paint or stain to all the exposed wood to protect it from the elements and match it to your home’s existing color scheme. This completes the project and makes your new outdoor space ready for enjoyment.
Frequently Asked Questions (FAQ)
What Is the Best Roof Pitch for a Gable Patio Cover?
The roof pitch is the slope, expressed as a ratio of rise over run. For a gable patio cover, a pitch between 3/12 and 6/12 is common.
- 3/12 or 4/12 Pitch: A lower slope that is easier to work on and requires less material, blending well with many single-story homes.
- 6/12 Pitch: A steeper slope that sheds water and snow more effectively and creates a more dramatic, spacious feel underneath. Your choice often depends on matching the pitch of your home’s existing roof.
Do I Need a Permit to Build a Patio Cover?
Almost certainly, yes. Most municipalities consider a patio cover attached to a house to be a permanent structure that requires a building permit. The permitting process ensures that your design is structurally sound, meets safety codes, and complies with local zoning regulations like property line setbacks.
Building without a permit can result in fines and an order to tear the structure down. Always check with your local building department before you begin.
What Is the Best Wood to Use for a Patio Cover?
The choice of wood depends on the component.
- Posts and Beams: Pressure-treated lumber is essential for any wood that is in contact with the ground (posts) or exposed to significant weather. Cedar or Redwood are naturally rot-resistant and beautiful but more expensive alternatives.
- Rafters and Decking: Standard framing lumber like Douglas Fir or Southern Yellow Pine is typically used for the roof structure.
How Far Apart Should the Support Posts Be?
The spacing of your support posts depends on the size of the support beams they are carrying. A larger beam can span a greater distance. For example, a double 2×10 beam might span 10-12 feet between 6×6 posts.
You should consult a span table, which provides engineering data on how far a beam of a certain size can safely span between supports. Never guess on this, as it is critical for the structural integrity of your roof.
Can I Attach a Patio Cover to My Home’s Fascia?
No, you should never attach the main support for a patio cover directly to your home’s fascia board. The fascia is a cosmetic trim piece and is not designed to bear a significant structural load.
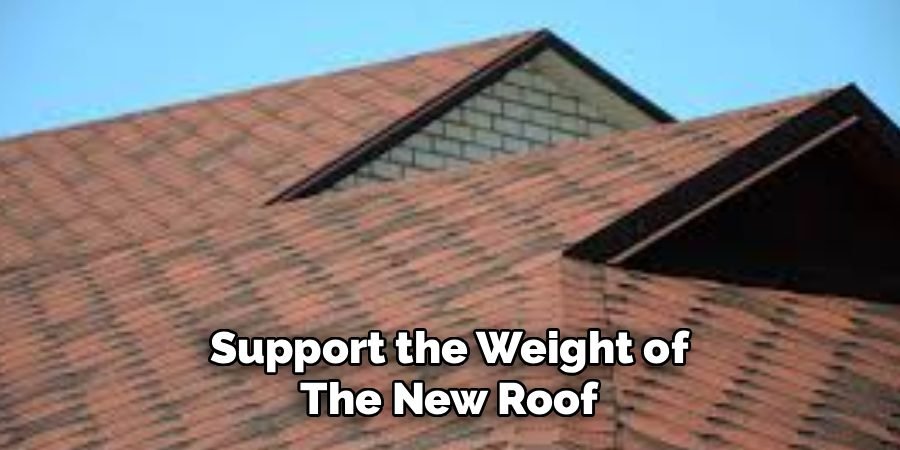
The proper method is to attach a ledger board directly to the house’s wall framing (the rim joist or wall studs), which provides the necessary strength to support the weight of the new roof.
Conclusion
Building an outdoor structure that enhances your home and lifestyle is an incredibly satisfying achievement. A gable roof patio cover does more than just provide shade; it creates a defined, room-like space that adds significant value and architectural interest to your property.
By following a methodical process of planning, building a solid foundation, framing the structure correctly, and waterproofing it with care, you can construct a durable and beautiful addition to your home.
It’s a project that demands precision and patience, but the reward is a comfortable haven for relaxation and entertainment for years to come. Now that you have a clear roadmap on how to build a gable roof patio cover, you are ready to start planning your project and take the first step toward transforming your backyard.
Read More :
- How to Cover Backyard Dirt for Party
- How to Cover a Lattice Patio Cover
- How to Fix a Leaking Aluminum Patio Roof

About
Jovie Mathews is a backyard and outdoor expert writer with over 12 years of hands-on experience transforming neglected outdoor spaces into thriving gardens and functional retreats. Raised in a family where weekends meant digging in the soil and building raised beds from scratch, Jovie developed a genuine love for the outdoors long before it became a career.
She writes with a practical, no-fluff approach — always testing ideas in her own backyard before sharing them with readers. From composting systems and native plant selection to patio design and pest control, Jovie covers the full spectrum of backyard life with equal parts expertise and enthusiasm.
Education
B.Sc. in Horticulture Science
University of Florida (UF) · Gainesville, FL · 2014
IFAS College of Agricultural and Life Sciences
Minor in Environmental Studies
University of Florida (UF) · Gainesville, FL · 2014
College of Liberal Arts and Sciences
Areas of expertise
- Lawn & Garden Care
- Soil prep, planting, seasonal care
- Outdoor DIY Projects
- Raised beds, fencing, pathways
- Composting & Soil Health
- Organic methods, amendments
- Native Plants & Wildlife
- Pollinators, habitat gardening
When she is not writing, Jovie can be found testing new composting techniques, growing tomatoes in questionable quantities, or convincing her neighbors that clover lawns are actually a great idea. She currently gardens in the Pacific Northwest.