Adding lattice under your deck is a fantastic way to enhance your home’s curb appeal and add a polished, finished look to your outdoor space. This project not only conceals the often-untidy area beneath the deck but also helps keep unwanted critters out. It’s a beginner-friendly DIY task that can transform your backyard over a weekend.
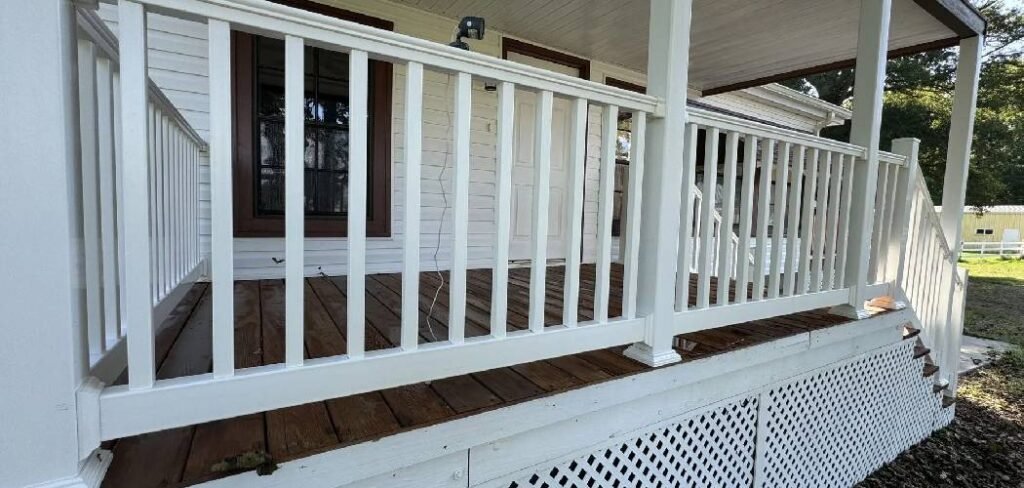
This guide will walk you through everything you need to know about how to install lattice under deck, from gathering your materials to making the final cuts. With a bit of planning and some basic tools, you can give your deck a professional-looking skirt that boosts both its function and its style.
Why Install Lattice Under Your Deck?
Installing lattice under your deck offers a surprising number of benefits beyond just aesthetics. First and foremost, it creates a clean and uniform appearance, hiding storage, uneven ground, or the structural posts and beams from view. This simple addition can make your entire outdoor area feel more intentional and well-designed.
Functionally, lattice serves as an effective barrier. It helps prevent leaves, trash, and other debris from blowing under the deck, making cleanup easier. It’s also an excellent way to deter animals like skunks, raccoons, and stray cats from making a home in the dark, sheltered space. While it won’t stop smaller rodents, it’s a great first line of defense.
Lattice also allows for essential airflow. Unlike a solid skirting, the crisscross pattern lets air circulate freely, which helps prevent moisture buildup, mold, and mildew growth that can damage your deck’s foundation. This ventilation is crucial for the long-term health and structural integrity of your deck. Finally, it can define the space, creating a visual boundary that separates your deck and yard.
7 Step-by-Step Guide on How to Install Lattice Under Deck
Step 1: Measure and Plan Your Project
Before you buy any materials, you need to accurately measure the area you plan to enclose. Use a tape measure to find the height from the ground to the bottom of the deck’s frame at each corner and at several points in between, as the ground may be uneven. Also, measure the total length of all sides you wish to cover.
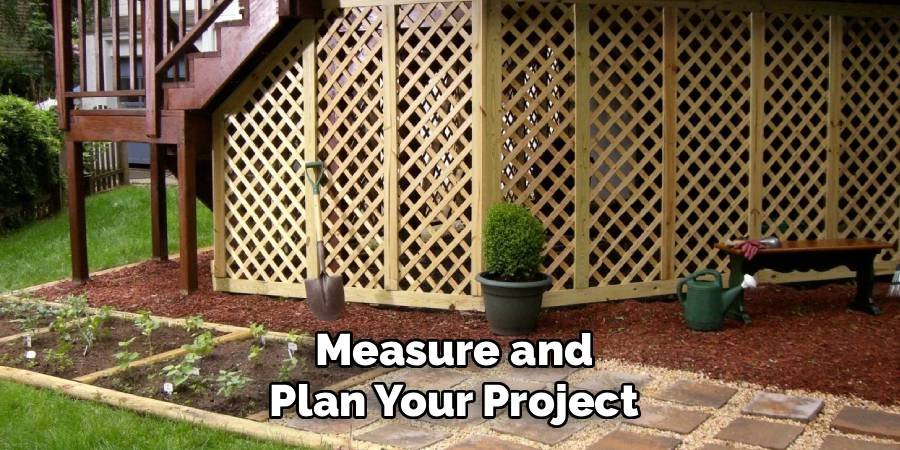
Add these lengths together to determine the total linear feet of lattice you’ll need. It’s wise to add 10-15% to your total measurement to account for any cutting mistakes. This planning stage is also the perfect time to decide if you want vinyl or wood lattice and whether you’ll need to build a support frame.
Step 2: Gather Your Tools and Materials
With your measurements in hand, it’s time to go shopping. You will need enough lattice panels to cover the calculated area. You will also need pressure-treated 2×4 lumber to build a support frame, which is essential for a sturdy installation. For fasteners, grab a box of 1.5-inch and 3-inch weather-resistant deck screws. Your tool list should include a tape measure, a pencil, a level, a circular saw or jigsaw for cutting the lattice and lumber, a power drill with screw bits, and safety gear like gloves and safety glasses. If you opt for vinyl lattice, you may also need U-shaped and H-shaped channels for a cleaner finish.
Step 3: Build the Support Frame
A solid frame is the key to a professional-looking and durable lattice installation. Start by cutting your 2x4s to create a top and bottom rail that will run between the deck posts. Attach the top rail directly to the underside of the deck’s rim joist using 3-inch deck screws. For the bottom rail, you may need to attach it to short vertical stakes driven into the ground to keep it level and secure, especially if the ground is sloped. Ensure the bottom rail is elevated slightly off the ground to prevent rot. Finally, install vertical 2×4 supports every 4 to 6 feet between the top and bottom rails to provide attachment points for your lattice panels.
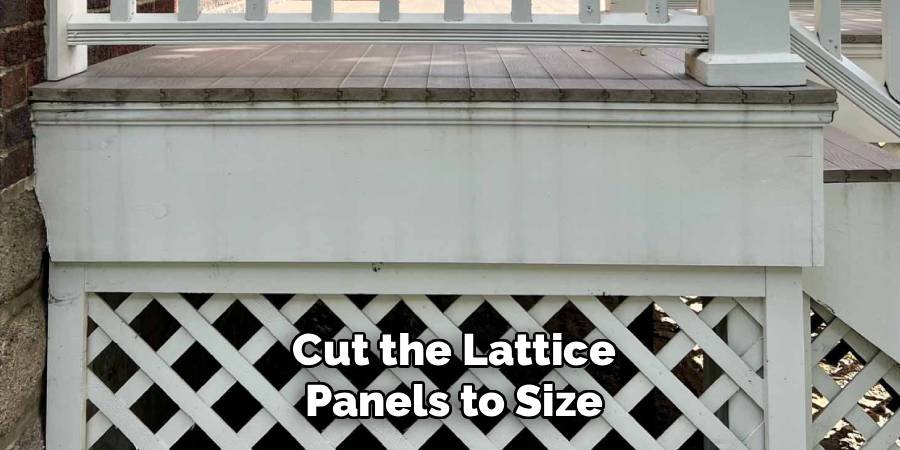
Step 4: Cut the Lattice Panels to Size
Now you can begin cutting your lattice panels to fit the framed sections. Lay a panel on a flat surface or across two sawhorses. Measure the height and width of the opening in your frame and transfer these dimensions to the lattice panel with a pencil. To get a straight cutting line, use a straightedge or a chalk line. When cutting, especially with a circular saw, it’s helpful to place a strip of painter’s tape along the cut line to prevent the material from splintering. Wear your safety glasses and take your time to ensure each cut is precise.
Step 5: How to Install the First Lattice Panel
Begin your installation at one corner of the deck. Position your first pre-cut lattice panel against the support frame. It’s important to leave a small gap of about a quarter-inch around all sides of the panel. This space allows the lattice, whether wood or vinyl, to expand and contract with changes in temperature and humidity without buckling or warping over time. Use a level to make sure the panel is perfectly vertical and horizontal before you secure it. A crooked first panel will throw off the entire project, so double-check its alignment before proceeding.
Step 6: Secure the Lattice to the Frame
Once the first panel is properly positioned, you can attach it to the 2×4 frame. Use 1.5-inch weather-resistant screws for this task. Drive screws through the lattice and into the top rail, bottom rail, and any vertical supports. Place the screws about every 12 to 18 inches along the perimeter and in the middle of the panel to ensure it is held firmly in place. Avoid overtightening the screws, particularly with vinyl lattice, as this can cause the panel to crack or warp. The screw should be snug but still allow for slight movement.
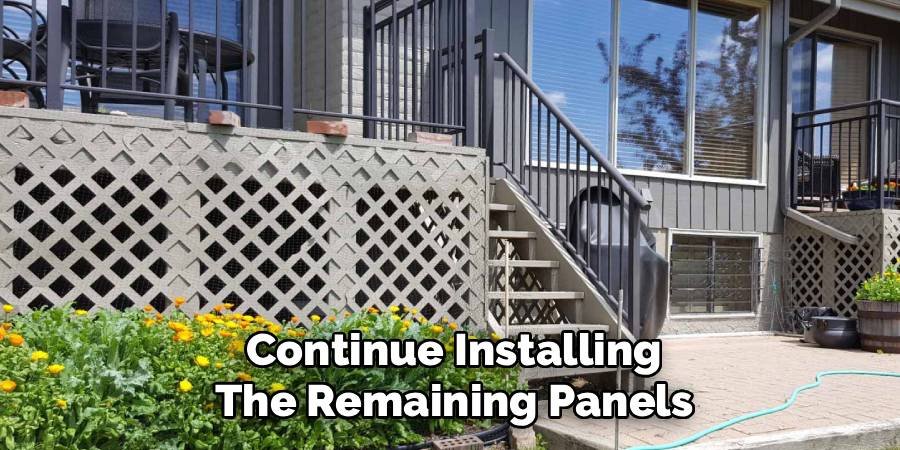
Step 7: Continue Installing the Remaining Panels
With the first panel successfully installed, you can now work your way around the deck, repeating the process for each section. If your lattice panels need to be joined in the middle of a long run, you have a few options. For wood lattice, you can simply butt the edges together over a vertical support stud. For a cleaner look with vinyl lattice, you can use an H-channel, which is designed to neatly join two panels while hiding the seam. Continue measuring, cutting, and securing each panel until the entire area is covered, ensuring each piece is level and consistently spaced.
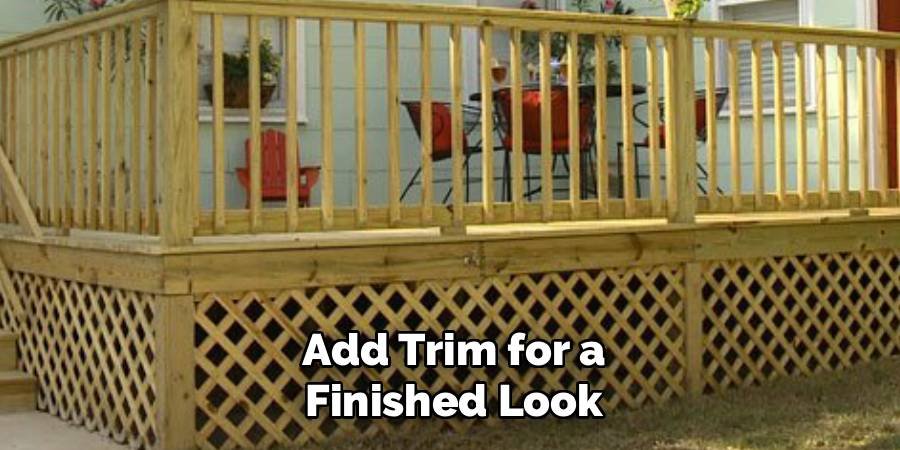
Add Trim for a Finished Look
The final step is to add trim, which hides the cut edges of the lattice and the screws, giving your project a polished, professional finish. You can use 1×4 pressure-treated boards or dedicated lattice cap molding for this. Cut the trim pieces to fit along the top, bottom, and sides of your lattice panels. You can miter the corners at a 45-degree angle for a clean joint. Attach the trim directly over the lattice, screwing it into the 2×4 frame underneath. Once the trim is in place, you can paint or stain it and the lattice to match your deck or house color. This is the last detail in learning how to install lattice under deck.
Frequently Asked Questions
What Is Better: Wood or Vinyl Lattice?
Both materials have their pros and cons. Wood lattice offers a classic, natural look and can be easily stained or painted to match your deck. However, it requires regular maintenance to prevent rot and insect damage. Vinyl lattice is more durable, low-maintenance, and resistant to moisture and pests. It comes in various colors but can be more prone to cracking in very cold weather and may not look as traditional as wood.
How Do You Attach Lattice if the Ground Is Sloped?
When dealing with a sloped ground, you have two primary options. You can either follow the slope of the ground by cutting the bottom of each lattice panel at an angle, or you can “step” the panels down. Stepping involves keeping the top of the panels level while the bottom of each subsequent panel sits lower than the last. For both methods, a solid bottom frame rail that follows the contour of the ground is essential for a secure installation.
Do You Need a Frame to Install Lattice?
While you can attach lattice directly to deck posts, building a 2×4 frame is highly recommended. A frame provides a much sturdier and more durable foundation, preventing the lattice from warping, sagging, or bowing over time. It also makes the installation process easier by creating a flat, consistent surface to attach the panels to and allows for proper spacing and alignment. This structure is key to a long-lasting, professional result.
How Do You Cut Lattice Without It Splintering?
To minimize splintering, especially with wood lattice, support the panel firmly on sawhorses. The best method is to sandwich the cut line between two pieces of scrap wood or place painter’s tape along the line before cutting. Use a fine-toothed blade on your circular saw or jigsaw. A circular saw with the blade set to a shallow depth often produces a cleaner cut than a jigsaw. For vinyl lattice, cutting on a warmer day can also help prevent cracking.
Can I Install an Access Gate in My Lattice Skirting?
Yes, installing an access gate is a great idea for storing items or accessing utilities under your deck. To do this, build a small, separate frame for the gate out of 2x4s and attach a piece of lattice to it. Then, mount the gate to the main support frame using outdoor-grade hinges. You can add a simple latch to keep it securely closed. Plan the location of your gate before you begin installing the main lattice panels.
Conclusion
Finishing your deck with lattice skirting is a rewarding project that adds significant value and visual appeal to your home. By following the steps outlined in this guide, you can confidently tackle this task and achieve a clean, durable, and professional-looking result. From measuring and building a sturdy frame to cutting and securing the panels, you now have the knowledge to complete the job correctly. Now that you understand how to install lattice under deck, you’re ready to gather your tools and transform your outdoor living space.

About
Jovie Mathews is a backyard and outdoor expert writer with over 12 years of hands-on experience transforming neglected outdoor spaces into thriving gardens and functional retreats. Raised in a family where weekends meant digging in the soil and building raised beds from scratch, Jovie developed a genuine love for the outdoors long before it became a career.
She writes with a practical, no-fluff approach — always testing ideas in her own backyard before sharing them with readers. From composting systems and native plant selection to patio design and pest control, Jovie covers the full spectrum of backyard life with equal parts expertise and enthusiasm.
Education
B.Sc. in Horticulture Science
University of Florida (UF) · Gainesville, FL · 2014
IFAS College of Agricultural and Life Sciences
Minor in Environmental Studies
University of Florida (UF) · Gainesville, FL · 2014
College of Liberal Arts and Sciences
Areas of expertise
- Lawn & Garden Care
- Soil prep, planting, seasonal care
- Outdoor DIY Projects
- Raised beds, fencing, pathways
- Composting & Soil Health
- Organic methods, amendments
- Native Plants & Wildlife
- Pollinators, habitat gardening
When she is not writing, Jovie can be found testing new composting techniques, growing tomatoes in questionable quantities, or convincing her neighbors that clover lawns are actually a great idea. She currently gardens in the Pacific Northwest.