A high-quality patio umbrella is the centerpiece of any outdoor living space, providing essential shade and a pop of style. However, constant exposure to the harsh sun, rain, and wind eventually takes its toll. Over time, the vibrant fabric fades, tears appear, and what was once a beautiful accessory becomes an eyesore. Many homeowners assume that when the fabric wears out, the entire umbrella structure needs to be thrown away. This is a costly misconception.
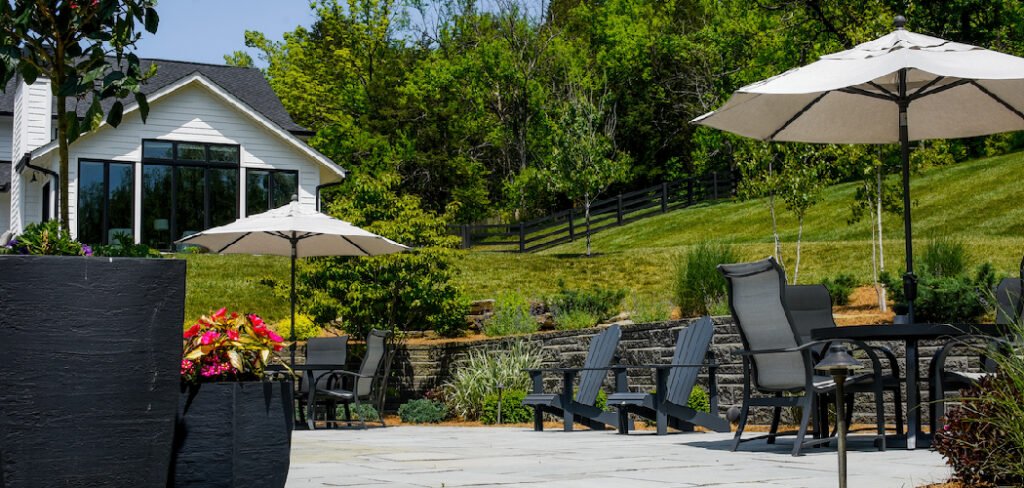
The metal or wood frame often has years of life left in it, and simply swapping out the fabric can make it look brand new. This process is surprisingly simple, cost-effective, and environmentally friendly. Instead of spending hundreds on a whole new unit, you can refresh your backyard oasis for a fraction of the price. This guide is designed to walk you through how to replace patio umbrella canopy fabric, transforming your weathered umbrella back into the stylish, functional shade provider you love.
Replacing the canopy on a patio umbrella might seem like a daunting task, but with the right tools and a little guidance, it can be a straightforward and satisfying project. Whether your current canopy is faded, torn, or simply outdated, a new fabric can breathe fresh life into your outdoor space. Plus, taking on this simple DIY project allows you to customize the look of your umbrella to match your personal style and décor.
Tools and Materials
Before you begin replacing your patio umbrella canopy, gather the following tools and materials to ensure a smooth and efficient process:
- Replacement Canopy Fabric – Make sure to purchase the right size and style for your umbrella frame. Double-check measurements for a perfect fit.
- Screwdriver – A flathead or Phillips screwdriver will be needed to detach the canopy frame, depending on your umbrella model.
- Pliers – Useful for loosening or tightening small components on the umbrella frame.
- Scissors – For trimming fabric, if necessary, or cutting any stray threads.
- Measuring Tape – To confirm dimensions and ensure precise adjustments.
- Step Stool or Ladder – To safely reach the upper parts of the umbrella if it’s tall.
Having these items ready will make the replacement process quicker and hassle-free.
8 Step-by-Step Guide on How to Replace Patio Umbrella Canopy
Step 1: Measure Your Existing Frame Accurately
Before you purchase a replacement, you must determine the exact size required for your specific frame. Start by opening your umbrella fully so the ribs are extended. Use a measuring tape to measure the length of one rib arm from the top center hub down to the very tip. Next, measure the distance between two adjacent rib tips.
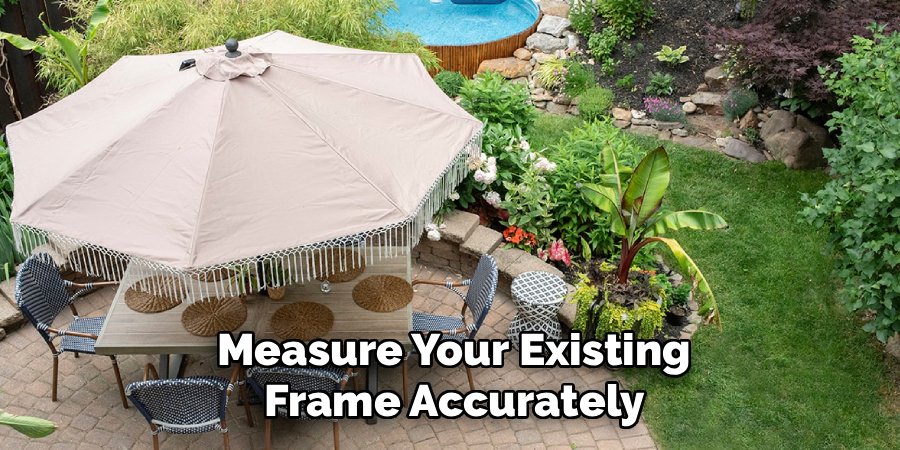
Finally, count the total number of ribs; most standard umbrellas have either 6 or 8 ribs. These three pieces of information—rib length, distance between ribs, and rib count—are critical. Ordering a “9-foot canopy” based on a guess often leads to a poor fit because manufacturers measure diameter differently. Taking precise measurements ensures the new fabric will be taut and functional.
Step 2: Remove the Finial Cap from the Top
The process begins at the very top of the umbrella. Locate the finial, which is the decorative cap or knob screwed onto the center peak of the umbrella frame. This piece holds the fabric securely in place at the apex. Depending on the model, you might be able to unscrew this by hand, or you may need a screwdriver if it is fastened more securely. Turn the finial counter-clockwise to loosen it. Once removed, set it aside in a safe place, as you will definitely need it to secure the new canopy later. Beneath the finial, you might find a plastic washer or grommet; ensure you keep track of these small parts as well, as they prevent water from leaking through the top.
Step 3: Detach the Fabric from the Rib Tips
With the top secured, move down to the ends of the umbrella arms. The fabric is attached to each rib tip, usually via small pockets sewn into the canopy or sometimes with screws and end caps. If your model uses pockets, you will need to gently pull the fabric back and slide the rib tip out of the pocket. This might require bending the rib slightly to create enough slack. If your model uses screws or caps, use the appropriate screwdriver to loosen the fasteners holding the fabric in place. Work your way around the entire circumference of the umbrella until every rib is free from the fabric. Be gentle to avoid bending the metal or wooden ribs during this process.
Step 4: Slide the Old Canopy Off the Frame
Now that the fabric is detached at both the top and the bottom, it is ready to be removed completely. Partially close the umbrella frame to make the structure narrower and easier to manage. Gather the loose fabric in your hands and slowly pull it upwards towards the top hub. It should slide off the frame relatively easily, like taking a shirt off a hanger.
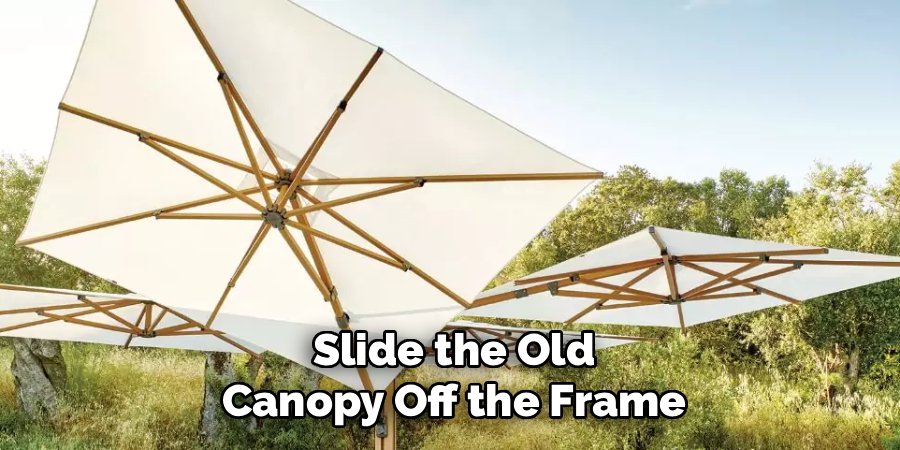
If it gets stuck, check to ensure no fabric is snagged on a hinge or a joint. Once removed, lay the old canopy out flat. This is a great time to double-check your measurements against the old fabric to confirm that your new purchase is indeed the correct size before you attempt to install it.
Step 5: Inspect the Frame
With the frame completely bare, you have a perfect opportunity to perform some maintenance. Examine the ribs, hub, and crank mechanism for any signs of damage, rust, or wear. Tighten any loose screws and spray a little silicone lubricant on the joints and crank handle to ensure smooth operation. If the frame is wood, look for cracks or splintering; if it is metal, check for bent arms. Cleaning the frame now prevents dirt or rust from staining your brand-new canopy. Wipe down the entire structure with a damp cloth and mild soap. Ensuring your frame is in top condition guarantees that your new canopy will sit correctly and last longer, maximizing the value of your replacement project.
Step 6: Install the New Canopy onto the Top Hub
It is time to dress the frame. Take your new canopy and locate the central hole at the very peak. With the umbrella frame in a closed or semi-closed position, drape the new fabric over the top. Align the center hole of the fabric with the threaded screw or opening at the top of the umbrella frame. Carefully pull the fabric down so it drapes evenly over the ribs. Before you start attaching the ends, screw the finial cap back onto the top. Tighten it securely, but be careful not to over-tighten and crack the plastic or wood. Securing the top first anchors the fabric, making the rest of the installation much easier to manage without the canopy sliding around.
Step 7: Secure the Rib Pockets
This step requires a bit of strength and patience. With the top secured, you now need to fit the rib tips into the pockets of the new canopy. Start with one rib and slide the tip into the corresponding pocket. Move to the opposite side of the umbrella and do the same; this helps balance the tension. Continue working around the umbrella, inserting each rib tip.
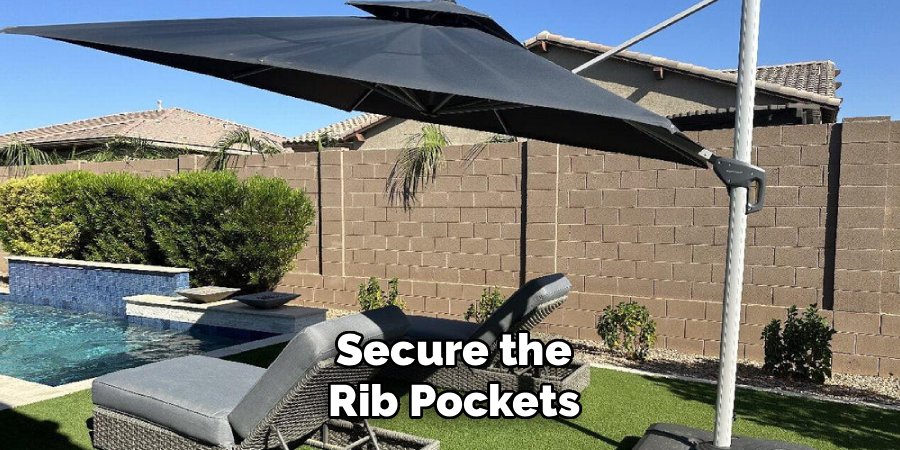
You will likely find that the last few ribs are difficult to insert because the fabric is new and tight. You may need to bend the rib slightly inward to get it into the pocket. This tension is actually a good sign; it means the canopy will be taut and smooth once fully opened, preventing sagging and water pooling.
Step 8: Test the Umbrella Mechanism
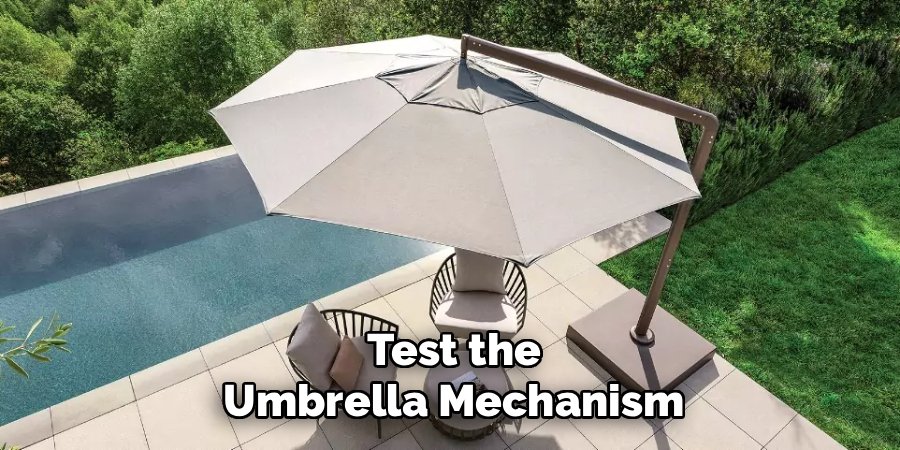
Once all the rib tips are securely seated in their pockets, the physical installation is complete. Now you must test the fit and function. Slowly turn the crank or push the slider to open the umbrella. Watch carefully as it expands. The fabric should stretch tightly across the ribs without ripping or straining the seams excessively. If it feels like the fabric is too tight and might tear, stop immediately; you may have the wrong size. If it opens fully, inspect the canopy for any loose threads or misaligned seams. Leave the umbrella open for a few hours to allow the fabric to relax and settle into its new shape. Congratulations, your patio refresh is complete!
Frequently Asked Questions (FAQ)
How Do I Know What Size Canopy to Buy?
You cannot rely solely on the “9-foot” or “11-foot” label, as this varies by brand. You must measure the length of one rib arm from the center hub to the tip. You also need to count the number of ribs (usually 6 or 8). Buying a canopy that matches the rib length is the most accurate way to ensure a proper fit.
Can I Wash My New Umbrella Canopy in the Washing Machine?
Most umbrella canopies are not designed for machine washing, as the agitation can damage the UV coating and water-resistant backing. It is generally recommended to clean them by hand using a soft brush, mild soap, and a hose. If the manufacturer instructions specifically say it is machine washable, use a cold, gentle cycle and air dry only—never use a dryer.
Why Is My New Canopy So Tight?
A new canopy should be tight. Fabric stretches over time due to sun exposure and gravity. If the new canopy were loose initially, it would quickly become saggy and collect water. You may need to bend the ribs slightly to get them into the pockets during installation. However, if you have to force it to the point of breaking a rib, the canopy is likely too small.
What Is the Best Fabric for a Replacement Canopy?
Acrylic fabrics like Sunbrella are considered the gold standard because the color is dyed into the fiber itself, making it incredibly resistant to fading. Polyester is a more affordable option and is durable, but it may fade faster over time. Olefin is another excellent, durable choice that resists mold and mildew well.
How Often Should I Replace My Patio Umbrella Canopy?
The lifespan depends heavily on the fabric quality and weather conditions. A high-quality acrylic canopy can last 5 to 10 years, while a standard polyester one might need replacing every 2 to 3 years. If the fabric becomes brittle, tears easily, or is significantly faded, it is time for a replacement to ensure proper UV protection.
Conclusion
Revitalizing your outdoor space does not require a massive budget or specialized skills. By simply replacing the fabric on your existing umbrella frame, you save money and reduce waste while instantly upgrading the look of your patio. The process is straightforward: measure accurately, remove the old material, check your frame, and install the fresh fabric. With a little patience during the measurement and installation phases, you ensure a professional, taut fit that will withstand the elements. Now that you understand the details of how to replace patio umbrella canopy fabric, you can look forward to relaxing in the cool, stylish shade of your “brand new” umbrella all summer long.

About
Jovie Mathews is a backyard and outdoor expert writer with over 12 years of hands-on experience transforming neglected outdoor spaces into thriving gardens and functional retreats. Raised in a family where weekends meant digging in the soil and building raised beds from scratch, Jovie developed a genuine love for the outdoors long before it became a career.
She writes with a practical, no-fluff approach — always testing ideas in her own backyard before sharing them with readers. From composting systems and native plant selection to patio design and pest control, Jovie covers the full spectrum of backyard life with equal parts expertise and enthusiasm.
Education
B.Sc. in Horticulture Science
University of Florida (UF) · Gainesville, FL · 2014
IFAS College of Agricultural and Life Sciences
Minor in Environmental Studies
University of Florida (UF) · Gainesville, FL · 2014
College of Liberal Arts and Sciences
Areas of expertise
- Lawn & Garden Care
- Soil prep, planting, seasonal care
- Outdoor DIY Projects
- Raised beds, fencing, pathways
- Composting & Soil Health
- Organic methods, amendments
- Native Plants & Wildlife
- Pollinators, habitat gardening
When she is not writing, Jovie can be found testing new composting techniques, growing tomatoes in questionable quantities, or convincing her neighbors that clover lawns are actually a great idea. She currently gardens in the Pacific Northwest.