A sunken or uneven concrete slab can quickly turn a beautiful backyard retreat into an eyesore and a safety hazard. Over time, soil erosion, settling ground, or poor initial installation can cause concrete slabs to sink, tilt, or crack. This not only ruins the aesthetic appeal of your outdoor living area but also creates dangerous tripping points for family and guests. Furthermore, improper sloping can lead to water pooling against your home’s foundation, potentially causing expensive structural damage.
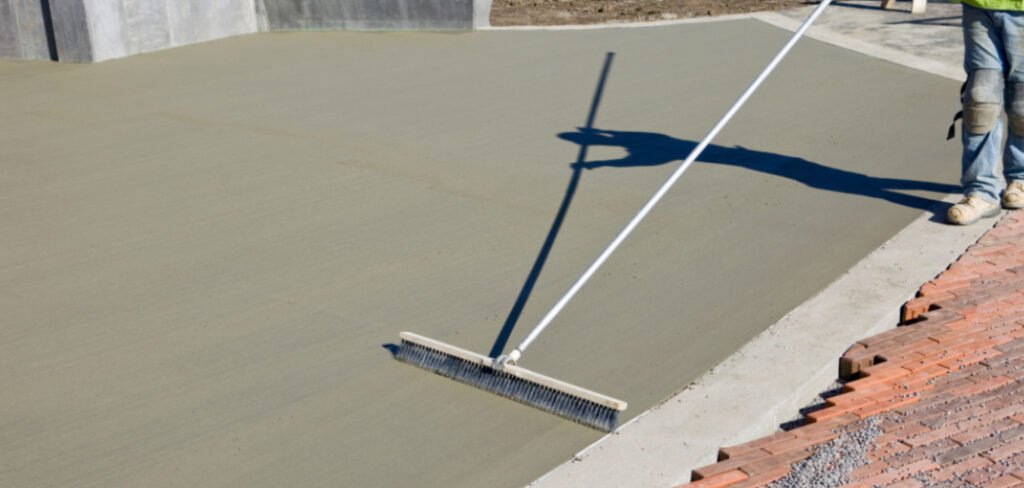
The good news is that you do not necessarily need to call in an expensive contractor or tear out the entire slab to fix the problem. With the right materials and a bit of elbow grease, leveling a concrete surface is a manageable DIY project for many homeowners. This guide is designed to walk you through the process of how to level cement patio surfaces effectively. We will cover the preparation, the application of self-leveling compound, and the finishing touches needed to restore your patio to its former glory.
8 Step-by-Step Guide on How to Level Cement Patio
Step 1: Clean the Surface Thoroughly
Before applying any leveling compound, the existing concrete surface must be impeccably clean. Dirt, oil, grease, paint, moss, and loose debris will prevent the new material from bonding correctly, leading to cracks and failure later on. Start by sweeping the entire area vigorously with a stiff-bristled broom to remove loose dirt.
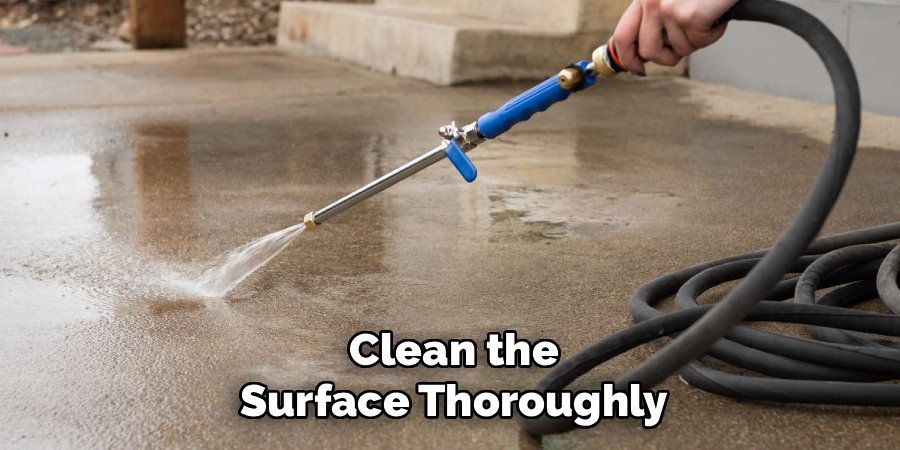
For tougher stains like oil or grease, use a concrete degreaser and scrub the spots thoroughly. A pressure washer is highly recommended for the final cleaning stage, as it can blast away stubborn grime and ensure the pores of the concrete are open and ready to accept the primer and leveler. Allow the patio to dry completely before moving to the next step.
Step 2: Identify and Mark Low Spots
Locating the specific areas that need attention is crucial for a successful repair. You cannot simply guess where the dips are; you need to be precise. Use a long, straight board, such as a 2×4, or a dedicated spirit level to check the flatness of the slab. Lay the board across various sections of the patio and look for gaps underneath it. These gaps indicate the low points where water pools or where the slab has settled. Use a piece of chalk or a construction pencil to outline the perimeter of these depressions. This visual guide will help you determine exactly where you need to apply the primer and the leveling compound, ensuring you don’t waste material on areas that are already flat.
Step 3: Repair Deep Cracks and Holes
Self-leveling compound is designed to fix surface deviations, not deep structural cracks. If your patio has wide fissures or deep holes, these must be filled first to provide a stable base. Use a concrete filler or a masonry crack repair product for this task. Clean out any loose debris from inside the cracks using a wire brush or a vacuum. Squeeze the filler into the cracks, ensuring it penetrates deep into the void. Smooth the surface with a putty knife or trowel so it is flush with the surrounding concrete. Allow this repair material to cure fully according to the manufacturer’s instructions—usually 24 hours—before proceeding with the overall leveling process.
Step 4: Apply a Concrete Bonding Primer
Applying a bonding primer is an essential step that many DIYers overlook, but it is critical for longevity. The primer acts as a bridge between the old concrete and the new leveling compound, ensuring strong adhesion. Without it, the new layer may peel or flake off over time. Pour the primer onto the clean, dry patio surface and spread it evenly using a soft-bristled push broom or a paint roller.
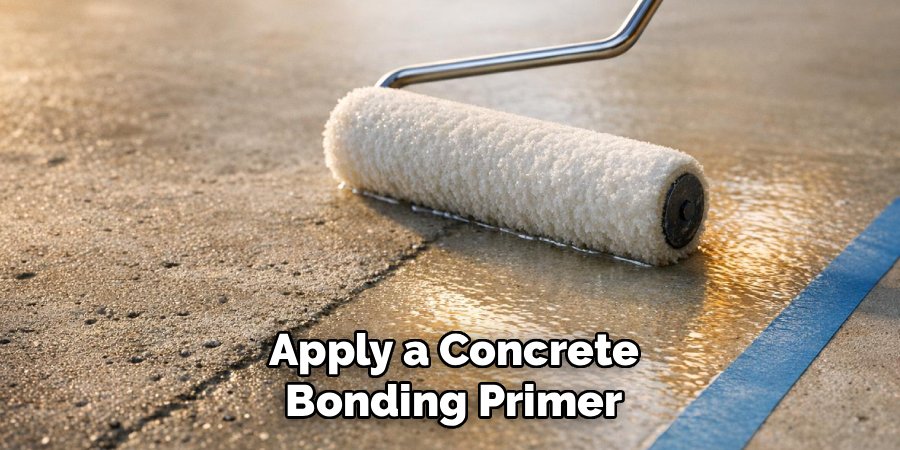
Ensure complete coverage, especially in the low spots you marked earlier. The primer will typically look milky when applied and dry to a clear, tacky finish. Wait until the primer is tacky to the touch—usually about 20 minutes to an hour depending on humidity—before pouring the leveler.
Step 5: Mix the Compound
Mixing the self-leveling compound correctly is perhaps the most time-sensitive part of the job. You will need a large bucket and a heavy-duty drill with a mixing paddle attachment. Follow the manufacturer’s instructions on the bag precisely regarding water ratios. Adding too much water will weaken the final product, while too little will prevent it from flowing properly. Pour the water into the bucket first, then gradually add the dry powder while running the mixer. Mix until you achieve a smooth, lump-free consistency that resembles thick pancake batter. Work quickly, as these compounds have a limited working time before they begin to set.
Step 6: Pour the Self-Leveling Compound
Once mixed, immediately pour the compound onto the low areas of the patio you identified earlier. Start at the deepest part of the depression and work your way outward. The beauty of self-leveling compound is in the name; gravity will do much of the work for you, helping the liquid seek its own level. Pour in a continuous stream to maintain a wet edge, which helps the material blend seamlessly. If you are leveling a large area, it is helpful to have a second person mixing the next batch while you pour the first one to ensure a continuous workflow without cold joints forming between batches.
Step 7: Spread and Feather the Edges
Although the compound levels itself to a degree, you will need to help it along. Use a long-handled squeegee or a steel trowel to gently spread the material into the corners and edges of the marked area. The goal is to feather the edges of the patch so that it transitions smoothly into the existing concrete.
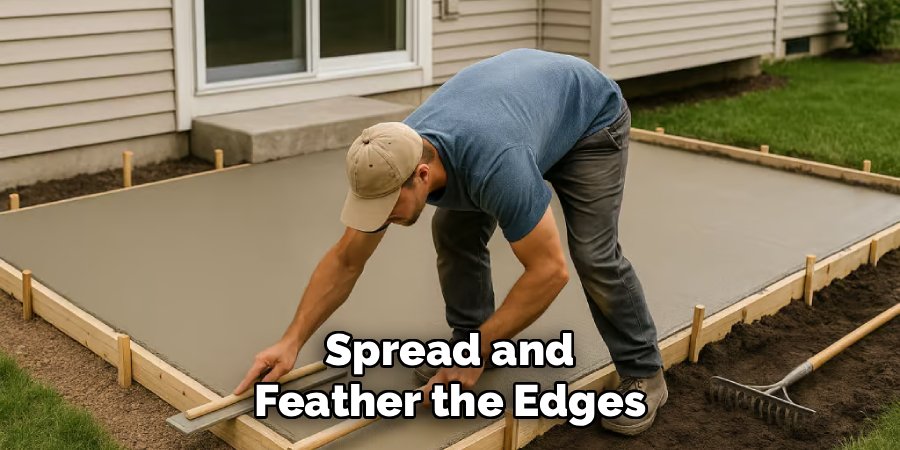
This means spreading the material thinner and thinner as you move away from the center of the repair until it virtually disappears into the old surface. Be careful not to overwork the material, as this can introduce air bubbles or cause it to set unevenly. Once spread, leave it alone to settle.
Step 8: Allow to Cure and Seal
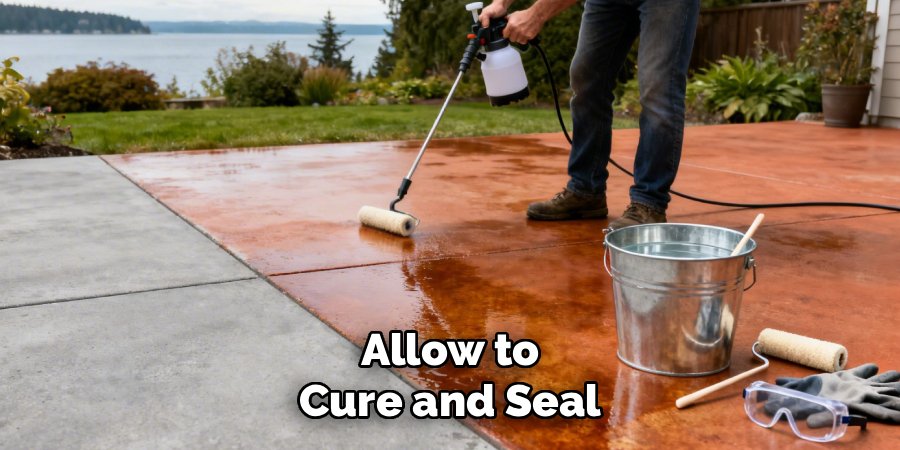
After the application is complete, the area must be protected while it cures. Self-leveling concrete typically sets hard enough to walk on within 4 to 6 hours, but it may take 24 to 48 hours to cure fully depending on the temperature and thickness of the pour. Keep pets, children, and debris away from the area during this time. Once fully cured, the new surface will be slightly different in color than the old concrete. To create a uniform look and protect your work from moisture and staining, apply a high-quality concrete sealer or concrete paint over the entire patio. This final step ensures your repair lasts for years to come.
Frequently Asked Questions (FAQ)
Can I Level a Concrete Patio That Has Large Cracks?
Large cracks often indicate underlying structural issues with the subsoil or drainage. While you can fill them and use a self-leveling compound, if the ground underneath continues to shift, the cracks will likely reappear. For severe cracking or slabs that have heaved significantly (lifted up by tree roots or frost), it is often better to consult a professional to address the root cause or consider replacing the slab entirely.
What Is the Difference Between Concrete Resurfacer and Self-Leveling Compound?
Concrete resurfacer is a thin cement-based coating designed to provide a new, non-slip finish to worn concrete; it follows the existing contours of the slab. Self-leveling compound is more fluid and is specifically engineered to flow into low spots and create a flat, level plane. Use resurfacer for cosmetic updates and self-leveler for fixing dips and unevenness.
How Thick Can I Pour Self-Leveling Concrete?
Most standard self-leveling compounds are designed for depths ranging from 1/8 inch up to 1 inch. If you have a depression deeper than an inch, you may need to apply the compound in multiple layers, allowing each to cure in between, or use a specific “deep pour” product. Always check the specific bag specifications, as pouring too thick in one go can cause cracking during the curing process.
Do I Need to Grind the Concrete Before Leveling?
Grinding is the best way to prepare the surface because it removes all surface contaminants and creates a rough texture for maximum bonding. However, for most residential patio repairs, thorough cleaning with a pressure washer and a degreaser, followed by a quality bonding primer, is sufficient. If the surface is extremely smooth or painted, grinding is highly recommended to ensure the new material sticks.
How Long Does Self-Leveling Concrete Last?
When applied correctly over a stable base and properly maintained, a self-leveling repair can last as long as the original concrete—often 20 to 30 years or more. The key to longevity is surface preparation (cleaning and priming) and sealing the finished project to protect it from water infiltration, freeze-thaw cycles, and UV damage.
Conclusion
Leveling an uneven cement patio is a rewarding project that significantly improves the functionality and safety of your outdoor space. While it requires careful preparation and quick work during the pouring phase, the results are well worth the effort. By systematically cleaning the surface, priming correctly, and applying the self-leveling compound with precision, you can eliminate dangerous trip hazards and stop water from pooling near your foundation. This DIY approach saves a substantial amount of money compared to full replacement and extends the life of your existing slab. Now that you have a solid understanding of how to level cement patio surfaces, you are ready to tackle those annoying dips and reclaim your backyard for safe, level, and enjoyable summer gatherings.

About
Jovie Mathews is a backyard and outdoor expert writer with over 12 years of hands-on experience transforming neglected outdoor spaces into thriving gardens and functional retreats. Raised in a family where weekends meant digging in the soil and building raised beds from scratch, Jovie developed a genuine love for the outdoors long before it became a career.
She writes with a practical, no-fluff approach — always testing ideas in her own backyard before sharing them with readers. From composting systems and native plant selection to patio design and pest control, Jovie covers the full spectrum of backyard life with equal parts expertise and enthusiasm.
Education
B.Sc. in Horticulture Science
University of Florida (UF) · Gainesville, FL · 2014
IFAS College of Agricultural and Life Sciences
Minor in Environmental Studies
University of Florida (UF) · Gainesville, FL · 2014
College of Liberal Arts and Sciences
Areas of expertise
- Lawn & Garden Care
- Soil prep, planting, seasonal care
- Outdoor DIY Projects
- Raised beds, fencing, pathways
- Composting & Soil Health
- Organic methods, amendments
- Native Plants & Wildlife
- Pollinators, habitat gardening
When she is not writing, Jovie can be found testing new composting techniques, growing tomatoes in questionable quantities, or convincing her neighbors that clover lawns are actually a great idea. She currently gardens in the Pacific Northwest.