A patio is a wonderful extension of your home, but its use can be limited by scorching sun or unexpected rain. By adding a permanent roof, you can transform it into a true all-weather outdoor living space, perfect for dining, relaxing, and entertaining year-round.
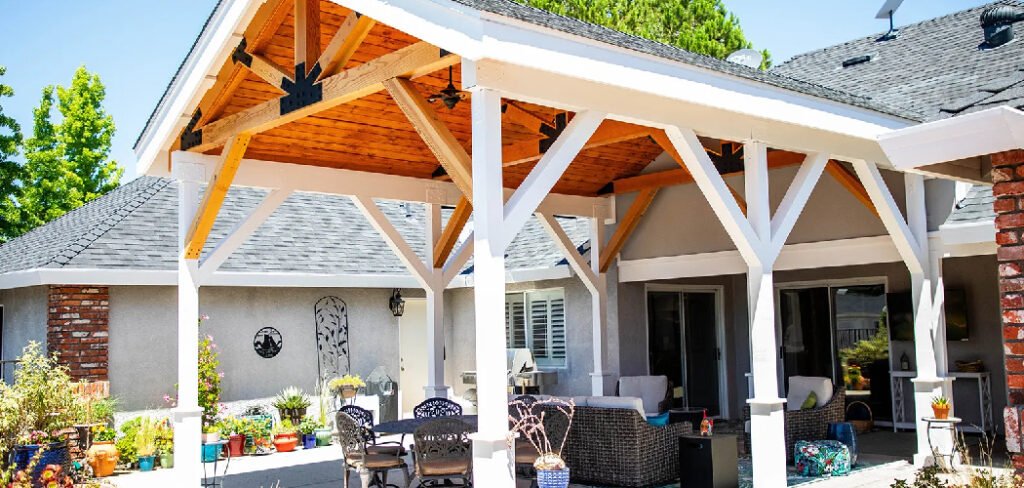
Extending your home’s existing roofline to cover the patio creates a seamless, professional look that can significantly enhance both your home’s value and your quality of life. While this is a major construction project, it can be achievable for a homeowner with the right skills and a solid plan. This guide is designed to provide a clear overview of the process, showing you how to extend a roof over a patio and turn your vision into a reality.
8 Step-by-Step Guide on How to Extend a Roof Over a Patio
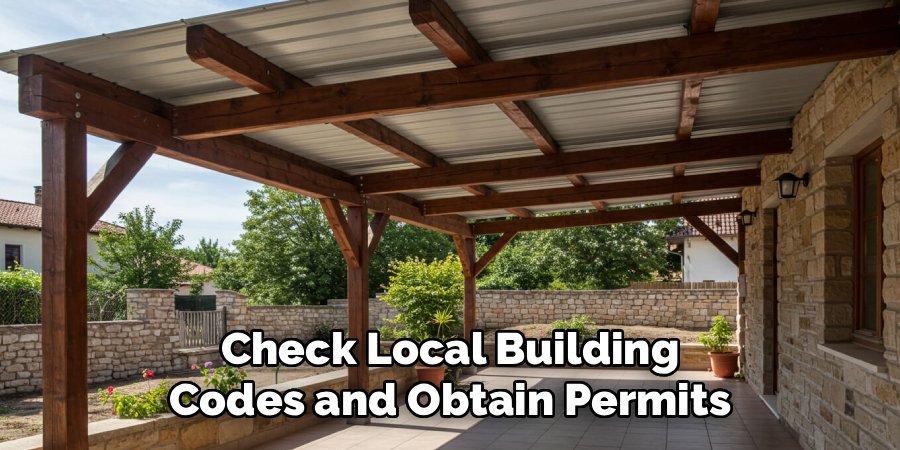
Step 1: Check Local Building Codes and Obtain Permits
Before you purchase a single piece of lumber, your first stop must be your local building department. Extending a roof is a structural modification to your home, and nearly all municipalities will require a building permit for this type of project.
You will need to submit detailed plans for approval, which often must include specifics on footing depth, lumber dimensions, rafter spacing, and how the new structure will attach to the existing house. Failing to obtain a permit can result in hefty fines and may force you to tear down your work. This initial step ensures your project is safe, compliant, and up to code from the very beginning.
Step 2: Design the Roof Extension and Create a Plan
With code requirements in mind, you can finalize your design. The most common method is a shed-style roof, which slopes down and away from the house. You need to determine the correct pitch (slope) for your roof extension.
This pitch must be steep enough to shed water and snow effectively but should also complement your home’s existing roofline. Your plan must detail the placement of support posts, the size of the main ledger board that attaches to the house, and the dimensions for the beams and rafters. A detailed, to-scale drawing will be your roadmap for the entire project and is essential for getting your building permit approved.
Step 3: Prepare the Site
The foundation of your new roof is the support posts that will bear its weight. You must dig concrete footings for these posts according to the depth and diameter specified in your local building code. Typically, this means digging below the frost line to prevent shifting. Place a treated 6×6 or larger post into the hole, ensuring it is perfectly plumb (vertically level) using a post level. Brace it securely in place and fill the hole with concrete. Allow the concrete to cure completely for several days as recommended by the manufacturer before placing any load on the posts.
Step 4: Attach the Ledger Board to the House
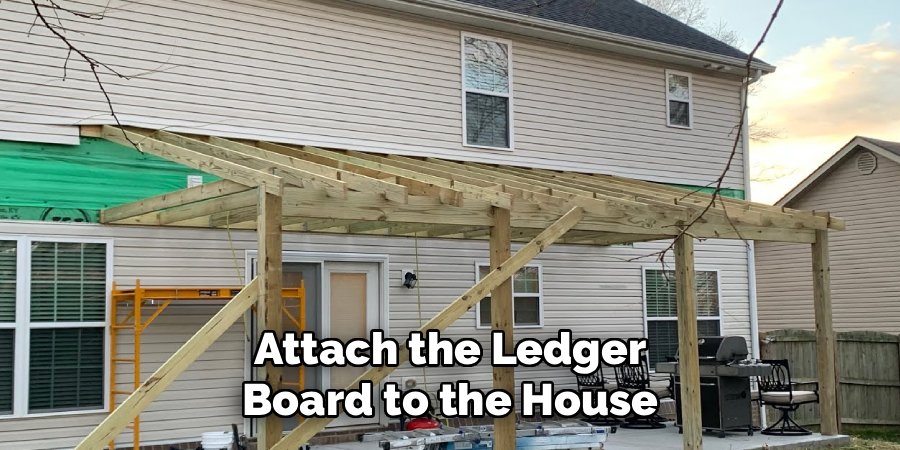
The ledger board is the horizontal beam that fastens the new roof structure directly to your house. This is a critical connection point. You will need to remove the siding in the area where the ledger will be installed. The ledger board, typically made of 2×8 or larger lumber, must be attached securely to the house’s framing—specifically the rim joist or wall studs—using heavy-duty lag screws or structural bolts. Proper flashing must be installed above the ledger board and tucked under the siding to create a waterproof seal that prevents water from seeping behind the board and into your home’s wall structure.
Step 5: Install the Main Support Beam and Rafters
Once the posts and ledger are secure, you can install the main horizontal support beam that will span across the top of the outer posts. This beam will carry the other end of your roof rafters. Lift the beam into place and secure it to the posts using approved metal connectors or notches. With the beam in place, you can begin installing the roof rafters. The rafters will extend from the ledger board on the house to the outer support beam. They are typically attached using metal joist hangers for a strong, secure connection. Ensure each rafter is spaced correctly according to your plan, usually 16 or 24 inches on center.
Step 6: Install Sheathing and Roofing Materials
With the rafters forming the skeleton of your new roof, the next step is to cover it with sheathing. This is typically 1/2-inch or 5/8-inch OSB or plywood sheets nailed or screwed to the rafters. Once the sheathing is down, you must install the roofing materials to make it waterproof. This involves laying down a layer of roofing felt or a synthetic underlayment, followed by a metal drip edge along the perimeter. Finally, you will install shingles that match your existing house roof, starting from the bottom edge and working your way up, overlapping each course to ensure it is completely watertight.
Step 7: Complete the Flashing Where the Roofs Meet
One of the most critical steps for preventing leaks is to properly flash the area where the new patio roof meets the existing wall and roof of your house. This involves installing step flashing, which are individual pieces of metal flashing interwoven with each course of shingles and bent up against the wall.
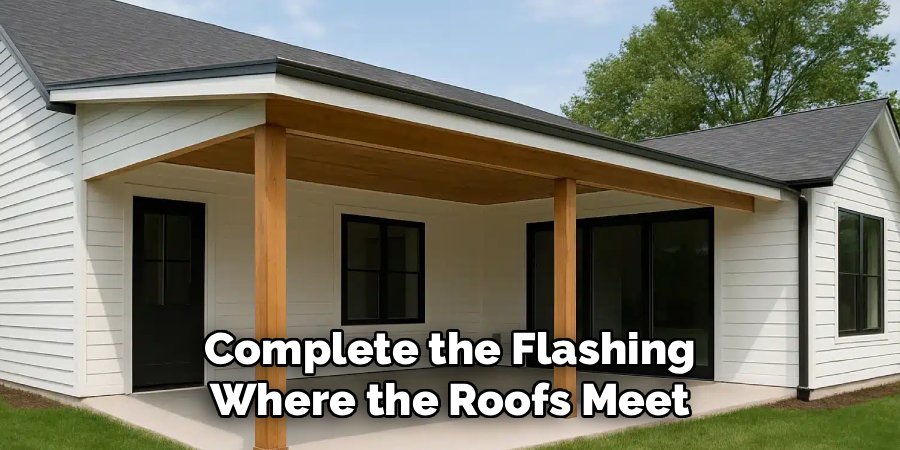
A continuous piece of counter-flashing is then installed over the step flashing and sealed to the wall. This two-part system creates a durable, waterproof barrier that directs water down and away from the vulnerable seam. Skipping or improperly installing flashing is a common mistake that can lead to significant water damage down the line.
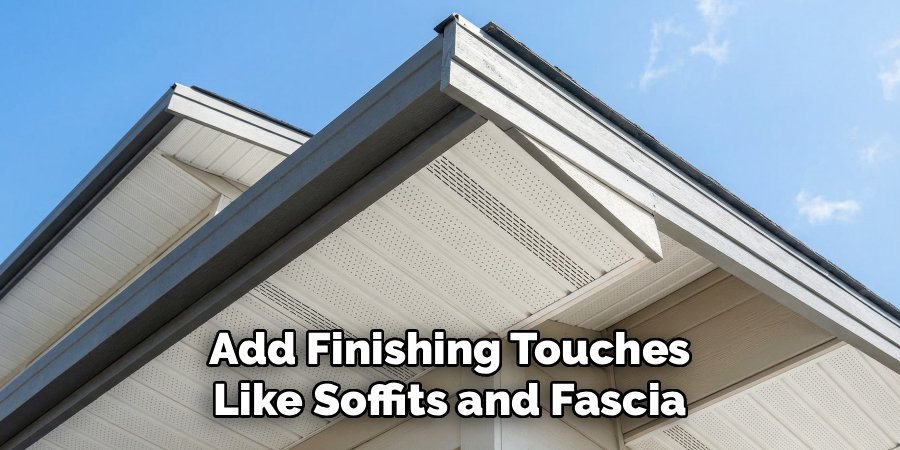
Step 8: Add Finishing Touches Like Soffits and Fascia
With the main structure and roofing complete, you can focus on the finishing details that give your project a professional look. Install fascia boards along the exposed ends of the rafters to create a clean edge. You can also install soffit panels underneath the roof overhang between the house and the outer beam. This encloses the underside of the rafters for a finished ceiling look. Once construction is done, you can paint or stain the wooden posts and beams to match your home’s exterior. You can also add gutters to the new roof to manage rainwater runoff effectively.
Frequently Asked Questions (FAQ)
Do I Need a Permit to Extend My Roof?
Yes, in almost all cases, you will need a building permit. Extending a roof is considered a major structural addition to your home. The permit process ensures that your plans meet local safety codes for things like snow load, wind resistance, and proper structural connections. Building without a permit can lead to fines and may require you to tear down the structure.
What Is the Best Roof Pitch for a Patio Cover?
The ideal pitch depends on your climate and the look you want. A minimum pitch of 3:12 (three inches of vertical rise for every 12 inches of horizontal run) is often recommended to ensure proper water drainage. In areas with heavy snowfall, a steeper pitch is necessary. You should also consider your home’s existing roofline to ensure the new extension looks aesthetically pleasing and not out of place.
Can I Attach the New Roof Directly to My Existing Roof?
While possible, this is a much more complex and advanced project. It involves removing a section of your existing roof, cutting into the existing rafters, and framing a new roof valley. For most DIYers, the more straightforward and recommended approach is to attach the new roof to the wall of the house below the existing roofline using a ledger board, creating a shed-style roof.
How Do I Make Sure the New Roof Doesn’t Leak?
Proper flashing is the key to preventing leaks. The most critical area is where the new roof meets the house wall. You must use a multi-layered flashing system (step flashing and counter-flashing) to create a watertight seal. Using high-quality roofing underlayment and installing your shingles according to the manufacturer’s specifications are also essential for a leak-proof finish.
Should I Hire a Professional for This Project?
This is a large and complex project that involves structural framing and roofing work. If you have extensive construction experience, the right tools, and a good understanding of building codes, you may be able to tackle it yourself. However, for most homeowners, it is highly recommended to hire a qualified contractor. A professional will ensure the job is done safely, correctly, and to code.
Conclusion
Extending your roof to cover your patio is a transformative project that adds immense value and functionality to your home. It creates a protected outdoor space that you can enjoy regardless of the weather. The process is demanding, requiring careful planning, adherence to building codes, and a solid understanding of construction principles, from setting footings to proper flashing.
While it can be a challenging DIY endeavor, the reward is a seamless, permanent structure that will provide shade and shelter for decades. Now that you have a comprehensive overview of how to extend a roof over a patio, you can make an informed decision on whether to tackle the project yourself or hire a professional to create the outdoor living space of your dreams.

About
Jovie Mathews is a backyard and outdoor expert writer with over 12 years of hands-on experience transforming neglected outdoor spaces into thriving gardens and functional retreats. Raised in a family where weekends meant digging in the soil and building raised beds from scratch, Jovie developed a genuine love for the outdoors long before it became a career.
She writes with a practical, no-fluff approach — always testing ideas in her own backyard before sharing them with readers. From composting systems and native plant selection to patio design and pest control, Jovie covers the full spectrum of backyard life with equal parts expertise and enthusiasm.
Education
B.Sc. in Horticulture Science
University of Florida (UF) · Gainesville, FL · 2014
IFAS College of Agricultural and Life Sciences
Minor in Environmental Studies
University of Florida (UF) · Gainesville, FL · 2014
College of Liberal Arts and Sciences
Areas of expertise
- Lawn & Garden Care
- Soil prep, planting, seasonal care
- Outdoor DIY Projects
- Raised beds, fencing, pathways
- Composting & Soil Health
- Organic methods, amendments
- Native Plants & Wildlife
- Pollinators, habitat gardening
When she is not writing, Jovie can be found testing new composting techniques, growing tomatoes in questionable quantities, or convincing her neighbors that clover lawns are actually a great idea. She currently gardens in the Pacific Northwest.