Ipe wood, often called Brazilian walnut, is legendary for its incredible durability, density, and stunning reddish-brown hues. When you first installed it, that deep, rich color likely took your breath away. However, like all natural materials exposed to the elements, even the mighty Ipe eventually succumbs to the sun’s UV rays, fading into a silvery-gray patina.
While some homeowners appreciate this weathered look, many yearn to bring back the original warmth and vibrancy that makes this exotic hardwood so valuable. Restoring it might seem intimidating due to the wood’s extreme hardness, but it is a manageable DIY project with the right approach.
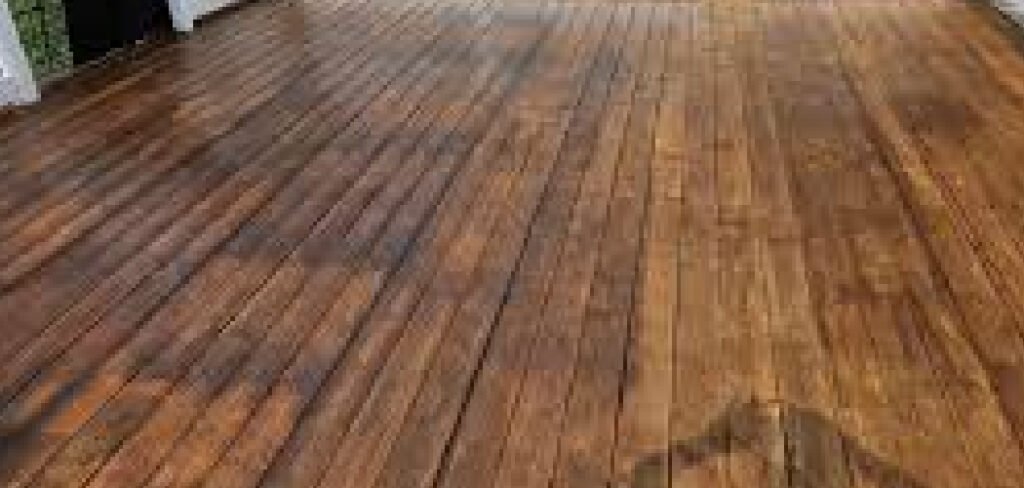
You do not need to be a professional contractor to achieve professional results; you just need patience and the correct products. This guide is dedicated to teaching you how to restore ipe wood deck surfaces safely and effectively, transforming your tired, gray outdoor space back into the luxurious retreat it was designed to be.
Why Restore Your Ipe Wood Deck?
Restoring your ipe wood deck is essential to maintain its beauty, durability, and longevity. Over time, exposure to sunlight, rain, and fluctuating temperatures can cause the wood to lose its rich, natural color, leaving it dull and gray. Such wear not only impacts the aesthetic appeal of your outdoor space but can also lead to surface damage if left untreated.
By restoring your deck, you ensure it remains an inviting and elegant focal point for your home while protecting your investment. Regular maintenance also prevents deeper issues like cracking or warping, keeping your deck structurally sound for years to come.
Step-by-Step Guide: How to Restore Ipe Wood Deck Like a Pro
Step 1: Remove All Furniture and Clear Debris
The restoration process begins with a completely blank slate. You must remove absolutely everything from the deck surface, including heavy patio furniture, potted plants, grills, and outdoor rugs. Any item left behind will create an outline on the wood and prevent an even finish later on.
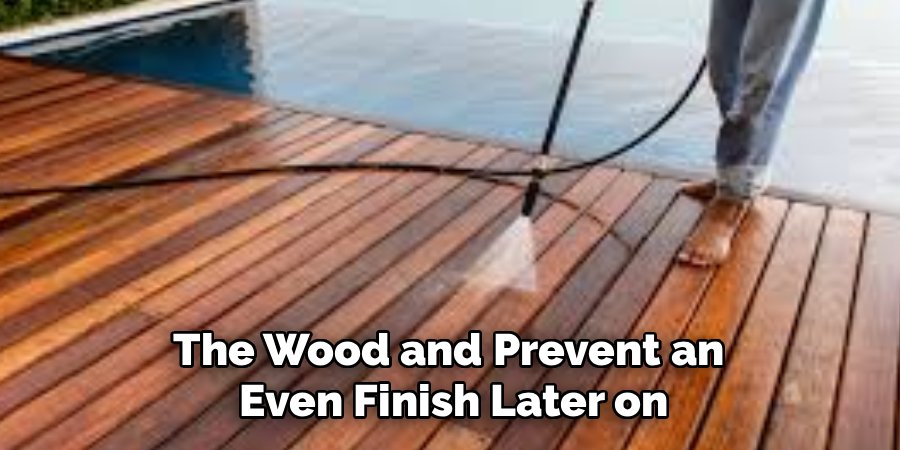
Once the deck is clear, use a broom with stiff bristles to sweep away loose dirt, leaves, pine needles, and other organic debris that has accumulated in the gaps between the boards. It is crucial to dislodge any material stuck between the planks, as this trapped debris can hold moisture and lead to rot over time.
Starting with a debris-free surface ensures that your cleaning agents can penetrate the wood fibers evenly without interference from surface grime.
Step 2: Clean the Surface with a Dedicated Wood Cleaner
Ipe is incredibly dense, but it still accumulates dirt and mildew that sweeping alone cannot remove. You need to apply a high-quality deck cleaner or a specialized two-part wood restoration kit designed for hardwoods. Mix the cleaner according to the manufacturer’s instructions and apply it generously to the wood surface.
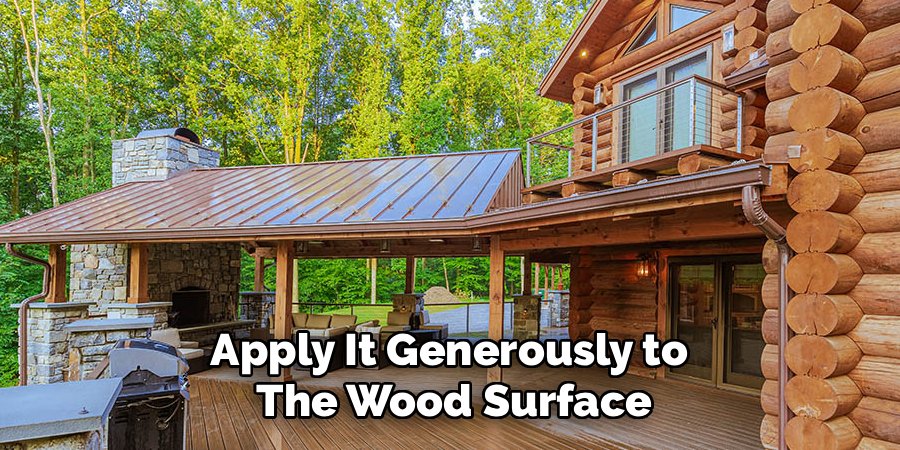
You want to keep the wood wet with the solution for the specified dwell time, usually around fifteen minutes, to allow the chemicals to break down the gray oxidation and biological growth.
Scrub the wet deck vigorously with a stiff-bristled brush, working in the direction of the wood grain. This mechanical agitation helps lift deep-seated grime that has settled into the wood’s texture over the years.
Step 3: Rinse Thoroughly to Remove Cleaning Agents
After scrubbing, you must rinse the deck completely to remove all traces of the cleaning solution and the dirt it has lifted. A garden hose with a high-pressure nozzle is often sufficient, but you can use a pressure washer if you are extremely careful. If you choose to pressure wash, keep the setting below 1500 PSI and use a fan tip to avoid gouging the wood surface.
Ipe is hard, but high pressure can still raise the grain or leave unsightly lap marks. Rinse methodically, pushing the dirty water off the edge of the deck. Continue rinsing until the water runs clear and there are no suds remaining. Leaving chemical residue behind can react negatively with the oil finish you will apply later.
Step 4: Neutralize and Brighten the Wood
This is a critical but often overlooked step in the process of learning how to restore ipe wood deck surfaces. Most deck cleaners are alkaline, which can darken the wood. To counteract this and restore the proper pH balance, you must apply a wood brightener. This acidic solution neutralizes the cleaner and opens up the wood pores, making them more receptive to the new oil.

Apply the brightener to the wet wood immediately after rinsing off the cleaner. You will likely see the wood lighten and the natural reddish tones pop almost instantly. Let the brightener sit for the recommended time, then rinse the deck thoroughly once again with fresh water. This step ensures the final color is vibrant rather than muddy or dark.
Step 5: Allow the Deck to Dry Completely
Patience is your most valuable tool during this phase of the restoration. Before you can apply any new finish, the wood must be bone dry. Ipe is extremely dense and holds less moisture than softwoods like pine, but you still need to wait at least 48 hours of dry weather before proceeding.
If you apply oil to damp wood, the moisture trapped inside will push the oil out as it evaporates, leading to a blotchy finish that peels or flakes off prematurely. Check the weather forecast to ensure no rain is expected during this drying window. If you are unsure if the wood is dry enough, you can use a moisture meter to verify that the moisture content is below fifteen percent.
Step 6: Sand Stubborn Spots for a Smooth Finish
Once the deck is dry, inspect the surface for any remaining gray spots, scratches, or raised grain fibers caused by washing. While Ipe resists splintering better than most woods, sanding can significantly improve the final look and feel. Use an orbital sander with 80-grit sandpaper to gently smooth out these imperfections.
You do not need to sand the entire deck aggressively unless the old finish is peeling badly; a light pass is usually sufficient to open the pores further and smooth the surface. Wipe away all sanding dust with a tack cloth or blow it off with a leaf blower. Removing this fine dust is essential because it can mix with your oil finish and create a gritty, rough texture that is unpleasant to walk on barefoot.
Step 7: Apply a High-Quality Ipe Oil Finish
The final transformation happens now. Choose an oil specifically formulated for dense hardwoods like Ipe, as standard deck stains will not penetrate the tight grain and will sit on top as a sticky film. Apply the oil using a brush, rag, or applicator pad, working in long, smooth strokes along the length of the boards. Do not over-apply; the wood can only absorb a small amount.
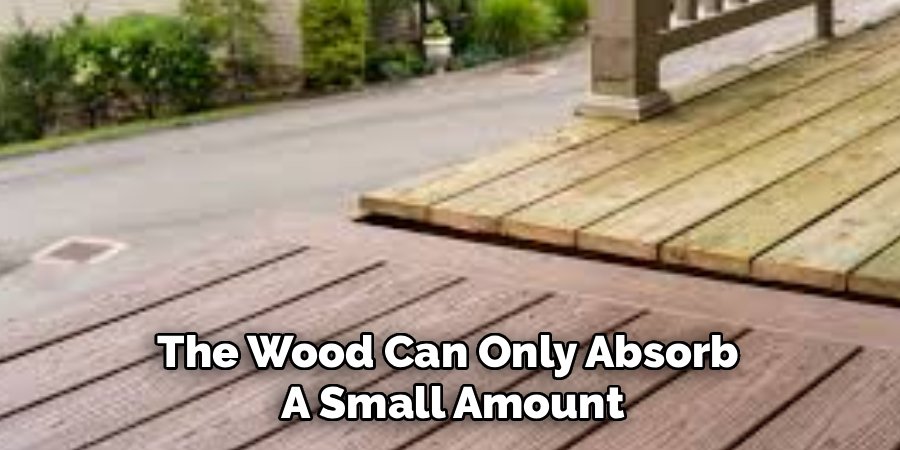
After about ten to fifteen minutes, wipe off any excess oil that has not soaked in with a clean, dry rag. This “wipe-on, wipe-off” method is the secret to a professional finish. Leaving excess oil to dry on the surface will result in a shiny, tacky mess that attracts dirt. Proper application seals the wood, protects it from UV rays, and reveals that stunning, showroom-quality color.
Frequently Asked Questions (FAQ)
Can I Use a Standard Pressure Washer on Ipe?
Yes, but you must proceed with extreme caution. While Ipe is incredibly hard, concentrated water pressure can still damage the surface.
- Pressure Limit: Keep the pressure below 1500 PSI. Anything higher risks “furring” the wood fibers.
- Technique: Use a wide fan tip (40-degree usually) and keep the wand at least 12 inches away from the surface.
- Motion: Keep the wand moving constantly in a sweeping motion to avoid etching lines into the boards.
Why Did My Ipe Turn Gray in the First Place?
The graying process is a natural defense mechanism of the wood.
- UV Radiation: The primary culprit is the sun. Ultraviolet rays break down the lignin in the surface wood cells, causing the color to fade.
- Oxidation: Exposure to oxygen and moisture causes the surface to oxidize, resulting in that silver-gray patina.
- Surface Only: Importantly, this graying is usually only surface-deep. The structural integrity of the Ipe remains intact, which is why restoration is so effective.
How Often Do I Need to Oil My Ipe Deck?
Maintenance frequency depends heavily on your local climate and the amount of direct sunlight the deck receives.
- Initial Phase: After the first restoration, you might need to re-oil in six months to build up the wood’s resistance.
- Regular Maintenance: generally, an annual application is recommended to maintain the rich brown color.
- Visual Check: If water stops beading on the surface or the gray color starts to return, it is time for another coat.
What is the Best Oil for Ipe Wood?
You must use penetrating oil specifically designed for exotic hardwoods.
- Density: Standard stains are too thick for Ipe’s dense cell structure and will peel.
- Formulation: Look for products labeled “Ipe Oil” or “Hardwood Finish.” Brands like Ipe Oil, Penofin for Hardwood, or Messmer’s UV Plus for Hardwood are industry standards.
- UV Protection: Ensure the oil has high trans-oxide pigments for UV protection to slow down future graying.
Do I Have to Sand the Deck Before Oiling?
Sanding is not strictly mandatory every time, but it is highly recommended for restoration.
- Opening Pores: Sanding removes the dead wood fibers on the surface and opens the tight pores of the Ipe, allowing the oil to penetrate deeper.
- Smoothing: It removes any “furring” caused by pressure washing and smooths out scratches.
- Result: You will get a more even color and a longer-lasting finish if you sand lightly (80 grit) before oiling.
Conclusion
Restoring an Ipe deck is a rewarding project that pays immediate dividends in the beauty and value of your home. By stripping away the gray oxidation, neutralizing the surface, and feeding the wood with high-quality oil, you are doing more than just cleaning; you are extending the life of your investment. The transformation from a weathered, silver surface to a deep, vibrant mahogany color is nothing short of spectacular.
While the process requires elbow grease and careful attention to detail—especially during the drying and oiling phases—the durability of Ipe means your hard work will last. Now that you understand the essential steps of how to restore ipe wood deck surfaces, you can confidently reclaim your outdoor sanctuary and enjoy the natural elegance of one of the world’s finest woods for years to come.

About
Jovie Mathews is a backyard and outdoor expert writer with over 12 years of hands-on experience transforming neglected outdoor spaces into thriving gardens and functional retreats. Raised in a family where weekends meant digging in the soil and building raised beds from scratch, Jovie developed a genuine love for the outdoors long before it became a career.
She writes with a practical, no-fluff approach — always testing ideas in her own backyard before sharing them with readers. From composting systems and native plant selection to patio design and pest control, Jovie covers the full spectrum of backyard life with equal parts expertise and enthusiasm.
Education
B.Sc. in Horticulture Science
University of Florida (UF) · Gainesville, FL · 2014
IFAS College of Agricultural and Life Sciences
Minor in Environmental Studies
University of Florida (UF) · Gainesville, FL · 2014
College of Liberal Arts and Sciences
Areas of expertise
- Lawn & Garden Care
- Soil prep, planting, seasonal care
- Outdoor DIY Projects
- Raised beds, fencing, pathways
- Composting & Soil Health
- Organic methods, amendments
- Native Plants & Wildlife
- Pollinators, habitat gardening
When she is not writing, Jovie can be found testing new composting techniques, growing tomatoes in questionable quantities, or convincing her neighbors that clover lawns are actually a great idea. She currently gardens in the Pacific Northwest.