As autumn leaves fall and a chill enters the air, our focus turns to preparing our homes for the colder months ahead. We check our furnaces and seal our windows, but often overlook one of the biggest sources of heat loss: the patio door.
With its large glass surface and multiple moving parts, a sliding or French patio door can be a major culprit for cold drafts and high energy bills. Even small gaps can let in a surprising amount of frigid air, forcing your heating system to work overtime.
The good news is that you don’t need a professional or a costly replacement to fight back against the cold. With a few simple tools and a little bit of time, anyone can learn how to winterize a patio door, making your home more comfortable and energy-efficient all season long.

Winterizing your patio door is an easy and effective way to keep your home warm while cutting down on energy costs. By addressing common issues such as drafts and poor insulation, you can create a cozier living environment and reduce strain on your heating system.
Whether you’re a DIY enthusiast or a first-timer, taking these small steps can make a big difference in maintaining your home’s comfort during the colder months.
Step-by-Step Guide on How to Winterize a Patio Door
Step 1: Clean the Door and Track Thoroughly
Before you can apply any new seals or weatherstripping, you must start with a clean surface. Over the summer, the track of a sliding patio door accumulates an impressive amount of dirt, dust, leaves, and pet hair. This debris can prevent the door from closing properly, creating gaps that let cold air rush in.
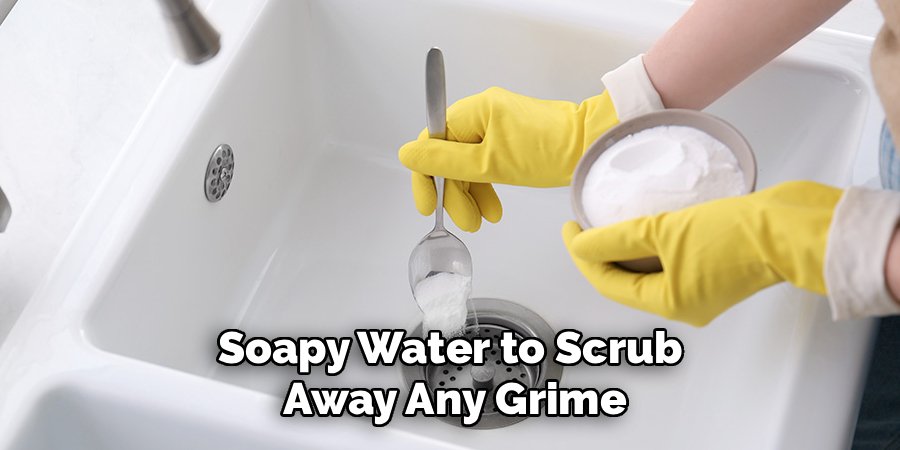
Use a vacuum with a crevice tool to suck out all the loose dirt from the track. Then, take a stiff brush and a solution of warm, soapy water to scrub away any grime.
Finally, clean the glass and the entire door frame so that new materials like caulk or shrink film will have a clean surface to adhere to. This simple cleaning is a crucial first step for a tight seal.
Step 2: Inspect for Gaps and Drafts
Now it is time to play detective and find exactly where the cold air is getting in. On a windy day, close the door and slowly run your hand around the entire perimeter of the frame. You should be able to feel the drafts. For a more precise method, you can use a lit incense stick or candle;
watch the smoke to see where it wavers or gets blown inward, indicating a leak. Pay close attention to the area where the two doors meet, the top and bottom of the frame, and along the stationary panel.
Mark these problem areas with a small piece of painter’s tape so you know exactly where to focus your efforts in the upcoming steps.
Step 3: Replace Old Weatherstripping
Weatherstripping is the fuzzy or rubbery seal that runs along the edges of your door, and it is your primary defense against drafts. Over time, it becomes compressed, brittle, and cracked, losing its ability to create a tight seal. Carefully pull off the old, worn weatherstripping.
Take a sample of it with you to the hardware store to ensure you buy the correct type and size for your specific door model. The new weatherstripping will have a peel-and-stick adhesive backing.
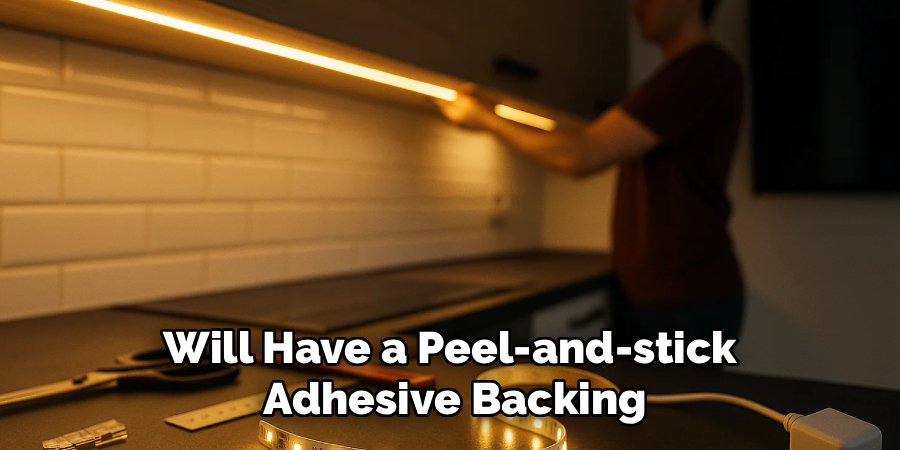
Clean the channel with rubbing alcohol to remove any old adhesive residue, then carefully press the new stripping firmly into place, ensuring it is snug and makes good contact all the way around.
Step 4: Caulk Exterior Gaps and Cracks
While weatherstripping seals the moving parts of the door, caulk is used to seal stationary gaps between the door frame and the wall of your house. From the outside, inspect the entire perimeter where the door frame meets your siding or brick. Look for any visible cracks or areas where old caulk has pulled away.
Using a utility knife, cut away any failing caulk. Apply a new, continuous bead of high-quality exterior-grade, silicone caulk into the gap. Smooth the bead with a wet finger or a caulk-smoothing tool for a clean, waterproof, and airtight seal that will prevent both air and moisture from penetrating your home’s exterior.
Step 5: Install a Window Insulator Film Kit
The large glass panes of a patio door are a major source of heat loss through conduction. An inexpensive and highly effective solution is to install a window insulator film kit. These kits consist of a large sheet of plastic shrink film and double-sided tape.
Following the kit’s instructions, apply the tape around the interior door frame. Then, carefully affix the plastic film to the tape, pulling it taut. Finally, use a hairdryer to gently heat the film.
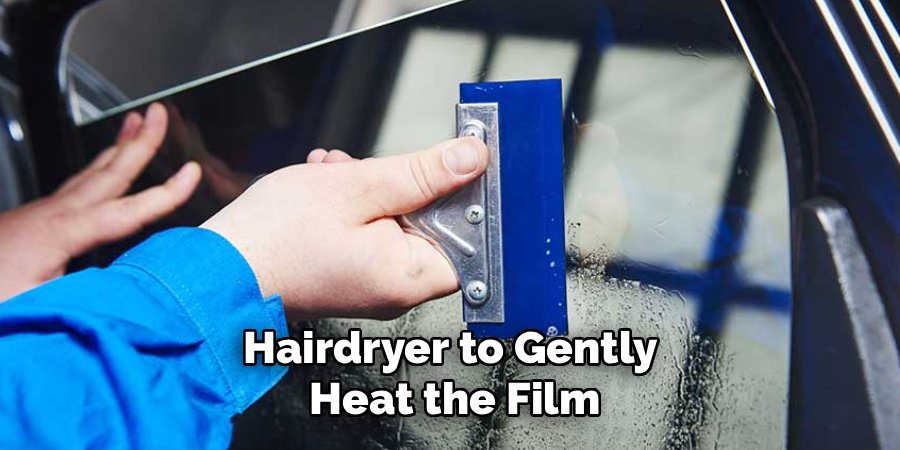
This process shrinks the plastic, pulling it tight and creating a layer of insulating air between the film and the glass. This is a fantastic technique for how to winterize a patio door and dramatically reduce heat loss.
Step 6: Hang Heavy, Insulated Curtains
Adding a physical barrier on the inside is another powerful way to combat the cold. Swap out your light, airy summer curtains for heavy, insulated drapes. Thermal curtains are designed with a special lining that helps to block drafts and reduce heat transfer through the glass.
When closed, these drapes act like a blanket for your door, trapping a layer of air that provides an extra buffer against the cold outside.
Be sure to choose curtains that are wide enough to cover the entire door frame and long enough to reach the floor, minimizing any gaps where cold air could sneak through.
Open them during the day to let in sunlight and close them at night for maximum insulation.
Step 7: Use a Draft Stopper at the Base
Even after all your sealing efforts, you might still have a persistent draft coming from under the door, especially along the track. A simple and effective solution is a draft stopper, also known as a “door snake.”
These are long, fabric tubes filled with an insulating material that you place snugly against the bottom of the door. You can buy them at most home goods stores or easily make one yourself by filling a tube of fabric with rice or dried beans.

Placing a draft stopper at the base of the door provides a final, physical block against any lingering air leaks, completing your winterizing project.
Frequently Asked Questions (FAQ)
How Much Money Can I Save by Winterizing My Patio Door?
According to the U.S. Department of Energy, sealing air leaks and adding insulation can save you up to 20% on your heating and cooling bills.
Since a patio door is one of the largest potential sources of drafts in a home, properly sealing it can lead to significant savings and a noticeable increase in comfort, paying for the minimal cost of materials very quickly.
Is Window Film Difficult to Install on a Large Patio Door?
It can be tricky, but it is very manageable. The key is to have a second person help you. One person can hold the film steady while the other secures it to the double-sided tape.
This teamwork prevents the film from wrinkling or sticking to itself. Work slowly from top to bottom, and use a hairdryer to remove any imperfections once it is in place.
Will Caulking My Patio Door Prevent It from Opening?
No, not if you apply it correctly. Caulk should only be applied to the stationary gaps between the exterior door frame and the house siding.
It is meant to seal the frame to the structure of your home. You should never apply caulk to the moving parts of the door, such as the track or the seams where the sliding door closes.
What Is the Best Type of Weatherstripping for a Sliding Door?
The best type is usually the one that matches the original stripping used by the manufacturer. For sliding doors, this is often a “fin seal” weatherstripping, which has a fuzzy pile to allow the door to slide smoothly while still blocking air.
Take a small piece of your old weatherstripping to the hardware store to find an exact match for the size and profile.
Can I Still Use My Patio Door After Applying an Insulator Film?
Yes, but you will lose access through that door for the winter. The plastic film creates a seal around the entire interior door frame, which means you cannot open the door without breaking the seal.
For this reason, this solution is best for a secondary patio door that you do not need to use during the winter months. If it is your primary exit, stick to other methods like weatherstripping and curtains.
Conclusion
Preparing your home for winter is a series of small steps that add up to big results in comfort and energy savings. A drafty patio door can single-handedly make a room feel cold and unwelcoming, but it doesn’t have to be that way.
By thoroughly cleaning the components, sealing gaps with weatherstripping and caulk, and adding layers of insulation with film and thermal curtains, you create a robust barrier against the winter chill.
These easy and affordable DIY tasks empower you to take control of your home’s efficiency. Now that you have a comprehensive plan on how to winterize a patio door, you can look forward to a cozier home and lower heating bills all winter long.

About
Jovie Mathews is a backyard and outdoor expert writer with over 12 years of hands-on experience transforming neglected outdoor spaces into thriving gardens and functional retreats. Raised in a family where weekends meant digging in the soil and building raised beds from scratch, Jovie developed a genuine love for the outdoors long before it became a career.
She writes with a practical, no-fluff approach — always testing ideas in her own backyard before sharing them with readers. From composting systems and native plant selection to patio design and pest control, Jovie covers the full spectrum of backyard life with equal parts expertise and enthusiasm.
Education
B.Sc. in Horticulture Science
University of Florida (UF) · Gainesville, FL · 2014
IFAS College of Agricultural and Life Sciences
Minor in Environmental Studies
University of Florida (UF) · Gainesville, FL · 2014
College of Liberal Arts and Sciences
Areas of expertise
- Lawn & Garden Care
- Soil prep, planting, seasonal care
- Outdoor DIY Projects
- Raised beds, fencing, pathways
- Composting & Soil Health
- Organic methods, amendments
- Native Plants & Wildlife
- Pollinators, habitat gardening
When she is not writing, Jovie can be found testing new composting techniques, growing tomatoes in questionable quantities, or convincing her neighbors that clover lawns are actually a great idea. She currently gardens in the Pacific Northwest.