A sliding patio door is a wonderful feature in any home, offering easy access to the outdoors and flooding a room with natural light. However, there comes a time when you might need to replace or repair it. Whether your door is old, damaged, or you’re simply upgrading to a more energy-efficient model, learning how to remove a sliding patio door is a valuable DIY skill. This task might seem daunting, but with the right tools and a clear plan, it’s a project most homeowners can handle themselves. This guide will walk you through the process, making it simple and manageable.
Why Remove Your Sliding Patio Door?
There are several reasons why you might need to remove your sliding patio door. The most common reason is for replacement. Older doors can become drafty, inefficient, and difficult to operate over time. A new door can improve your home’s energy efficiency, enhance security, and update its aesthetic. You might also need to remove the door to perform significant repairs, such as replacing a shattered glass panel or fixing a badly damaged track that can’t be repaired in place. Finally, a full removal is necessary for home renovation projects, like expanding a room or reconfiguring a wall.
8 Step Methods Guide on How to Remove a Sliding Patio Door
Step 1: Prepare Your Workspace and Tools
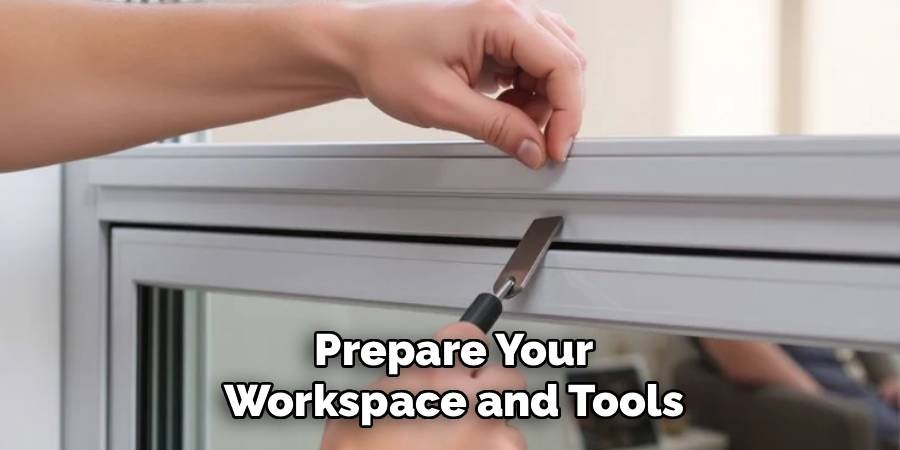
Before you begin, clear a large area around the door, both inside and outside your home. You’ll need plenty of room to maneuver the heavy door panels. Lay down drop cloths to protect your flooring from scratches and debris. Next, gather all the necessary tools for the job. You will typically need a pry bar, a putty knife, a Phillips head screwdriver, a flathead screwdriver, safety glasses, and work gloves. Having a pair of sawhorses ready to hold the door panels will also make the process much easier.
Step 2: Remove the Stationary Panel Screen
Most sliding door systems include a screen door. Before you can access the main glass panels, you must remove this screen. Start by locating the adjustment screws, which are usually found at the top and bottom corners of the screen frame. Use a screwdriver to loosen these screws. This will retract the rollers, giving you the clearance needed to lift the screen up and out of its bottom track. Carefully pull the bottom of the screen toward you and then lower it to free it from the top track.
Step 3: Loosen and Remove the Sliding Door Panel
Now, focus on the active, or sliding, glass panel. Similar to the screen, this door runs on rollers that can be adjusted. Look for small plastic caps covering the adjustment screws at the bottom of the door. Pop these caps off with a flathead screwdriver. Turn the screws counter-clockwise to lower the door and retract the rollers. You may need to turn them several times. With the rollers retracted, you and your helper can lift the door panel straight up into the top track and pull the bottom out toward you.
Step 4: How to Remove a Sliding Patio Door’s Stationary Panel
With the sliding panel gone, you can now address the fixed, or stationary, panel. This panel is often held in place by a threshold block and an L-shaped bracket or jamb stop. Locate the screws holding these retaining pieces to the door frame and remove them. With the stops out of the way, the stationary panel should now be free to move. Slide it toward the center of the opening, then lift it up and out of the track just as you did with the sliding panel. Place it carefully on your sawhorses.
Step 5: Take Out the Door Frame Screws
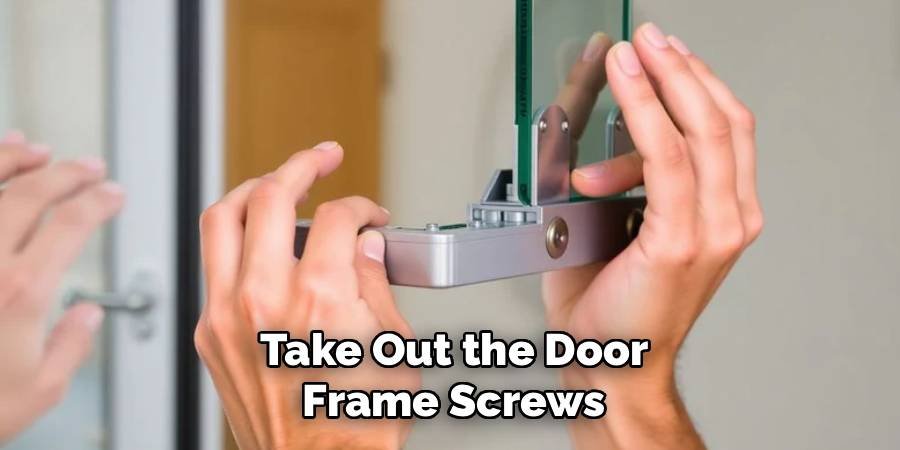
The main door frame is secured to the house’s rough opening with a series of long screws. To find them, you may need to pry away the interior trim or molding that covers the edges of the frame. Use a pry bar and a putty knife to gently remove this trim to avoid damaging your walls. Once the trim is off, you will see the installation screws running through the side jambs and sometimes the top jamb of the door frame. Use a drill or screwdriver to remove all of these screws.
Step-6: Cut the Exterior Sealant
Builders use caulk or sealant around the exterior of the door frame to create a weatherproof seal. You must cut through this seal to free the frame from the house. Using a sharp utility knife, carefully score the caulk line along the entire perimeter of the door frame where it meets your home’s siding or exterior wall. Be thorough and cut all the way through the bead of sealant. This step is crucial for preventing damage to your siding when you pry the frame loose. Take your time to ensure the cut is clean.
Step 7: Pry the Frame Loose
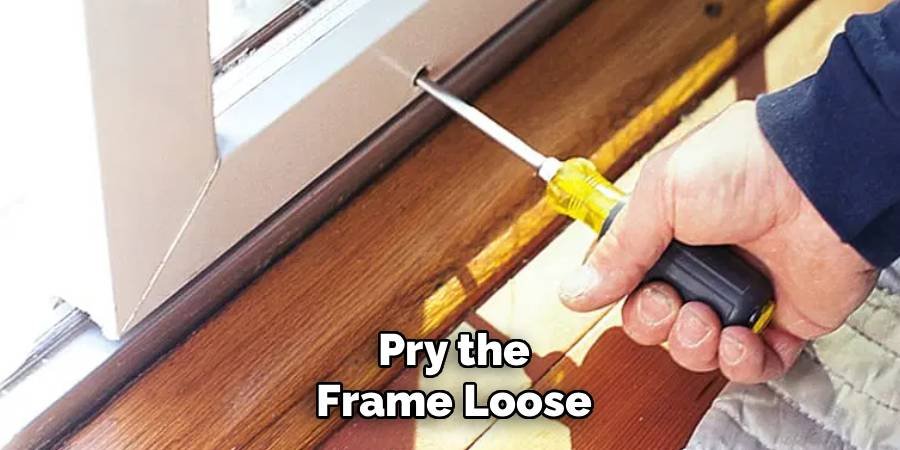
With the installation screws removed and the exterior sealant cut, the frame is ready to be pried from the opening. Start at one of the bottom corners. Insert a pry bar between the door frame’s sill and the subfloor. Gently apply pressure to begin separating the frame from the rough opening. Work your way up the sides, prying evenly to avoid twisting or warping the frame, especially if you plan to reuse it. Have your helper support the frame as it comes loose to prevent it from falling unexpectedly.
Remove the Old Frame Completely
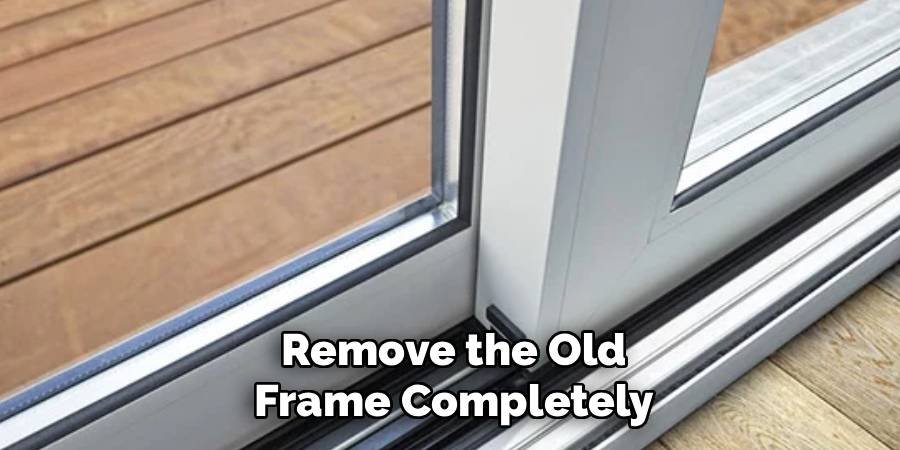
This final step requires teamwork. Once the frame is loose on all sides, you and your helper should grab it firmly. Tilt the top of the frame inward, into the house. As you tilt it, carefully guide it out of the rough opening. Be mindful of any remaining flashing or weatherstripping that might catch. Once the frame is clear of the opening, you can carry it away. Congratulations, you have successfully removed your old sliding patio door and are ready to prepare the opening for a new installation.
Frequently Asked Questions (FAQ)
Can One Person Remove a Sliding Glass Door?
While it is technically possible for one strong and experienced person to do it, it is highly recommended to have a helper. Sliding glass door panels are incredibly heavy and awkward to handle. Attempting to lift and maneuver one alone poses a significant risk of injury to yourself or damage to the door and your home. A second person makes lifting, carrying, and balancing the panels much safer and easier.
Do I Need to Remove the Trim to Remove a Sliding Door?
Yes, in most cases, you will need to remove the interior trim (casing) around the door. This trim typically covers the installation screws that fasten the door frame to the house’s rough opening.
To remove the frame, you must:
- Access and remove these screws.
- Gently pry off the trim with a pry bar to avoid damaging it or the wall.
- If you plan to reuse the trim, be sure to label the pieces so you know where they go.
What Tools Are Essential for This Project?
Having the right tools is key to a smooth removal process. The essentials include a drill or screwdriver set for removing screws, a utility knife for cutting sealant, and a pry bar for loosening the frame and trim. Safety gear is also a must, so be sure to have safety glasses and heavy-duty work gloves. A pair of sawhorses is extremely helpful for safely placing the heavy door panels on once they are removed from the frame.
How Do I Dispose of an Old Sliding Patio Door?
Disposal options depend on your local regulations. Many municipal waste services offer bulk pickup days for large items like doors, but you may need to schedule it in advance. Alternatively, you can take it to a local landfill or transfer station yourself. If the door is still in decent condition, consider donating it to a habitat for humanity restore or listing it for free on a local online marketplace.
Is It Difficult to Replace a Sliding Patio Door After Removal?
Installing a new sliding patio door is a more complex task than a simple removal. It requires precise measurements, shimming to ensure the frame is plumb and level, and proper sealing to prevent water and air leaks. While it is a manageable DIY project for someone with intermediate carpentry skills, beginners may find it challenging. If you are not confident, hiring a professional for the installation is the best way to ensure it’s done correctly.
Conclusion
You now have a complete roadmap for tackling this common home improvement project. By preparing your workspace, gathering the right tools, and following each step carefully, you can successfully and safely complete the task. Remember that patience and having a helper are your best assets. Knowing how to remove a sliding patio door not only saves you money but also empowers you with the confidence to take on other projects around your home. With the old door out, you are now ready for the next phase, whether it’s a repair, a renovation, or a brand-new installation.

About
Jovie Mathews is a backyard and outdoor expert writer with over 12 years of hands-on experience transforming neglected outdoor spaces into thriving gardens and functional retreats. Raised in a family where weekends meant digging in the soil and building raised beds from scratch, Jovie developed a genuine love for the outdoors long before it became a career.
She writes with a practical, no-fluff approach — always testing ideas in her own backyard before sharing them with readers. From composting systems and native plant selection to patio design and pest control, Jovie covers the full spectrum of backyard life with equal parts expertise and enthusiasm.
Education
B.Sc. in Horticulture Science
University of Florida (UF) · Gainesville, FL · 2014
IFAS College of Agricultural and Life Sciences
Minor in Environmental Studies
University of Florida (UF) · Gainesville, FL · 2014
College of Liberal Arts and Sciences
Areas of expertise
- Lawn & Garden Care
- Soil prep, planting, seasonal care
- Outdoor DIY Projects
- Raised beds, fencing, pathways
- Composting & Soil Health
- Organic methods, amendments
- Native Plants & Wildlife
- Pollinators, habitat gardening
When she is not writing, Jovie can be found testing new composting techniques, growing tomatoes in questionable quantities, or convincing her neighbors that clover lawns are actually a great idea. She currently gardens in the Pacific Northwest.