Nothing ruins a beautiful sunny afternoon quite like fighting with a sliding door that refuses to budge. Whether you are coming in from tending your vegetable patch or just letting fresh air into your living room, a sticky door is a major nuisance. The culprit is usually hidden right beneath your feet: layers of compacted dirt, dead bugs, and garden debris clogging the rails. While it is often the most overlooked part of household maintenance, learning how to clean patio door tracks can instantly restore your door’s smooth operation and save you from expensive repairs down the line.
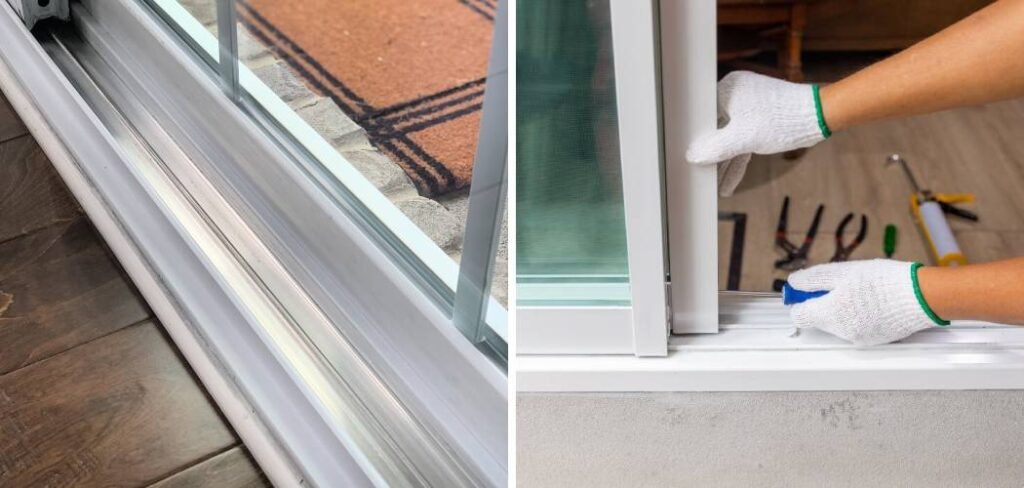
This task might seem intimidating if you have never tackled it before, but it is actually quite straightforward. You do not need expensive equipment or harsh chemicals to get professional results. With a few common household items and a bit of patience, you can transform those grimy, black rails into pristine, shiny tracks. This guide will walk you through the entire process, ensuring your door glides effortlessly once again.
Why Clean Patio Door Tracks?
You might wonder if scrubbing a part of the door that people rarely look at is worth the effort. The answer is a resounding yes. Cleaning your patio door tracks is not just about aesthetics; it is a critical maintenance task that directly impacts the longevity of your home fixtures. When tracks are filled with grit, hair, and mud, the rollers on the bottom of your door have to grind over this debris every time you open or close the unit. Over time, this friction can damage the rollers, warp the track itself, or even cause the door to jump off its alignment completely.
Furthermore, neglected tracks can affect your home’s energy efficiency. A buildup of debris prevents the door from sealing tightly against the frame when closed. This small gap allows drafts to enter during the winter and cool air to escape during the summer, subtly driving up your utility bills. Regular cleaning also prevents mold and mildew growth, which thrives in the mixture of moisture and organic matter that tends to collect in these dark crevices. By keeping them clean, you protect your air quality and your wallet.
10 Step Methods Guide on How to Clean Patio Door Tracks
Step 1: Remove the Screen Door
Before you can effectively tackle the debris, you need clear access to the entire length of the track. If you have a sliding screen door, it usually sits on the outer rail and can obstruct your cleaning efforts. Carefully lift the screen door upward into the top track, then gently swing the bottom outward to disengage the rollers from the bottom rail.
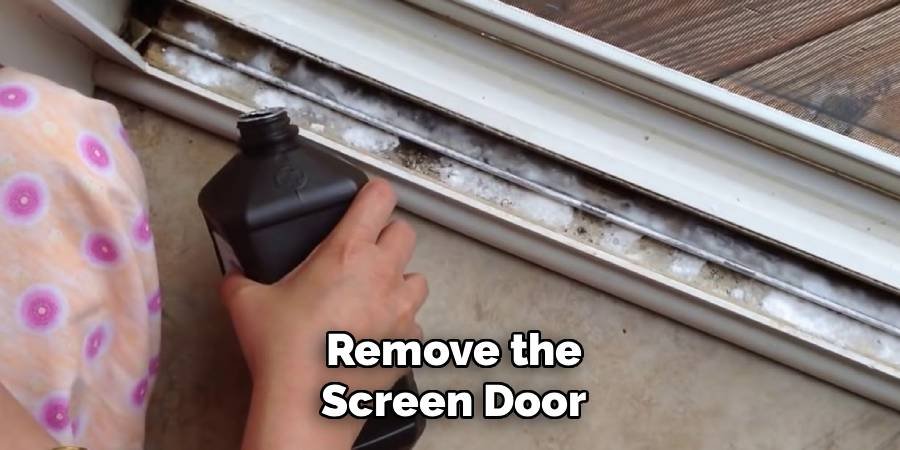
Place the screen door safely aside, perhaps on a lawn or against a wall where it will not fall. Removing this barrier allows you to see the full extent of the dirt and gives you room to maneuver your vacuum and brushes without constantly bumping into the frame.
Step 2: Vacuum the Loose Debris
The first phase of actual cleaning involves removing as much dry, loose material as possible. If you add liquid cleaners to loose dirt, you will simply create a muddy sludge that is much harder to remove. Use a vacuum cleaner equipped with a crevice tool or a narrow nozzle attachment to suck up dead insects, dried leaves, loose soil, and pet hair. Move slowly along the entire length of the track, paying special attention to the corners where wind often deposits the heaviest debris. If you have a handheld brush attachment, use it to dislodge dust that might be clinging lightly to the sides of the rail before vacuuming it up.
Step 3: Scrub with a Dry Wire or Nylon Brush
Vacuuming rarely gets everything, especially if the dirt has been compacted by the weight of the door rolling over it for months. To loosen this stubborn, caked-on grime, use a stiff dry brush. An old toothbrush can work for light dirt, but a small wire brush or a specialized track cleaning brush is better for hardened mud. Scrub the tracks vigorously back and forth to break up the crusty layers. This dry agitation is crucial because it turns solid masses into powder that can be easily wiped away later. Do not worry about getting it perfectly clean yet; you are simply preparing the surface for the deep cleaning solution that comes next.
Step 4: Apply Your Cleaning Solution
Now it is time to introduce the cleaning agents that will dissolve the remaining grease and grime. You can use a commercial all-purpose cleaner, but a homemade mixture of baking soda and white vinegar is incredibly effective for this specific job. Sprinkle a generous amount of baking soda along the entire length of the track.
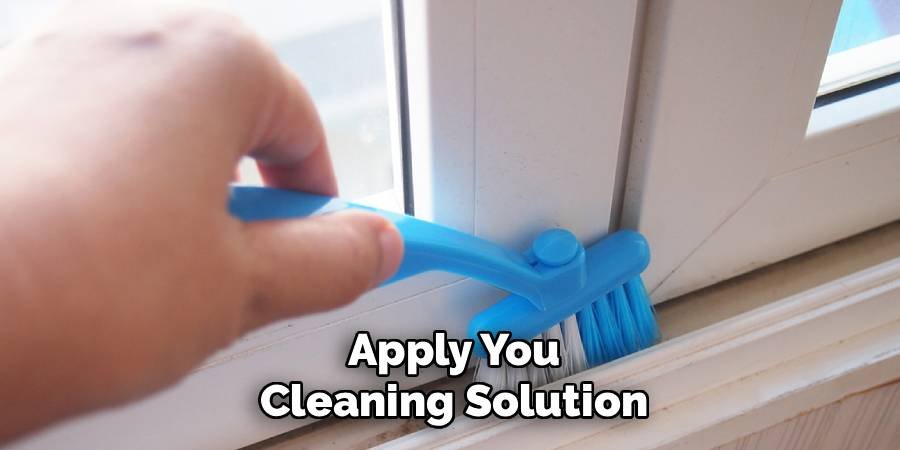
Next, pour a small amount of white vinegar over the baking soda. You will see an immediate fizzing reaction, which helps to lift dirt from the surface. This is a popular method for homeowners learning how to clean patio door tracks because the chemical reaction does the hard work for you, penetrating deep into the crevices that your brush might have missed.
Step 5: Let the Mixture Sit
Patience is a virtue when deep cleaning hardware. Once you have applied your cleaning solution or your vinegar and baking soda mix, step away for about five to ten minutes. Allowing the solution to sit gives the ingredients time to break down the proteins in bug remains and dissolve sticky tree sap or grease. If you start scrubbing immediately, you are relying solely on muscle power. By letting it soak, you allow the chemistry to loosen the bond between the dirt and the aluminum or vinyl track. This waiting period ensures that when you do return to scrub, the grime will lift away with significantly less effort on your part.
Step 6: Scrub the Wet Grime
After the soaking period is over, take your small cleaning brush or an old toothbrush and begin scrubbing the wet tracks. Focus on the corners and the tight spaces under the lip of the rail. The mixture should have turned into a paste that is dark with lifted dirt. Move your brush in circular motions to ensure you are hitting the track from all angles.
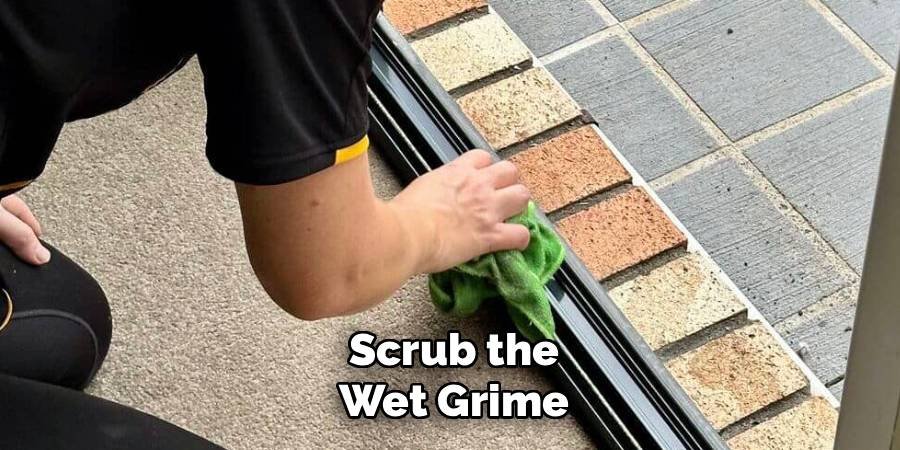
The bristles will work the cleaning solution into the textured surfaces of the metal, pulling up the deep-seated discoloration. If you encounter particularly stubborn spots, add a little more vinegar or cleaner to re-wet the area and apply slightly more pressure until the spot dissolves.
Step 7: Wipe Up the Sludge
Once you have thoroughly scrubbed the tracks, you will be left with a dirty, wet slurry. It is time to remove this mess. Using paper towels or old microfiber rags, wipe out the bulk of the cleaning solution and dissolved dirt. This part can be messy, so have a trash bag handy. You might need to use several towels to get the majority of the gunk out. Press the towel firmly into the tracks and slide it along to scoop up the debris. As you wipe, you will start to see the original color of the track revealing itself underneath. Do not worry about perfection in this step; the goal is just to remove the heavy sludge.
Step 8: Detail the Corners
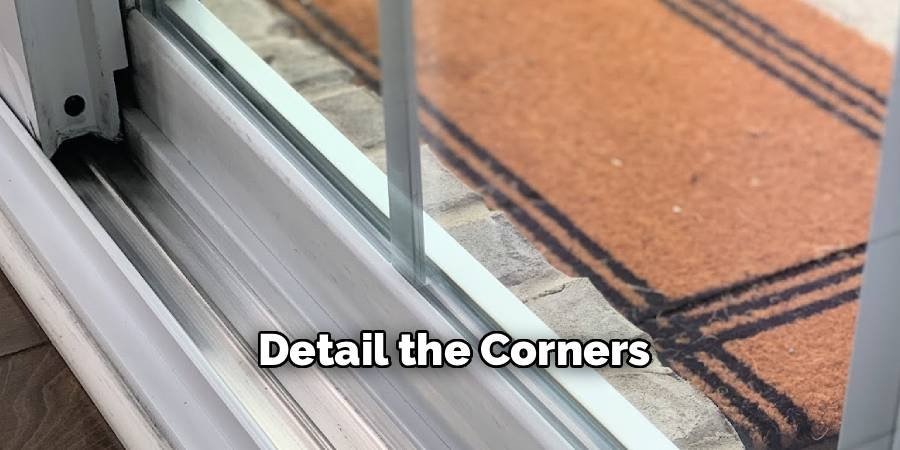
Even after wiping, small amounts of dirt often remain hidden in the tight 90-degree corners or thin grooves of the track. To get these areas spotless, wrap a wet paper towel or a thin rag around the blade of a butter knife or a flathead screwdriver. Gently run this tool along the edges and into the corners to dig out the remaining grime. This detailing step is what separates a quick wipe-down from a professional-level clean. Be gentle to avoid scratching the finish of the track. This technique allows you to reach deep into the recesses that your fingers and brushes simply cannot access, ensuring a truly comprehensive clean.
Step 9: Rinse and Final Wipe
After the detailing work is done, you need to remove any lingering cleaning residue. Leftover baking soda or vinegar can dry into a white, crusty powder if not rinsed away. Fill a spray bottle with warm, clean water and lightly mist the tracks. Take a fresh, dry microfiber cloth and wipe the tracks down one final time. This step polishes the surface and removes any final streaks or films. Your tracks should now look nearly brand new. Make sure the tracks are completely dry before proceeding, as moisture left in the track can attract new dirt more quickly or lead to rust issues depending on the material of your door frame.
Step 10: Lubricate the Tracks
The final step in the process of how to clean patio door tracks is often the most satisfying because it restores functionality. Once the track is bone dry, apply a lubricant to ensure the door slides smoothly. Avoid oil-based lubricants like WD-40, which can actually attract and hold dirt, causing the problem to return faster.
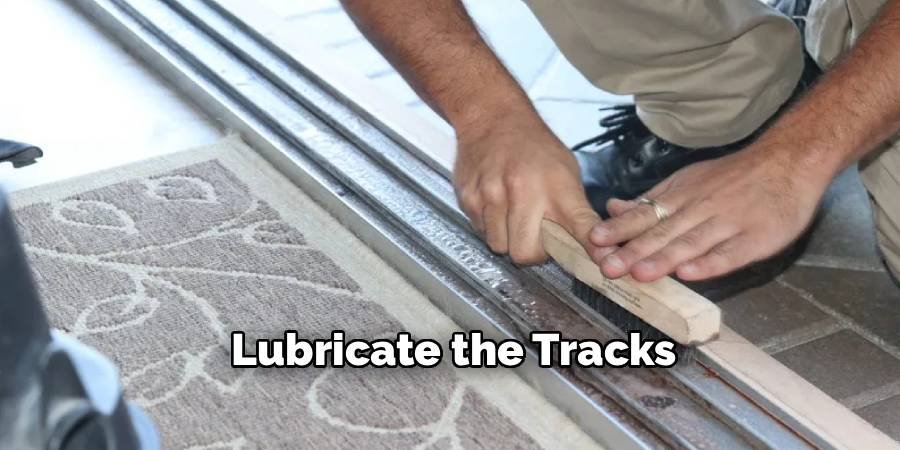
Instead, use a dry silicone spray or a specialized track lubricant. Spray a light coating along the rail, wipe away any excess that lands on the floor or frame, and then reinstall your screen door. Slide the main door back and forth a few times to distribute the lubricant evenly. You should feel an immediate difference in how easily the door glides.
FAQ Section
How Often Should I Clean My Patio Door Tracks?
Ideally, you should clean your patio door tracks seasonally, or about four times a year. However, if your door sees heavy traffic or if you live in a dusty area, you might need to do it more frequently.
- Spring: Clean out winter debris.
- Autumn: Remove leaves and summer dust.
- Monthly: A quick vacuum can prevent heavy buildup.
Consistent maintenance prevents the dirt from becoming compacted and difficult to remove.
Can I Use Bleach to Clean the Tracks?
While bleach is a powerful disinfectant, it is generally not recommended for aluminum or vinyl patio door tracks. Bleach can be corrosive to metal and may discolor or damage vinyl over time. It is also harsh on the surrounding carpet or flooring if spilled. Stick to gentler options like white vinegar, baking soda, or mild dish soap, which are tough on grime but safe for the materials that make up your door frame.
Why Is My Sliding Door Still Sticking After Cleaning?
If you have cleaned the tracks thoroughly but the door still sticks, the issue might be with the rollers.
- Adjustment: Look for small screws at the bottom of the door; turning them can raise or lower the door wheels.
- Damage: The rollers may be worn out, flat-spotted, or broken and need replacement.
- Track Damage: Inspect the metal rail for dents or bends that might be obstructing the path of the wheels.
What Is the Best Lubricant for Sliding Door Tracks?
The best lubricant is a silicone-based spray or a dry PTFE (Teflon) spray. Unlike heavy greases or oil-based products, dry silicone sprays provide a slick surface without leaving a sticky residue. Sticky residues act like a magnet for dust, pet hair, and garden soil, which will clog your tracks again very quickly. Always wipe away excess spray to prevent slippery floors near the doorway.
Can I Use a Steam Cleaner on Patio Door Tracks?
Yes, a steam cleaner is an excellent tool for this job. The high-temperature steam blasts away hardened gunk and kills mold spores instantly without the need for chemical scrubbing.
- Efficiency: It melts grease and loosens dirt in seconds.
- Sanitization: It kills bacteria and mold.
If you have a handheld steam cleaner with a nozzle attachment, it can make the cleaning process significantly faster and easier than manual scrubbing.
Conclusion
Taking the time to maintain your home’s entryways pays off every time you step outside. By following these simple steps, you have not only improved the look of your home but also extended the life of your door and improved its energy efficiency. No more wrestling with a stuck handle or listening to the grinding sound of rollers crushing dirt.
Regular maintenance is the key to keeping this chore easy. A quick vacuum every month will stop the heavy buildup from returning, making the deep cleaning process much faster next time. Now that you know how to clean patio door tracks, you can enjoy seamless access to your garden or patio all year round. So, slide that door open, step out into the fresh air, and appreciate the smooth glide of a job well done.

About
Jovie Mathews is a backyard and outdoor expert writer with over 12 years of hands-on experience transforming neglected outdoor spaces into thriving gardens and functional retreats. Raised in a family where weekends meant digging in the soil and building raised beds from scratch, Jovie developed a genuine love for the outdoors long before it became a career.
She writes with a practical, no-fluff approach — always testing ideas in her own backyard before sharing them with readers. From composting systems and native plant selection to patio design and pest control, Jovie covers the full spectrum of backyard life with equal parts expertise and enthusiasm.
Education
B.Sc. in Horticulture Science
University of Florida (UF) · Gainesville, FL · 2014
IFAS College of Agricultural and Life Sciences
Minor in Environmental Studies
University of Florida (UF) · Gainesville, FL · 2014
College of Liberal Arts and Sciences
Areas of expertise
- Lawn & Garden Care
- Soil prep, planting, seasonal care
- Outdoor DIY Projects
- Raised beds, fencing, pathways
- Composting & Soil Health
- Organic methods, amendments
- Native Plants & Wildlife
- Pollinators, habitat gardening
When she is not writing, Jovie can be found testing new composting techniques, growing tomatoes in questionable quantities, or convincing her neighbors that clover lawns are actually a great idea. She currently gardens in the Pacific Northwest.