A peaked porch roof, often referred to in construction as a gable roof, does far more than just keep the rain off your doorstep. It is a transformative architectural feature that adds depth, character, and significant curb appeal to a home. Beyond the aesthetics, a well-constructed roof protects your front door from the elements, directs rainwater away from your foundation, and provides a welcoming, sheltered space for guests. While the geometry of a peaked roof might seem intimidating to a beginner, framing a small gable over a porch is a highly approachable project for a DIY enthusiast with basic carpentry experience.
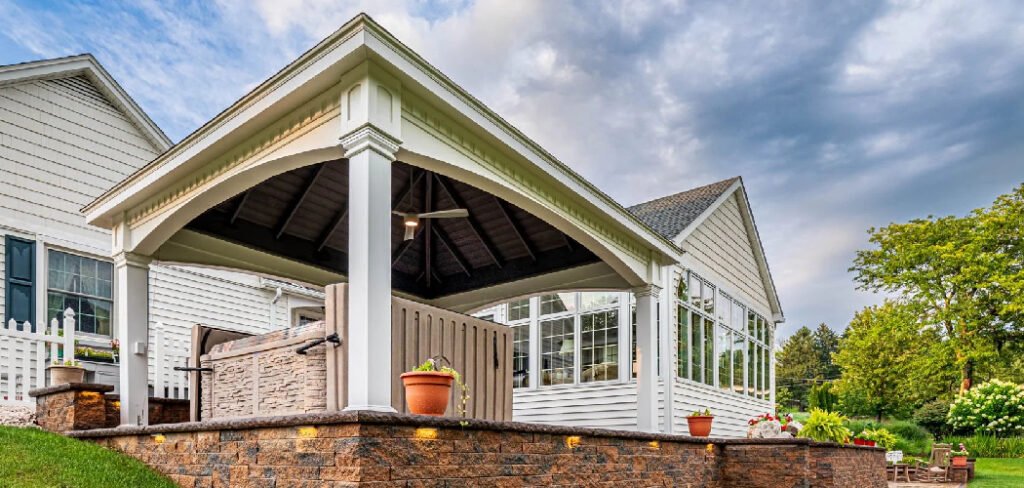
By breaking the construction process down into manageable phases—from calculating the slope to laying the final shingle—you can achieve a professional-quality addition without the professional price tag. This guide is designed to demystify the framing process, providing you with the structural knowledge and practical tips needed to succeed. We will explain exactly how to build a peaked porch roof, ensuring your new structure is safe, code-compliant, and built to last for decades.
Why Build a Peaked Porch Roof?
Building a peaked porch roof offers numerous benefits, both practical and aesthetic. From a functional standpoint, the sloped design excels at directing rain, snow, and debris away from your porch, preventing water accumulation and minimizing the risk of structural damage. It also provides better airflow and insulation, contributing to a more comfortable outdoor space year-round. On the aesthetic side, a peaked roof adds character and charm to your home, creating an inviting entrance and enhancing curb appeal. Whether you’re looking to improve your home’s functionality or boost its visual appeal, a peaked porch roof is a worthwhile investment.
8 Step-by-Step Guide on How to Build a Peaked Porch Roof
Step 1: Design the Roof and Secure Permits
Before you purchase any lumber, you must establish a solid plan that adheres to local building codes. Start by determining the pitch or slope of your new roof; a common choice is to match the pitch of your home’s existing roof for a cohesive look. You will need to draw a detailed sketch that includes the dimensions of the ledger board, the span of the rafters, and the height of the ridge.
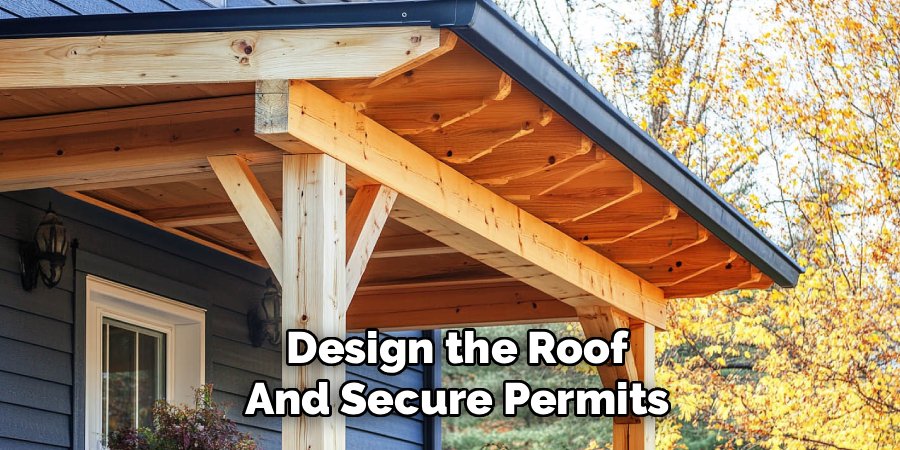
Take these drawings to your local building department to apply for a permit. This step is non-negotiable, as the city needs to verify that your design can withstand local snow loads and wind uplift. Securing a permit ensures your project is legal and safe.
Step 2: Prepare the House Wall and Ledger
The ledger board acts as the primary anchor for your roof on the house side, so its installation is critical. Locate the wall studs on your home where the peak of the roof will attach. You generally need to remove the siding in this area to expose the sheathing, ensuring a flush and secure connection. Mark the exact center of your porch on the wall to align the ridge of the new roof. Fasten the ledger board horizontally using heavy-duty structural screws or galvanized lag bolts, driving them deep into the house studs. Flashing should be installed behind and over the ledger to prevent water from seeping into your home’s walls.
Step 3: Install Support Posts and the Header Beam
If your porch does not already have adequate columns, you must install vertical support posts and a horizontal header beam to carry the weight of the roof’s outer edge. Position your posts on the porch footings, ensuring they are perfectly plumb and spaced symmetrically. Install a heavy timber beam or a built-up header across the top of these posts. This beam will support the lower ends of your rafters, known as the rafter tails. It is vital that this base framework is square and level; any errors here will compound when you start framing the rafters, making the project much more difficult.
Step 4: Calculate and Cut the Rafters
Cutting rafters is the most technically challenging part of the project, requiring precise geometry. You need to use a framing square to mark the “birdsmouth”—the triangular notch where the rafter sits on the top plate or beam—as well as the plumb cuts for the ridge and the tail.
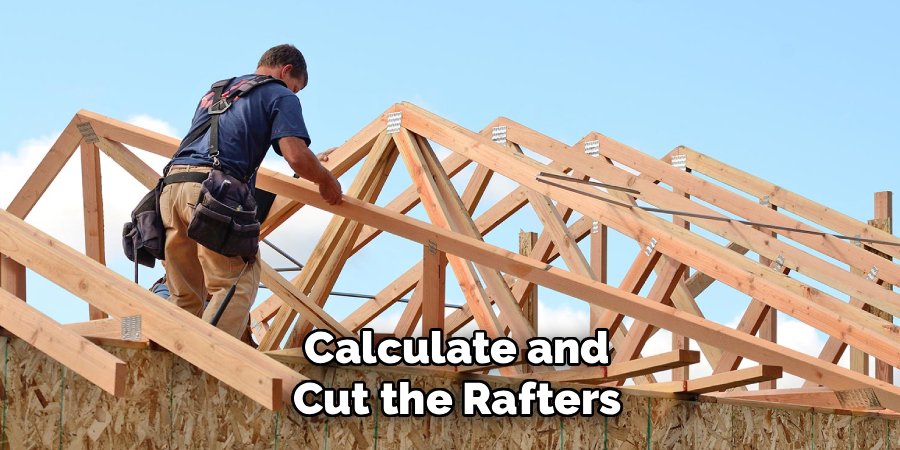
It is highly recommended to cut a single pattern rafter first. Test fit this rafter to ensure your calculations for the pitch were correct and that it sits flush against both the ridge line and the header beam. Once you are satisfied with the fit, use this pattern to trace and cut the remaining rafters to ensure every piece is identical.
Step 5: Frame the Ridge and Rafters
This is the stage where your project truly takes shape. You will likely need an assistant to help hold the ridge board in place while you secure the rafters. Begin by installing the two outer rafters at the end of the ridge board to stabilize the structure. Nail the rafters securely into the ridge board and toenail them into the ledger board and the outer beam. Once this outer skeleton is secure, fill in the intermediate rafters, spacing them typically 16 or 24 inches on center. A crucial part of learning how to build a peaked porch roof is ensuring the ridge board remains perfectly level throughout this installation to prevent a wavy roofline.
Step 6: Install Roof Sheathing
With the framing complete, you need to install the roof deck, or sheathing, which provides the base for your roofing materials. Use sheets of half-inch OSB (Oriented Strand Board) or plywood for this layer. Start installing the sheets from the bottom edge of the roof, working your way up toward the peak. Measure and cut the plywood so that vertical seams land directly in the center of a rafter, allowing for secure nailing. Fasten the sheathing with nails spaced every six inches along the edges and every twelve inches in the center of the panels. This step ties the rafters together, significantly increasing the structural rigidity of the entire roof.
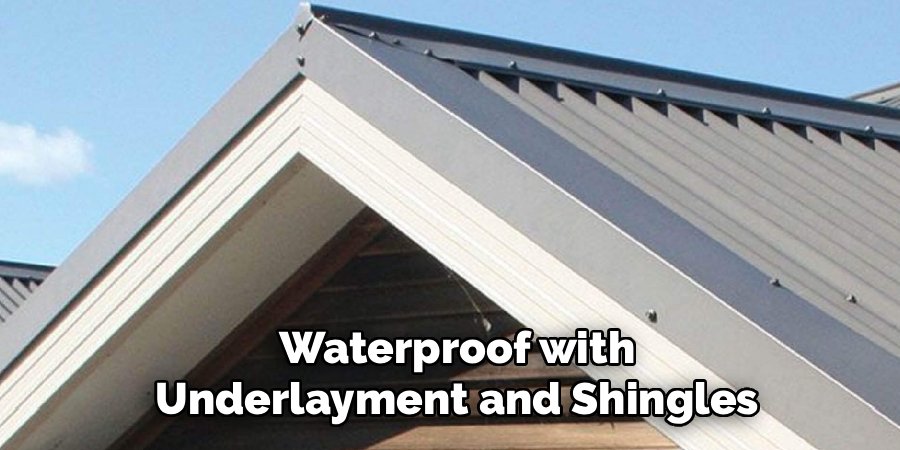
Step 7: Waterproof with Underlayment and Shingles
Waterproofing is essential to protect your carpentry from rot and water damage. Install metal drip edge along the eaves to guide water into gutters and away from the fascia boards. Cover the sheathing with a layer of asphalt-saturated roofing felt or a synthetic underlayment, overlapping the rows to shed water effectively.
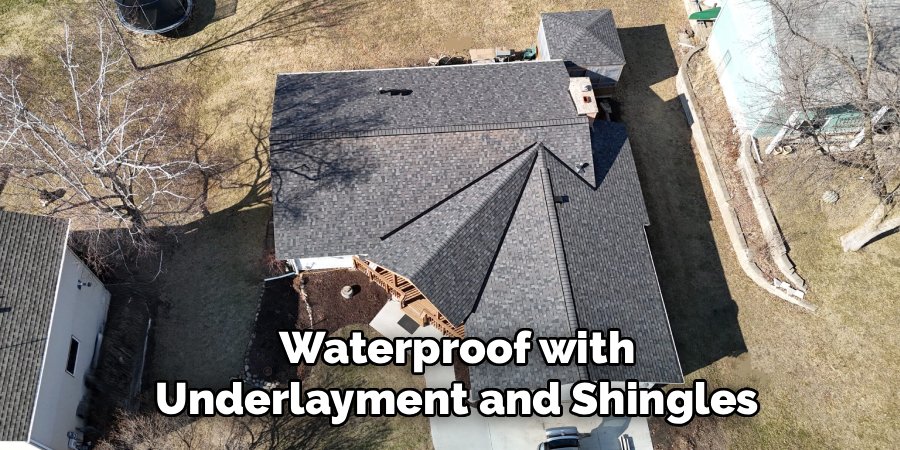
Begin shingling at the bottom edge using a starter strip to seal the first row against wind uplift. Continue installing shingles up to the peak, following the manufacturer’s exposure guidelines. Once you reach the top, install ridge cap shingles to seal the peak. Proper waterproofing is the final barrier in the process of learning how to build a peaked porch roof correctly.
Step 8: Finish with Soffit and Fascia
The final construction phase involves enclosing the eaves and adding trim for a polished appearance. Install fascia boards along the ends of the rafter tails to create a smooth surface for mounting gutters. If you prefer an enclosed look, install soffit material under the overhangs to hide the rafters and prevent birds, bees, or other pests from nesting inside the roof structure. Caulk all joints where the new roof meets the existing house siding to ensure a watertight seal. Finally, paint or stain the new wood to match your home’s exterior trim. These finishing touches protect the lumber and give the project a completed, professional look.
Frequently Asked Questions (FAQ)
Do I Need a Permit to Build a Porch Roof?
Yes, adding a roof structure almost always requires a building permit. Because a roof adds significant weight (dead load) and must withstand environmental forces like wind and snow (live loads), local authorities need to verify that your design is structurally sound. You will usually need to submit a plan showing framing details and connection points. Building without a permit can lead to fines and complications when selling your home.
What Is the Minimum Pitch for a Porch Roof?
For standard asphalt shingles, the minimum recommended pitch is usually 4/12, meaning the roof rises 4 inches for every 12 inches of horizontal run. If you need a shallower roof due to second-story windows or other obstructions, you may need to use rolled roofing or a standing seam metal roof, which are designed to handle slower water runoff without leaking.
Can I Build a Porch Roof on a Concrete Slab?
You can, provided the slab has adequate footings. A standard 4-inch patio slab is generally not thick enough to support the concentrated load of roof columns, which can cause the concrete to crack. You typically need to cut through the existing slab and pour deep concrete footings below the frost line to support the posts properly.
How Do I Tie the New Roof into the Existing House?
The most common method is using a ledger board attached to the wall studs, as described in the guide. However, if you are attaching the porch roof to an existing roof (an “overbuild”), you will need to remove shingles and frame valleys where the two roofs meet. This is more complex and requires meticulous flashing work to prevent leaks at the intersection.
What Lumber Should I Use for Framing?
For any structural elements that touch masonry or concrete (like posts and bottom plates), you must use pressure-treated lumber to prevent rot. For the rafters, ridge board, and sheathing that will be kept dry under the shingles, standard kiln-dried framing lumber like Spruce-Pine-Fir (SPF) is suitable. It is lighter and often straighter than treated lumber, making it easier to work with for roof framing.
Conclusion
Building a peaked roof over your porch is a rewarding investment that enhances both the utility and the beauty of your home. It creates a defined architectural focal point while offering a practical shelter from the weather. While the framing process involves careful math and physical effort, it is a logical progression that is well within the reach of a dedicated DIYer.
By prioritizing safety, obtaining the necessary permits, and following the structural steps outlined above, you can build a durable addition that looks as if it were part of the original house design. Now that you understand the essential principles of how to build a peaked porch roof, you are ready to gather your materials and start creating a stunning new entryway for your home.

About
Jovie Mathews is a backyard and outdoor expert writer with over 12 years of hands-on experience transforming neglected outdoor spaces into thriving gardens and functional retreats. Raised in a family where weekends meant digging in the soil and building raised beds from scratch, Jovie developed a genuine love for the outdoors long before it became a career.
She writes with a practical, no-fluff approach — always testing ideas in her own backyard before sharing them with readers. From composting systems and native plant selection to patio design and pest control, Jovie covers the full spectrum of backyard life with equal parts expertise and enthusiasm.
Education
B.Sc. in Horticulture Science
University of Florida (UF) · Gainesville, FL · 2014
IFAS College of Agricultural and Life Sciences
Minor in Environmental Studies
University of Florida (UF) · Gainesville, FL · 2014
College of Liberal Arts and Sciences
Areas of expertise
- Lawn & Garden Care
- Soil prep, planting, seasonal care
- Outdoor DIY Projects
- Raised beds, fencing, pathways
- Composting & Soil Health
- Organic methods, amendments
- Native Plants & Wildlife
- Pollinators, habitat gardening
When she is not writing, Jovie can be found testing new composting techniques, growing tomatoes in questionable quantities, or convincing her neighbors that clover lawns are actually a great idea. She currently gardens in the Pacific Northwest.