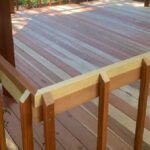
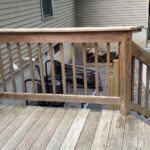
A lattice patio cover is a charming architectural feature that adds character and filtered shade to any outdoor living space. However, as seasons change or your needs evolve, you might find that the dappled sunlight is too intense, or perhaps you want protection from rain to enjoy your patio year-round.
Transforming your open lattice structure into a solid roof can significantly increase the functionality of your backyard. If you are wondering how to cover a lattice patio cover effectively, you have several excellent options ranging from lightweight polycarbonate sheets to durable outdoor fabrics.

This guide is designed to help homeowners and DIY enthusiasts navigate the process with confidence. We will explore a straightforward method to upgrade your patio cover, ensuring it remains a beautiful and practical extension of your home.
By following these steps, you can create a comfortable, weather-resistant retreat right in your own backyard.
Why Upgrade Your Lattice Structure?
While the open, airy design of a lattice cover is visually appealing, it offers limited protection against the elements. Upgrading to a solid or semi-solid cover transforms your patio into a true all-weather extension of your living area.
This modification allows you to place weather-sensitive furniture outside without fear of water damage or sun fading. Additionally, a covered patio can significantly reduce the temperature of the adjacent indoor rooms by blocking direct sunlight from hitting windows and sliding glass doors.
It also provides a dry, sheltered space for outdoor dining or relaxing during a light rain shower, maximizing the usability of your outdoor square footage regardless of the forecast.
Step-by-Step Guide: How to Cover a Lattice Patio Cover
Step 1: Evaluate Structure and Choose Material
Before you purchase any supplies, you must critically assess the structural integrity of your existing lattice. The wood or metal framework needs to be strong enough to support the additional weight of the new roofing material, plus potential snow or wind loads. Look for signs of rot, rust, or sagging beams that need repair.
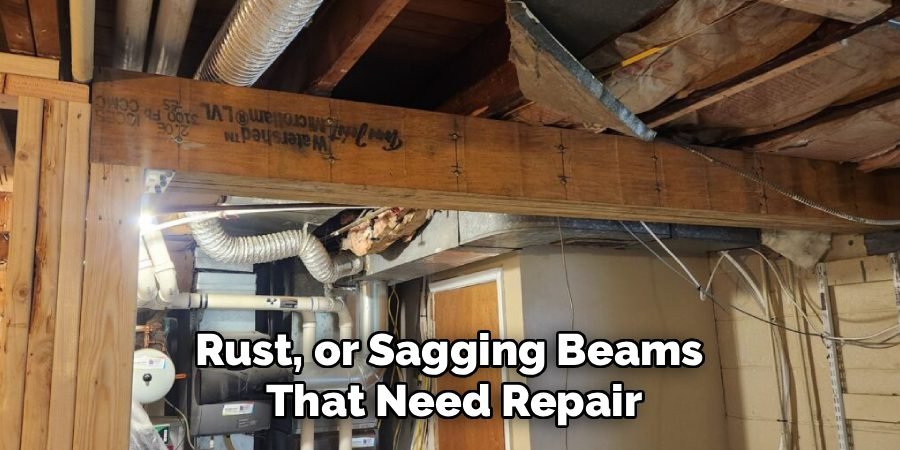
Once the structure is deemed safe, select your covering material. Popular choices include corrugated polycarbonate panels, which let light in but block rain, or canvas fabric for a softer look. Selecting the right material is the first critical decision in learning how to cover a lattice patio cover for a lasting result.
Step 2: Measure and Calculate Materials Needed
Accurate measurements are the backbone of a successful DIY project. You need to measure the total length and width of the lattice area you intend to cover. Calculate the square footage to determine how many panels or yards of fabric you will require.
If you are using corrugated panels, remember to account for the necessary overlap between sheets to ensure a watertight seal. It is always wise to purchase about ten percent more material than your calculations suggest to handle any cutting mistakes or waste.
Having the correct amount of supplies on hand prevents frustrating delays once you have started the installation process.
Step 3: Clean and Prep the Lattice Surface
A clean foundation ensures a professional-looking installation and prevents future issues. Take the time to thoroughly clean the top of the lattice beams where the new cover will rest. Remove any debris, leaves, bird droppings, or loose paint using a stiff brush or a pressure washer on a low setting.
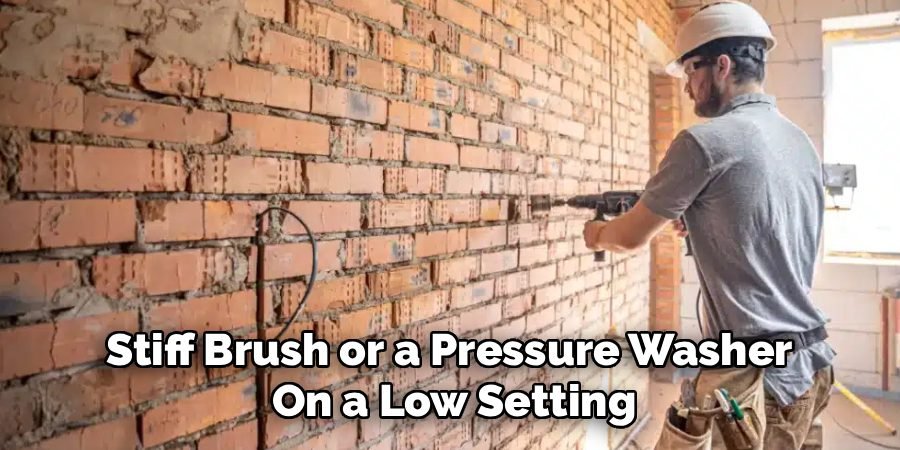
If your lattice is made of wood, this is the perfect time to apply a fresh coat of sealant or paint, as it will be much harder to reach once the cover is installed. Ensuring the surface is clean and dry helps adhesives bond better and prevents trapped moisture from causing rot under your new roof.
Step 4: Cut Panels or Fabric to Size
Once your materials are on site, you will likely need to cut them to fit your specific dimensions. If you are using polycarbonate or fiberglass panels, a circular saw with a fine-tooth blade is usually the best tool for the job. Wear safety goggles and gloves to protect yourself from flying debris.
If you chose a fabric cover, use heavy-duty scissors or a utility knife. Measure twice and cut once is the golden rule here. Cutting the panels to the correct length on the ground is much safer and easier than trying to trim them while standing on a ladder.
Step 5: Install the First Panel or Strip
Begin the installation at the edge of the patio cover that is furthest from the prevailing wind direction, or start at one corner and work your way across. Carefully lift the first panel onto the lattice structure. Align it squarely with the edges of the frame to ensure the entire roof will be straight.
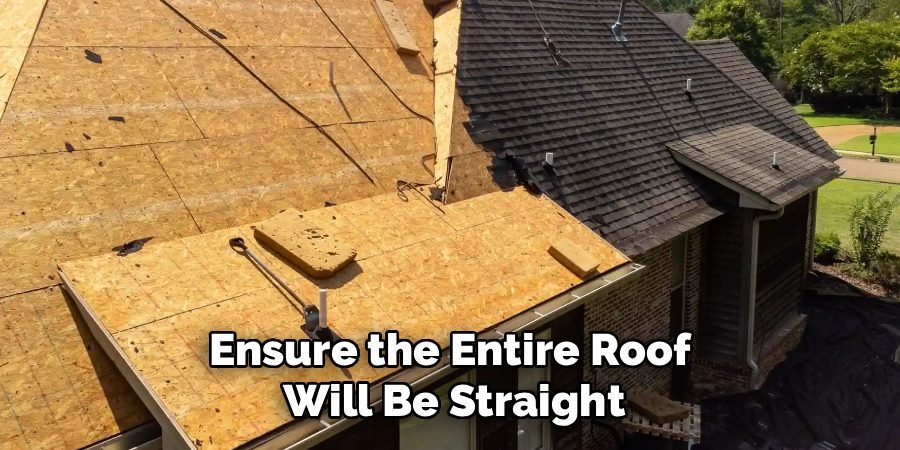
If you are using corrugated panels, make sure the corrugations run parallel to the slope of the roof to allow water to run off easily. Securing this first piece correctly is crucial, as it acts as the guide for all subsequent pieces in the process of how to cover a lattice patio cover securely.
Step 6: Secure Material with Appropriate Fasteners
Using the correct fasteners is essential for durability and weather resistance. For hard panels, use screws with neoprene washers; these rubber washers create a watertight seal around the screw hole, preventing leaks. Drill holes through the high points of the corrugation, not the valleys, to further minimize water ingress.
If you are installing fabric, you might use heavy-duty staples, grommets, or specialized track systems. Space your fasteners evenly according to the manufacturer’s recommendations—typically every 12 to 16 inches—to prevent the material from flapping in the wind or tearing away during a storm.
Step 7: Overlap and Seal Seams
If your project requires multiple panels to cover the width of the patio, proper overlapping is non-negotiable for waterproofing. Overlap corrugated panels by at least one ridge or according to the product specifications.
Apply a bead of clear silicone sealant or outdoor-grade adhesive between the overlapping sections before screwing them down. This extra step creates a barrier against wind-driven rain and capillary action, which can draw water up between sheets.
Sealing the seams tightly transforms individual panels into a unified, waterproof barrier that effectively shields your patio from the elements.
Step 8: Install Flashing at the House Connection
The point where your patio cover meets the wall of your house is the most common spot for leaks. To prevent water from dripping down between the house and the patio cover, you need to install metal flashing. Tuck the top edge of the flashing under the house’s siding or existing roof shingles and bend it over the top of your new patio cover material.
Secure it well with screws and seal the edges with a generous amount of waterproof caulk. This diversion ensures that rainwater flows off the roof and onto the cover, rather than down your exterior wall.
Step 9: Add Trim and Finishing Touches
With the main roofing material secured, it is time to address the aesthetics. You may want to install wood or vinyl trim around the perimeter of the roof to hide the edges of the panels and the fasteners. This gives the project a polished, finished appearance.
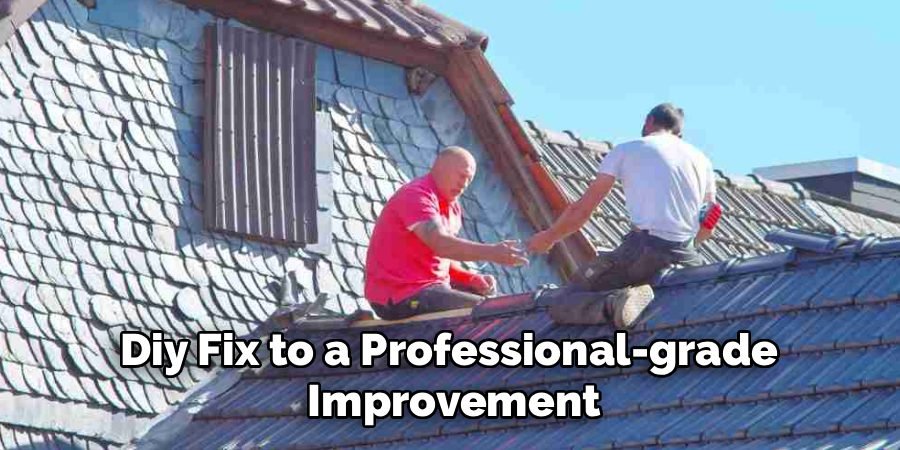
You can also install gutters along the lower edge of the slope to manage runoff and direct water away from your patio foundation. Checking for any sharp edges or loose screws and addressing them now will make maintenance easier later. These final details elevate the look from a simple DIY fix to a professional-grade improvement.
Potential Diy Challenges
While undertaking a DIY project like this can be rewarding, it is not without its challenges. One common issue is accurately measuring and cutting materials to ensure a proper fit, as even minor miscalculations can affect the overall look and functionality.
Additionally, working at heights to install roofing panels or trim requires caution and proper safety precautions to prevent accidents. Another potential challenge is dealing with unexpected complications, such as uneven surfaces or difficulty securing materials due to hidden defects.
Weather conditions can also disrupt progress, particularly if the installation requires extended time outdoors. Planning ahead and equipping yourself with the right tools can help mitigate these challenges and ensure a smoother project experience.
Frequently Asked Questions (FAQ)
What Is The Best Material To Cover A Lattice Patio?
Polycarbonate panels are generally considered the best option for homeowners. They are lightweight, durable, and block harmful UV rays while still allowing natural light to filter through. Unlike metal, they don’t rust, and they are easier to install than heavy asphalt roofing, making them ideal for existing lattice structures.
Do I Need A Permit To Cover My Patio Lattice?
In many municipalities, changing a lattice structure to a solid roof classifies as a modification that requires a building permit. The solid roof adds weight and wind resistance that the original structure may not have been designed for. Always check with your local building department before starting your project.
Can I Use Canvas Or Fabric Instead Of Hard Panels?
Yes, outdoor-rated canvas or shade cloth is a viable alternative for a softer look. While fabric won’t provide the same level of rain protection as hard panels, it offers excellent shade and is generally easier to install. Ensure you use fabric treated for UV resistance and mildew prevention.
How Much Slope Does The Patio Cover Need?
To ensure proper drainage and prevent water pooling, a solid patio cover typically needs a minimum slope of 1/4 inch per foot. However, a steeper pitch, such as 1 inch per foot, is often recommended for areas with heavy rain to ensure water runs off quickly and efficiently.
Will A Solid Cover Make My Patio Too Dark?
It depends on the material you choose. Opaque materials like metal or wood will block all light, potentially darkening adjacent indoor rooms. To avoid this, choose translucent polycarbonate or fiberglass panels. They come in various tints—clear, bronze, or opal—allowing you to control heat and light transmission.
Conclusion
Upgrading your outdoor space by adding a solid roof to an existing lattice structure is a rewarding project that extends the enjoyment of your patio through all seasons. By carefully selecting the right materials and following a methodical installation process, you can protect your furniture from rain and sun while adding value to your home.
We hope this guide on how to cover a lattice patio cover has provided you with the clarity and confidence needed to tackle this renovation.
Remember that preparation is key; taking the time to clean your structure and measure accurately will save you time and frustration in the long run. Whether you choose translucent panels to keep the space bright or a solid material for maximum shade, the result will be a more functional and inviting outdoor retreat.
Gather your tools, pick your materials, and get ready to transform your patio into the perfect haven for relaxation and entertainment.

About
Jovie Mathews is a backyard and outdoor expert writer with over 12 years of hands-on experience transforming neglected outdoor spaces into thriving gardens and functional retreats. Raised in a family where weekends meant digging in the soil and building raised beds from scratch, Jovie developed a genuine love for the outdoors long before it became a career.
She writes with a practical, no-fluff approach — always testing ideas in her own backyard before sharing them with readers. From composting systems and native plant selection to patio design and pest control, Jovie covers the full spectrum of backyard life with equal parts expertise and enthusiasm.
Education
B.Sc. in Horticulture Science
University of Florida (UF) · Gainesville, FL · 2014
IFAS College of Agricultural and Life Sciences
Minor in Environmental Studies
University of Florida (UF) · Gainesville, FL · 2014
College of Liberal Arts and Sciences
Areas of expertise
- Lawn & Garden Care
- Soil prep, planting, seasonal care
- Outdoor DIY Projects
- Raised beds, fencing, pathways
- Composting & Soil Health
- Organic methods, amendments
- Native Plants & Wildlife
- Pollinators, habitat gardening
When she is not writing, Jovie can be found testing new composting techniques, growing tomatoes in questionable quantities, or convincing her neighbors that clover lawns are actually a great idea. She currently gardens in the Pacific Northwest.