Taking on a new DIY project for your garden can be incredibly rewarding, especially when it involves creating a dedicated space for your tools and potting supplies. The roof is arguably the most critical component of any outdoor structure because it protects your investment from rain, snow, and sun damage. While framing walls feels straightforward, many beginners feel intimidated when they look upward, unsure of the geometry and physics involved in roofing.
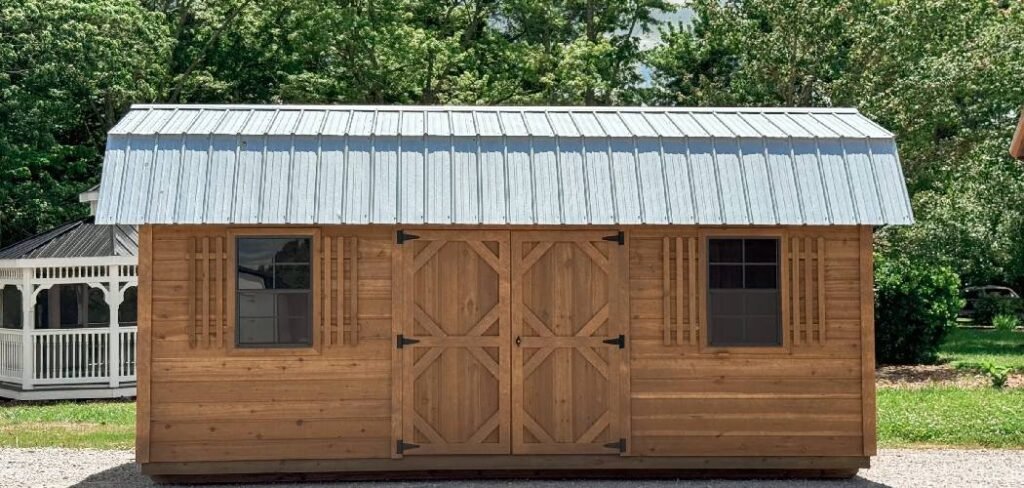
Fortunately, constructing a sturdy cover for your garden shed does not require advanced carpentry skills or expensive professional equipment. With a clear plan, the right materials, and a bit of patience, you can construct a durable weather barrier that lasts for decades. In this guide, we will walk you through how to build a shed roof safely and efficiently, ensuring your garden equipment stays dry and secure all year round.
Why A Sturdy Shed Roof Is Essential For Your Garden
Before grabbing your hammer, it is helpful to understand why the roof design is so important for a garden shed. The roof does more than just top off the building; it dictates how well the structure handles moisture and airflow. A poorly constructed roof can lead to leaks that rot your floorboards and rust your expensive gardening tools. Furthermore, the overhangs protect the siding and windows from constant water exposure, extending the life of the entire shed.
For home gardeners, the roof also offers potential storage space or ventilation options. A high-pitched roof might allow for a loft to store seasonal items like pots or winter covers, while a simple single-slope roof (often called a skillion roof) might be easier to build and sufficient for keeping the rain off your lawnmower. Understanding these structural benefits helps you stay motivated to build it correctly, ensuring your garden sanctuary stands strong against the elements.
10 Step Methods Guide on How to Build a Shed Roof
Step 1: Design The Roof Style And Calculate Pitch
The first phase of your roofing project involves deciding on the specific style that fits your needs and calculating the slope. Most beginners opt for a skillion roof, which is a single sloping surface, or a gable roof, which forms a classic triangle. You need to determine the “pitch,” which is the angle of steepness, usually expressed as inches of rise per foot of run.
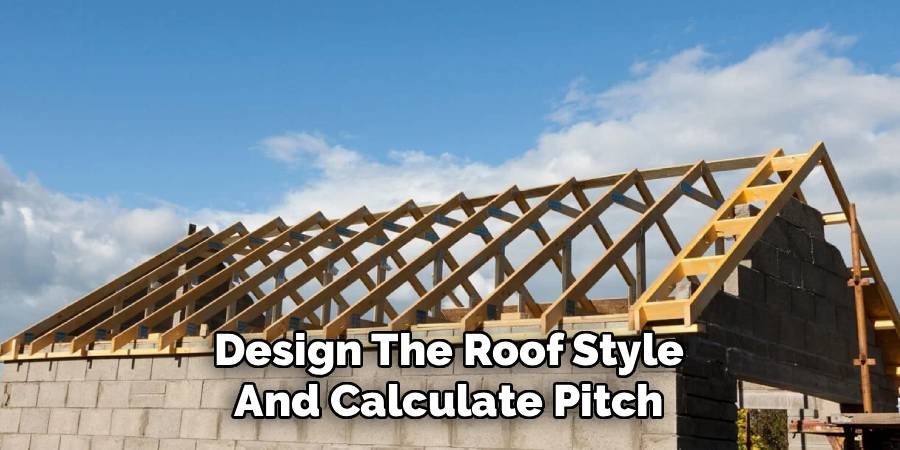
A steeper pitch sheds water and snow more effectively but requires more materials to construct. Once you have chosen your style, you must draw a detailed sketch to determine the exact length of lumber required for your rafters. This planning stage is crucial because precise measurements on paper prevent costly mistakes when cutting expensive timber later in the process.
Step 2: Gather Necessary Lumber And Safety Gear
Once your plan is ready, you need to purchase the correct lumber and ensure you have the proper safety equipment. You will typically need pressure-treated lumber for the framing to resist rot, especially if the shed is in a damp area of the garden. For the rafters, 2×4 or 2×6 boards are standard, depending on the size of your shed and the snow load in your region.
You also need plywood or OSB sheets for sheathing, roofing felt, and your choice of shingles or metal panels. Safety is paramount during this phase, so ensure you have sturdy work gloves, safety glasses, and non-slip boots. Working at heights, even on a small shed, carries risks, so having a stable ladder and perhaps a helper to pass up materials is a wise decision.
Step 3: Mark And Cut The Rafters
Cutting the rafters is often considered the most technical part of the build, but it becomes manageable if you take it one step at a time. You need to measure the distance the rafter will span and add the length for your desired overhangs on the eaves. If you are building a gable roof, you will need to cut a “bird’s mouth”—a triangular notch that allows the rafter to sit flat and securely on the top wall plate.
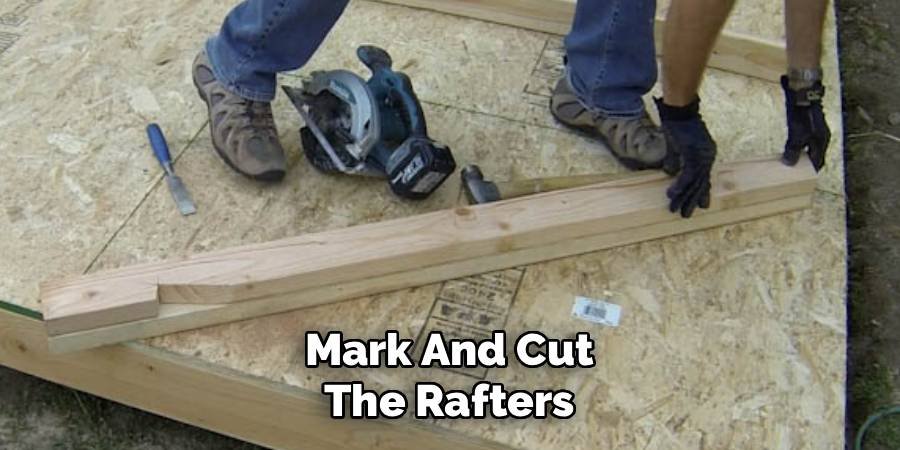
Use a framing square to mark the angles correctly based on your chosen pitch. Cut one rafter first and test fit it to ensure it sits perfectly on the wall plates. Once this pattern rafter is confirmed to be accurate, you can use it to trace and cut the remaining rafters, ensuring every piece is identical for a level roof.
Step 4: Install The Ridge Board Or Beam
If you are constructing a gable roof, you need to install a ridge board, which acts as the spine of the roof at the very peak. This board must be centered exactly between the two side walls and held in place temporarily while you attach the rafters. For a single-slope roof, you will be attaching rafters between a high wall and a low wall, so a ridge board is not necessary.
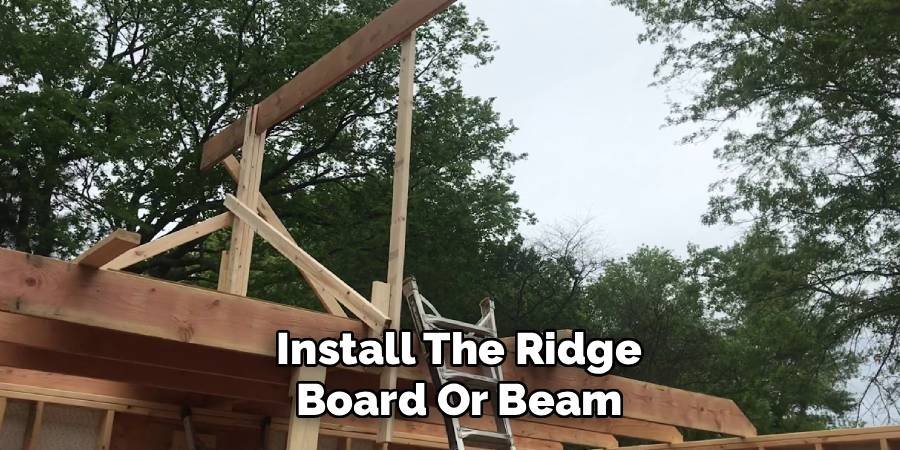
In either case, stability is key during this step. You might need to use temporary braces to hold the ridge board upright and level. This central component bears the weight of the roof structure, so ensure it is straight and free of warping. Taking time here ensures the roofline looks professional and straight when viewed from the ground.
Step 5: Secure The Rafters To The Top Plate
Now you will begin the main framing work by attaching your cut rafters to the wall plates and ridge board. Space the rafters typically 16 or 24 inches on center, depending on your local building codes and structural requirements. Nail the rafters securely into the ridge board and toe-nail them into the top wall plate using galvanized framing nails or metal hurricane ties for added strength.
As you proceed with the installation, understanding how to build a shed roof involves constantly checking that the rafters remain parallel and vertical. If they start to lean, your sheathing plywood will not line up correctly later. Secure each rafter firmly before moving to the next, creating a skeleton that is rigid and ready to support the heavy sheathing and shingles.
Step 6: Install Fascia Boards And Blocking
With the rafters in place, it is time to close off the ends and solidify the structure with blocking and fascia boards. Blocking involves installing small pieces of wood between the rafters over the wall plates to prevent the rafters from twisting or rolling over time. The fascia board is the long, straight board that is nailed to the ends of the rafter tails.
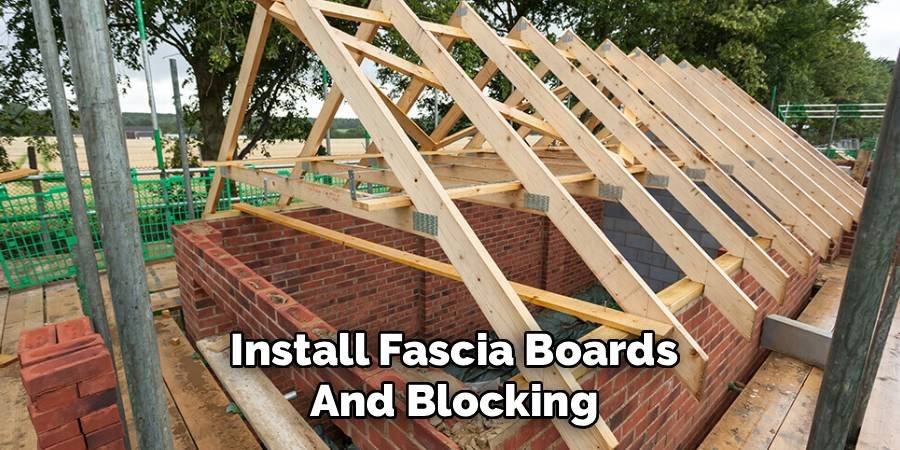
This board gives the roof a finished look and provides a solid surface for mounting gutters later. Ensure your fascia boards are perfectly straight, as they define the edge of your roofline. This step transforms the rough skeleton into a recognizable roof shape and prepares the edges for the drip edge and roofing materials that will follow.
Step 7: Apply The Roof Sheathing
Sheathing provides the solid deck upon which your shingles or metal roofing will sit. Typically, you will use sheets of 1/2-inch or 5/8-inch plywood or OSB (Oriented Strand Board). Lay the sheets perpendicular to the rafters, starting from the bottom edge of the roof and working your way up toward the peak. It is important to stagger the vertical seams so they do not all line up, which adds significant strength to the structure.
Leave a tiny expansion gap, roughly the width of a nail, between the sheets to allow for swelling during humid weather. Nail the sheathing down every six to eight inches along the rafters. A solid, flat deck is essential for a leak-free roof, so ensure there are no protruding nail heads or uneven edges.
Step 8: Install Drip Edge And Underlayment
Waterproofing is the next critical layer of defense for your garden shed. Start by installing a metal drip edge along the eaves to guide water away from the fascia and into the gutters. Once the drip edge is secured, roll out the roofing felt or synthetic underlayment horizontally, starting from the bottom and overlapping each subsequent row by a few inches as you move up.
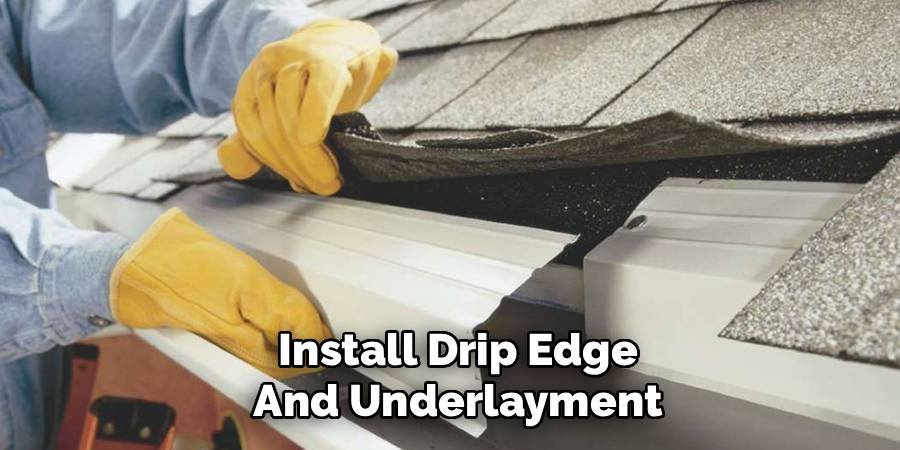
This overlap ensures that if water gets under the shingles, it will run down the felt and off the roof rather than soaking into the wood sheathing. Secure the underlayment with staples or cap nails. This layer acts as a secondary barrier against moisture and is vital for preventing rot, especially in climates with heavy rain or snow.
Step 9: Install The Shingles Or Metal Roofing
You are now ready to install the final visible layer of your roof. If you are using asphalt shingles, begin with a starter strip along the bottom edge to seal the first row against wind uplift. Nail the shingles according to the manufacturer’s instructions, usually with four nails per shingle, placed just below the sealing strip. Overlap the joints between shingles in each row to ensure water cannot penetrate.
If you are learning how to build a shed roof using metal panels, screw them down into the purlins or sheathing using screws with rubber washers to seal the holes. Whichever material you choose, work carefully from the bottom up, ensuring straight lines for a professional appearance that will enhance your garden’s aesthetic.
Step 10: Finish The Ridge And Trim
The final step is capping the peak of the roof to prevent water from entering at the ridge. For shingled roofs, you will use special ridge cap shingles that overlap over the peak, covering the nails of the final row of shingles on both sides. Nail these perpendicular to the ridge, overlapping them in the direction of the prevailing wind to prevent rain from blowing underneath.
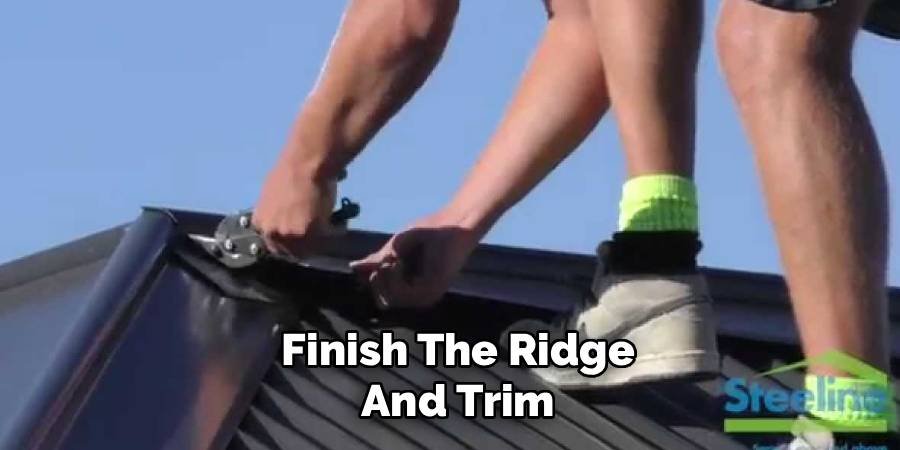
For metal roofs, install a metal ridge cap using foam closures to keep out bugs and moisture. Once the ridge is secure, inspect the entire roof for exposed nail heads or loose edges. Seal any suspicious spots with roofing cement. Completing these finishing touches ensures your shed is watertight and ready to protect your gardening gear for years to come.
Frequently Asked Questions
What Is The Best Pitch For A Shed Roof?
The ideal pitch depends on your local climate and the roofing material you choose. For areas with heavy snow or rain, a steeper pitch of at least 4:12 is recommended to help shed precipitation quickly. If you live in a dry climate, a shallower pitch like 2:12 might suffice, but you must ensure you use appropriate roll roofing or membrane materials that handle standing water better than standard shingles.
Can I Build A Shed Roof By Myself?
While it is physically possible to build a shed roof alone, having a helper is highly recommended for safety and efficiency. Lifting heavy sheets of plywood and maneuvering long rafters while standing on a ladder can be dangerous for one person. A second pair of hands makes lifting materials easier, helps with holding rafters in place during nailing, and provides essential safety support while working at heights.
How Much Overhang Should A Shed Roof Have?
A standard overhang for a garden shed is typically between 6 to 12 inches on the eaves and rakes. This overhang is crucial because it directs rainwater away from the shed walls and foundation, preventing water damage and soil erosion. A larger overhang also provides better shade for windows and keeps the siding drier, significantly reducing maintenance needs and extending the lifespan of your shed’s exterior paint or stain.
Do I Need Vents In My Shed Roof?
Yes, installing vents is highly beneficial for the longevity of your shed and the items stored inside. Without proper ventilation, heat and moisture can build up in the roof space, leading to warped shingles, rot in the sheathing, and mold growth on your tools. Installing a ridge vent or simple gable vents allows hot air to escape and fresh air to circulate, keeping the internal temperature balanced and dry.
Is Metal Roofing Better Than Asphalt Shingles?
Metal roofing is generally more durable and longer-lasting than asphalt shingles, often lasting 40 to 70 years compared to 15 to 25 years for shingles. Metal sheds snow and rain more easily and is resistant to fire and rot. However, asphalt shingles are typically cheaper and easier for beginners to install. Your choice should depend on your budget, your desired aesthetic, and the severity of weather conditions in your area.
Conclusion
Building your own shed roof is a significant achievement that transforms a simple frame into a functional, weather-tight structure. By carefully planning your pitch, selecting the right materials, and following a methodical construction process, you ensure that your garden tools and equipment remain safe from the elements. Don’t be rushed by the process; take your time with measurements and safety, and you will be rewarded with a professional-quality result. Now that you understand the process, you have the knowledge required to tackle this project with confidence. Go out there, grab your hammer, and master how to build a shed roof to complete the garden sanctuary you have always wanted.

About
Jovie Mathews is a backyard and outdoor expert writer with over 12 years of hands-on experience transforming neglected outdoor spaces into thriving gardens and functional retreats. Raised in a family where weekends meant digging in the soil and building raised beds from scratch, Jovie developed a genuine love for the outdoors long before it became a career.
She writes with a practical, no-fluff approach — always testing ideas in her own backyard before sharing them with readers. From composting systems and native plant selection to patio design and pest control, Jovie covers the full spectrum of backyard life with equal parts expertise and enthusiasm.
Education
B.Sc. in Horticulture Science
University of Florida (UF) · Gainesville, FL · 2014
IFAS College of Agricultural and Life Sciences
Minor in Environmental Studies
University of Florida (UF) · Gainesville, FL · 2014
College of Liberal Arts and Sciences
Areas of expertise
- Lawn & Garden Care
- Soil prep, planting, seasonal care
- Outdoor DIY Projects
- Raised beds, fencing, pathways
- Composting & Soil Health
- Organic methods, amendments
- Native Plants & Wildlife
- Pollinators, habitat gardening
When she is not writing, Jovie can be found testing new composting techniques, growing tomatoes in questionable quantities, or convincing her neighbors that clover lawns are actually a great idea. She currently gardens in the Pacific Northwest.