

There is nothing quite like gathering around a warm fire on a crisp evening, enjoying the company of friends and family. Your fire pit table is the heart of your outdoor living space, acting as both a functional heater and a stylish focal point.
However, exposure to harsh weather elements, fluctuating temperatures, and the occasional spilled drink can take a toll on its appearance over time. Whether you have a concrete, stone, or metal surface, cracks, chips, and rust are common issues that can make your beautiful centerpiece look neglected.
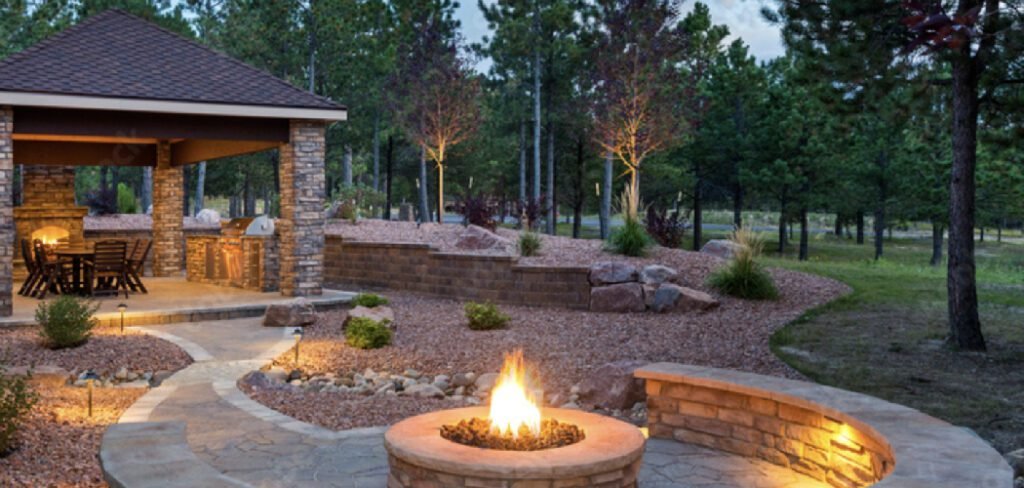
Many homeowners assume that once the surface is damaged, the entire unit needs to be replaced, which can be an expensive endeavor. Fortunately, restoration is often a very manageable DIY project.
By addressing these imperfections early, you can extend the lifespan of your furniture and restore its original charm. This guide is designed to walk you through exactly how to repair a fire pit table top, providing you with the practical steps needed to fix the damage and get back to enjoying your outdoor oasis.
Why Repair Your Fire Pit Table Top?
Repairing your fire pit table top is essential for several reasons. First, addressing damage promptly prevents it from worsening, which can save you money in the long run by avoiding the need for a full replacement. A damaged surface can also be a safety hazard, with sharp edges or instability posing risks to you and your loved ones.
Additionally, a well-maintained fire pit table enhances the overall aesthetic of your outdoor space, ensuring it remains an inviting and functional area for relaxation or social gatherings. Taking the time to repair the table top not only restores its visual appeal but also reinforces its durability and safety for years to come.
7 Step-by-Step Guide on How to Repair a Fire Pit Table Top
Step 1: Thoroughly Clean and Prepare the Surface
Before you can begin any restoration work, it is absolutely vital to start with a pristine canvas. Over time, your outdoor furniture accumulates a layer of dirt, pollen, grease, and soot that can interfere with adhesion materials. Start by removing any decorative glass rocks or lava stones from the burner area to protect them.
Mix a solution of mild dish soap and warm water, then use a stiff-bristled brush to scrub the entire table top vigorously. For stubborn stains or mold, a specialized stone cleaner might be necessary.
Rinse the surface thoroughly with a garden hose to remove all soap residue. Allow the unit to dry completely in the sun for at least twenty-four hours. Any trapped moisture can ruin your repair efforts, causing patches to lift or paint to bubble later on.
Step 2: Assess and Widen Cracks for Better Adhesion
If you are dealing with a concrete or stone surface, hairline cracks are a common culprit. While it might seem counterintuitive, you need to make these cracks slightly larger before you can fix them effectively. Use a chisel, a Dremel tool, or a grinder with a masonry wheel to gently widen the crack into a V-shape.
This process removes any loose, crumbling material from the edges and creates a wider surface area for the filler to bond with. Vacuum out the dust and debris created during this process.
This step is a critical part of learning how to repair a fire pit table top because simply smearing filler over a narrow, dirty crack will result in a superficial repair that will likely fail after just a few heating and cooling cycles.
Step 3: Apply the Appropriate Filler or Patching Compound
Selecting the right repair material depends entirely on what your table is made of. For concrete or faux-stone composite tables, use a high-heat concrete patch or epoxy filler designed for outdoor use.
If you have a metal table with rust holes, an automotive body filler like Bondo can be surprisingly effective. Mix the compound according to the manufacturer’s specific instructions. Using a putty knife or trowel, press the filler firmly into the widened cracks or holes, ensuring it penetrates deep into the void.
Overfill the area slightly, as most compounds will shrink a little bit as they cure. Smooth out the edges as best as you can while the material is wet, but don’t worry about perfection just yet, as sanding will take care of the finish.
Step 4: Sand for Smoothness
Once your filler material has fully cured—which can take anywhere from a few hours to a full day depending on the product and humidity—it is time to level the surface. Use a medium-grit sandpaper (around 80 to 100 grit) to sand down the excess filler until it is flush with the surrounding table top.
If you used a heavy-duty epoxy or automotive filler, an orbital sander will save you a lot of elbow grease. Be careful not to sand too aggressively on the surrounding original finish, or you might create a depression.
Transition to a finer grit sandpaper (around 220 grit) to smooth out scratches and blend the texture of the patch with the rest of the surface. Run your hand over the repair; if you can feel a bump or ridge, you need to keep sanding.
Step 5: Clean Again and Mask Off the Burner
After sanding, your fire pit table will be covered in a fine layer of dust. This dust is the enemy of a good paint job. Wipe down the entire surface with a tack cloth or a damp rag to remove every particle. Once the surface is dry and dust-free, you must protect the components that should not be painted.
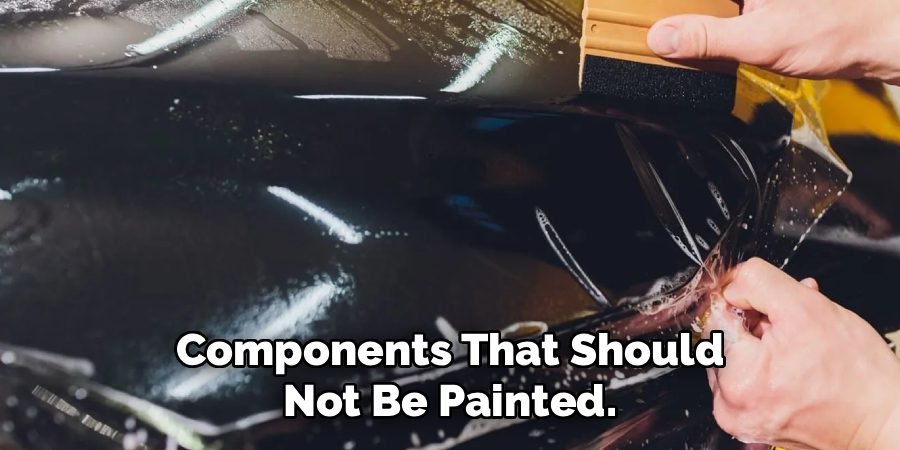
Use painter’s tape and plastic sheeting or old newspapers to meticulously cover the burner pan, the ignition switch, and any gas control knobs. If your table has tiles or other decorative elements you want to preserve, tape those off as well.
Taking the time to mask properly ensures that your restoration looks professional and prevents overspray from clogging your gas ports, which could be a safety hazard.
Step 6: Apply Primer and High-Heat Paint
To make the repair invisible and protect the surface from future weather damage, refinishing is necessary. Start with a high-quality primer suitable for your material type; a bonding primer is excellent for concrete and metal. Once the primer is dry, apply your topcoat.

Since this is a fire feature, standard spray paint may not withstand the radiant heat near the center. Opt for a high-heat enamel or paint specifically formulated for grills and fire pits. Apply the paint in thin, even coats, keeping the can moving to avoid drips. Several light coats are always better than one heavy coat.
This fresh layer of color will unify the patched areas with the rest of the table, making your repairs virtually undetectable and giving the whole piece a brand-new look.
Step 7: Seal the Surface for Long-Term Protection
The final step in your restoration journey is to lock in your hard work with a protective sealant. This is especially important for concrete and stone tables, which are porous and prone to absorbing moisture. Choose a high-quality concrete or masonry sealer that offers UV protection and water resistance.
Apply the sealer using a roller or a brush, following the grain or texture of the table. A good sealer will prevent water from penetrating the surface, which stops the freeze-thaw cycle from causing new cracks in the winter.
It also makes cleaning up spills much easier. Allow the sealer to cure fully according to the package directions—usually 24 to 48 hours—before placing your fire media back in the burner and lighting up your first fire.
Frequently Asked Questions (FAQ)
Can I Use Regular Cement to Fix My Fire Pit?
It is generally not recommended to use standard cement for patching a fire pit table.
- Heat Resistance: Regular cement may not withstand the rapid temperature changes and high heat generated by the fire pit, leading to cracking.
- Bonding: Specialized refractory cement or high-heat epoxy is formulated to bond stronger to existing structures.
- Texture: Standard cement often has a coarser aggregate that might not match the smooth finish of a factory-made table top.
What Paint Should I Use for a Fire Pit Table?
You must use paint rated for high temperatures to ensure safety and longevity.
- High-Heat Enamel: Look for paints labeled for BBQs, wood stoves, or automotive engines (often rated up to 1200°F).
- Material Compatibility: Ensure the paint adheres to your specific material (metal, masonry, etc.).
- Color Matching: If you are only painting a patch, bring a chip of the original material to a hardware store for a color match, though painting the whole top usually looks better.
How Do I Fix Broken Tiles on a Fire Pit Rim?
Repairing a tiled rim requires a different approach than concrete.
- Remove: Carefully chisel out the broken tile and scrape away the old grout and adhesive underneath.
- Replace: Apply thin-set mortar and place a matching replacement tile (check the manufacturer for spares).
- Grout: Once the mortar is dry, apply outdoor-rated grout to the joints and seal it to prevent water intrusion.
Why Does My Fire Pit Table Top Keep Cracking?
Recurring cracks are often caused by environmental factors.
- Moisture: Water enters porous surfaces, freezes in winter, expands, and causes cracks.
- Thermal Shock: Rapid heating (lighting a big fire on a freezing night) stresses the material.
- Cover: Not using a weatherproof cover allows rain and snow to weaken the material over time.
Using a cover and a sealer is the best prevention.
Is It Safe to Repair a Fire Pit Myself?
Yes, repairing the structure or table top is a safe DIY project for most homeowners. However, you should exercise caution around the gas components.
- Burner Area: Never paint the burner ports or gas lines.
- Ventilation: Ensure you do not block any ventilation holes designed to prevent gas buildup.
- Gas Lines: If you suspect a leak or damage to the gas plumbing itself, call a professional technician immediately.
Conclusion
Restoring your outdoor furniture does not require a professional contractor or a massive budget; it simply requires patience and the right materials. By following a systematic approach of cleaning, filling, sanding, and refinishing, you can erase years of wear and tear in a single weekend.
Not only does this save you the cost of buying a replacement unit, but it also reduces waste and allows you to customize the look of your patio. Regular maintenance, such as using a cover and resealing the surface annually, will protect your handiwork and prevent future damage.
Now that you have mastered the skills of how to repair a fire pit table top, you can confidently invite your friends over, strike a match, and enjoy the warmth of your revitalized gathering space.

About
Jovie Mathews is a backyard and outdoor expert writer with over 12 years of hands-on experience transforming neglected outdoor spaces into thriving gardens and functional retreats. Raised in a family where weekends meant digging in the soil and building raised beds from scratch, Jovie developed a genuine love for the outdoors long before it became a career.
She writes with a practical, no-fluff approach — always testing ideas in her own backyard before sharing them with readers. From composting systems and native plant selection to patio design and pest control, Jovie covers the full spectrum of backyard life with equal parts expertise and enthusiasm.
Education
B.Sc. in Horticulture Science
University of Florida (UF) · Gainesville, FL · 2014
IFAS College of Agricultural and Life Sciences
Minor in Environmental Studies
University of Florida (UF) · Gainesville, FL · 2014
College of Liberal Arts and Sciences
Areas of expertise
- Lawn & Garden Care
- Soil prep, planting, seasonal care
- Outdoor DIY Projects
- Raised beds, fencing, pathways
- Composting & Soil Health
- Organic methods, amendments
- Native Plants & Wildlife
- Pollinators, habitat gardening
When she is not writing, Jovie can be found testing new composting techniques, growing tomatoes in questionable quantities, or convincing her neighbors that clover lawns are actually a great idea. She currently gardens in the Pacific Northwest.




