

A waterfall fountain can be a stunning centerpiece in any garden or home, offering the soothing sounds of flowing water and a touch of natural beauty. However, over time, that crystal-clear cascade can become cloudy and filled with debris. Learning how to clean a waterfall fountain is an essential skill for any owner.
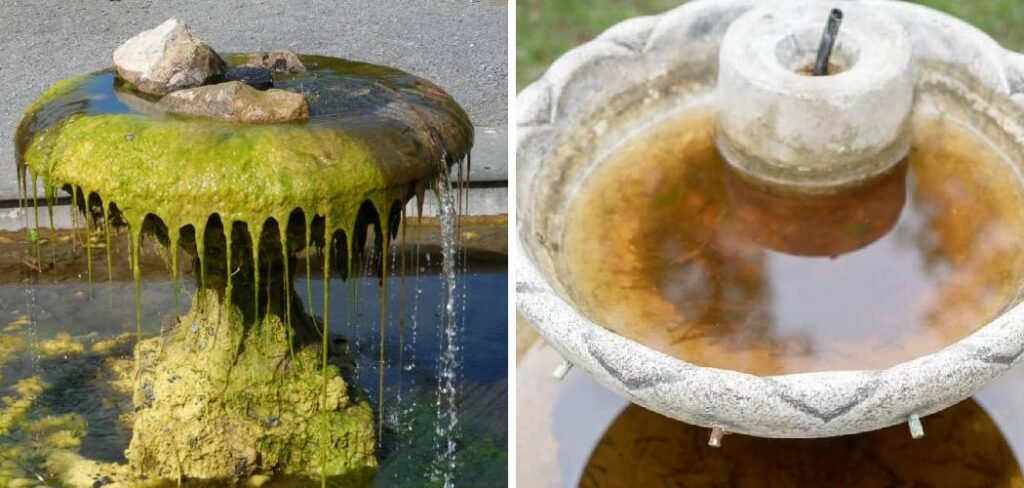
This process ensures your water feature remains a beautiful and healthy focal point. This guide will walk you through everything you need to know, from the necessary supplies to a simple, step-by-step process that makes maintenance a breeze. We’ll cover why regular cleaning is important and answer common questions to help you keep your fountain in pristine condition.
Why Cleaning Your Waterfall Fountain Matters
Regularly cleaning your waterfall fountain is about more than just appearances; it’s crucial for the health and longevity of the entire feature. Algae, mineral deposits, and other debris can accumulate, turning your once-beautiful fountain into an eyesore. This buildup isn’t just ugly—it can clog the pump, impede water flow, and strain the motor. A clogged pump has to work harder, which can lead to premature burnout and costly repairs.
Furthermore, stagnant or dirty water can become a breeding ground for bacteria and attract pests like mosquitoes. Keeping the water clean and fresh ensures your fountain remains a healthy addition to your environment, not a potential hazard. A well-maintained fountain operates efficiently, looks fantastic, and provides that peaceful, trickling sound without interruption. Consistent cleaning is a small investment of time that pays off by protecting your investment and preserving the tranquility it brings to your space.
8 Step-by-Step Guide on How to Clean a Waterfall Fountain
Step 1: Unplug and Disassemble the Fountain
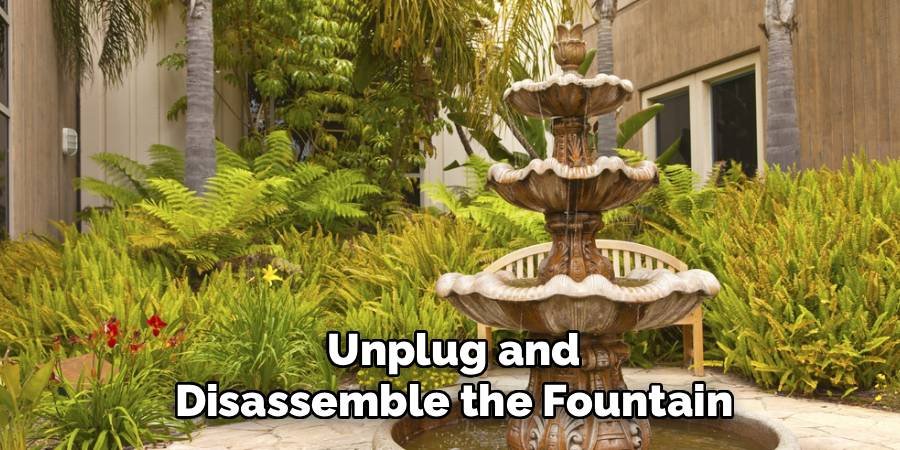
Before you begin, safety is your top priority. Disconnect the fountain from its power source to eliminate any risk of electric shock. Once it’s unplugged, carefully remove any decorative elements like stones, rocks, or artificial plants. If your fountain has multiple tiers or components, gently take them apart. This step gives you full access to every surface that needs cleaning and allows you to inspect each part for damage. Place all the small components in a safe spot so they don’t get lost during the cleaning process. This initial disassembly makes the entire job much more manageable.
Step 2: Drain the Water Completely
With the fountain unplugged and disassembled, the next step is to drain all the old water. For smaller, indoor fountains, you can likely just tip it over into a sink or bucket. For larger, outdoor models, you may need to use a small bucket to bail out the water or use a wet/dry vacuum to speed up the process. Removing every last bit of dirty water is important because it contains the algae spores and bacteria you want to get rid of. Draining the basin completely gives you a clean slate to work from and prevents the immediate return of grime.
Step 3: Remove the Pump and Clean It
The pump is the heart of your fountain, and it requires special attention. Carefully remove it from its housing. Most fountain pumps have a cover that can be snapped off or unscrewed to expose the impeller. Use a small brush, like an old toothbrush, to gently scrub away any slime or debris that has built up inside the pump and on the impeller. This debris is often the primary cause of reduced water flow. Clear the intake and outtake ports to ensure water can move freely. A clean pump runs more efficiently and will last significantly longer.
Step 4: Scrub the Fountain Surfaces
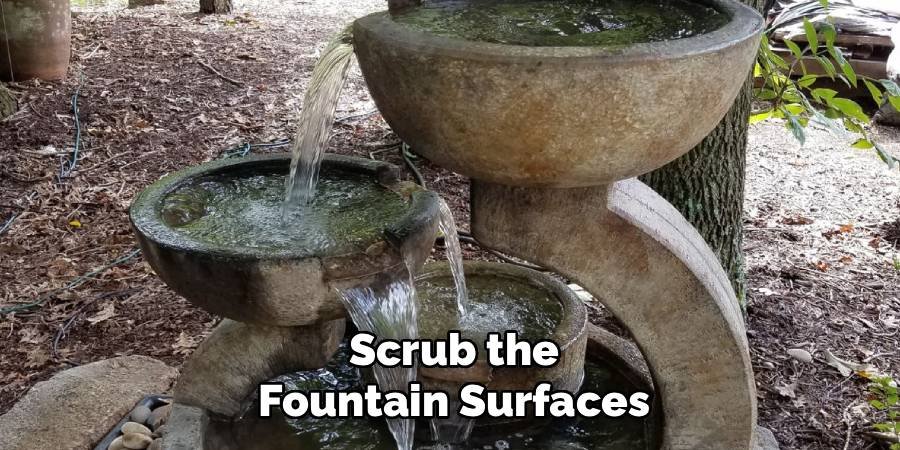
Now it’s time to tackle the main body of the fountain. Using a non-abrasive sponge or a soft-bristled brush, scrub all surfaces of the fountain, including the basin and any tiers. A simple solution of mild soap and warm water is often enough for general cleaning. For more stubborn stains, like algae or mineral deposits, you can create a paste with equal parts white vinegar and water. Apply the solution and let it sit for about 15 minutes before scrubbing. This method for how to clean a waterfall fountain effectively removes buildup without damaging the material.
Step 5: Address Tough Stains and Mineral Deposits
Sometimes, a gentle scrub isn’t enough to remove tough calcium or lime scale deposits. These white, chalky stains are common in areas with hard water. For these stubborn spots, a specialized scale and stain remover designed for fountains is your best bet. Always follow the product’s instructions carefully. Apply the cleaner directly to the affected areas, let it sit for the recommended time, and then scrub with a firm brush. Be patient, as some deposits may require a second application. This step restores the original finish of your fountain and makes it look new again.
Step 6: Rinse Everything Thoroughly
After you’ve scrubbed every surface, a thorough rinse is critical. Use a garden hose, a bucket of clean water, or your sink sprayer to wash away all traces of soap, vinegar, and any cleaning solutions. This step is incredibly important because any leftover cleaning residue can be harmful to wildlife and can cause the water to foam up once the fountain is running again. Rinse each component—the basin, the tiers, the decorative rocks, and the pump—until the water runs completely clear. A complete rinse ensures a fresh, healthy start for your fountain.
Step 7: Reassemble the Fountain
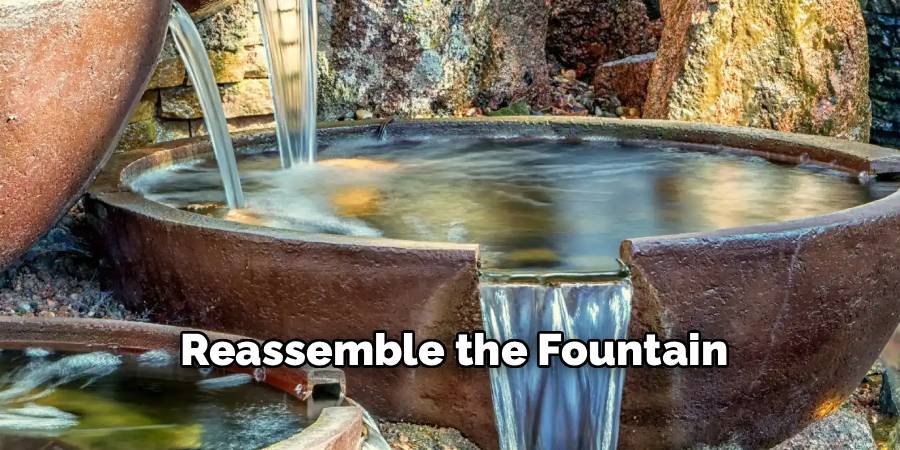
Once every piece is sparkling clean and has been thoroughly rinsed, it’s time to put your fountain back together. Start by placing the pump back into its designated spot in the basin. Then, carefully re-stack the tiers and arrange your decorative stones or plants. Make sure every component is seated correctly and securely. Refer to your fountain’s manual if you’re unsure how the parts fit together. A proper reassembly ensures that the water will flow correctly and that the fountain operates as intended without any leaks or wobbles.
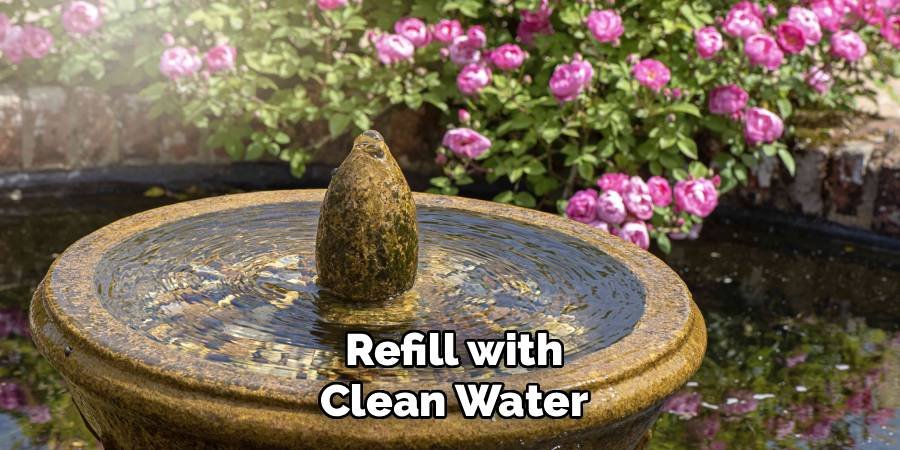
Step 8: Refill with Clean Water
The final step is to refill your fountain with fresh, clean water. Using distilled water is highly recommended, especially if you live in an area with hard water. Distilled water is free of minerals, which means it will significantly slow down the future buildup of scale and mineral deposits. This will keep your fountain cleaner for longer and reduce your maintenance workload. Fill the basin to the recommended level, making sure the pump is fully submerged. This prevents the pump from running dry, which can quickly damage the motor.
Frequently Asked Questions
How Often Should I Clean My Waterfall Fountain?
The ideal cleaning frequency depends on several factors, including the fountain’s size, location (indoor vs. outdoor), and your local climate. As a general rule, a deep clean should be performed every two to three months. For outdoor fountains, you may need to clean it more frequently during seasons when leaves and pollen are abundant. You should also top off the water level weekly and remove any visible debris as you see it to prolong the time between deep cleanings.
Can I Use Bleach to Clean My Fountain?
It is strongly advised not to use bleach to clean your fountain. While effective at killing algae and bacteria, bleach is a harsh chemical that can damage the fountain’s surface and corrode the pump’s internal components. Furthermore, any residual bleach left after rinsing can be harmful to birds, pets, or other wildlife that might drink from the fountain. Stick to milder cleaners like vinegar, mild dish soap, or products specifically formulated for fountain cleaning.
What Is the Best Way to Prevent Algae Growth?
Preventing algae is easier than removing it. Here are a few effective strategies:
- Place your fountain in a shaded area, as direct sunlight promotes algae growth.
- Use distilled water to refill your fountain, as it lacks the nutrients algae need to thrive.
- Add a commercial algaecide or water clarifier that is safe for fountains. Be sure to choose a product that is safe for wildlife if your fountain is outdoors.
- Regularly remove leaves and other organic debris before they have a chance to decompose.
What Should I Do with My Fountain in the Winter?
If you live in a climate where temperatures drop below freezing, you must winterize your outdoor fountain to prevent damage. Water left inside can freeze, expand, and crack the fountain’s material. To winterize it, drain the fountain completely, clean it thoroughly, and bring the pump indoors to store in a dry place. The main body of the fountain can be covered with a waterproof fountain cover to protect it from snow and ice.
Why Is My Fountain Water Flow Weaker Than Before?
A weak water flow is almost always a sign of a problem with the pump. The most common cause is a clog. Unplug the fountain and check the pump’s intake for debris. If the intake is clear, you will need to open the pump cover and clean the impeller inside, as described in the steps above. Another possibility is a low water level. If the water drops below the pump, it can draw in air, which will reduce the flow and can damage the motor.
Conclusion
Keeping your waterfall fountain clean is a straightforward task that yields significant rewards. By following this guide, you can ensure your water feature remains a source of beauty and relaxation rather than a maintenance headache. Regular cleaning not only preserves its aesthetic appeal but also protects the pump and extends the life of your investment. Now that you understand the process, you have the confidence to tackle the job yourself. Taking the time for this simple upkeep will allow you to enjoy the peaceful sounds and sights of your pristine fountain for years to come. Applying these tips on how to clean a waterfall fountain will make all the difference.

About
Jovie Mathews is a backyard and outdoor expert writer with over 12 years of hands-on experience transforming neglected outdoor spaces into thriving gardens and functional retreats. Raised in a family where weekends meant digging in the soil and building raised beds from scratch, Jovie developed a genuine love for the outdoors long before it became a career.
She writes with a practical, no-fluff approach — always testing ideas in her own backyard before sharing them with readers. From composting systems and native plant selection to patio design and pest control, Jovie covers the full spectrum of backyard life with equal parts expertise and enthusiasm.
Education
B.Sc. in Horticulture Science
University of Florida (UF) · Gainesville, FL · 2014
IFAS College of Agricultural and Life Sciences
Minor in Environmental Studies
University of Florida (UF) · Gainesville, FL · 2014
College of Liberal Arts and Sciences
Areas of expertise
- Lawn & Garden Care
- Soil prep, planting, seasonal care
- Outdoor DIY Projects
- Raised beds, fencing, pathways
- Composting & Soil Health
- Organic methods, amendments
- Native Plants & Wildlife
- Pollinators, habitat gardening
When she is not writing, Jovie can be found testing new composting techniques, growing tomatoes in questionable quantities, or convincing her neighbors that clover lawns are actually a great idea. She currently gardens in the Pacific Northwest.




