

As crisp autumn air gives way to winter’s chill, many homeowners reluctantly say goodbye to their beloved patios. This valuable extension of our living space, once a hub for relaxation and entertaining, often becomes a forgotten, snow-covered slab for several months.
But it does not have to be this way. Imagine sipping hot cocoa in a cozy, sheltered nook while watching the snow fall, or hosting a winter gathering without crowding your indoor space. By transforming your open-air patio into a protected retreat, you can unlock its potential for year-round enjoyment.
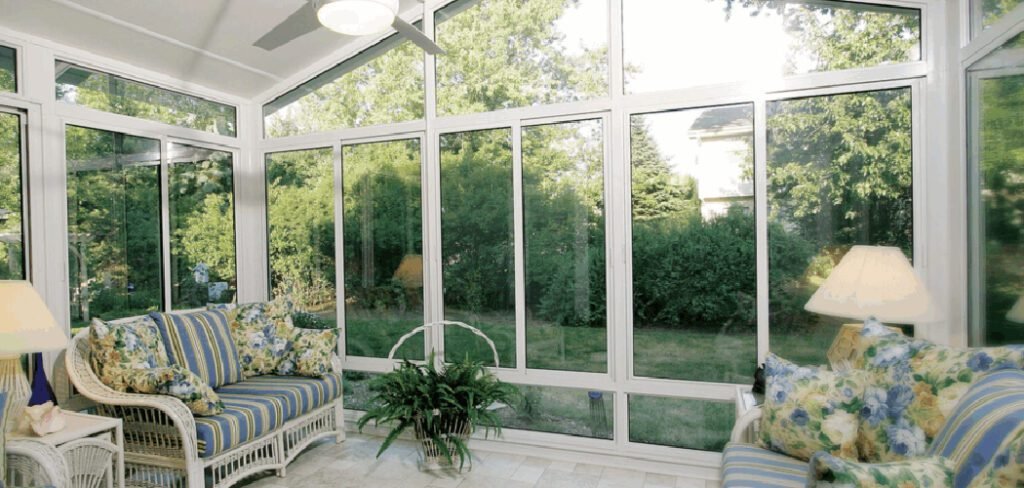
This guide provides a practical, beginner-friendly roadmap on how to enclose your patio for the winter, outlining various methods to keep the cold out and the comfort in, so you can make the most of your home, no matter the season.
Enclosing your patio for the winter doesn’t have to be a daunting task. With a few simple adjustments, you can create a warm and inviting space where you can relax and entertain, even on the coldest days.
Whether you’re looking for budget-friendly DIY options or more permanent solutions, there are plenty of ways to winterize your patio to suit your needs and style. From adding clear vinyl panels to installing weatherproof curtains, each approach helps to shield your space from harsh weather while preserving its charm.
7 Step-by-Step Guide on How to Enclose Your Patio for the Winter
Step 1: Measure Your Space and Assess Your Needs
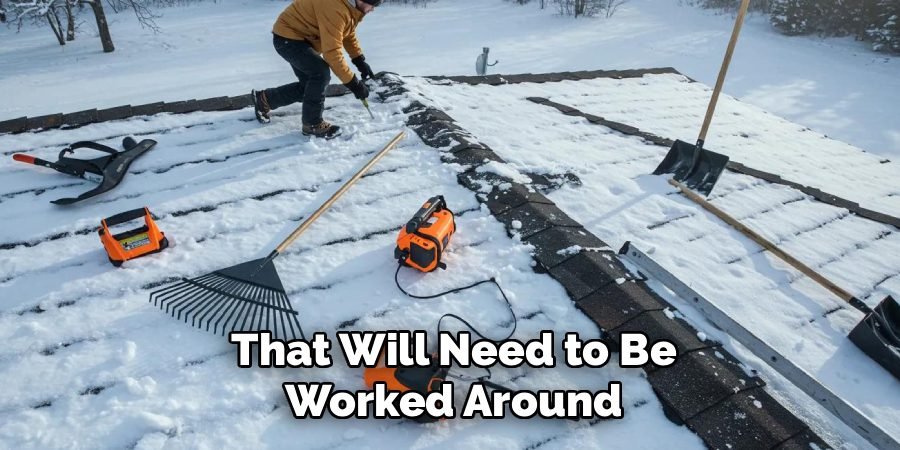
Before purchasing any materials, you must start with a precise understanding of your space. Use a tape measure to get the exact height and width of each side of your patio you intend to cover. Note the locations of any support posts, doors, or windows that will need to be worked around.
Beyond the physical dimensions, assess your goals. Are you simply trying to block wind and snow, or are you hoping to create a heated, room-like environment? A basic windbreak has very different requirements than a fully insulated sunroom.
Answering these questions first will guide your material selection and help you establish a realistic budget for your project.
Step 2: Choose Your Enclosure Method
Your next step is to select the type of enclosure that best fits your needs and budget. The options range from temporary, budget-friendly solutions to permanent, structural additions. Heavy-duty, clear vinyl tarps or patio weather curtains are an excellent temporary choice, allowing you to block wind and rain while still letting in light.
For a more durable and semi-permanent option, you might consider installing rigid polycarbonate or acrylic panels. If you have a larger budget and want a true four-season room, constructing a framed wall with windows is the ultimate solution. This decision is a key part of the process of learning how to enclose your patio for the winter.
Step 3: Install Panels or Curtains
If you have opted for clear vinyl panels or weather curtains, installation is your next task. These products typically come with grommets or reinforced edges for mounting. You will need to install hooks, a track system, or a sturdy cable around the perimeter of your patio roof or pergola.
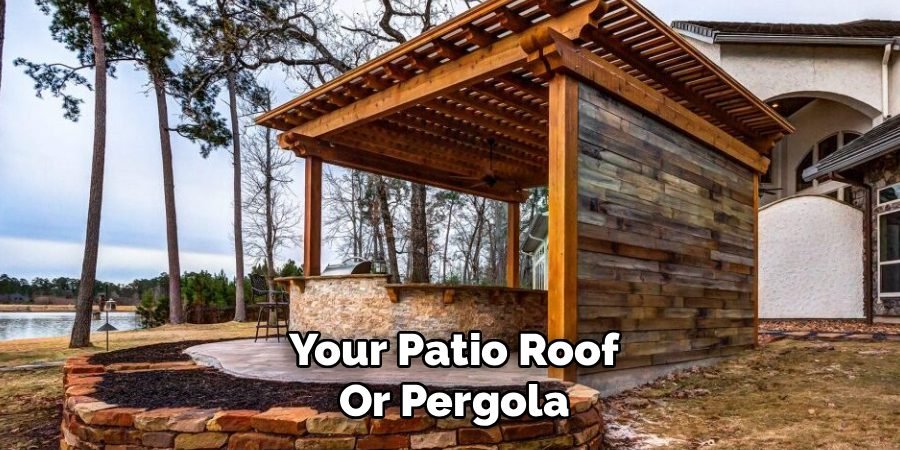
Secure the panels tightly to create a good seal against the elements. Ensure the bottom of the curtains can be weighed down or fastened to the patio floor to prevent them from flapping wildly in the wind.
For rigid panels, you will need to build a simple frame between your existing support posts to which the acrylic or polycarbonate sheets can be securely fastened.
Step 4: Seal All Gaps and Drafts
A successful enclosure is an airtight one. Once your main panels or walls are in place, you must hunt down and eliminate any gaps where cold air can sneak in. Pay close attention to the areas where panels meet support posts, the house wall, and the patio floor.
Use weather-stripping tape, foam sealant, or caulk to close these small cracks. For larger gaps at the bottom of curtains, you can use sandbags or install a bottom rail.
This meticulous sealing process is what separates a truly cozy retreat from a slightly-less-windy patio. It is a crucial detail for ensuring your heating efforts are not wasted by letting all the warm air escape.
Step 5: Add a Safe and Suitable Heat Source
An enclosure will block the wind, but it will not generate warmth on its own. To create a truly comfortable space, you need a safe heat source. Electric infrared patio heaters are a fantastic choice because they heat objects and people directly, rather than trying to heat the air, making them very efficient in semi-enclosed spaces.

Propane “mushroom” heaters are also popular, but they require proper ventilation to be used safely, so make sure you can open a flap or window if you choose this route. Never use a heater designed exclusively for indoor use in an outdoor enclosure, and always keep it a safe distance from your enclosure walls and any furniture.
Step 6: Winterize the Patio Flooring
A cold floor can suck the warmth right out of a space, making your feet feel like ice blocks even if the air is warm. To combat this, you must insulate the floor. The easiest and most effective way to do this is by laying down outdoor-rated area rugs.
A thick, durable rug not only adds a layer of insulation but also brings softness and style to your winterized patio.
For a more advanced solution, you could install a subfloor of interlocking deck tiles made from composite material or wood, which elevates you off the cold concrete. This simple step makes the space feel cozier and more like a real room.
Step 7: Furnish for Coziness and Comfort
The final step is to furnish your newly enclosed space for maximum comfort. Swap out your lightweight summer furniture for more substantial pieces. Add plush, weather-resistant cushions, warm blankets, and plenty of pillows to create an inviting atmosphere.
Incorporate warm lighting with string lights or outdoor lamps to make the space feel magical on dark winter evenings. Adding a few hardy winter plants like pansies or cyclamen can also bring a touch of life and color to the enclosure.
The right furnishings are what will ultimately transform your functional shelter into a beloved winter retreat for your family.
Patio Decorating Ideas
Patio decorating ideas can transform your outdoor space into a stylish and functional extension of your home. Start by defining a theme or style that suits your taste, such as rustic, modern, or bohemian, to guide your décor choices. Use outdoor rugs and throw pillows to introduce patterns and colors that complement your theme.
Adding statement furniture, like a sleek dining set or a cozy outdoor sofa, can anchor the space and make it appealing for gatherings. Incorporate greenery with potted plants, hanging gardens, or vertical planters to bring a sense of vitality and freshness.
Ambient lighting, such as lanterns, fairy lights, or candles, enhances the mood and makes the patio enjoyable even after sunset. Small decorative accents like outdoor sculptures, wind chimes, or water features can add character and a personal touch to your patio, making it a truly inviting space for relaxation or entertaining.
Frequently Asked Questions (FAQ)
What Is the Cheapest Way to Enclose a Patio for Winter?
The most budget-friendly method is to use heavy-duty, clear vinyl tarps or patio weather curtains.
- Materials: These are relatively inexpensive and can be found at most hardware stores or online.
- Installation: You can hang them using simple hooks, cables, or a basic track system that you install yourself.
While not as insulating as rigid panels, they do an excellent job of blocking wind, rain, and snow at a fraction of the cost.
Can I Use a Propane Heater in an Enclosed Patio?
Yes, but with extreme caution and proper ventilation. Propane heaters consume oxygen and release carbon monoxide, which can be deadly in a poorly ventilated space.
- Ventilation: You must keep a window, door, or curtain flap partially open to allow for fresh air circulation.
- Safety: Always install a battery-operated carbon monoxide detector inside the enclosure as a critical safety measure.
Electric infrared heaters are generally a safer choice for enclosed areas.
Will a Patio Enclosure Protect My Outdoor Furniture?
Yes, a proper enclosure provides significant protection for your patio furniture. It shields it from the harshest winter elements like snow, ice, and freezing rain, which can cause wood to rot, metal to rust, and fabric to develop mildew.
While the furniture will be protected from precipitation, it will still be exposed to cold temperatures. You may still want to use furniture covers for an added layer of protection.
Do I Need a Permit to Enclose My Patio?
This depends entirely on the type of enclosure and your local municipal regulations.
- Temporary Enclosures: Using curtains or tarps typically does not require a permit.
- Permanent Structures: Building a framed wall with a roof and windows is considered a structural addition and will almost certainly require a building permit.
Always check with your local building department before starting any permanent construction project.
How Can I Prevent Condensation in My Winter Enclosure?
Condensation occurs when warm, moist air inside the enclosure comes into contact with the cold surface of the panels or curtains.
- Ventilation: The best way to combat this is to allow for slight air circulation. Crack a small opening to let moist air escape.
- Dehumidifier: For more tightly sealed spaces, running a small dehumidifier can effectively remove excess moisture from the air.
- Heat Source: Using an infrared heater, which heats objects instead of the air, can also help reduce condensation.
Conclusion
With a bit of planning and effort, your patio no longer needs to be a seasonal space. By choosing the right materials, sealing out drafts, and adding a safe heat source, you can create a versatile four-season room that adds valuable living area to your home.
Whether you opt for simple vinyl curtains or a more permanent panel system, the reward is a cozy sanctuary where you can enjoy the beauty of winter from a warm and protected vantage point. Do not let the cold weather shrink your living space.
Now that you have a clear plan on how to enclose your patio for the winter, you can start the rewarding project of transforming your outdoor area into a year-round haven.

About
Jovie Mathews is a backyard and outdoor expert writer with over 12 years of hands-on experience transforming neglected outdoor spaces into thriving gardens and functional retreats. Raised in a family where weekends meant digging in the soil and building raised beds from scratch, Jovie developed a genuine love for the outdoors long before it became a career.
She writes with a practical, no-fluff approach — always testing ideas in her own backyard before sharing them with readers. From composting systems and native plant selection to patio design and pest control, Jovie covers the full spectrum of backyard life with equal parts expertise and enthusiasm.
Education
B.Sc. in Horticulture Science
University of Florida (UF) · Gainesville, FL · 2014
IFAS College of Agricultural and Life Sciences
Minor in Environmental Studies
University of Florida (UF) · Gainesville, FL · 2014
College of Liberal Arts and Sciences
Areas of expertise
- Lawn & Garden Care
- Soil prep, planting, seasonal care
- Outdoor DIY Projects
- Raised beds, fencing, pathways
- Composting & Soil Health
- Organic methods, amendments
- Native Plants & Wildlife
- Pollinators, habitat gardening
When she is not writing, Jovie can be found testing new composting techniques, growing tomatoes in questionable quantities, or convincing her neighbors that clover lawns are actually a great idea. She currently gardens in the Pacific Northwest.




