

Imagine floating gently on an inner tube, letting a slow-moving current carry you around your own private paradise. The lazy river, a beloved feature of water parks and luxury resorts, has long been a symbol of ultimate relaxation.
Many assume this kind of feature is an unattainable dream, reserved only for commercial properties with massive budgets. However, with careful planning and some dedicated DIY spirit, it is possible to bring this experience to your own property.
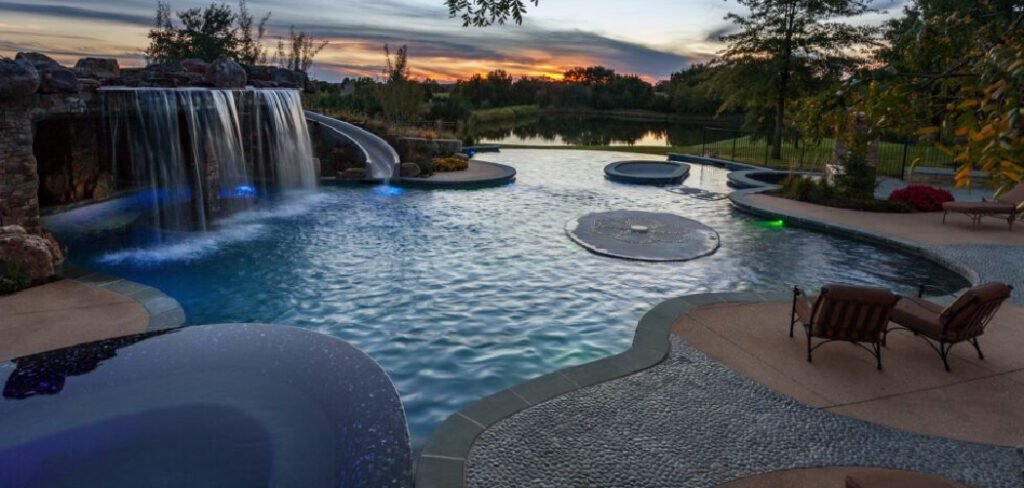
Transforming a portion of your yard into a personal, flowing oasis is a significant undertaking, but it is one that offers an unparalleled reward. This guide will provide a realistic and comprehensive overview of how to make a lazy river in your backyard, breaking down the complex project into manageable steps.
Creating a lazy river in your backyard may seem like an ambitious project, but it begins with a vision and a passion for crafting a unique outdoor retreat. Whether you dream of gently floating on a sunny afternoon or providing a fun feature for family and friends, the process is as rewarding as the final result.
By thoughtfully considering the design, materials, and essential features, this can be transformed from an idea into a custom-built experience that matches your personal style and space.
7 Step-by-Step Guide on How to Make a Lazy River in Your Backyard
Step 1: Design the Layout and Check Local Regulations
Before a single shovel of dirt is moved, you must create a detailed plan. Use garden hoses or marking paint to lay out the shape of your river on the ground. Consider the size, width, and path. A simple loop is easiest, but you can incorporate curves and islands for more visual interest.

This is also the time to check with your local building department. A project of this scale may require permits, especially concerning excavation, electrical work for pumps, and water usage.
Understanding these regulations upfront will prevent costly fines and delays down the road. This initial planning phase is the foundation for a successful build and sets the stage for the entire project.
Step 2: Excavate the River Channel
Once your design is finalized and approved, the heavy labor begins. For a small river, this might be achievable with shovels and wheelbarrows, but for most projects, renting a mini-excavator is highly recommended. You will need to dig a trench that matches your layout, typically to a depth of about three to four feet.
Ensure the sides are sloped slightly to prevent cave-ins. It is also crucial to make the bottom of the river as level as possible to ensure an even water depth and consistent flow.
This is a physically demanding step, so pace yourself and have a plan for where to move the displaced soil, which can be used for landscaping features elsewhere in your yard.
Step 3: Install the Pump and Jet System
The “lazy” current doesn’t happen on its own; it is created by a powerful pump and a series of water jets. The pump is the heart of your river, and its size will depend on the total volume of water. It is better to oversize the pump slightly to ensure adequate flow.
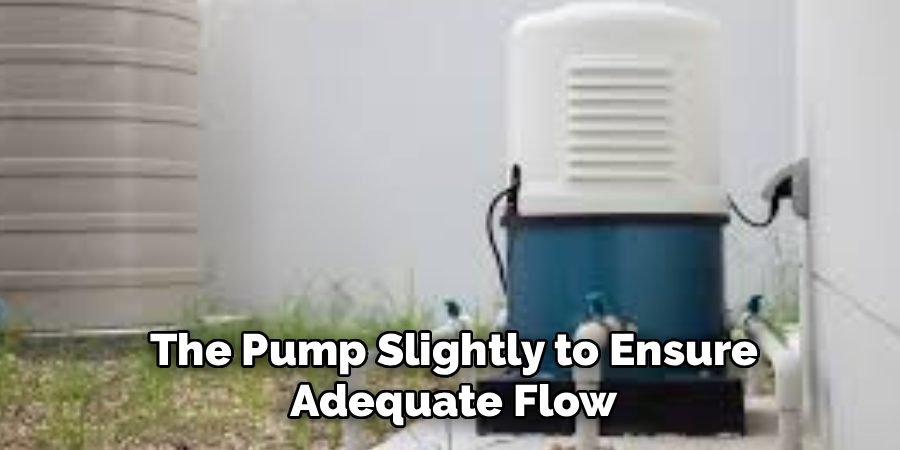
This pump will pull water from one end of the river and push it through PVC piping laid around the perimeter. Water jets are then installed along this piping, pointing in the desired direction of the current.
These jets create the propulsion that moves the water. Proper placement and angling of these jets are essential for generating a smooth, consistent current rather than turbulent spots.
Step 4: Lay the Underlayment and Waterproof Liner
With the trench dug and plumbing in place, you must protect the waterproof liner from punctures. First, clear the entire channel of any sharp rocks, roots, or debris. Then, install a thick layer of geotextile underlayment fabric, which acts as a durable cushion.
Next, you will lay the waterproof liner, typically a 45-mil EPDM rubber membrane similar to what is used in ponds. This liner must be a single, continuous piece large enough to cover the entire river bottom and sides with plenty of overlap.
Carefully unfold and position the liner, smoothing out wrinkles as you go. This layer is what will hold all the water, making it the most critical waterproofing step.
Step 5: Construct the River Walls and Edges
The raw edge of the rubber liner needs to be secured and hidden to create a finished look. You can accomplish this by building up the sides with concrete, mortar, or stacked stone. This process, often called “edging,” locks the liner in place and creates a durable wall for your river.
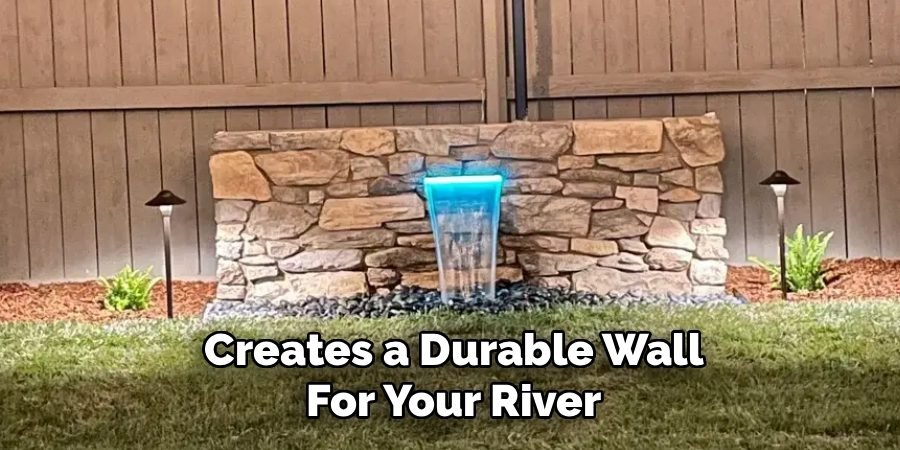
Many builders use concrete or rebar to form a solid structure, then cover it with decorative stone or tile for aesthetics. This step is essential for the long-term stability of the river. It prevents the sides from collapsing and gives the feature a professional, polished appearance that blends seamlessly with the surrounding landscape.
Step 6: Add Filtration and Skimming Systems
Just like a swimming pool, your lazy river will need a filtration system to keep the water clean, clear, and safe. This system will typically include a skimmer to remove surface debris like leaves and bugs, and a biological or mechanical filter to clean the water itself.
The filtration system should be connected to the main pump circulation. Proper filtration is non-negotiable for hygiene, especially if people will be floating in the water. Neglecting this step will quickly lead to murky, algae-filled water that is both unpleasant and unhealthy.
This is a key aspect of how to make a lazy river in your backyard that can be enjoyed for years.
Step 7: Finish with Landscaping and Fill with Water
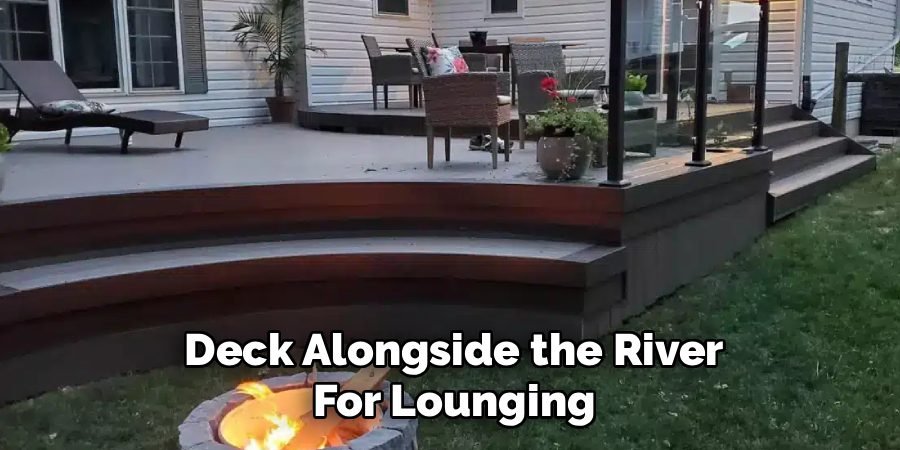
With the core construction complete, it is time for the final touches. This is your opportunity to integrate the river into your backyard’s aesthetic. You can build rock waterfalls, add aquatic plants, install underwater lighting for nighttime ambiance, and create patio areas or a deck alongside the river for lounging.
Once your landscaping is in place, you can begin filling the river with water. As it fills, continue to smooth out any major wrinkles in the liner. Once full, turn on the pump system and check the flow from the jets, making any necessary adjustments to their direction to achieve the perfect, gentle current.
Frequently Asked Questions (FAQ)
How Much Does It Cost to Build a Lazy River?
This is a high-cost project. A professional installation can easily cost $100,000 or more. A DIY approach can significantly reduce costs, but you should still budget at least $20,000 to $50,000 for materials like the pump, liner, plumbing, and concrete.
The final price depends heavily on the river’s size, complexity, and the materials you choose for the finishing touches.
What Kind of Pump Do I Need?
You will need a high-volume, low-head pump, often called a “river pump” or a large pond pump. The specific size (gallons per hour, or GPH) depends on the total volume of water in your river.
A general rule is to circulate the entire volume of water at least once every one to two hours. It is best to consult with a pool or pond supply specialist to select the right pump for your project’s specifications.
Can I Use It in the Winter?
In colder climates where temperatures drop below freezing, you will need to winterize your lazy river. This involves:
- Draining the water level below the skimmers and jets.
- Blowing out all the plumbing lines with an air compressor to remove water.
- Unscrewing and storing the pump indoors.
- Covering the river securely.
Failure to do this will result in cracked pipes and a damaged pump.
How Deep Should a Backyard Lazy River Be?
A depth of 3 to 4 feet is standard and ideal for most residential lazy rivers. This depth is:
- Sufficient for floating comfortably on an inner tube without scraping the bottom.
- Relatively safe for most swimmers.
- Manageable in terms of water volume and construction complexity.
Making it much deeper significantly increases the cost and engineering complexity.
How Do I Keep the Water Clean?
You will need a combination of systems, similar to a swimming pool:
- Filtration: A pump and filter system to remove small particles.
- Skimmer: To remove larger surface debris like leaves.
- Sanitization: A system to kill bacteria and algae, which could be a chlorine feeder, a saltwater system, or a UV sterilizer.
Regular water testing and chemical balancing are essential for hygiene.
Conclusion
Building a lazy river is undeniably one of the most ambitious and rewarding DIY projects a homeowner can undertake. It is a fusion of excavation, plumbing, construction, and landscape design that culminates in a truly spectacular feature.
By breaking the process down into logical steps—from design and excavation to plumbing and finishing—the monumental task becomes achievable. The result is a personal retreat that provides endless hours of relaxation and entertainment for family and friends.
While the investment in time and money is significant, the joy of floating in your own current on a warm day is priceless. Now that you have the foundational knowledge of how to make a lazy river in your backyard, you can start planning your own personal paradise.

About
Jovie Mathews is a backyard and outdoor expert writer with over 12 years of hands-on experience transforming neglected outdoor spaces into thriving gardens and functional retreats. Raised in a family where weekends meant digging in the soil and building raised beds from scratch, Jovie developed a genuine love for the outdoors long before it became a career.
She writes with a practical, no-fluff approach — always testing ideas in her own backyard before sharing them with readers. From composting systems and native plant selection to patio design and pest control, Jovie covers the full spectrum of backyard life with equal parts expertise and enthusiasm.
Education
B.Sc. in Horticulture Science
University of Florida (UF) · Gainesville, FL · 2014
IFAS College of Agricultural and Life Sciences
Minor in Environmental Studies
University of Florida (UF) · Gainesville, FL · 2014
College of Liberal Arts and Sciences
Areas of expertise
- Lawn & Garden Care
- Soil prep, planting, seasonal care
- Outdoor DIY Projects
- Raised beds, fencing, pathways
- Composting & Soil Health
- Organic methods, amendments
- Native Plants & Wildlife
- Pollinators, habitat gardening
When she is not writing, Jovie can be found testing new composting techniques, growing tomatoes in questionable quantities, or convincing her neighbors that clover lawns are actually a great idea. She currently gardens in the Pacific Northwest.




