

Whether you are looking to kill stubborn weeds through solarization, protect your patio furniture from harsh winter weather, or simply create a temporary shelter for an outdoor event, using heavy-duty plastic sheeting is a versatile solution.
Many homeowners underestimate the utility of a good tarp, viewing it merely as a tool for camping or covering a woodpile. However, when deployed correctly, these durable sheets can serve as effective ground cover, soil warmers, or weather shields.
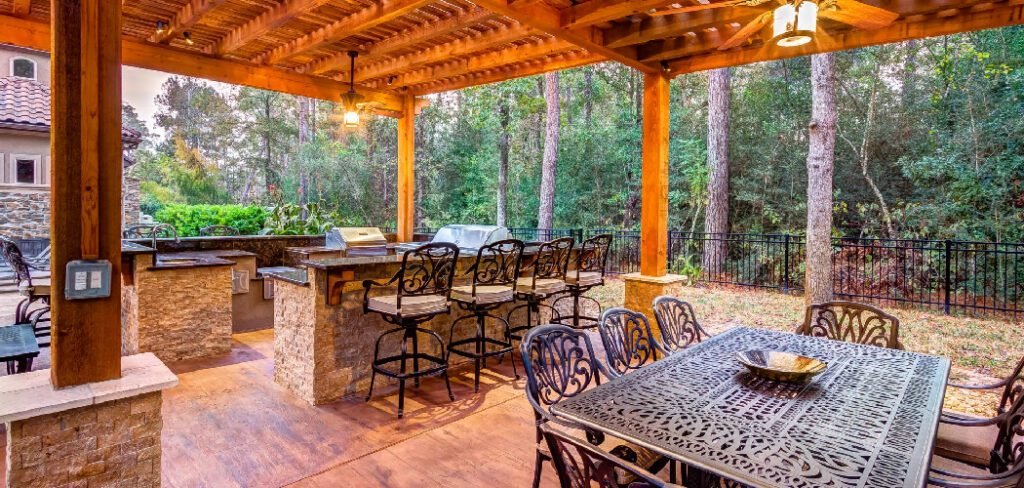
The process might seem straightforward—throw it down and weigh it down—but poor execution often leads to wind damage, water pooling, or ineffective weed control. To get the best results, you need a strategy that accounts for wind direction, drainage, and secure anchoring.
This guide is designed to walk you through the specific techniques required to secure your outdoor space effectively. By following these steps, you will learn exactly how to cover backyard with tarp materials safely and efficiently, ensuring your project stands up to the elements and achieves your gardening or protection goals.
Step-by-Step Guide: How to Cover Backyard with Tarp
Step 1: Measure the Total Square Footage
Before heading to the hardware store, you must accurately determine the dimensions of the area you intend to protect. Use a long measuring tape to calculate the length and width of the specific zone, whether it is a garden bed you want to solarize or a patio section you need to shield.
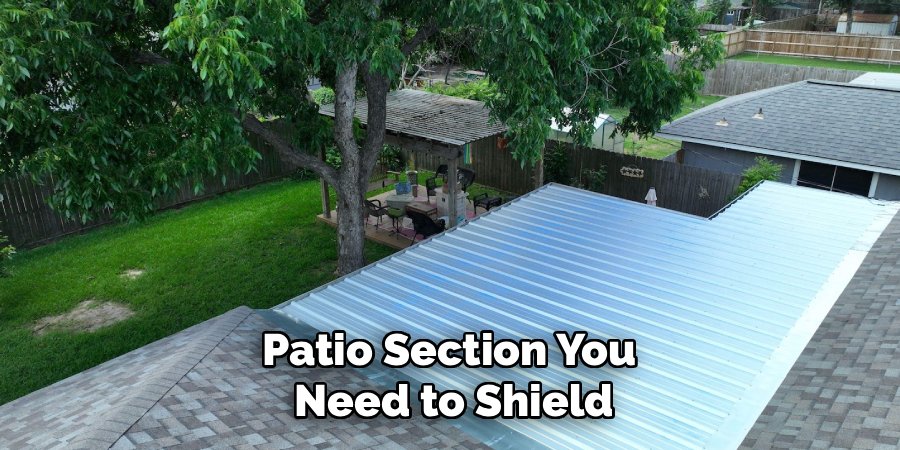
It is crucial to add at least two to three feet of extra material on all sides of your measurement. This surplus allows for proper overlapping if you need to use multiple sheets and provides enough slack to wrap around anchors or secure edges deeply into the soil.
Buying a cover that is exactly the size of the area often results in gaps where wind and rain can penetrate, undermining your entire effort. Write down these numbers clearly to ensure you purchase the correct size and thickness for your project needs.
Step 2: Clear the Area of Sharp Debris
Preparing the ground is the most critical phase to prevent punctures and tears in your material. Walk through the entire designated zone and aggressively remove any sharp objects that could damage the plastic. This includes fallen tree branches, jagged rocks, rigid weed stems, or old garden stakes.
If you are covering a patio or deck, sweep the surface thoroughly to remove grit and small stones that could abrade the fabric over time. For garden applications where you are laying the sheet directly on soil, consider mowing any existing vegetation as short as possible.
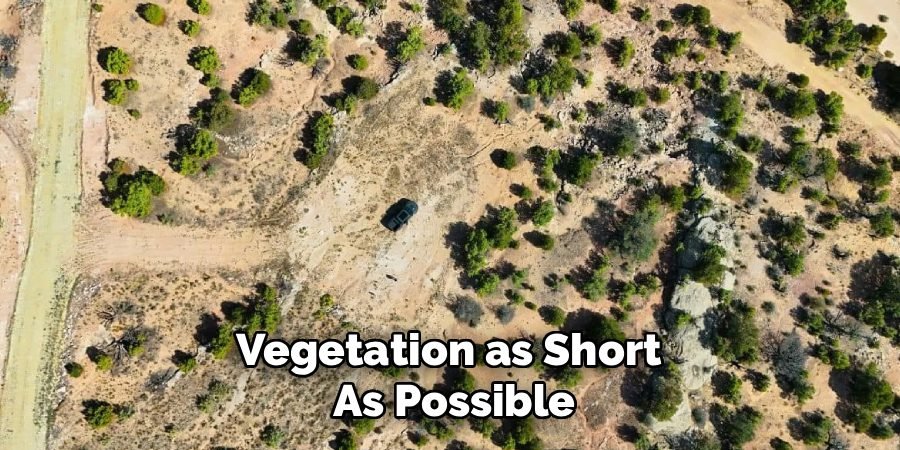
This reduction in height helps the material lay flat against the ground, which is essential for effective heat trapping or moisture protection. Skipping this cleanup step often leads to rips during installation, rendering the cover useless against water or weed growth.
Step 3: Select the Appropriate Tarp Thickness and Type
Not all plastic sheets are created equal, and choosing the right one depends entirely on your goal. If you are aiming to kill weeds and grass through solarization, you should opt for clear, UV-stabilized plastic that allows sunlight to penetrate and heat the soil.
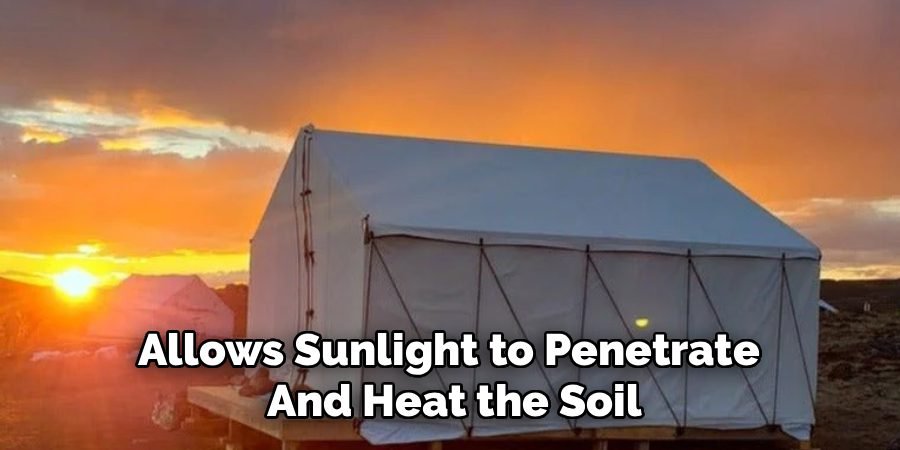
Conversely, if your goal involves how to cover backyard with tarp for winter protection or killing weeds by light deprivation, a thick, opaque, heavy-duty polyethylene tarp is the better choice. Look for a thickness rating of at least 6 to 10 mils for general durability, or up to 20 mils for heavy-duty protection against snow and ice.
The weave count also matters; a higher weave count generally indicates a stronger, more tear-resistant material. Making the right choice here ensures the material survives the season without degrading under ultraviolet light or tearing in strong winds.
Step 4: Position and Unfold the Material Carefully
Once you have the right material and a clean surface, enlist a helper to assist you in laying it out. Start from one corner of the area, preferably the upwind side, and unfold the sheet slowly across the space. Avoid dragging the heavy fabric roughly over the ground, as this can cause snagging or microscopic abrasions that weaken its integrity.
If you need to use multiple sheets to cover a large backyard, you must overlap them significantly. An overlap of at least twelve to eighteen inches is recommended to prevent wind from getting underneath and lifting the sheets like a sail.
Ensure the material is pulled taut but not stretched to its breaking point. A smooth, flat application prevents pockets where water can pool, which is a common cause of structural failure in tarping projects.
Step 5: Secure the Perimeter with Heavy Anchors
The edges of your cover are the most vulnerable points for wind uplift, so securing them is non-negotiable. If you are covering soil, the most effective method is to dig a shallow trench around the perimeter, place the edge of the sheet into the trench, and bury it with the excavated dirt.
This creates an airtight seal that is virtually windproof. For patio or hardscape applications where digging isn’t possible, use heavy, smooth weights like sandbags, water-filled jugs, or specifically designed canvas weights. Avoid using bricks or rough concrete blocks directly on the fabric, as their abrasive surfaces can wear through the plastic quickly.
Place these weights every two to three feet along the entire edge. This consistent pressure keeps the sheet grounded and prevents the annoying flapping noise that loose covers make during storms.
Step 6: Reinforce the Center for Water Runoff
One of the biggest mistakes homeowners make when figuring out how to cover backyard with tarp is failing to account for water accumulation. If the sheet is perfectly flat, rain and melting snow will pool in the center, creating immense weight that can rip the fabric or damage whatever is underneath.
To prevent this, place a smooth, rounded object—like an overturned bucket, a beach ball, or a specialized support pole—underneath the center of the tarp to create a tent-like peak. This elevation forces water to run off the sides rather than collecting in the middle.
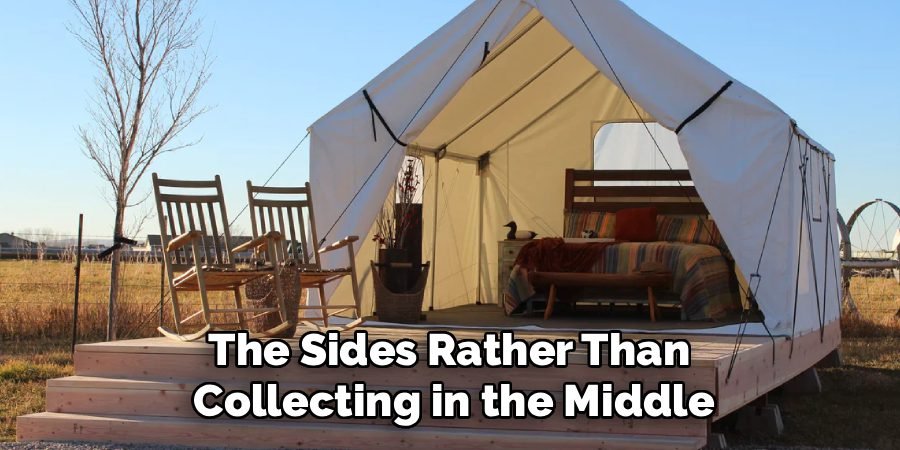
If you are covering a garden bed flush with the ground, this step might not be necessary, but for equipment or patio furniture, creating a slope is essential for diverting moisture away from your valuables and maintaining the cover’s structural integrity.
Step 7: Inspect and Maintain Throughout the Season
Installing the cover is not a “set it and forget it” task; it requires periodic monitoring to remain effective. After the first few days and following any major storm, go outside and inspect the setup. Check for any loose anchors or weights that may have shifted and reposition them immediately to maintain tension.
Look for small tears or holes that may have developed and repair them instantly with specialized repair tape designed for polyethylene. If water has managed to pool in a sagging area, drain it carefully and adjust your underlying supports to prevent it from happening again.
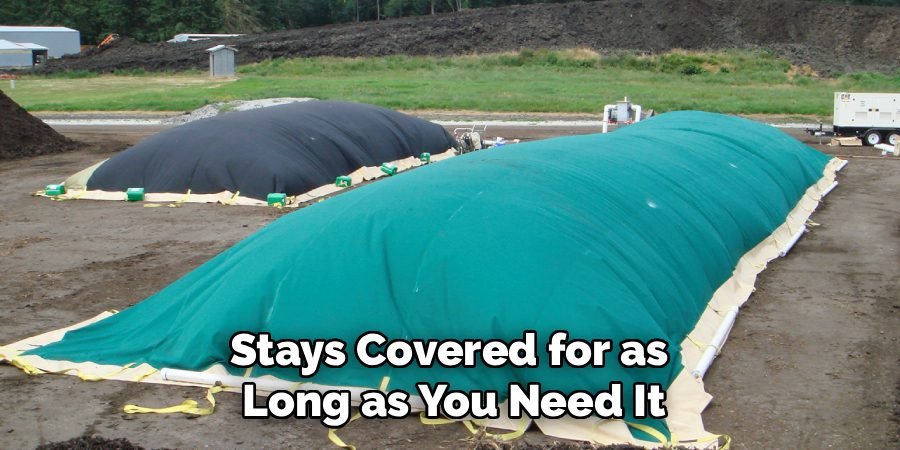
Regular maintenance ensures that the protected area remains dry or that the soil solarization process continues uninterrupted. By catching small issues early, you prevent total failure and ensure your backyard stays covered for as long as you need it.
Frequently Asked Questions (FAQ)
Can I Use a Tarp to Kill Grass and Weeds?
Yes, using a tarp is a highly effective, chemical-free method for killing unwanted vegetation, known as occultation or solarization.
- Occultation: Uses an opaque (black) tarp to block all light. Without sunlight, plants cannot photosynthesize and eventually die. This usually takes 4 to 6 weeks.
- Solarization: Uses clear plastic to trap heat from the sun, cooking the plants and seeds in the soil. This is best done during the hottest summer months.
- Success Tip: Ensure the edges are buried completely to trap heat and block light effectively.
How Do I Prevent the Tarp from Blowing Away on Concrete?
Securing a tarp on a hard surface where stakes won’t work requires heavy, non-abrasive weights.
- Sandbags: These are the gold standard because they are heavy and soft, conforming to the shape of the tarp without tearing it.
- Bungee Cords: If your patio has railings or anchor points, use heavy-duty bungee cords through the tarp’s grommets.
- Water Jugs: Old milk jugs filled with water are a cheap DIY alternative, tied to the grommets with rope.
Will Covering My Yard Kill the Good Bacteria in the Soil?
Prolonged covering, especially solarization (high heat), can affect the upper layers of soil biology, but it is rarely permanent.
- Depth: The intense heat usually only penetrates the top few inches, leaving deeper beneficial microbes intact.
- Recovery: Once the tarp is removed, the microbial population typically rebounds quickly, especially if you add a layer of compost immediately after.
- Benefit: The trade-off is often worth it because it eliminates harmful pathogens, weed seeds, and nematodes that destroy crops.
How Long Should I Leave the Tarp Down?
The duration depends entirely on your specific goal.
- Weed Killing: For effective occultation (light deprivation), leave the tarp down for at least 3 to 6 weeks. More vigorous weeds may require up to 3 months.
- Winter Protection: If covering furniture or a sandbox, leave it on for the entire winter season, removing it only when the threat of snow and frost has passed in spring.
- Storm Prep: Remove immediately after the storm passes to prevent moisture buildup and mold growth underneath.
What Is the Difference Between Polyethylene and Canvas Tarps?
The material choice changes the function completely.
- Polyethylene (Poly): These are plastic, waterproof, and great for blocking rain and snow. They are best for killing weeds or keeping things dry.
- Canvas: These are made of cotton, are breathable, and water-resistant (not waterproof). They are better for covering machinery or woodpiles where you want to prevent rust or mold caused by trapped condensation.
- Recommendation: For most backyard ground cover needs, heavy-duty poly is the superior and more affordable choice.
Conclusion
Successfully covering your backyard requires more than just dragging a plastic sheet over the lawn. It is a deliberate process of measuring, cleaning, selecting the right materials, and anchoring them securely against the forces of nature.
Whether you are using this technique to create a clean slate for a new garden bed or to protect your patio investment from a harsh winter, the attention to detail you put into the installation will determine your success.
By creating slopes for drainage and burying edges for wind resistance, you turn a simple sheet of plastic into a formidable barrier. This simple, cost-effective tool can save you hours of weeding labor or hundreds of dollars in furniture repairs.
Now that you have mastered how to cover backyard with tarp materials properly, you can confidently tackle your outdoor projects, knowing your property is well-protected and prepared for whatever the season brings.

About
Jovie Mathews is a backyard and outdoor expert writer with over 12 years of hands-on experience transforming neglected outdoor spaces into thriving gardens and functional retreats. Raised in a family where weekends meant digging in the soil and building raised beds from scratch, Jovie developed a genuine love for the outdoors long before it became a career.
She writes with a practical, no-fluff approach — always testing ideas in her own backyard before sharing them with readers. From composting systems and native plant selection to patio design and pest control, Jovie covers the full spectrum of backyard life with equal parts expertise and enthusiasm.
Education
B.Sc. in Horticulture Science
University of Florida (UF) · Gainesville, FL · 2014
IFAS College of Agricultural and Life Sciences
Minor in Environmental Studies
University of Florida (UF) · Gainesville, FL · 2014
College of Liberal Arts and Sciences
Areas of expertise
- Lawn & Garden Care
- Soil prep, planting, seasonal care
- Outdoor DIY Projects
- Raised beds, fencing, pathways
- Composting & Soil Health
- Organic methods, amendments
- Native Plants & Wildlife
- Pollinators, habitat gardening
When she is not writing, Jovie can be found testing new composting techniques, growing tomatoes in questionable quantities, or convincing her neighbors that clover lawns are actually a great idea. She currently gardens in the Pacific Northwest.




