A fire pit is the heart of any backyard gathering, a place for warmth, conversation, and marshmallow roasting. But after seasons of exposure to rain, humidity, and the intense heat of the flames, even the sturdiest metal fire pit can fall victim to rust.
That once-sleek centerpiece can quickly become a flaky, orange eyesore, making you wonder if it is destined for the curb. The good news is that rust is rarely a death sentence for your beloved fire pit.
With a little bit of elbow grease and the right materials, you can reverse the damage and restore it to its former glory. This guide will provide a clear, beginner-friendly roadmap on how to fix a rusted fire pit, transforming it from a rusty wreck back into a functional and beautiful feature for many more nights of enjoyment.
A rusted fire pit might seem like an unsalvageable mess, but with some basic tools and patience, you can breathe new life into it. Whether the rust has just started to form or has taken over large sections, tackling the issue sooner rather than later will save you time and effort in the long run.
By addressing the rust and protecting your fire pit from future damage, you’ll not only restore its aesthetics but also ensure it remains safe and durable for all your outdoor gatherings.
How to Fix a Rusted Fire Pit: A Step-by-Step Guide
Step 1: Gather Your Safety Gear and Tools
Before you tackle the rust, you need to prepare for a messy job and prioritize your safety. The process of removing rust sends fine particles of metal and old paint into the air, which you do not want to inhale or get in your eyes.
Equip yourself with essential personal protective equipment, including heavy-duty work gloves to protect your hands, safety goggles to shield your eyes from debris, and a high-quality dust mask or respirator.

You will also need a wire brush, sandpaper of various grits, or a power drill with a wire wheel attachment for the removal process. For cleaning, have some degreasing soap and rags ready. Finally, for the restoration, you will need a can of high-heat metal primer and a can of high-heat spray paint.
Step 2: Clean the Fire Pit Thoroughly
You cannot effectively treat rust if the surface is covered in dirt, soot, and grime. Start by emptying all ash and debris from the fire bowl. Then, using a stiff-bristled brush and a strong degreasing soap mixed with water, scrub down the entire fire pit, both inside and out. Pay special attention to areas with built-up soot or grease.

A clean surface allows you to see the full extent of the rust damage and ensures that the rust removal tools can make direct contact with the oxidized metal. Once you have scrubbed it clean, rinse the fire pit thoroughly with a hose and let it dry completely in the sun. Do not proceed to the next step until the metal is bone dry.
Step 3: Remove All Loose Rust
Now it is time for the most labor-intensive part of the process: rust removal. For light surface rust, a stiff wire brush and some vigorous scrubbing might be all you need. For more stubborn or extensive rust, a power drill equipped with a wire wheel or flap disc attachment will save you a significant amount of time and effort.
Move the brush or wheel over the rusted areas, applying steady pressure to flake off the loose oxidation. Your goal is to remove all the flaky, bumpy bits of rust until you are left with a smoother, more solid metal surface underneath.
The aim is not to get back to perfect, shiny metal, but to create a stable surface for the next steps.
Step 4: Smooth the Surface with Sandpaper
After removing the major flakes of rust, the surface will still be rough and uneven. To create a smooth base for painting, you need to sand the entire fire pit.
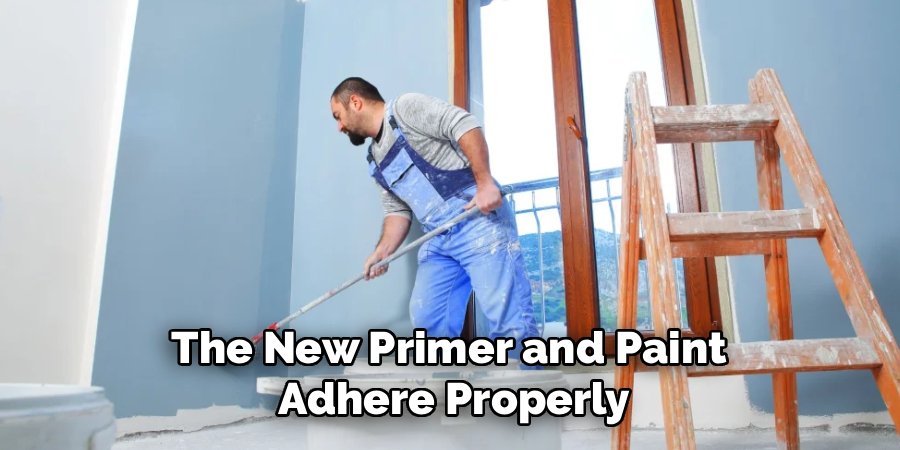
Start with a coarse-grit sandpaper (around 80-grit) to feather out the edges where the rusted spots meet the remaining paint. Work your way across the entire surface to scuff it up, which helps the new primer and paint adhere properly.
Once you have gone over the whole pit, switch to a finer grit sandpaper (around 120 or 220-grit) to smooth out any deep scratches left by the coarse paper and the wire brush. The smoother the final surface, the better your new paint job will look.
Step 5: Wipe Down the Surface to Remove Dust
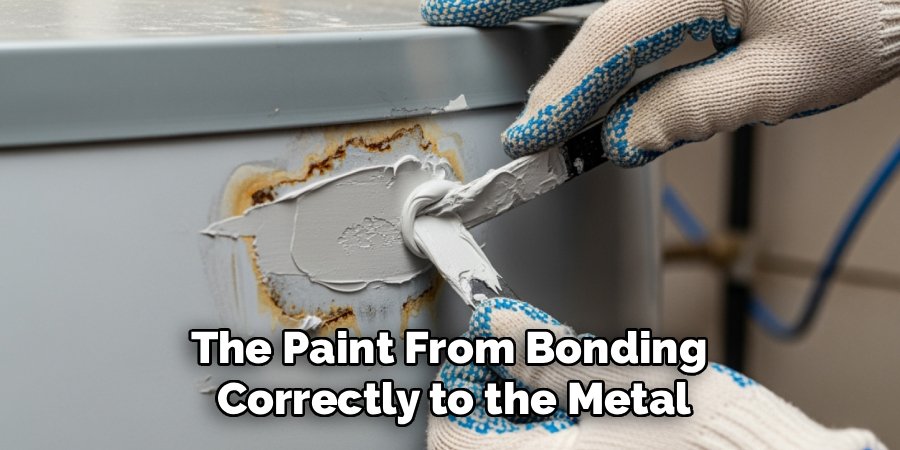
Sanding creates a massive amount of fine dust and metal particles that must be completely removed before you can even think about painting. If left on the surface, this dust will mix with the paint, creating a gritty, bumpy texture and preventing the paint from bonding correctly to the metal.
Take a clean, damp cloth and meticulously wipe down every inch of the fire pit, both inside and out. You may need to rinse your cloth several times. After wiping with a damp cloth, follow up with a dry one to remove any remaining moisture.
For a final pass, you can use a tack cloth, which is a sticky cloth designed specifically to pick up the finest dust particles.
Step 6: Apply a High-Heat Metal Primer
Primer is a non-negotiable step that ensures your paint job will last. It creates a strong bond between the bare metal and the topcoat of paint, and it provides an additional layer of rust inhibition. It is absolutely critical that you use a primer specifically rated for high-heat applications.
Standard primers will bubble, peel, and release noxious fumes when exposed to the heat of a fire. Following the directions on the can, apply a thin, even coat of high-heat primer over the entire surface of the fire pit.
Use smooth, sweeping motions and hold the can about 8-12 inches from the surface. Let the primer dry completely according to the manufacturer’s instructions.
Step 7: Use High-Heat Paint
Once the primer is fully cured, you can apply the final color. Just like the primer, you must use a spray paint that is specifically formulated to withstand high temperatures, often labeled as “BBQ & Stove” or “High-Heat Enamel.” Shake the can vigorously for at least a minute to mix the paint properly.
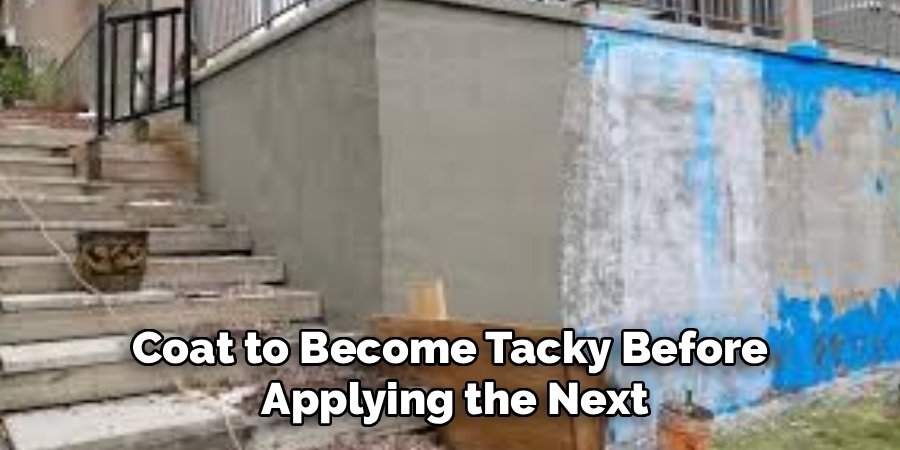
Apply the paint in several light, even coats rather than one thick, heavy coat. This technique prevents drips and runs and results in a more durable finish. Allow each coat to become tacky before applying the next.
Two to three light coats are usually sufficient to achieve full coverage. Let the paint cure completely for the time specified on the can, which can be anywhere from 24 hours to several days.
Routine Fire Pit Maintenance
Routine maintenance is essential to keep your fire pit in optimal condition and ensure its safety and longevity. Start by regularly removing ashes and debris after each use to prevent buildup, which can block airflow or damage the fire pit’s surface over time.
If your fire pit is made of metal, check for signs of rust or corrosion, and use a wire brush to clean off any problematic spots. Applying a heat-resistant sealant can help protect the surface from the elements.
Additionally, inspect gas fire pits for any leaks or damage to the hose or burner and clean the gas ports to ensure proper functionality. Always store your fire pit in a covered area or use a weatherproof cover when it’s not in use to protect it from rain, snow, and UV damage.
A little care and attention will ensure your fire pit remains a centerpiece for outdoor gatherings for years to come.
Frequently Asked Questions (FAQ)
What Is the Best Paint to Use on a Fire Pit?
You must use a paint specifically formulated for high-temperature surfaces. Look for products labeled “High-Heat” or “BBQ & Stove” spray paint.
These are typically rated to withstand temperatures of 1200°F (650°C) or higher. Using regular spray paint is dangerous, as it will quickly bubble, peel, and release toxic fumes when the fire pit is used.
Can I Use a Chemical Rust Remover Instead of Sanding?
Yes, chemical rust removers or converters can be effective alternatives.
- Rust Removers: These are typically gels or sprays that dissolve the rust. You apply them, let them sit, and then scrub or wipe the rust away.
- Rust Converters: These products chemically convert the rust into a stable, paintable black surface.
They can be less labor-intensive, but you must follow the safety instructions carefully as they are often acidic. You will still need to scuff the surface for good paint adhesion.
How Can I Prevent My Fire Pit from Rusting Again?
Prevention is the best long-term strategy.
- Use a Cover: The most effective method is to use a waterproof, weather-resistant cover whenever the fire pit is not in use and has completely cooled down.
- Store Indoors: If possible, store your fire pit in a garage or shed during the wet winter months.
- Clean Regularly: Do not let wet leaves or ash sit in the bowl, as they trap moisture against the metal.
My Fire Pit Rusted All the Way Through. Can It Still Be Fixed?
If the rust has created actual holes in the metal, a simple paint job will not fix it. For small holes, you might be able to use a high-temperature metal repair epoxy or a patch kit. However, for large holes or significant structural decay, the fire pit may be unsafe to use. In these cases, it is often better and safer to replace the unit.
How Long Does the New Paint Need to Cure Before I Can Use the Fire Pit?
Curing time is critical for the paint’s durability. Always follow the manufacturer’s instructions on the can. Most high-heat paints require at least 24 to 72 hours to air cure.
Some paints also have a heat-curing process, where you need to light a small, low-temperature fire for a short period to fully harden the paint film. Do not rush this step, or your hard work will be wasted.
Conclusion
A rusty fire pit does not have to signal the end of cozy evenings by the fire. With a weekend of work and a few basic supplies, you can strip away the damage and apply a new, durable finish that not only looks great but also protects the metal from future corrosion.
The process of cleaning, sanding, and painting is a satisfying DIY project that saves you the cost of a replacement and extends the life of your backyard centerpiece. It is about more than just aesthetics;
it is about maintaining a safe and functional gathering spot for your friends and family. Now that you have a comprehensive understanding of how to fix a rusted fire pit, you can approach the project with confidence and look forward to the rewarding glow of the first fire in your newly restored pit.
About
Jovie Mathews is a backyard and outdoor expert writer with over 12 years of hands-on experience transforming neglected outdoor spaces into thriving gardens and functional retreats. Raised in a family where weekends meant digging in the soil and building raised beds from scratch, Jovie developed a genuine love for the outdoors long before it became a career.
She writes with a practical, no-fluff approach — always testing ideas in her own backyard before sharing them with readers. From composting systems and native plant selection to patio design and pest control, Jovie covers the full spectrum of backyard life with equal parts expertise and enthusiasm.
Education
B.Sc. in Horticulture Science
University of Florida (UF) · Gainesville, FL · 2014
IFAS College of Agricultural and Life Sciences
Minor in Environmental Studies
University of Florida (UF) · Gainesville, FL · 2014
College of Liberal Arts and Sciences
Areas of expertise
- Lawn & Garden Care
- Soil prep, planting, seasonal care
- Outdoor DIY Projects
- Raised beds, fencing, pathways
- Composting & Soil Health
- Organic methods, amendments
- Native Plants & Wildlife
- Pollinators, habitat gardening
When she is not writing, Jovie can be found testing new composting techniques, growing tomatoes in questionable quantities, or convincing her neighbors that clover lawns are actually a great idea. She currently gardens in the Pacific Northwest.