For ranchers and rural property owners, managing livestock while allowing for vehicle access is a constant challenge. Gates are effective but can be a daily nuisance to open and close.
This is where a cattle guard comes in, offering a permanent, passive solution to keep your herd contained without ever having to leave your vehicle. At first glance, this structure of steel pipes over a pit might seem complex, but the project is well within reach for a determined DIYer with the right plan.
Learning how to build cattle guard structures is a practical skill that enhances property management, saving you time and effort every single day.
This guide will provide a clear, beginner-friendly roadmap, detailing everything from site preparation and foundation work to welding and final installation, ensuring you create a safe and effective barrier for your livestock.
Why a Cattle Guard Is a Smart Investment
A cattle guard, also known as a stock grid, is more than just a convenience; it’s a significant upgrade to your property’s infrastructure. The primary benefit is uninterrupted vehicle access.
You, your family, or service providers can drive onto your property without stopping to wrestle with a heavy gate, which is especially valuable during bad weather or when moving equipment. This also improves safety by eliminating the risk of a gate being left open accidentally, which could lead to livestock wandering onto a busy road.
A well-built cattle guard is incredibly durable, requires minimal maintenance, and can last for decades, making it a cost-effective long-term solution compared to the constant repair and replacement of traditional gates.
Step-by-Step Guide on How to Build Cattle Guard Structures
Step 1: Design, Plan, and Check Local Regulations
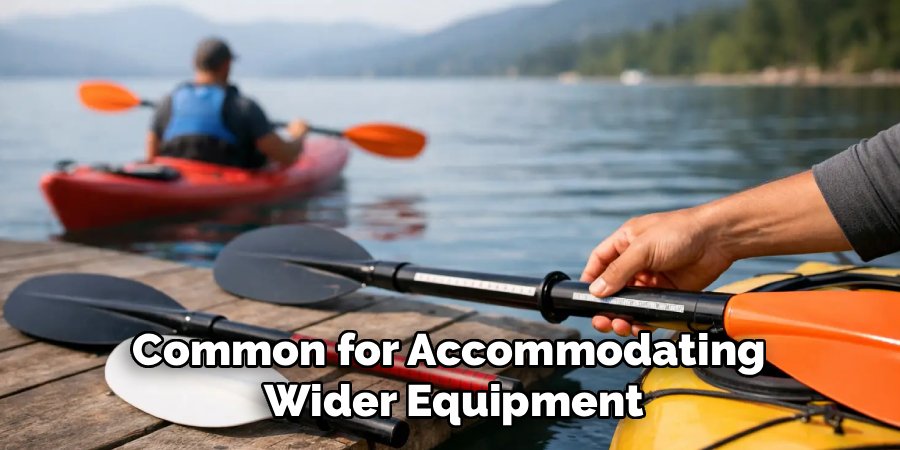
Before you break ground, a solid plan is essential. Determine the necessary width of the cattle guard based on the vehicles that will cross it; a standard farm truck needs at least an eight-foot width, but twelve feet is more common for accommodating wider equipment.
The length (in the direction of travel) should be at least six feet, with eight feet being preferable to deter ambitious animals. Sketch out your design, including the depth of the pit and the foundation details.
Most importantly, check with your local county or municipal authorities about any regulations, permits, or specific engineering requirements for building structures in a roadway or driveway, as safety and compliance are paramount.
Step 2: Excavate the Pit and Prepare the Site
Once your plan is finalized, it’s time to prepare the site. Use a backhoe or mini-excavator to dig the pit for the guard’s foundation. The depth should be at least one foot, but closer to two feet is better for preventing debris buildup and ensuring effectiveness.
The length and width of the excavation should be slightly larger than the guard itself to accommodate the concrete footings. Ensure the bottom of the pit is level and compacted. Proper site preparation is crucial for stability, as an uneven base will put stress on the guard’s frame and welds over time, leading to premature failure.
Step 3: Build the Concrete Foundation
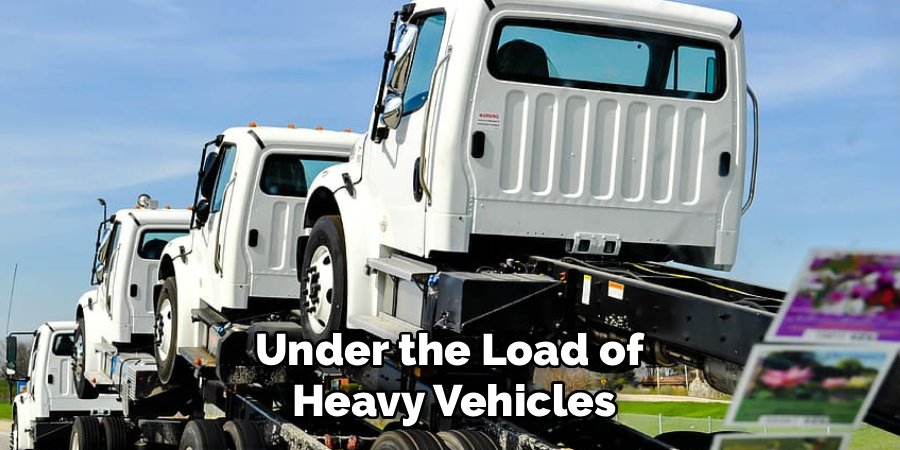
A robust concrete foundation is the key to a long-lasting cattle guard. Construct formwork from plywood or lumber around the inside perimeter of the excavated pit. This will create the concrete walls that support the guard. Place a grid of rebar inside the forms to reinforce the concrete and prevent cracking under the load of heavy vehicles.
Mix and pour the concrete into the forms, ensuring it is at least six to eight inches thick for both the floor and the walls. Use a float to smooth the surface and allow the concrete to cure completely, which can take several days depending on the weather.
Step 4: Construct the Steel Frame
While the concrete cures, you can begin fabricating the main steel frame of the cattle guard. This frame will sit on the concrete footings and hold the top rails. Use heavy-duty steel I-beams or thick-walled rectangular tubing for the two main support beams that will span the width of the pit.
Cut them to the exact length required. You will also need to cut shorter cross-members from angle iron or C-channel steel. These will be welded between the main beams to provide lateral support and serve as the base for the top pipes. A sturdy, well-welded frame is the skeleton of your entire structure.
Step 5: A Guide on How to Build Cattle Guard Rails
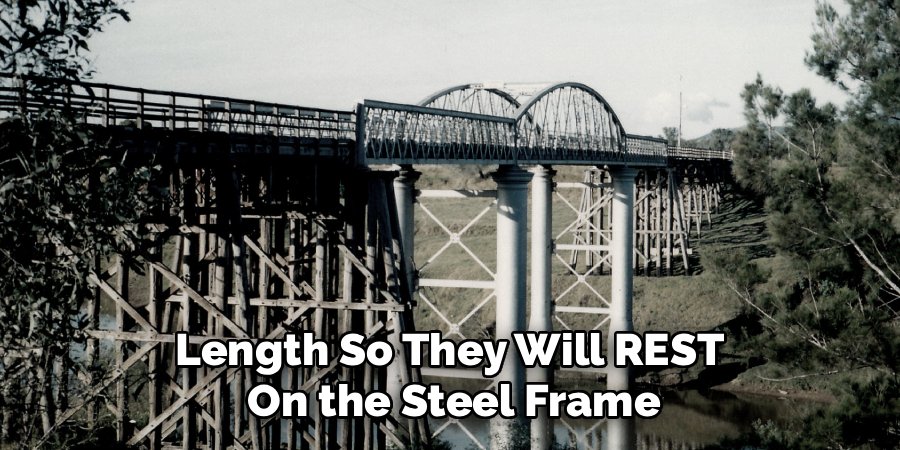
The top rails are the most recognizable part of the cattle guard. These are typically made from thick-walled steel pipes, with a diameter of three to four inches being common. Cut the pipes to the required length so they will rest on the steel frame. The spacing between the pipes is critical; a gap of four to five inches is standard.
This gap is wide enough to deter cattle, as they are hesitant to step on an unstable, uneven surface where their legs could slip through, but it is narrow enough for vehicle tires to roll over smoothly. Lay out the pipes on the frame, ensuring consistent spacing before you begin welding.
Step 6: Weld the Rails to the Frame
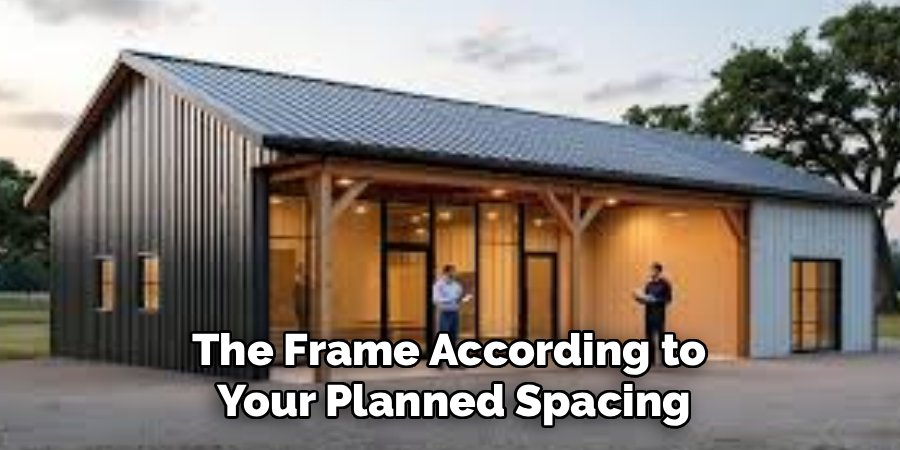
Welding is the most skill-intensive part of this project. If you are not an experienced welder, it is wise to hire a professional for this step to ensure the structural integrity of the guard. Place the steel frame on a flat, level surface. Carefully position each pipe on the frame according to your planned spacing.
Use a strong C-clamp to hold each pipe securely in place as you weld it to the frame’s cross-members. Apply a strong, continuous bead weld at every point where a pipe intersects with the frame. Good penetration is key to creating a bond that can withstand the constant stress of vehicles driving over it.
Step 7: Paint and Protect the Steel
Once all welding is complete and the welds have cooled, you must protect the steel from rust and corrosion. Use a wire brush or angle grinder to clean off any welding slag, rust, or mill scale from the entire structure. Wipe it down with a degreaser to ensure the surface is perfectly clean.
Apply a coat of heavy-duty, rust-inhibiting metal primer to all surfaces. After the primer has dried completely, apply two or more top coats of a durable industrial enamel paint. This protective coating is your guard’s only defense against the elements and is essential for its longevity.
Step 8: Install the Guard and Wing Fences
With the concrete foundation fully cured and the cattle guard fabricated, it’s time for the final installation. Carefully lift the finished guard using a tractor with a front-end loader or an engine hoist and lower it into place on the concrete footings. Ensure it sits level and stable.
The final step is to build wing fences. These are short sections of fence that connect from your main fenceline to the edges of the cattle guard. The wings prevent clever animals from simply walking around the edge of the guard, completing the barrier and securing your pasture.
Frequently Asked Question (Faq)
What Is the Best Material for Building a Cattle Guard?
The best and most common material is heavy-duty steel. For the frame, structural I-beams or thick-walled rectangular tubing provide the necessary strength to support vehicle weight.
The top rails should be made from round steel pipe with a wall thickness of at least 1/4 inch to prevent bending. Using high-quality steel and protecting it with a good paint job is crucial for durability.
How Far Apart Should the Pipes Be on a Cattle Guard?
The spacing is critical for effectiveness and safety. A gap of 4 to 5 inches between the tops of the pipes is the industry standard.
This gap is visually intimidating to livestock and physically unstable for their hooves, which deters them from crossing. However, it is still narrow enough for vehicle tires, wheelchairs, and bicycles to cross over safely.
Do Cattle Guards Need a Concrete Foundation?
Yes, a concrete foundation is highly recommended for any permanent cattle guard that will see regular vehicle traffic. A solid concrete footing prevents the guard from shifting, sinking, or settling into the ground over time.
This stability is essential for the long-term structural integrity of the welds and the steel frame. For a temporary or low-traffic application, a gravel base might suffice, but concrete is best for longevity.
Can Horses Cross a Cattle Guard?
Horses are generally more athletic and less hesitant than cattle, and some can learn to jump or step over a standard cattle guard. For properties with horses, it is often recommended to build the guard longer (at least 10 to 12 feet in the direction of travel) to make it a more formidable obstacle.
Some people also install a gate next to the guard specifically for leading horses across safely.
How Deep Should a Cattle Guard Pit Be?
The pit, or vault, underneath the cattle guard should be at least 12 inches deep, but a depth of 24 inches is preferable.
The depth serves two purposes: it creates a visual deterrent for the animals, making the void look deeper and more intimidating, and it provides space for dirt, water, and debris to collect without building up to the level of the rails, which would render the guard ineffective.
Conclusion
Building your own cattle guard is a significant undertaking, but it is a project that delivers immense value in convenience, safety, and property management. The success of the project hinges on careful planning, a solid foundation, and quality fabrication.
By focusing on a strong design, preparing the site correctly, and using durable materials, you can create a permanent solution that will serve you and your property for decades.
While it requires hard work and specific skills like welding, the satisfaction of driving effortlessly onto your property is well worth the effort. Now that you understand the fundamental steps of how to build cattle guard systems, you are equipped to tackle this rewarding and practical farm improvement project.
About
Jovie Mathews is a backyard and outdoor expert writer with over 12 years of hands-on experience transforming neglected outdoor spaces into thriving gardens and functional retreats. Raised in a family where weekends meant digging in the soil and building raised beds from scratch, Jovie developed a genuine love for the outdoors long before it became a career.
She writes with a practical, no-fluff approach — always testing ideas in her own backyard before sharing them with readers. From composting systems and native plant selection to patio design and pest control, Jovie covers the full spectrum of backyard life with equal parts expertise and enthusiasm.
Education
B.Sc. in Horticulture Science
University of Florida (UF) · Gainesville, FL · 2014
IFAS College of Agricultural and Life Sciences
Minor in Environmental Studies
University of Florida (UF) · Gainesville, FL · 2014
College of Liberal Arts and Sciences
Areas of expertise
- Lawn & Garden Care
- Soil prep, planting, seasonal care
- Outdoor DIY Projects
- Raised beds, fencing, pathways
- Composting & Soil Health
- Organic methods, amendments
- Native Plants & Wildlife
- Pollinators, habitat gardening
When she is not writing, Jovie can be found testing new composting techniques, growing tomatoes in questionable quantities, or convincing her neighbors that clover lawns are actually a great idea. She currently gardens in the Pacific Northwest.