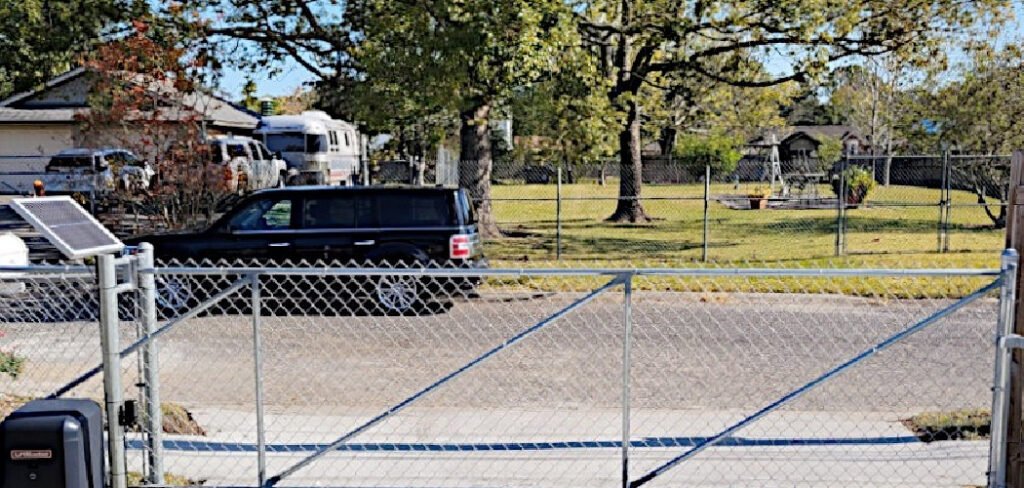
Chain link fences are a popular choice for homes and businesses, valued for their durability, affordability, and low maintenance. Whether you are planning a brand-new installation, repairing a damaged section, or simply ordering replacement parts, getting the correct measurements is the most critical first step.
Ordering the wrong size mesh or gauge can lead to a frustrating and costly ordeal. However, the terminology and various measurements can seem confusing to a beginner.
This guide is here to demystify the process and provide clear instructions on how to measure chain link components accurately. From the height of the fabric to the thickness of the wire, we will cover everything you need to know to ensure your project is a success from the start.
Why Accurate Measurements Are Key
Taking the time to measure your chain link fence correctly is essential for several reasons. It ensures compatibility when you are repairing an existing fence, guaranteeing that a new section will weave seamlessly into the old. For new projects, it allows you to create an accurate materials list, preventing you from over-ordering and wasting money or under-ordering and facing project delays.
It also helps you communicate your needs clearly to suppliers, who use specific terms like mesh size and gauge to identify products. A simple mistake, like confusing a 2-inch mesh with a 2 1/4-inch mesh, can mean the difference between parts that fit perfectly and parts that are completely unusable.
Step-by-Step Guide on How to Measure Chain Link
Step 1: Measure the Total Fence Length and Post Spacing
The first measurement you will need is the total linear footage of your planned or existing fence line. Use a long tape measure to determine the full length from one end point to the other. If your fence has corners, measure each straight section separately and then add the lengths together for a total.

While you are doing this, also measure the distance between the centers of your existing line posts. This is known as post spacing. A standard spacing is typically 8 to 10 feet. Knowing this measurement is critical if you are adding new posts or replacing sections, as it ensures a consistent and structurally sound fence line.
Step 2: Determine the Height of the Fence Fabric
The height of a chain link fence is determined by the fabric itself, not the posts, which will always be longer to account for being set in the ground. To measure the height, use a tape measure and run it from the very top of the wire fabric down to the very bottom. Do not include the posts or any tension wire in this measurement.
Standard residential heights are commonly 4, 5, or 6 feet. Measuring this accurately is vital for ensuring privacy, containment, and compliance with any local zoning regulations that might dictate maximum fence heights in your area.
Step 3: A Guide on How to Measure Chain Link Mesh Size
The mesh size refers to the dimensions of the diamond-shaped openings in the fence. To measure this, you will need a standard tape measure. Find a single “diamond” and measure the distance between the two parallel wires that form its sides. This is a diagonal measurement taken from the inside of one wire to the inside of the opposite wire.

The most common residential mesh size is 2 inches, but other sizes like 2 1/4 inches or 1 3/4 inches are also available. This measurement is crucial because all your fittings, such as tension bands and brace bands, are designed to work with a specific mesh size.
Step 4: Determine the Wire Gauge
The gauge refers to the thickness of the wire used to create the chain link fabric. A smaller gauge number indicates a thicker, stronger, and more durable wire. To measure the gauge, you will ideally use a wire gauge tool, which has marked notches for different sizes.
If you do not have one, you can use calipers or even a tape measure to get a close approximation of the wire’s diameter in inches or millimeters, then use a conversion chart to find the corresponding gauge. Common gauges range from 6 (very heavy-duty) to 11.5 (standard residential).
Step 5: Measure the Diameter of Posts and Rails
Your fence’s framework consists of posts and top rails. You need to know their diameter to buy the correct caps, bands, and other fittings. Wrap a flexible tailor’s tape measure around a post to find its circumference. Then, divide that number by pi (approximately 3.14159) to calculate the diameter.
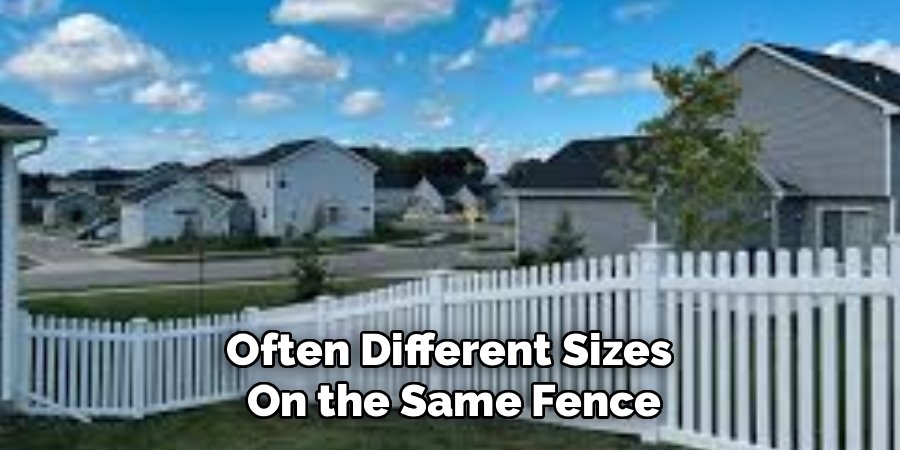
Alternatively, you can use adjustable calipers to get a direct diameter reading. Common post diameters for residential fences include 1 5/8 inches for line posts and 2 1/2 inches for terminal (end or corner) posts. Always measure both types, as they are often different sizes on the same fence.
Step 6: Identify Terminal, Corner, and Line Posts
For a successful repair or installation, you need to count how many of each type of post you have or will need. Terminal posts are the larger-diameter posts found at the ends of the fence and on either side of a gate. Corner posts are also terminal posts, used where the fence line changes direction.
Line posts are the smaller-diameter posts that run in a straight line between the terminal posts. Making a simple diagram of your fence layout and marking each post type is an excellent way to keep track and ensure you order the right quantity of posts and associated hardware.
Step 7: Account for Gates and Openings
If your fence project includes a gate, you must measure the opening very carefully. The measurement for a gate opening should be taken from the inside face of one gate post to the inside face of the opposing gate post.

This is the clear opening the gate needs to fill. When you purchase a gate, it will be labeled with the opening size it is designed for, not its actual physical width. The gate itself is manufactured slightly smaller to account for the necessary space for hinges and latches, so do not subtract anything from your measurement.
Frequently Asked Questions (FAQ)
What Is the Easiest Way to Measure Mesh Size?
The easiest way to measure chain link mesh size is with a standard tape measure. Find a single diamond pattern in the fence fabric. Place your tape measure on the inside edge of one wire and measure diagonally across the opening to the inside edge of the opposite parallel wire. The most common size for residential fences is 2 inches.
How Do I Know What Gauge My Chain Link Fence Is?
The most accurate way to determine the wire gauge is with a dedicated wire gauge tool. However, if you don’t have one, you can get a close estimate by measuring the wire’s diameter with calipers.
- 9 gauge is approximately 0.148 inches thick.
- 11 gauge is approximately 0.120 inches thick.
- 11.5 gauge is approximately 0.113 inches thick.
Remember, a lower gauge number means a thicker and stronger wire.
What Is the Difference Between Post Diameter and Post Size?
These terms are often used interchangeably, but “diameter” is the precise technical measurement. It refers to the distance across the post’s circular profile. When you buy fence fittings like post caps or tension bands, they are sold based on the post diameter they are designed to fit. For example, you would buy a 1 5/8″ cap for a 1 5/8″ diameter line post.
Why Are Terminal Posts Thicker Than Line Posts?
Terminal posts (end, corner, and gate posts) are thicker because they bear the full tension of the stretched chain link fabric. The fabric is pulled tight and secured to the terminal posts with tension bars and tension bands.
The smaller line posts serve primarily to support the fabric and prevent it from sagging between these main anchor points. This structural difference is key to a strong, long-lasting fence.
Should I Measure the Gate or the Opening for a New Gate?
Always measure the opening where the gate will be installed, not the old gate itself. Measure the clear distance from the inside of one gate post to the inside of the other. Gates are sold based on the opening size they fit.
The manufacturer has already accounted for the space needed for hinges and latches, so the actual gate will be slightly narrower than the opening size it’s advertised for.
Conclusion
Taking on a chain link fence project can be a very rewarding DIY endeavor. The key to a smooth and successful outcome lies in careful and accurate preparation, starting with the measurements.
By understanding the distinct components—fabric height, mesh size, wire gauge, and post diameters—you empower yourself to order the correct materials the first time. This simple diligence saves you from return trips to the store, project delays, and the frustration of mismatched parts. Now that you know how to measure chain link properly, you are well on your way to building or repairing a secure and professional-looking fence.
About
Jovie Mathews is a backyard and outdoor expert writer with over 12 years of hands-on experience transforming neglected outdoor spaces into thriving gardens and functional retreats. Raised in a family where weekends meant digging in the soil and building raised beds from scratch, Jovie developed a genuine love for the outdoors long before it became a career.
She writes with a practical, no-fluff approach — always testing ideas in her own backyard before sharing them with readers. From composting systems and native plant selection to patio design and pest control, Jovie covers the full spectrum of backyard life with equal parts expertise and enthusiasm.
Education
B.Sc. in Horticulture Science
University of Florida (UF) · Gainesville, FL · 2014
IFAS College of Agricultural and Life Sciences
Minor in Environmental Studies
University of Florida (UF) · Gainesville, FL · 2014
College of Liberal Arts and Sciences
Areas of expertise
- Lawn & Garden Care
- Soil prep, planting, seasonal care
- Outdoor DIY Projects
- Raised beds, fencing, pathways
- Composting & Soil Health
- Organic methods, amendments
- Native Plants & Wildlife
- Pollinators, habitat gardening
When she is not writing, Jovie can be found testing new composting techniques, growing tomatoes in questionable quantities, or convincing her neighbors that clover lawns are actually a great idea. She currently gardens in the Pacific Northwest.