Discovering a depression or a void beneath your swimming pool is a homeowner’s nightmare. Whether you have an above-ground pool with a sinking leg or an in-ground liner that feels spongy and unsupported, the integrity of your backyard oasis relies entirely on the stability of the earth beneath it.
These voids, often caused by leaking pipes, poor soil compaction, or natural erosion, can threaten the structural safety of your pool and lead to costly liner tears if left unaddressed. While the term “sinkhole” sounds catastrophic, many small voids can be managed with some manual labor and the right materials before they become major disasters.
Ignoring the problem will only allow the void to grow larger, potentially causing the pool wall to collapse or the liner to rupture under the immense weight of the water. This guide provides a practical, safe approach to stabilizing the ground.
We will walk you through the essential process of how to fix sinkhole under pool foundations, helping you restore support to your swimming area so you can get back to enjoying the water without worry.
How to Fix Sinkhole Under Pool: A Step-by-Step Guide
Step 1: Drain the Water to Relieve Pressure
The first and most critical action you must take is removing the immense weight pressing down on the compromised soil. You cannot effectively repair the ground while thousands of gallons of water are actively pushing against the unstable area. Use a submersible pump or your pool’s drainage system to lower the water level significantly.
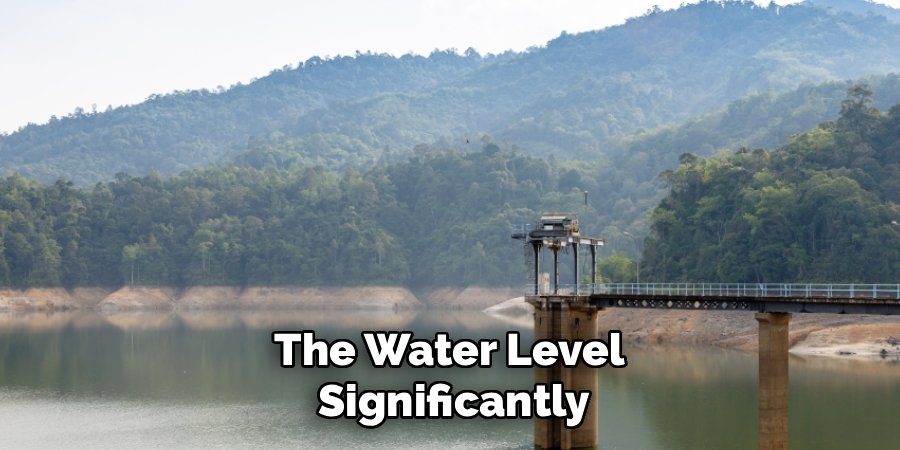
For minor depressions, you may only need to drain the water below the affected area, but for larger voids, it is safer to drain the pool almost completely. This prevents the liner from stretching further or tearing while you work. Removing the water pressure ensures your safety during the repair and allows you to access the liner without fighting against the hydrostatic force of the water volume.
Step 2: Peel Back the Liner to Expose the Void
Once the water is drained, you need to gain direct access to the earth beneath the pool liner. Carefully remove the top rail or coping around the section of the pool near the sinkhole. Gently pull the liner away from the wall and fold it back towards the center of the pool to reveal the problem area.
This step requires patience and a gentle touch, as pool liners can become brittle over time and may tear if handled roughly. As you expose the ground, you will likely see a hollow space or a pocket of loose, wet soil. This visual inspection allows you to determine the true size and depth of the cavity, which is often larger than it appeared from the surface.
Step 3: Assess the Cause of the Sinkhole
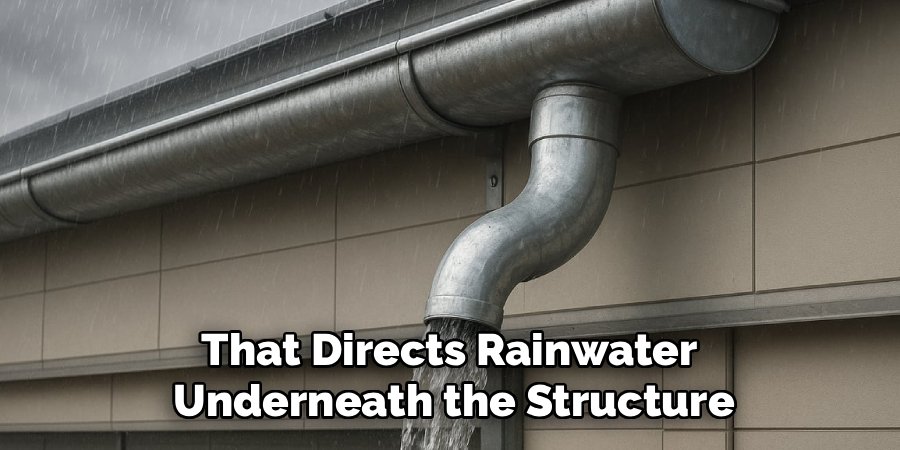
Before you start filling the hole, you must identify why it appeared in the first place to prevent it from returning. Inspect the area for signs of water erosion, which is the most common culprit. Check for leaking plumbing lines, a tear in the liner that was letting water seep out, or poor drainage around the pool deck that directs rainwater underneath the structure.
If you find a leak in the plumbing, it must be repaired immediately by a professional or with a proper patch kit. Fixing the symptom without addressing the root cause is a waste of time. Understanding the source of the erosion is a vital part of learning how to fix sinkhole under pool structures permanently rather than just applying a temporary bandage.
Step 4: Excavate Loose Soil and Debris
You cannot build a solid foundation on top of muck or loose dirt. You must clear out any compromised material from the void. Use a shovel or a trowel to dig out any soft, muddy soil, organic debris like rotting roots, or loose rocks that have shifted into the hole. You want to reach a layer of firm, undisturbed earth that can support the weight of the repair materials.
If the hole is very deep, you might need to dig wider to ensure you can pack the new material effectively. This cleaning process creates a clean, stable base for your fill dirt. It also helps you verify that there aren’t further tunnels or cavities extending deeper into the ground that need attention.
Step 5: Fill the Void with Stabilized Material
Now begins the reconstruction phase. Do not simply shovel the old dirt back in. You need a material that compacts well and resists future erosion. A mixture of dirt and cement, often called “soil cement” or a specialized crushed stone aggregate, is ideal. Shovel this material into the hole in layers of about three to four inches at a time. Do not try to fill the entire hole at once.

By working in layers, you ensure that there are no air pockets left behind. If you are using a soil-cement mix, the moisture from the ground will eventually help it harden into a concrete-like substance that offers superior support compared to standard topsoil, providing a permanent solution to the structural weakness.
Step 6: Compact the Soil Thoroughly
This is arguably the most physically demanding but important part of the repair. After placing each three-inch layer of fill material, you must compact it aggressively. Use a heavy tamper tool or a sledgehammer with a flat surface to pound the dirt down until it is rock hard. If the area is small, the handle of a shovel or a 2×4 piece of lumber might suffice.
The goal is to remove all air gaps and make the new soil as dense as the surrounding undisturbed ground. If the soil is too loose, the weight of the refilled pool will simply compress it again, causing the sinkhole to reappear immediately. Proper compaction is the secret to a long-lasting repair when figuring out how to fix sinkhole under pool areas.
Step 7: Resurface and Replace the Liner
With the hole filled and compacted flush with the rest of the pool floor, you need to smooth the surface. Add a final thin layer of sand or vermiculite to create a soft, cushioned bed for the liner. Trowel this layer until it is perfectly smooth and level with the surrounding floor, ensuring there are no sharp rocks or ridges that could puncture the vinyl.
Carefully pull the liner back into place, smoothing out wrinkles as you go. Reattach the coping or top rail securely. Once the liner is reset, you can begin refilling the pool with water. Watch the repaired area closely as the water level rises to ensure the ground holds firm and the liner stretches evenly into place.
Frequently Asked Questions (FAQ)
What Causes Sinkholes Under Above-Ground Pools?
The most common cause is water erosion. This can come from a small leak in the pool liner itself, which slowly saturates the soil and causes it to collapse. Alternatively, poor drainage in the backyard can direct rainwater toward the pool, washing away the sand or dirt foundation.
Rotting organic matter, such as old tree stumps or roots left in the ground during installation, can also decompose over time, leaving a void that eventually caves in under the weight of the water.
Can I Fix a Sinkhole Without Draining the Pool?
Generally, no. While it might be tempting to avoid the cost and time of draining, attempting to fix a sinkhole with the water still in the pool is extremely difficult and rarely effective.
The weight of the water (8 pounds per gallon) makes it impossible to lift the liner and access the void. Furthermore, you cannot properly compact the new soil or patch the floor base while the pressure of the water is bearing down on it.
What Material Should I Use to Fill the Hole?
Do not use regular potting soil or topsoil, as these contain organic matter that will decompose and compress. The best material is a mix of masonry sand and Portland cement (often in a 1:4 ratio).
This mixture creates a weak concrete that is hard enough to support the water weight but soft enough to be troweled smooth. Alternatively, “crusher run” or a crushed stone base that compacts tightly is excellent for deeper voids.
Is a Sinkhole Under My Pool Dangerous?
Yes, it can be. A small depression might just feel weird underfoot, but a growing sinkhole poses structural risks. If the ground gives way significantly, it can cause the pool’s metal wall to buckle or collapse, leading to a massive flood of water that can damage your home, deck, or neighbors’ property.
It also places immense stress on the vinyl liner, which can stretch to the point of catastrophic failure.
When Should I Call a Professional?
You should call a professional if the sinkhole is very large (more than a few feet wide), if it appears to be getting deeper rapidly, or if it is located directly under the structural uprights or wall track of the pool.
If you suspect the sinkhole is geological in nature (common in places like Florida) rather than just simple erosion, you need a geotechnical engineer. Attempting to fill a massive geological sinkhole yourself can be dangerous and ineffective.
Conclusion
Addressing a void beneath your pool is a task that demands immediate attention but rewards you with long-term peace of mind. By taking the time to drain the water, excavate the unstable soil, and repack the area with proper fill material, you are reinforcing the very foundation of your summer recreation.
It is a labor-intensive process, but it is the only way to ensure the structural integrity of your pool and the safety of everyone who swims in it. Do not wait for a small dip to turn into a disaster;
proactive repair is always cheaper than replacing an entire pool. Now that you are equipped with the knowledge of how to fix sinkhole under pool foundations, you can tackle this project with confidence, ensuring your backyard remains a safe, level, and inviting escape for years to come.
About
Jovie Mathews is a backyard and outdoor expert writer with over 12 years of hands-on experience transforming neglected outdoor spaces into thriving gardens and functional retreats. Raised in a family where weekends meant digging in the soil and building raised beds from scratch, Jovie developed a genuine love for the outdoors long before it became a career.
She writes with a practical, no-fluff approach — always testing ideas in her own backyard before sharing them with readers. From composting systems and native plant selection to patio design and pest control, Jovie covers the full spectrum of backyard life with equal parts expertise and enthusiasm.
Education
B.Sc. in Horticulture Science
University of Florida (UF) · Gainesville, FL · 2014
IFAS College of Agricultural and Life Sciences
Minor in Environmental Studies
University of Florida (UF) · Gainesville, FL · 2014
College of Liberal Arts and Sciences
Areas of expertise
- Lawn & Garden Care
- Soil prep, planting, seasonal care
- Outdoor DIY Projects
- Raised beds, fencing, pathways
- Composting & Soil Health
- Organic methods, amendments
- Native Plants & Wildlife
- Pollinators, habitat gardening
When she is not writing, Jovie can be found testing new composting techniques, growing tomatoes in questionable quantities, or convincing her neighbors that clover lawns are actually a great idea. She currently gardens in the Pacific Northwest.