After building a deck, you might be left with an uneven, excavated area around the foundation posts or a sloped yard leading away from it. Backfilling this space—the process of returning soil or adding new material—is a crucial final step. It’s about more than just looks; it’s essential for stability and water management.
This guide will walk you through the proper techniques for how to backfill under a deck, ensuring your structure is secure and your yard is protected from drainage issues. Taking the time to do this correctly prevents future headaches and preserves the integrity of your outdoor living space.
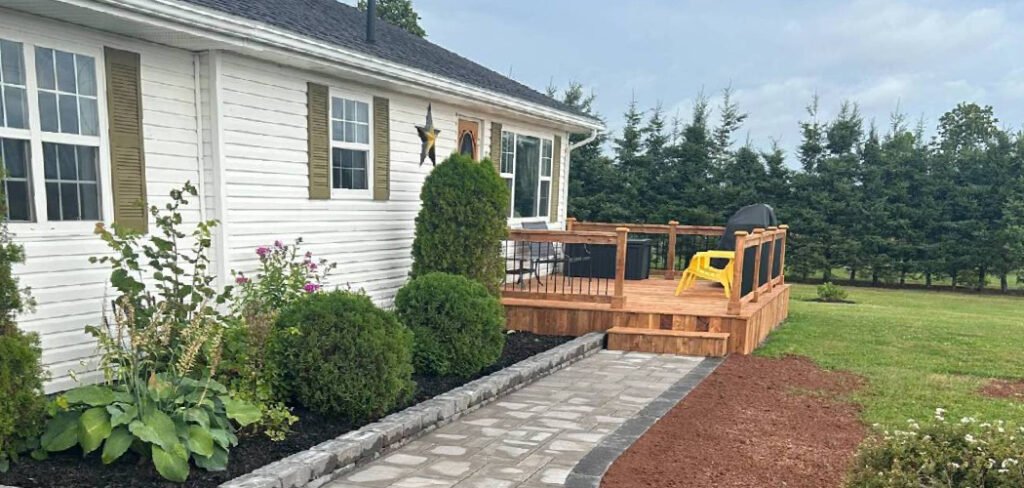
Proper backfilling under a deck is critical for several key reasons. Primarily, it provides essential support and stability to the deck’s foundation. When you fill and compact material around the support posts and footings, you lock them in place, preventing shifting or settling over time. This structural reinforcement is vital for the long-term safety and durability of your deck.
Secondly, effective backfilling manages water drainage. By creating a gentle slope away from your house’s foundation and the deck’s footings, you direct rainwater and runoff away from critical structures. This prevents water from pooling, which can lead to soil erosion, foundation damage, and rot in the wooden posts. A well-drained area under the deck also discourages pests and mold growth, creating a healthier, more stable environment for your entire backyard.
Step-by-Step Guide use the main keyword
This section provides a detailed, actionable plan for completing your backfilling project. A successful outcome depends on using the right materials and techniques to ensure proper drainage and compaction. Rushing this stage can lead to problems like soil settlement and water damage down the line. This guide breaks down how to backfill under a deck into seven clear steps, making the process straightforward for any homeowner looking to achieve a professional and lasting result.
Step 1: Clear the Area and Assess Drainage
Before you bring in any fill material, you must prepare the space. Remove any construction debris, discarded wood scraps, weeds, or large rocks from underneath the deck. This ensures you have a clean slate to work with. Next, assess the natural slope of the ground.
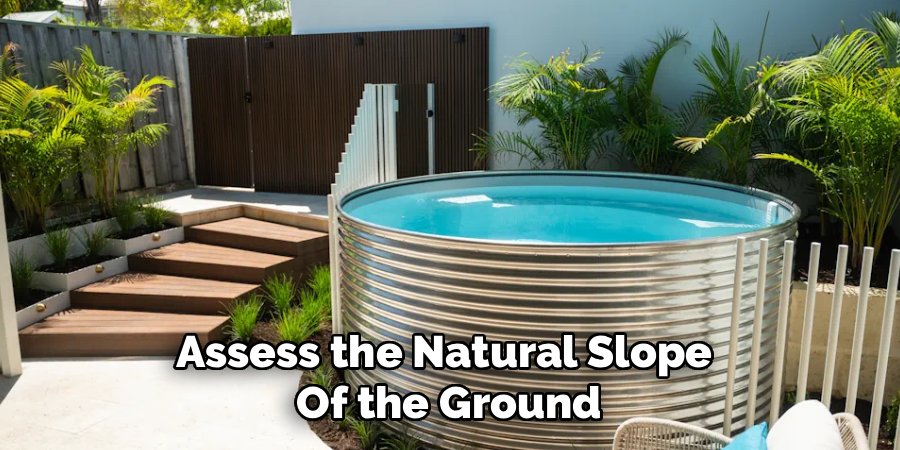
Your goal is to create a positive grade that slopes away from your home’s foundation by at least one-quarter inch per foot. This is crucial for directing water away and preventing it from pooling against the house. Identify any low spots that will need extra fill material to achieve this gentle, consistent slope.
Step 2: Choose the Right Backfill Material
The material you choose for backfilling is critical for ensuring good drainage and stability. While you can reuse some of the excavated topsoil, it is often best to use a mix of materials. Gravel or crushed stone is an excellent choice for the initial layer directly around the footings and posts.
These materials allow water to drain through freely and are easy to compact, providing a solid base. For the upper layers, a mix of sand and soil or a dedicated fill dirt works well. Avoid using only organic-rich topsoil, as it will decompose and settle significantly over time.
Step 3: Begin Filling in Layers (Lifts)
The key to successful backfilling is to work in thin, manageable layers, often called “lifts.” Do not simply dump all your material into the space at once. Start by adding a 4- to 6-inch layer of your chosen fill, beginning with gravel around the footings. Spread the material evenly across the entire area you are backfilling.
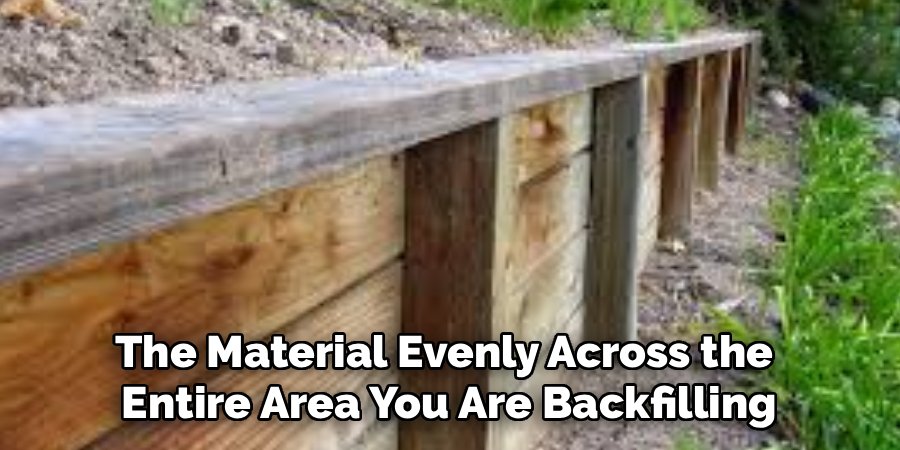
This layered approach is the only way to achieve proper compaction throughout the entire depth of the fill. Trying to compact a thick layer of soil will only compact the top few inches, leaving loose, unstable material underneath.
Step 4: Compact Each Layer Thoroughly
After adding each lift, you must compact it. Compaction removes air pockets and ensures the soil won’t settle significantly later on. For smaller jobs, a hand tamper—a heavy steel plate on a long handle—is sufficient. For larger areas, renting a plate compactor is a worthwhile investment.
Go over the entire surface of the layer methodically, ensuring every square inch is firmly packed down. The material should feel solid underfoot before you even think about adding the next layer. This is the most labor-intensive part of the job, but it is absolutely essential for a stable, long-lasting result.
Step 5: Continue Layering and Compacting
Repeat the process of adding and compacting layers until you have nearly reached your desired final grade. Continue to alternate between adding a 4- to 6-inch lift of fill material and thoroughly compacting it. As you build up the layers, keep your final slope in mind.
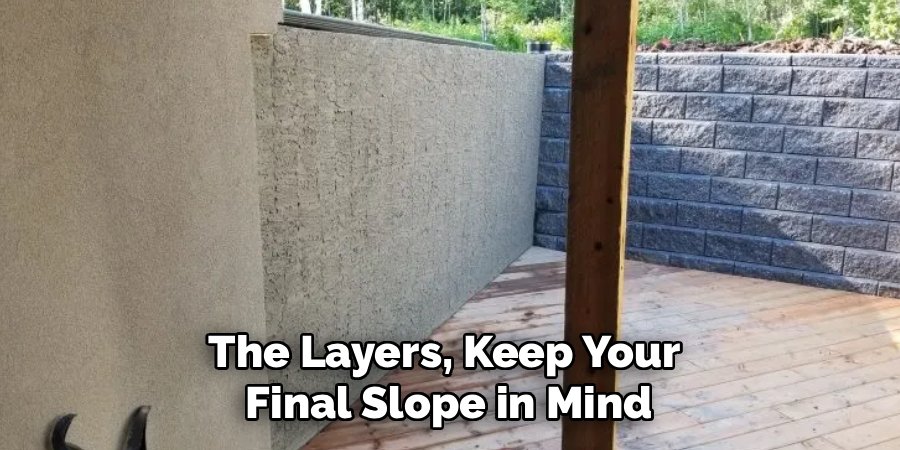
Use a level and a straight board to periodically check that you are maintaining a consistent grade away from your house. This repetitive process is the core of the project and is what separates a professional-quality job from one that will sink and cause problems within a year.
Step 6: Add the Final Grade and Topsoil
For the final layer, you will bring the grade up to its finished height. This top layer should consist of high-quality topsoil if you plan to plant grass or other vegetation under the deck. Add a 2- to 4-inch layer of topsoil over the compacted fill.
Rake it smooth, ensuring you have a seamless transition to the surrounding yard and that the final slope away from the house is correct. This top layer does not need to be compacted as heavily as the sub-layers, especially if you intend to grow plants in it.
Step 7: Finish with Landscaping Fabric and Ground Cover
Once the backfilling is complete, consider laying down a high-quality landscape fabric over the entire area under the deck. This will prevent weeds from growing through your fill. Secure the fabric with landscape staples. To finish the project, cover the fabric with a decorative ground cover like river rock, pea gravel, or wood mulch.

This not only provides a clean, finished appearance but also adds another layer of protection against erosion and helps weigh down the landscape fabric, making your under-deck area low-maintenance and attractive.
Common Mistakes to Avoid
One of the biggest mistakes homeowners make is using the wrong fill material. Backfilling with only organic-rich topsoil or clay-heavy soil will lead to poor drainage and significant settling as the organic matter decomposes. Always use a granular fill like gravel or a sand/soil mix for the bulk of the project.
Another common error is inadequate compaction. Simply dumping soil and walking on it is not enough. This creates a loosely packed area that will sink over time, forming depressions and causing drainage problems. You must compact the fill in thin layers (lifts) with a hand tamper or plate compactor. Finally, forgetting to establish a proper slope away from the house foundation is a critical oversight that can lead to serious water damage to your home.
Frequently Asked Questions (FAQ)
What Is The Best Material To Put Under A Deck?
The best material is a combination. Start with a layer of clean, crushed stone or gravel for excellent drainage around the posts and footings. For the upper layers, a mix of sand and soil (fill dirt) is ideal because it compacts well. Finish with a layer of topsoil if planting, followed by landscape fabric and a decorative ground cover like stone or mulch.
How Do I Stop Water From Pooling Under My Deck?
The key is to ensure the ground has a positive slope away from your house foundation. Proper backfilling creates this grade. The ground should drop at least one-quarter inch for every foot of distance. This directs water away naturally. Using a well-draining fill material like gravel also helps prevent water from becoming trapped.
Should I Put Plastic Sheeting Under My Deck?
It is generally better to use a permeable landscape fabric rather than solid plastic sheeting. Landscape fabric blocks weeds but allows water to pass through into the ground, preventing pooling. Plastic sheeting traps moisture on top, which can create a damp, moldy environment and may not solve drainage issues. A good understanding of how to backfill under a deck often includes choosing fabric over plastic.
Can I Just Use The Dirt I Dug Out For Backfilling?
You can reuse some of it, but it’s often not the best choice on its own. The excavated soil may contain a lot of organic matter, which will decompose and settle over time. It is better to mix the excavated soil with sand or use a dedicated granular fill like gravel for the majority of the backfill to ensure better compaction and drainage.
How Much Slope Do I Need Under A Deck?
You should aim for a minimum slope of one-quarter inch per foot, which is roughly a 2% grade. This means for every four feet of distance away from your house, the ground should be at least one inch lower. This gentle slope is enough to effectively channel rainwater and runoff away from your home’s foundation without being noticeably steep.
Conclusion
Properly backfilling under your deck is a non-negotiable step for ensuring the structure’s longevity and protecting your home from water damage. By using the right materials, working in compacted layers, and creating a positive grade, you create a stable and dry foundation that will last for years.
This project requires patience and physical effort, but the peace of mind it brings is well worth it. Now that you have a clear plan for how to backfill under a deck, you can complete your project with the confidence that you are safeguarding your investment and improving your entire backyard environment.

About
Jovie Mathews is a backyard and outdoor expert writer with over 12 years of hands-on experience transforming neglected outdoor spaces into thriving gardens and functional retreats. Raised in a family where weekends meant digging in the soil and building raised beds from scratch, Jovie developed a genuine love for the outdoors long before it became a career.
She writes with a practical, no-fluff approach — always testing ideas in her own backyard before sharing them with readers. From composting systems and native plant selection to patio design and pest control, Jovie covers the full spectrum of backyard life with equal parts expertise and enthusiasm.
Education
B.Sc. in Horticulture Science
University of Florida (UF) · Gainesville, FL · 2014
IFAS College of Agricultural and Life Sciences
Minor in Environmental Studies
University of Florida (UF) · Gainesville, FL · 2014
College of Liberal Arts and Sciences
Areas of expertise
- Lawn & Garden Care
- Soil prep, planting, seasonal care
- Outdoor DIY Projects
- Raised beds, fencing, pathways
- Composting & Soil Health
- Organic methods, amendments
- Native Plants & Wildlife
- Pollinators, habitat gardening
When she is not writing, Jovie can be found testing new composting techniques, growing tomatoes in questionable quantities, or convincing her neighbors that clover lawns are actually a great idea. She currently gardens in the Pacific Northwest.