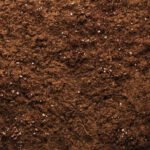
Good topsoil is the foundation of a thriving garden. It feeds your plants, holds the right amount of water, and gives roots room to spread. The trouble is, healthy topsoil isn’t always something you can dig up in your own backyard. Many beginners discover their ground is too sandy, too heavy with clay, or simply worn out.
The good news? You can build your own. Learning how to make topsoil lets you create a rich, balanced growing medium tailored to whatever you want to plant. It’s affordable, satisfying, and surprisingly simple once you understand the basics.
This guide walks you through everything you need — the materials, the steps, the common mistakes — so you can make nutrient-rich topsoil with confidence, even if you’ve never gardened before.
Why Making Your Own Topsoil Matters
Buying bags of soil adds up fast, especially if you’re filling raised beds or a large plot. Making your own saves money and gives you control over exactly what goes into the ground.
Store-bought topsoil also varies wildly in quality. Some bags are little more than fine sand or compacted clay. When you build your own topsoil mix, you know it’s full of organic matter and free from hidden weeds or contaminants.
There’s a practical bonus, too. Homemade topsoil often uses materials you already have — kitchen scraps, fallen leaves, grass clippings. You turn waste into something valuable. For backyard and outdoor beginners, this is one of the most rewarding skills you can learn, and it sets up every future planting project for success.
Tools and Materials You’ll Need
Before you start, gather your supplies. Most of these are inexpensive or already sitting in your shed.
- Garden fork or spade: for digging, turning, and mixing.
- Wheelbarrow or large tub: to blend ingredients in one place.
- Compost: finished, crumbly compost is the heart of good topsoil.
- Sand: coarse builder’s sand improves drainage in heavy soil.
- Loam or existing garden soil: the mineral base of your mix.
- Organic matter: shredded leaves, grass clippings, or aged manure.
- Garden rake: to level and break up clumps.
- Gloves: to keep your hands clean and protected.
- A soil pH testing kit (optional): handy for checking acidity and adjusting your mix for specific plants.
Having everything ready in one spot makes the whole process faster and far less messy.
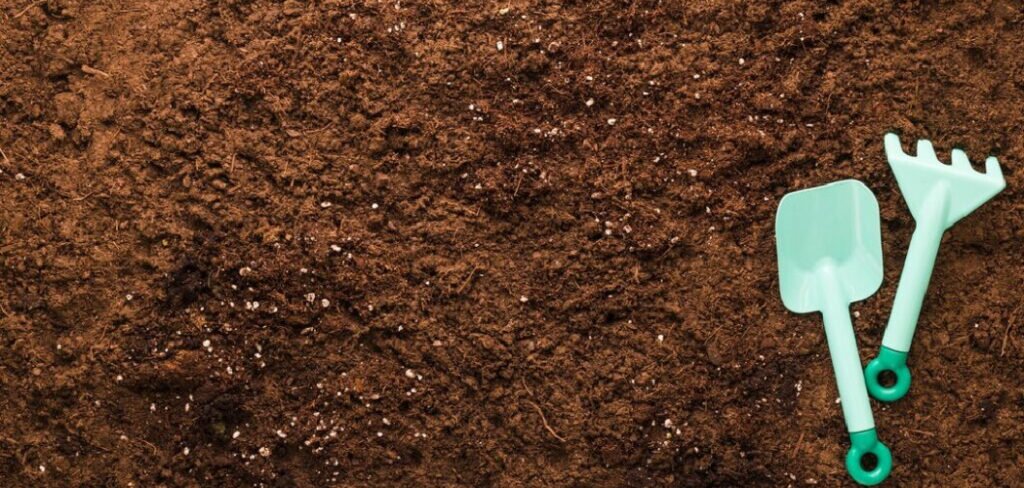
8 Step-by-Step Guide on How to Make Topsoil
Here’s the practical part. Follow these steps in order, and you’ll end up with a dark, crumbly soil that plants love. Learning how to make topsoil comes down to combining the right ingredients in the right proportions, then giving them time to settle.
Step 1 – Choose Your Work Area
Pick a flat, open spot with easy access to water and your materials. A corner of the yard or a patch near your compost pile works well. You’ll be mixing a fair amount of soil, so you want room to move.
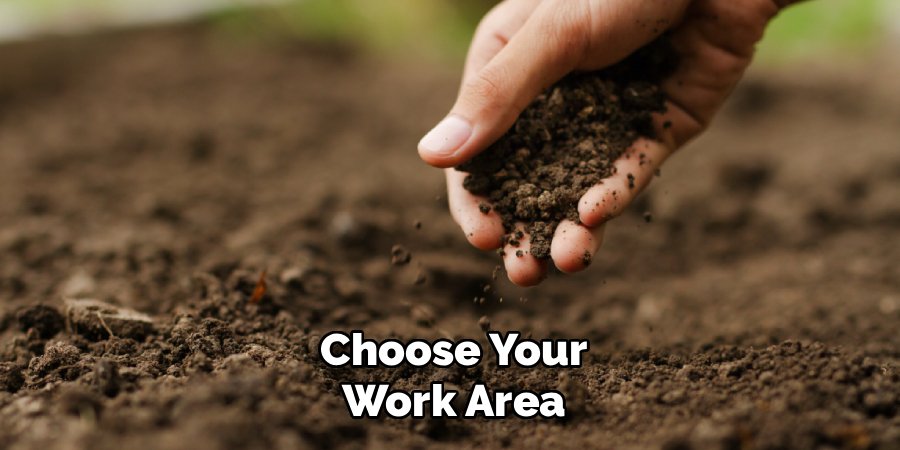
Lay down a tarp if you want to keep the surface clean, or work directly on bare ground if you plan to use the soil nearby. Make sure the area drains well, because standing water can turn your fresh mix into a soggy mess.
Good light helps too. You’ll be checking color and texture as you go, and natural daylight makes it easy to see when the blend looks right.
Step 2 – Test Your Existing Soil
Grab a handful of the soil already in your yard and feel it. Sandy soil falls apart and feels gritty. Clay soil molds into a sticky ball and stains your fingers. Loam — the ideal middle ground — holds together loosely, then crumbles.
This quick test tells you what to add. Sandy soil needs more organic matter and compost to hold moisture. Heavy clay needs sand and compost to loosen it up and improve drainage.
If you bought a pH testing kit, now’s the time to use it. Most plants prefer a pH balance between 6.0 and 7.0. Knowing your starting point helps you adjust later without guessing.
Step 3 – Gather and Prepare Organic Matter
Collect your organic materials and break them down into smaller pieces. Shred fallen leaves, chop garden trimmings, and crumble any aged manure. Smaller pieces decompose faster and blend more evenly into your topsoil.
Run over dry leaves with a lawn mower if you have a big pile. The chopped bits release nutrients quicker and won’t mat together into soggy clumps.
Aim for a mix of materials. Green matter like grass clippings adds nitrogen, while brown matter like dead leaves adds carbon and structure. This variety feeds the soil and the tiny organisms that keep it alive. The richer and more varied your organic matter, the better your finished soil will perform.
Step 4 – Add Finished Compost
Compost is where the magic happens. Finished compost should look dark, smell earthy, and crumble easily in your hand. If it still smells sour or you can spot recognizable food scraps, give it more time to break down.
Scoop your compost into the wheelbarrow or tub. As a rough guide, compost should make up about a third of your total mix. It supplies the nutrients and beneficial microbes that turn plain dirt into living, nutrient-rich soil.
Don’t skimp here. Compost improves both sandy and clay soils — it helps sand hold water and helps clay drain. It’s the single ingredient that makes the biggest difference in how to make topsoil that actually grows healthy plants.
Step 5 – Balance the Soil Texture
Now adjust the texture. Your goal is loam: a balance of sand, silt, and clay that drains well but still holds moisture. A common starting recipe is one part sand, one part compost, and one part existing garden soil or loam.
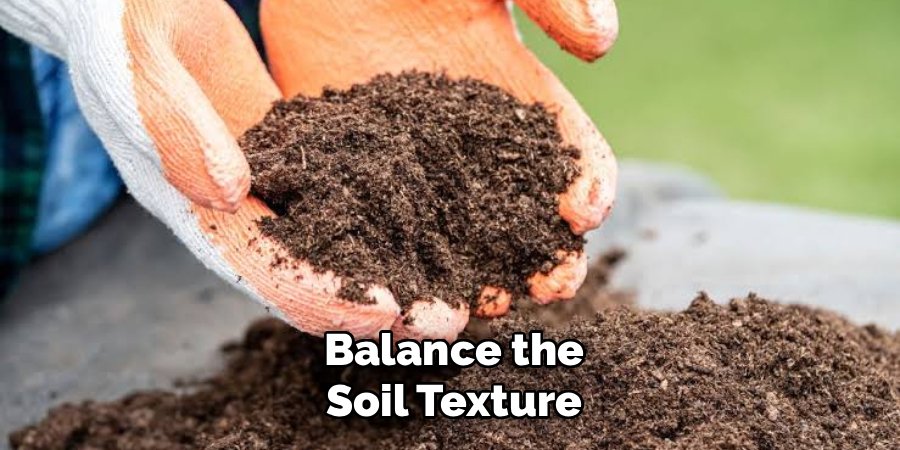
If your base soil is heavy clay, add a little extra sand to loosen it. If it’s already sandy, lean more on compost and organic matter to bind it together.
Add your ingredients to the wheelbarrow in layers. You’ll start to see the colors blend — pale sand, dark compost, and brown soil coming together. This layering makes the next step, mixing, much easier and more even.
Step 6 – Mix Everything Thoroughly
Use your garden fork to turn the pile over and over. Dig down to the bottom, lift, and fold the materials together. Keep going until the color looks uniform and you can’t pick out separate layers.
This is the part that takes a little muscle. As you mix, break apart any clumps and remove rocks, sticks, or stubborn debris. The finished blend should feel loose and crumbly, not packed or lumpy.
Sprinkle in a little water if the mix feels dusty. You want it moist enough to hold a loose shape but not so wet it turns to mud. A well-mixed batch is the difference between soil that thrives and soil that struggles.
Step 7 – Check Moisture and Consistency
Squeeze a handful of your mix. It should clump softly, then break apart when you poke it. If water drips out, it’s too wet — add a bit more sand or dry organic matter. If it crumbles into dust, mist it lightly and mix again.
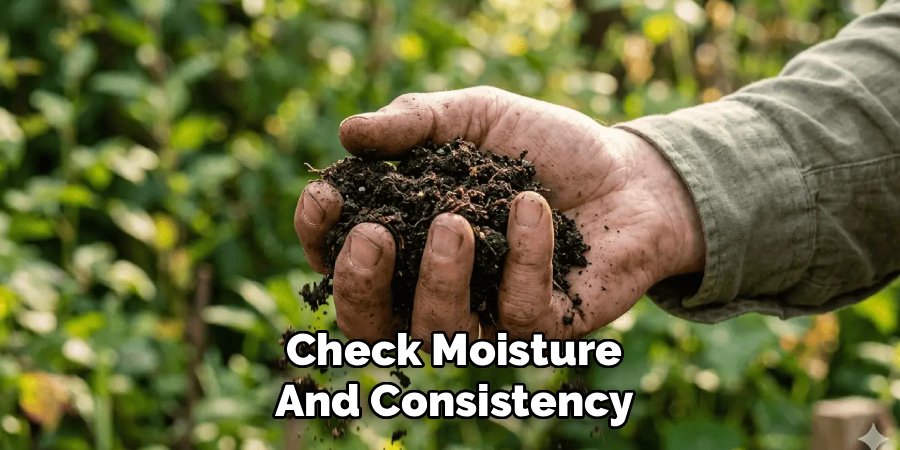
Run your fingers through the soil. It should feel soft, slightly springy, and free of hard lumps. This texture lets roots push through easily and lets air and water reach them.
Take your time here. Getting the consistency right now saves you trouble later, when your plants depend on that structure to grow strong and steady.
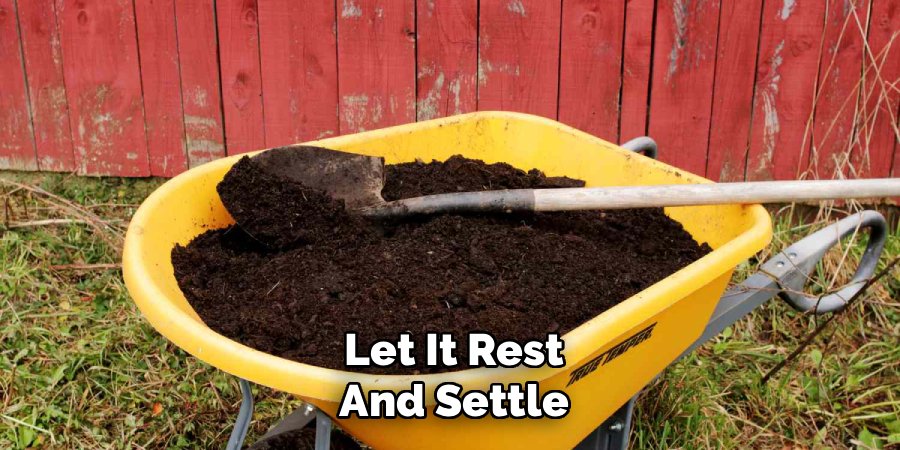
Step 8 – Let It Rest and Settle
Resist the urge to plant right away. Let your fresh topsoil sit for one to two weeks. During this rest, the materials continue to break down, microbes get to work, and the nutrients settle into a stable, balanced form.
Cover the pile with a tarp if rain is heavy, or leave it open in mild weather. Turn it once or twice during the rest period to keep air moving through.
After resting, your topsoil should smell sweet and earthy and feel cool to the touch. That earthy aroma is a sign of living, decomposed matter — exactly what you want. Now it’s ready to spread into beds or containers.
Common Mistakes When Making Topsoil
A few simple errors trip up most beginners, but they’re easy to avoid once you know them.
The biggest mistake is using unfinished compost. If your compost still has visible scraps or smells sour, it hasn’t broken down enough. Adding it can rob your soil of nitrogen and even harm young roots. Always wait until compost looks dark and crumbly before mixing it in.
Another common slip is ignoring drainage. Beginners often pack in too much clay or skip the sand entirely, creating dense soil that holds water and suffocates roots. If your mix feels sticky and heavy, it needs more sand and organic matter to open it up.
Many people also rush the process. Skipping the rest period means the materials haven’t stabilized, and the soil may heat up or shift in quality after planting. A little patience pays off.
Finally, some gardeners forget to check pH balance. A mix that’s too acidic or too alkaline limits how well plants absorb nutrients. A quick test, and a small adjustment with lime or sulfur, keeps your soil in the sweet spot for most plants.
Expert Tips
A few small habits will lift your results from good to excellent.
Feed the soil, not just the plants. Add a handful of worm castings or aged manure to boost microbial life. These tiny organisms keep nutrients cycling and your soil alive.
Build in layers over time. You don’t have to make all your topsoil at once. Keep a steady compost pile going, and refresh your beds each season with new organic matter.
Match the mix to the plant. Vegetables love rich, loamy soil, while herbs and succulents prefer a sandier, faster-draining blend. Adjust your ratios to suit what you’re growing.
Save your scraps. Coffee grounds, eggshells, and vegetable peels all feed your future soil. Think of every kitchen scrap as an investment in next season’s harvest.
Frequently Asked Questions
How Long Does It Take to Make Topsoil?
Mixing your ingredients takes an afternoon, but the soil needs one to two weeks to rest and settle before planting. If you’re building topsoil mostly from raw materials and compost from scratch, the full process can take a few months. Using finished compost speeds things up considerably, giving you usable soil in just a couple of weeks.
Can I Make Topsoil From Just Compost?
Compost alone isn’t quite topsoil — it’s too rich and lacks mineral content. Plants need a base of loam or garden soil for structure and balance. Mix compost with existing soil and a little sand to create true topsoil. A good ratio is roughly one part compost to two parts soil, adjusted for your texture.
What’s the Difference Between Topsoil and Compost?
Compost is decomposed organic matter, rich in nutrients but loose and lightweight. Topsoil is the upper layer of soil that combines minerals, sand, silt, clay, and organic matter. Think of compost as a powerful ingredient and topsoil as the finished meal. You add compost to soil to create or improve nutrient-rich topsoil.
How Much Sand Should I Add to My Topsoil Mix?
It depends on your base soil. For heavy clay, add more sand — up to a third of the mix — to improve drainage. For already sandy soil, skip or reduce it and focus on compost instead. The goal is loam: soil that drains well yet still holds moisture. Test the texture by squeezing a handful and adjust from there.
Do I Need to Test the PH of My Topsoil?
Testing isn’t required, but it helps. Most plants thrive at a pH between 6.0 and 7.0. A cheap testing kit shows whether your soil is too acidic or alkaline. If it’s off, add garden lime to raise pH or sulfur to lower it. Getting this right helps your plants absorb nutrients more effectively.
Conclusion
Building your own soil is one of the most useful skills any gardener can pick up. You’ve now seen how to make topsoil step by step — from choosing your spot and testing your ground, to blending compost, sand, and organic matter into a rich, balanced mix.
The key takeaways are simple. Use finished compost, balance your soil texture for good drainage, check your pH, and give the mix time to rest before planting. Each step builds toward soil that holds water, feeds roots, and supports strong, healthy growth.
Don’t worry about getting it perfect on your first try. Soil-making is forgiving, and every batch teaches you something new. Start small, pay attention to texture and smell, and adjust as you go.
With a little patience and the right ingredients, you can turn ordinary materials into something genuinely valuable. Your plants will reward the effort — and so will your wallet. Grab your fork, gather your scraps, and start building the foundation for your best garden yet.