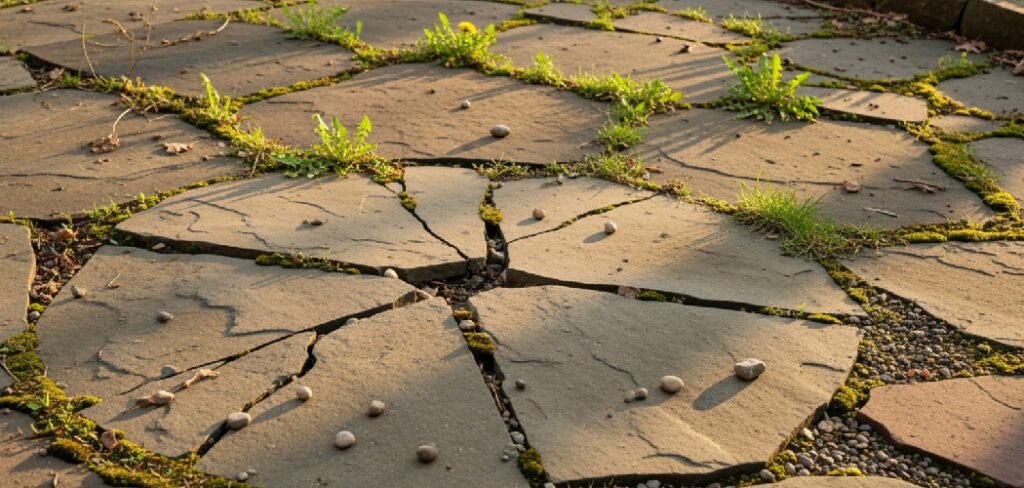
Large cracks in clay soil look alarming, but they tell you something useful. They mean your soil is drying out, shrinking, and pulling away from itself. The good news is that you can repair the damage and stop it from coming back. Learning how to fix large cracks in clay soil starts with understanding what causes them and ends with simple, steady care.
Clay holds water well, then loses it fast in dry spells, and that swing creates deep gaps in your garden beds. You do not need expensive equipment or a landscaping crew to solve this. This guide walks you through the tools, the steps, and the common mistakes so you can restore healthy, workable soil with confidence.
Why Clay Soil Cracks and Why It Matters
Clay soil cracks because its tiny particles swell when wet and shrink when dry. This behavior is called shrink-swell soil — soil that expands and contracts with changes in moisture. During hot, dry weather, the water leaves and the ground splits open.
Those cracks matter more than they look. Wide gaps damage plant roots, let water drain straight past the root zone, and speed up moisture loss. They also invite soil compaction, where the ground packs down so tightly that air and water struggle to move through it.
For beginners, fixing this builds a real, lasting skill. You learn to read your soil, manage moisture, and create growing conditions that support strong, healthy plants season after season.
Tools and Materials You’ll Need
Gather your supplies before you start so the job runs smoothly. Most of these items are affordable and easy to find at a garden center.
- Garden fork or broadfork: loosens compacted clay and improves aeration.
- Spade or shovel: for digging, lifting, and moving soil.
- Compost or well-rotted manure: adds organic matter and improves structure.
- Coarse sand or fine gravel: helps with drainage in heavy clay.
- Mulch (straw, bark, or wood chips): protects the surface and slows moisture loss.
- Garden hose or watering can: for slow, even watering.
- Wheelbarrow: for hauling compost and soil.
- Gloves: to protect your hands from blisters and grit.
Optional but handy: a soil moisture meter. This inexpensive tool tells you exactly when your soil needs water, so you can prevent cracks before they form.
8 Step-by-Step Guide on How to Fix Large Cracks in Clay Soil
Follow these steps in order. Each one builds on the last, so take your time and do the work properly.
Step 1 – Inspect the Cracks Closely
Start by walking your garden and studying the damage. Kneel down and look into each crack. Notice how deep and wide they run, and whether they spread across a large area or sit in one dry patch.
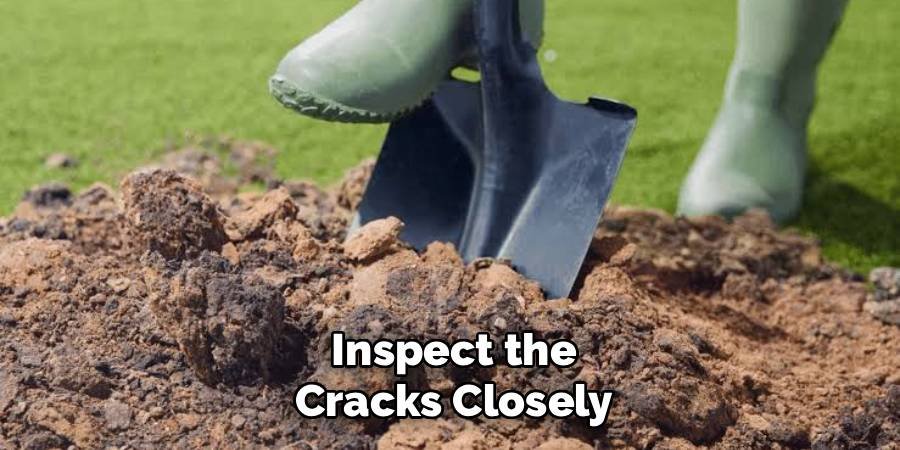
Push a stick or ruler into the gap to measure the depth. Cracks deeper than a few inches signal serious moisture loss and compaction below the surface. Run your fingers along the edges — clay that feels hard, dusty, and pale has lost most of its water.
This inspection shapes everything that follows. Knowing where the worst cracks sit helps you focus your effort. Learning how to fix large cracks in clay soil begins with reading the ground honestly before you touch it.
Step 2 – Water the Soil Slowly and Deeply
Dry clay repels water, so you cannot fix cracks by soaking them quickly. A fast blast of water simply runs off the hard surface or pours straight down the gaps without rehydrating the soil around them.
Instead, water slowly over several hours. Set your hose to a gentle trickle, or use a soaker hose laid across the cracked area. Let the moisture seep in gradually so the clay particles begin to swell and soften.
You will hear the soil drink it in and watch the cracks slowly narrow. Aim for deep, even moisture rather than a shallow surface wetting. Damp, pliable clay is far easier to work with, and it sets you up for the steps ahead.
Step 3 – Loosen the Compacted Ground
Once the soil softens, break up the compaction around the cracks. Push your garden fork or broadfork into the ground at the edge of each gap, then rock it back and forth to open up the dense clay.
Work in rows, lifting and loosening as you go. You want to create air pockets that let water and roots move through the soil again. Avoid turning the clay over completely, as that can disturb soil life and worsen the structure.
The ground should feel crumbly and slightly springy when you finish, not slick or packed. This aeration step is the foundation for everything else. Loosened soil absorbs the compost and sand you add next far more effectively.
Step 4 – Fill the Cracks with Organic Matter
Now address the gaps themselves. Take handfuls of compost or well-rotted manure and work them down into each crack. Use your fingers or a small trowel to press the material deep, filling the gap from the bottom up.
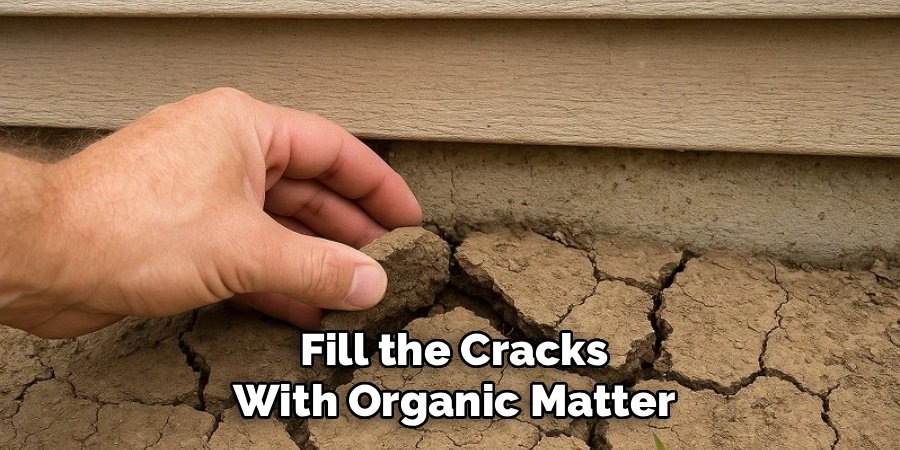
Organic matter does more than plug the hole. It feeds soil organisms, improves structure, and helps the clay hold moisture without cracking again. As you fill, you will feel the crumbly compost contrast with the dense, sticky clay beside it.
Pack it firmly but not too tightly, so air can still circulate. Knowing how to fix large cracks in clay soil means treating each gap as a chance to rebuild the soil from within, not just covering it over.
Step 5 – Mix in Sand and Compost on the Surface
Spread a generous layer of compost across the whole repaired area, about two to three inches thick. Add a thinner layer of coarse sand if your clay drains poorly. Sand opens up the soil and helps excess water move through.
Use your fork to gently blend these amendments into the top several inches of clay. Mix thoroughly so you do not leave pockets of pure sand, which can actually harden in heavy clay.
The goal is a balanced blend that holds enough water for plants while letting the rest drain away. Over time, this mixture transforms tight, crack-prone clay into a looser, friendlier growing medium. You will notice the soil darkening and softening as the organic matter settles in.
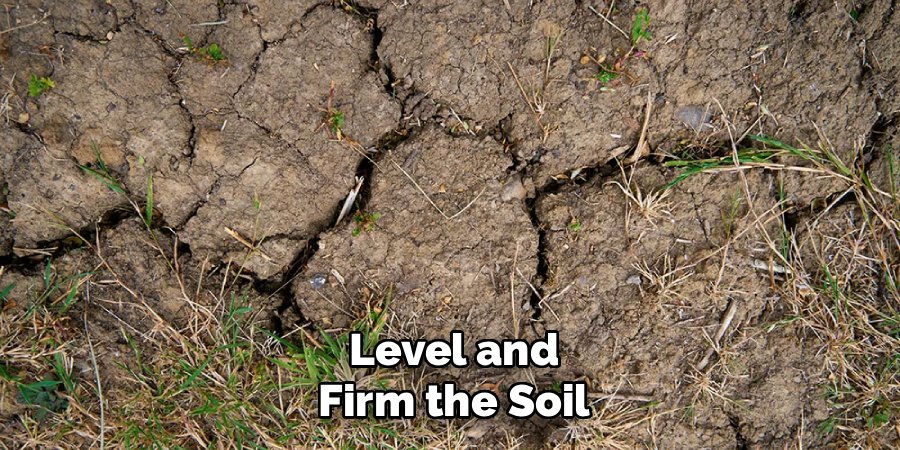
Step 6 – Level and Firm the Soil
Smooth the surface with the back of a rake or your spade. Work the amended soil into an even bed, breaking up any large clumps you find along the way.
Press the soil down gently with your hands or the flat of the spade. You want it firm enough to hold its shape but not so compacted that you undo your aeration work. The surface should feel settled and uniform underfoot.
Leveling matters because uneven ground collects and sheds water unevenly, which encourages new cracks. A smooth, firm bed spreads moisture evenly across the area. Take a moment to step back and check that no low spots or ridges remain before you move on.
Step 7 – Apply a Protective Layer of Mulch
Cover the repaired area with two to three inches of mulch. Straw, bark, or wood chips all work well. Spread it evenly, leaving a small gap around plant stems to prevent rot.
Mulch is your insurance against future cracking. It shades the soil, slows evaporation, and keeps moisture retention steady through hot, dry weather. As the mulch breaks down, it adds even more organic matter to the soil below.
You will feel an immediate difference — the ground stays cooler and damper beneath the covering. This simple layer does much of the long-term protective work for you. Refresh the mulch once or twice a year to keep its benefits going strong.
Step 8 – Set Up a Consistent Watering Routine
The final step protects your hard work. Clay cracks when moisture swings wildly, so steady watering keeps the soil stable. Water deeply once or twice a week rather than lightly every day.

Check the soil with your finger or a moisture meter before watering. If the top two inches feel dry, it is time to water. If they feel damp, wait. This rhythm trains your soil to hold a consistent moisture level.
Early morning is the best time to water, since less evaporates in the cool air. A reliable routine prevents the dry-out cycle that caused the cracks in the first place, and it keeps your repaired soil healthy for the seasons ahead.
Common Mistakes When Repairing Clay Soil Cracks
Several easy errors can undo your effort, so watch out for these.
Watering too fast tops the list. Beginners often blast dry clay with a hose and assume the job is done. The water runs off or drains through the cracks without rehydrating the surrounding soil. Slow, deep watering is the only approach that works.
Adding sand alone is another trap. Sand without organic matter can mix with clay to form a hard, concrete-like layer that drains worse than before. Always pair sand with plenty of compost so the two amendments balance each other.
Working wet clay causes long-term damage. If you dig or walk on soggy clay, you compact it badly and destroy its structure. Wait until the soil is damp and crumbly, not muddy, before you work it.
Skipping mulch leaves your repair exposed. Bare clay dries out quickly and cracks again within weeks. A protective mulch layer is not optional if you want lasting results.
Ignoring drainage completes the list. If water pools on your soil, no amount of compost fixes the cracking. Address low spots and runoff so moisture stays even across the bed.
Expert Tips
A few extra habits will sharpen your results. Add organic matter every season, not just once. Clay soil improves gradually, and yearly compost top-ups build structure over time.
Consider planting cover crops like clover or rye in the off-season. Their roots break up compaction naturally and feed the soil as they decompose. Think of them as a free, living tool that works while you rest.
Test your soil’s drainage with a simple hole test: dig a one-foot hole, fill it with water, and time how long it takes to empty. Slow drainage tells you to add more coarse material and organic matter. Finally, avoid overworking the ground — clay rewards patience and gentle, repeated care far more than aggressive digging.
Frequently Asked Questions
How deep should I fill clay soil cracks?
Fill cracks all the way down as far as you can reach with compost or organic matter, pressing it firmly from the bottom up. Most large cracks run several inches deep. Packing material throughout the gap, rather than just the surface, helps the soil hold moisture and rebuild its structure so the crack does not reopen.
Can I prevent clay soil from cracking again?
Yes, with consistent care. Keep the soil evenly moist through deep, regular watering, and maintain a two-to-three-inch mulch layer to slow evaporation. Add compost each season to improve structure and moisture retention. These habits stop the dry-out cycle that causes shrink-swell cracking, though no clay soil becomes completely crack-proof in extreme drought.
How long does it take to fix cracked clay soil?
You can fill and amend cracks in a single weekend. Real improvement, though, takes time. Clay soil rebuilds its structure over several seasons as organic matter breaks down and soil life returns. Expect noticeable progress within a few months and significantly healthier soil after a year of steady amendment and good watering habits.
Is sand good for fixing clay soil?
Sand helps only when you pair it with plenty of organic matter. Coarse sand improves drainage and breaks up dense clay. Used alone, however, it can mix with clay to form a hard, compacted layer that drains poorly. Always blend sand with generous amounts of compost for the best, longest-lasting results in heavy clay.
When is the best time to repair clay soil cracks?
Work on clay soil when it is damp and crumbly, not soaking wet or bone dry. Early spring or fall often offers ideal moisture and mild temperatures. Avoid working clay after heavy rain, since wet soil compacts easily. If cracks appear in summer, water slowly first, then make your repairs once the soil softens.
Conclusion
Large cracks in clay soil are a clear signal, not a permanent problem. They tell you the ground has dried out and lost its structure, and they give you a chance to make it healthier than before. By now you know how to fix large cracks in clay soil through a steady sequence: inspect the damage, rehydrate slowly, loosen the compaction, fill the gaps with organic matter, blend in compost and sand, level and firm the bed, mulch the surface, and water on a consistent schedule.
The real key is patience. Clay rewards gentle, repeated care far more than a single dramatic effort. Add compost each season, protect the surface with mulch, and keep moisture even, and your soil will grow looser, richer, and far less prone to cracking.
Start with one bed this weekend. Watch how the soil responds, adjust as you learn, and build the habits that keep your garden thriving. Healthy clay soil is well within your reach.