Imagine stepping into your backyard to practice your short game on a perfectly manicured putting surface. Building your own personal putting green is a rewarding project that can transform your outdoor space and elevate your golf skills. It brings the experience of the golf course right to your home, offering endless opportunities for practice and enjoyment.
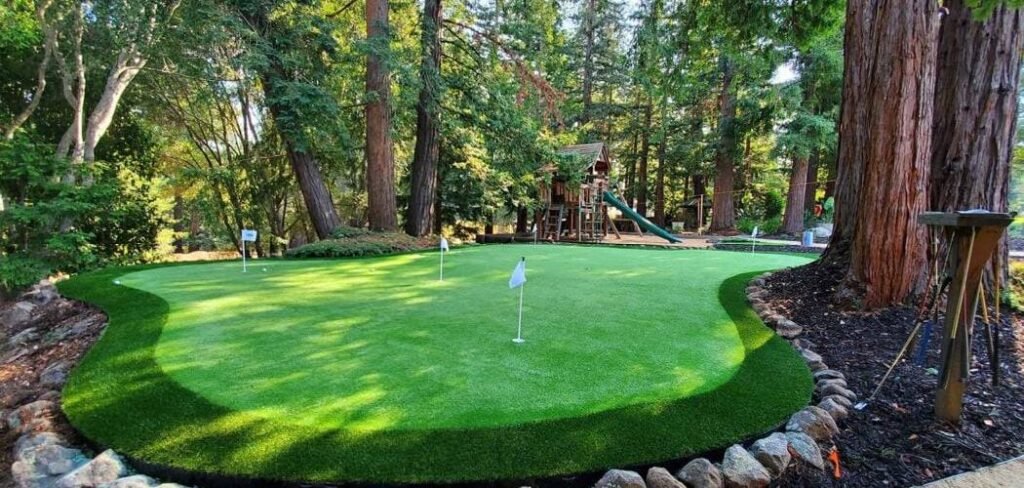
This guide provides a detailed, beginner-friendly walkthrough on how to build a putting green with real grass. We will cover everything from selecting the perfect spot to the final touches of mowing and maintenance, ensuring you have all the knowledge needed to create a professional-quality green that you can be proud of.
Why Build a Putting Green with Real Grass?
Choosing to build a putting green with real grass offers an authentic experience that synthetic turf simply cannot replicate. The feel of a natural surface underfoot, the true roll of the ball, and the satisfaction of maintaining a living green are unparalleled. A real grass green integrates beautifully into any garden landscape, enhancing the aesthetic appeal of your property. It provides a genuine putting experience, helping you accurately practice for course conditions. While it requires more maintenance than artificial options, the process of caring for your green can be a relaxing and gratifying hobby for any home gardener or golf enthusiast. The result is a stunning, functional feature that adds value and enjoyment to your home.
7 Step Methods Guide on How to Build a Putting Green with Real Grass
Step 1: Choose the Ideal Location
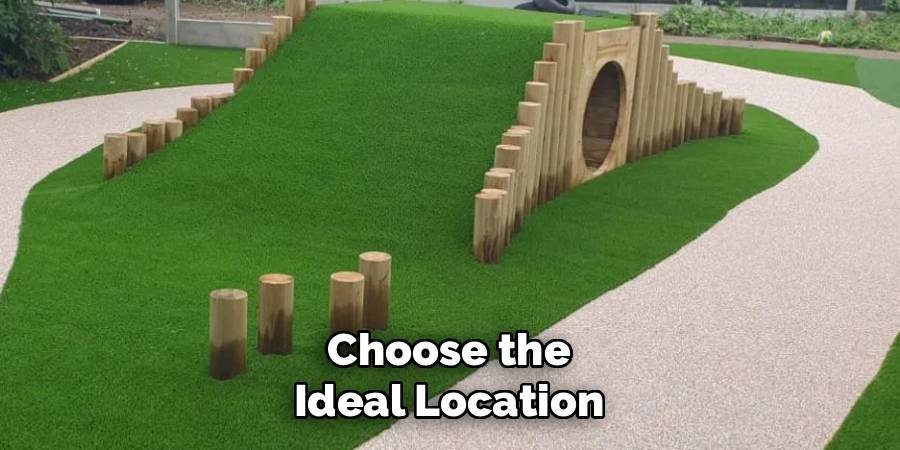
Selecting the right spot is the most critical first step. Look for an area in your yard that receives at least six to eight hours of direct sunlight each day, as this is essential for healthy turf growth. The location should also have good natural drainage to prevent water from pooling on the surface, which can lead to disease and root rot. Consider the visibility from your home and how the green will fit into your overall landscape design. A relatively flat area will be easier to work with, but gentle slopes can add challenging and interesting contours to your green.
Step 2: Design and Outline Your Green
Once you have a location, it’s time to design the shape and size of your putting green. Use a garden hose or marking paint to outline the perimeter on the ground. A typical backyard green might range from 300 to 500 square feet, but you can adjust this based on your available space and ambition. Think about the contours you want to create. You can incorporate subtle breaks and undulations to mimic the challenges of a real golf course. Finalize your design and mark the locations for your cups to ensure they are placed in playable and interesting positions.
Step 3: Excavate the Area
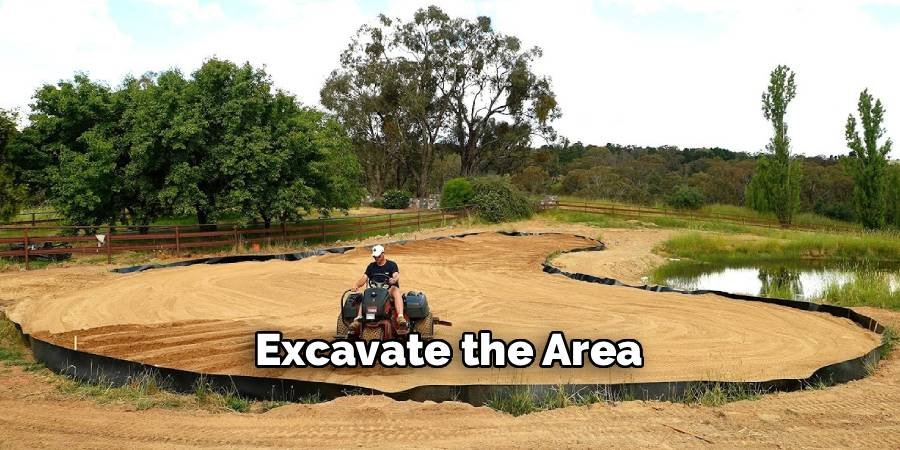
With your outline marked, the physical work begins. You will need to excavate the area within your outline to a depth of about 10 to 12 inches. This can be done with a shovel for smaller greens, but renting a mini-excavator can save significant time and effort for larger projects. Ensure the excavated base is as level as possible, while also creating a slight, uniform grade of about 1% away from the center to assist with surface drainage. This foundational step is crucial for the stability and long-term health of your putting green.
Step 4: Install the Drainage System
Proper drainage is essential to prevent a soggy, unplayable green. After excavation, install a drainage system. A popular method is to lay a grid of perforated drainage pipes across the base of the excavated area. Dig trenches for the pipes that slope away from the green to a lower point in your yard or a dry well. Cover the pipes with a layer of coarse gravel, about 4 to 6 inches deep, across the entire base. This gravel layer will facilitate the movement of water away from the root zone, keeping your turf healthy and firm.
Step 5: Add the Root Zone Layer
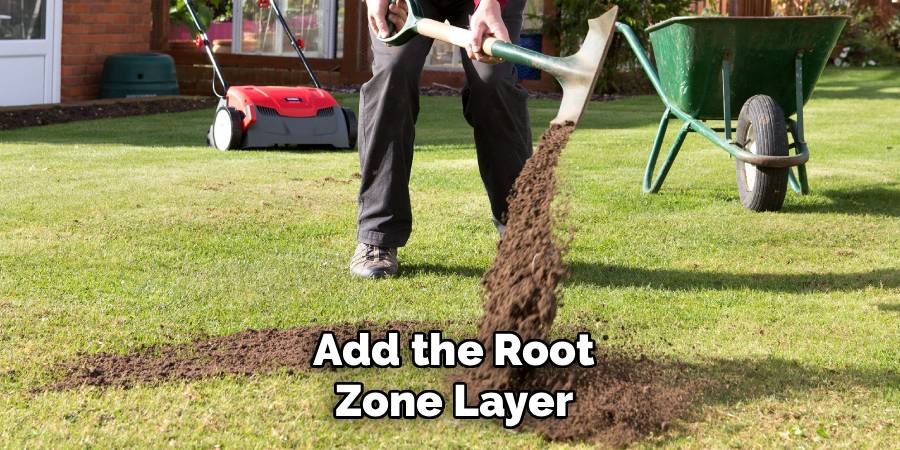
On top of the gravel drainage layer, you will add the root zone mix. This is a specialized blend of sand and organic material, typically a ratio of 80-90% sand to 10-20% peat moss or compost. This mixture provides the ideal balance of moisture retention, nutrient supply, and aeration for the fine roots of putting green grasses. Spread a layer of this mix about 6 to 8 inches deep over the gravel. Use a landscaping rake to evenly distribute the mix and begin shaping any planned contours or breaks in your green’s surface.
Step 6: Final Grading and Shaping
This is where your putting green truly takes shape. Use a rake and a leveling board to smooth and compact the root zone mix, creating your desired final surface. This is your chance to perfect the undulations and slopes you designed earlier. Spend time ensuring the surface is firm and free of low spots where water could collect. Lightly water the area and use a lawn roller to compact the mix further. A smooth, well-graded surface is key to achieving a true and consistent ball roll, so be meticulous during this stage.
Step 7: Plant Your Grass
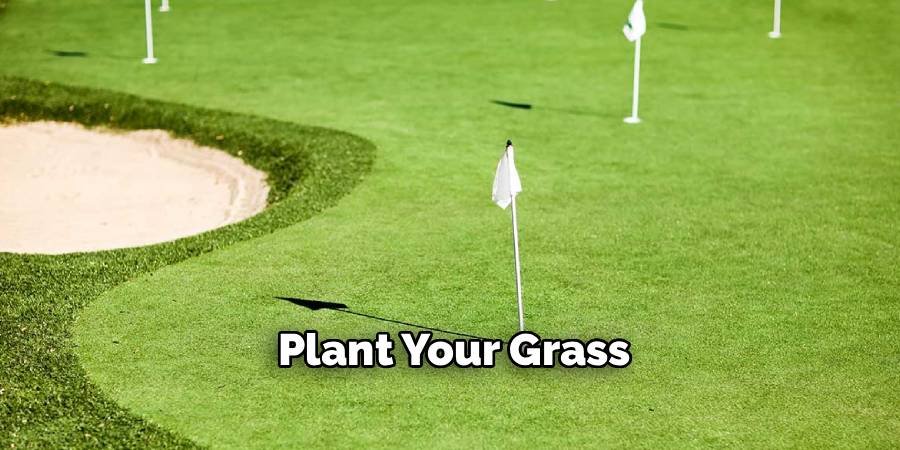
Now it’s time to introduce the grass. You have two main options: seeding or sodding. Seeding with a high-quality bentgrass or Bermuda grass variety is a cost-effective choice, but it requires more patience as the grass establishes. Sodding provides an instant green surface but is more expensive. If seeding, use a broadcast spreader for even coverage and gently rake the seeds into the top layer of the root zone mix. If using sod, lay the pieces tightly together, staggering the seams to create a uniform surface. This part of how to build a putting green with real grass is where your project comes to life.
Water, Mow, and Maintain
Your new putting green requires dedicated care to thrive. For the first few weeks, water the area lightly but frequently to keep the seeds or new sod consistently moist. Once the grass is established, transition to deeper, less frequent watering. Begin mowing when the grass reaches about half an inch in height, using a specialized reel mower set to a low cutting height (typically 1/8 to 1/4 inch). Regular mowing, fertilizing, and aeration are essential for maintaining a healthy, high-performance putting surface that will provide years of enjoyment.
Frequently Asked Questions
What Is the Best Type of Grass for a Backyard Putting Green?
The best grasses for a putting green are typically bentgrass or TifDwarf Bermuda grass. Bentgrass thrives in cooler climates and offers a classic, smooth putting surface. It requires diligent maintenance, including frequent mowing and watering. TifDwarf Bermuda grass is an excellent choice for warmer climates, as it is heat and drought-tolerant. It creates a dense, fine-textured surface that provides a true roll. Both types require a reel mower to achieve the very low cutting height necessary for a quality putting green.
How Much Does It Cost to Build a Real Grass Putting Green?
The cost can vary significantly based on size, location, and whether you do it yourself or hire a professional. A DIY project can range from $5 to $15 per square foot, covering materials like gravel, root zone mix, drainage pipes, and grass seed or sod. For a 500-square-foot green, this could total $2,500 to $7,500. Professional installation is more expensive, often ranging from $20 to $40 per square foot or more, as it includes labor, equipment, and expertise.
How Often Do I Need to Mow a Real Grass Putting Green?
A real grass putting green requires frequent mowing to maintain its playability. During the peak growing season, you should plan to mow every one to three days. This regular cutting encourages the grass to grow laterally, creating the dense, carpet-like surface needed for a smooth ball roll. You must use a reel mower, as a standard rotary mower cannot cut low enough without damaging the turf. The cutting height should be set very low, typically between 1/8 and 1/4 of an inch.
Can I Install a Putting Green on a Slope?
Yes, you can install a putting green on a slope, and it can add a fun challenge to your practice sessions. However, the installation is more complex. You may need to create terraced levels or perform significant grading to ensure a playable surface. Proper drainage is even more critical on a sloped site to prevent erosion and water runoff from damaging the green. While a completely flat surface is easiest for a DIY project, incorporating gentle, natural slopes can make for a more interesting and realistic putting experience.
What Are the Main Differences in Maintenance Between Real and Artificial Greens?
The maintenance commitment is the biggest difference. A real grass green requires a consistent regimen of:
- Mowing (every 1-3 days)
- Watering
- Fertilizing
- Aerating
- Pest and disease management
An artificial green, on the other hand, requires much less work. Maintenance typically involves keeping it free of debris with a leaf blower, brushing the fibers periodically to keep them upright, and rinsing it occasionally. While real grass offers an authentic feel, artificial turf provides a low-maintenance, always-ready playing surface.
Conclusion
Building a putting green in your backyard is a project that combines the joys of gardening with a passion for golf. By following these steps, you can create a beautiful and functional space for practice and leisure. From selecting the perfect sunny spot to the meticulous process of grading and seeding, every stage contributes to the final quality of your green. While it demands effort and ongoing maintenance, the reward of sinking a putt on a surface you built yourself is unmatched. Now that you know how to build a putting green with real grass, you have the foundation to start this exciting project and bring a piece of the course home.

About
Jovie Mathews is a backyard and outdoor expert writer with over 12 years of hands-on experience transforming neglected outdoor spaces into thriving gardens and functional retreats. Raised in a family where weekends meant digging in the soil and building raised beds from scratch, Jovie developed a genuine love for the outdoors long before it became a career.
She writes with a practical, no-fluff approach — always testing ideas in her own backyard before sharing them with readers. From composting systems and native plant selection to patio design and pest control, Jovie covers the full spectrum of backyard life with equal parts expertise and enthusiasm.
Education
B.Sc. in Horticulture Science
University of Florida (UF) · Gainesville, FL · 2014
IFAS College of Agricultural and Life Sciences
Minor in Environmental Studies
University of Florida (UF) · Gainesville, FL · 2014
College of Liberal Arts and Sciences
Areas of expertise
- Lawn & Garden Care
- Soil prep, planting, seasonal care
- Outdoor DIY Projects
- Raised beds, fencing, pathways
- Composting & Soil Health
- Organic methods, amendments
- Native Plants & Wildlife
- Pollinators, habitat gardening
When she is not writing, Jovie can be found testing new composting techniques, growing tomatoes in questionable quantities, or convincing her neighbors that clover lawns are actually a great idea. She currently gardens in the Pacific Northwest.