

Adding a rinse station to your backyard transforms your garden into a functional retreat. Whether you need to wash off muddy gardening boots, rinse off chlorine from the pool, or just cool down on a hot afternoon, a garden shower is the perfect solution. Many homeowners assume this is a job solely for professionals, but with the right preparation, you can handle it yourself. This project is surprisingly accessible for DIY enthusiasts willing to learn basic pipefitting skills.
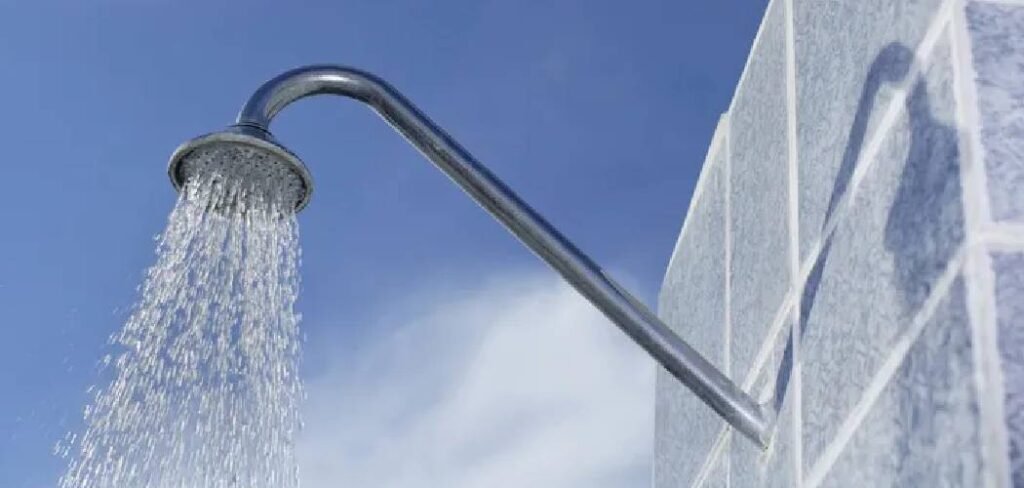
By following a clear plan, you can save money and customize the setup to fit your landscape perfectly. This guide will walk you through the process, ensuring you have a durable and leak-free water feature. You don’t need years of plumbing experience, just a willingness to work carefully. In this article, we will teach you exactly how to plumb outdoor shower fixtures safely and effectively.
Outdoor Shower Is the Ultimate Garden Upgrade
Installing a water feature for rinsing off adds immense value to your home lifestyle. It serves as a practical barrier between the outdoors and your clean interior floors. For gardeners, it means no more tracking soil through the hallway after a long day of weeding or planting. It also provides a quick way to clean tools and buckets before storing them in the shed. Beyond utility, there is a sense of luxury in having a dedicated spot to refresh yourself surrounded by nature.
8 Step-by-Step Guide on How To Plumb Outdoor Shower
Step 1: Choose the Ideal Location and Check Local Codes
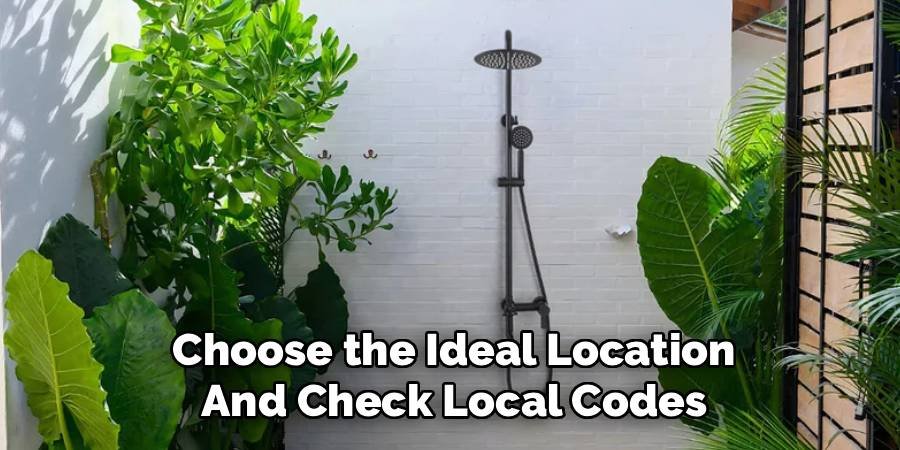
Before buying a single pipe, you must select the perfect spot for your installation. Look for an area that offers privacy but is close enough to your home’s existing water supply to minimize digging and material costs. A sunny spot is often best to prevent mold growth on the wooden enclosure or pavers. You also need to ensure the ground drains well; otherwise, you will end up with a permanent mud puddle.
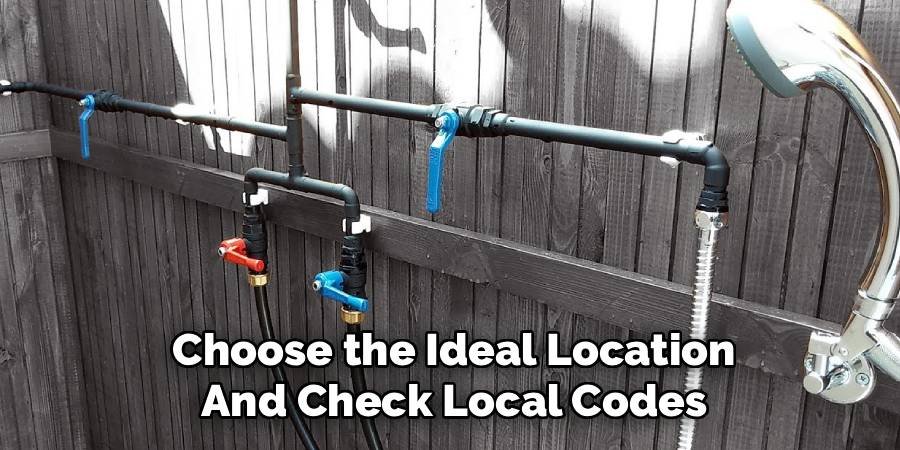
Once you have a spot in mind, check your local building codes. Some municipalities have strict rules regarding drainage and greywater runoff. You might need a permit, or you may be required to direct the drainage into the sewer system rather than into the ground. Ignoring this step can lead to fines, so do your research first.
Step 2: Determine Your Water Source and Supply Lines
The next phase involves deciding where your water will come from. The easiest method is usually connecting to an existing outdoor hose bib, which simplifies the process significantly. However, if you want a more permanent solution with hot and cold water, you will need to tap into the main water lines inside your house. For a cold-water-only setup, a simple splitter on a spigot works wonders.
If you are aiming for a hot water connection, you will likely need PEX tubing, which is flexible and easier for beginners to work with than rigid copper. Plan the route your pipes will take from the source to the shower location. Measure the distance carefully to purchase the correct amount of piping.
Step 3: Dig Trenches and Prepare the Base
Once your plan is set, it is time to break ground. You need to dig a trench from your water source to the shower site. The depth of the trench depends on your climate. In areas where it freezes, you must dig below the frost line to prevent pipes from bursting in winter, or plan to install a system that can be fully drained.
For the base where you will stand, you need stability and drainage. Excavate a square area and fill it with crushed stone or gravel. This creates a soakaway pit that allows water to percolate into the soil rather than pooling around your feet. You can lay pavers or a wooden deck over this gravel bed for a finished look.
Step 4: Assemble the Vertical Plumbing Risers
Now you will begin constructing the actual shower unit. You need to assemble the vertical pipes, known as risers, which will carry water up to the showerhead. If you are using copper, this involves soldering joints; if using PVC or PEX, you will use glue or crimp rings respectively. Secure these vertical pipes to a sturdy post or the side of your house using pipe straps. Ensure they are perfectly vertical using a level.
If you are learning how to plumb outdoor shower lines for both hot and cold water, you will have two parallel risers running up the post. Leave the top ends open for now, as you will attach the fixture arm later. Double-check all measurements before permanently securing the straps.
Step 5: Install the Valve and Mixer Handle
This is the control center of your project. The mixing valve is what allows you to turn the water on and adjust the temperature. You need to install this at a comfortable height, typically around waist level or slightly higher. Connect your supply lines coming from the trench to the inlet ports on the valve. Ensure you connect hot to the left and cold to the right, following standard plumbing conventions.
Use Teflon tape on any threaded connections to ensure a watertight seal. This step requires precision because a leaky valve inside a wall or behind a panel is difficult to fix later. Secure the valve body firmly to the mounting surface so it doesn’t wobble when you turn the handle.
Step 6: Connect the Shower Arm and Head
With the vertical risers and valve in place, you can now attach the shower arm. This is the angled pipe that protrudes from the wall or post. Thread the arm into the fitting at the top of your riser, using plumber’s tape on the threads to prevent leaks. Once the arm is secure, screw on the showerhead of your choice.
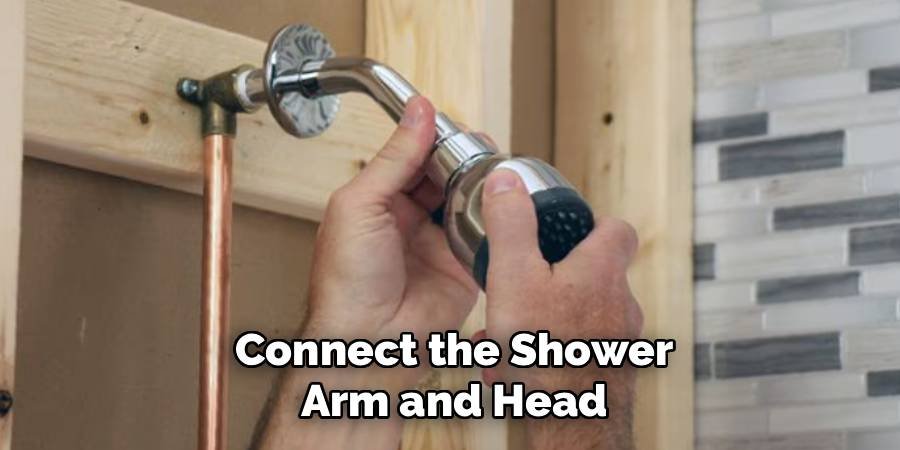
A large rain-style head is popular for outdoor setups as it provides a gentle, wide spray that feels luxurious. Hand-tighten the head, then give it a quarter turn with a wrench—do not overtighten, as this can crack the plastic fittings or damage the finish. Ensure the head is positioned correctly over the center of your drainage base.
Step 7: Connect to the Main Water Supply
Now comes the critical moment of connecting your new system to the house water supply. Turn off your home’s main water valve before cutting any pipes. If you are tapping into copper lines, you will need to cut a section out and install a tee fitting. Connect your new PEX or copper lines to this tee.
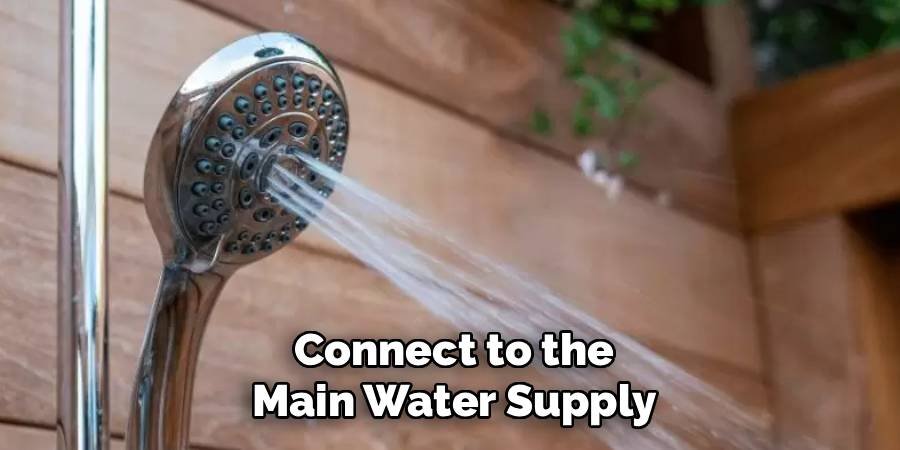
If you are running lines through a masonry wall, ensure you seal the gap around the pipe with silicone to keep pests and moisture out. Install shut-off valves inside the house for these new lines. These isolation valves are crucial for winterizing the system later. Once connected, turn the main water back on slowly and check for any immediate leaks at the connection point.
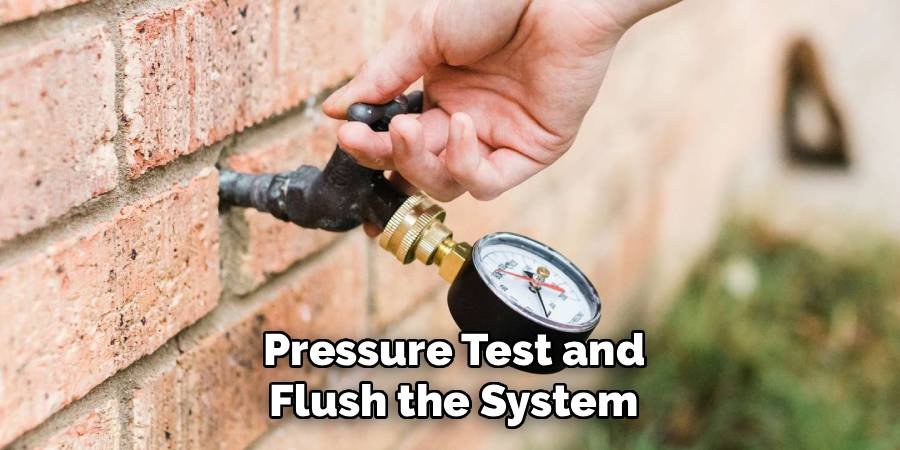
Step 8: Pressure Test and Flush the System
Before you enclose any pipes or fill in your trenches, you must test the system. Open the shut-off valves you just installed and let water flow to the shower valve. Keep the shower valve closed initially and inspect every joint along the trench and the vertical risers for drips. If everything is dry, open the shower valve to flush out any debris, dirt, or plastic shavings that might have gotten into the pipes during construction.
This prevents the showerhead from getting clogged. Let the water run for a minute or two. Check the drainage base to ensure water is flowing away correctly and not pooling. If you find leaks, turn the water off and tighten or reseal the problematic joints immediately.
Frequently Asked Questions
Do I Need A Permit For A Garden Shower?
It depends entirely on your local municipality and the complexity of your project.
- Simple cold-water rinses often do not require permits if they drain into the ground.
- Hot water systems or those connected to household sewage usually require inspections.
- Drainage regulations are strict in many areas to prevent groundwater contamination.
Always contact your local building department before starting to avoid fines or having to dismantle your work later.
How Do I Winterize My Outdoor Plumbing?
Winterizing is critical to prevent burst pipes in freezing climates.
- Shut off the water supply from inside the house using the isolation valves you installed.
- Open the outdoor valves and the shower handle to let all remaining water drain out.
- Use compressed air to blow out any stubborn water if the pipes don’t have a natural slope.
- Remove the showerhead and store it indoors to protect the finish and seals from harsh winter weather.
Can I Use PEX Pipe For Exterior Applications?
Yes, but you must protect it from direct sunlight.
- UV sensitivity: Standard PEX degrades quickly when exposed to UV rays from the sun.
- Underground use: PEX is excellent for underground burial due to its flexibility and resistance to corrosion.
- Above ground: Any exposed PEX must be covered with insulation, wood boxing, or conduit.
- Copper vs. PEX: Copper is UV resistant and rigid, making it better for the exposed vertical sections if you cannot cover them.
What Is The Best Base For Drainage?
The base needs to be permeable and stable to prevent mud.
- Gravel or crushed stone: This is the most effective and affordable drainage solution.
- Wooden slat deck: placing a wood platform over gravel allows water to pass through while keeping feet clean.
- Pavers with gaps: Concrete pavers with spacing for gravel or grass offer a solid footing.
- Soakaway pit: For heavy use, dig a deeper pit filled with rocks beneath the surface to handle larger volumes of water.
Can I Run Hot Water Without Tapping Into House Pipes?
Yes, there are alternative ways to get warm water outside.
- Solar showers: These use a black tank to absorb sunlight and heat the water stored inside.
- Propane tankless heaters: Portable units connect to a garden hose and a propane tank to provide instant hot water.
- Pros: Easier installation with no major plumbing alterations needed.
- Cons: Solar options rely on weather, and propane units require fuel management and setup time.
Conclusion
Building your own garden rinse station is a rewarding project that blends utility with a touch of luxury. By carefully planning your location, choosing the right materials, and following a logical installation process, you can create a feature that lasts for years. Remember that preparation is key; taking the time to map out your supply lines and drainage will save you headaches down the road. Even as a beginner, tackling this project is entirely within your reach if you stay patient and methodical.
Now that you have the knowledge, it is time to grab your tools and get started. Picture yourself cooling off after a summer afternoon of gardening or rinsing the dog without the usual bathroom mess. The effort you put in now will pay off every time you use it. You now know how to plumb outdoor shower fixtures properly, so you can confidently build a beautiful, functional addition to your outdoor space.

About
Jovie Mathews is a backyard and outdoor expert writer with over 12 years of hands-on experience transforming neglected outdoor spaces into thriving gardens and functional retreats. Raised in a family where weekends meant digging in the soil and building raised beds from scratch, Jovie developed a genuine love for the outdoors long before it became a career.
She writes with a practical, no-fluff approach — always testing ideas in her own backyard before sharing them with readers. From composting systems and native plant selection to patio design and pest control, Jovie covers the full spectrum of backyard life with equal parts expertise and enthusiasm.
Education
B.Sc. in Horticulture Science
University of Florida (UF) · Gainesville, FL · 2014
IFAS College of Agricultural and Life Sciences
Minor in Environmental Studies
University of Florida (UF) · Gainesville, FL · 2014
College of Liberal Arts and Sciences
Areas of expertise
- Lawn & Garden Care
- Soil prep, planting, seasonal care
- Outdoor DIY Projects
- Raised beds, fencing, pathways
- Composting & Soil Health
- Organic methods, amendments
- Native Plants & Wildlife
- Pollinators, habitat gardening
When she is not writing, Jovie can be found testing new composting techniques, growing tomatoes in questionable quantities, or convincing her neighbors that clover lawns are actually a great idea. She currently gardens in the Pacific Northwest.




