

Wrap around deck stairs hug the corner of your deck, flowing down two or more sides instead of dropping straight off one edge. They look polished, they make your deck feel bigger, and they give you more ways to step into the yard. If you have never tackled a project like this, the idea can feel intimidating.
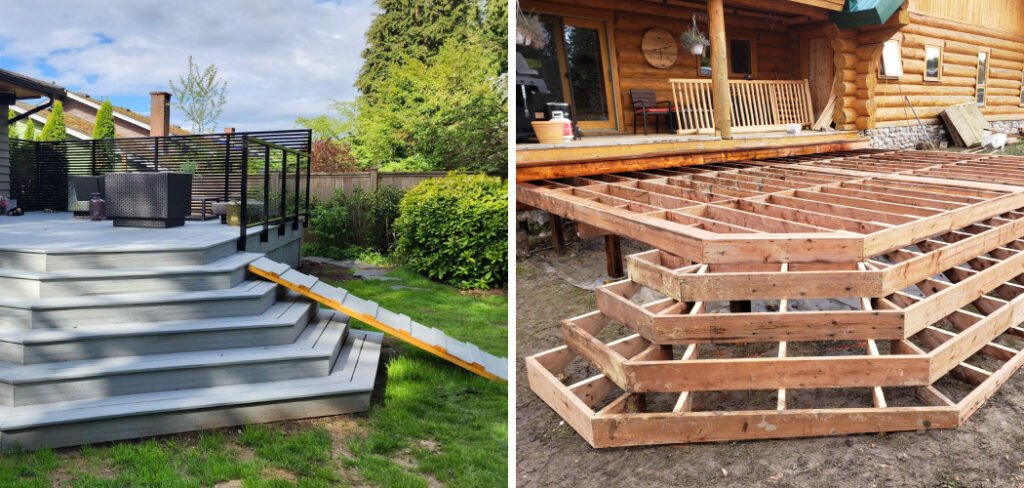
It doesn’t have to be. Learning how to build wrap around deck stairs is mostly about careful measuring, a few key calculations, and patience with each cut. You don’t need to be a professional carpenter to get clean, sturdy results. This guide walks you through the tools, the steps, the common slip-ups, and the expert habits that make the difference between a wobbly staircase and one that lasts for decades.
Why Wrap Around Deck Stairs Are Worth Building
Wrap around stairs do more than connect your deck to the ground. They change how the whole space feels. By spreading the steps across a corner, you create a gentle, open transition instead of a narrow chute. This makes the deck feel like part of the yard rather than a platform floating above it.
There are practical reasons too. Wider stair access means easier traffic flow during gatherings. The extra surface doubles as casual seating during a backyard party. And for many homes, a wrap-around design improves curb appeal and resale value.
The catch: these stairs require more lumber and more precise layout than a standard straight run. But for a beginner willing to measure twice, the payoff is well worth the added effort.
Tools and Materials You’ll Need
Before you start, gather everything in one place. Stopping mid-project to hunt for a missing bracket wastes time and breaks your rhythm. For tools, you’ll want a circular saw, a cordless drill, a framing square, a level, a tape measure, a chalk line, and a speed square for marking your stair stringers. A post hole digger helps if you’re setting footings.
For materials, plan on pressure-treated lumber for the stringers, treads, and risers, since it resists rot and insects outdoors. You’ll also need galvanized or stainless deck screws, joist hangers, stair brackets, concrete for footings, and gravel for drainage.
Optional but helpful: a stair gauge set — small clamps that lock onto your framing square to repeat the same riser and tread cut every time.
8 Step-by-Step Guide on How to Build Wrap Around Deck Stairs
Step 1 – Measure your total rise and run
Start by measuring the total rise, which is the vertical distance from the top of your deck surface to the ground where the stairs will land. Rest a straight board level off the deck edge and measure straight down to the dirt or pad below. Write that number down.
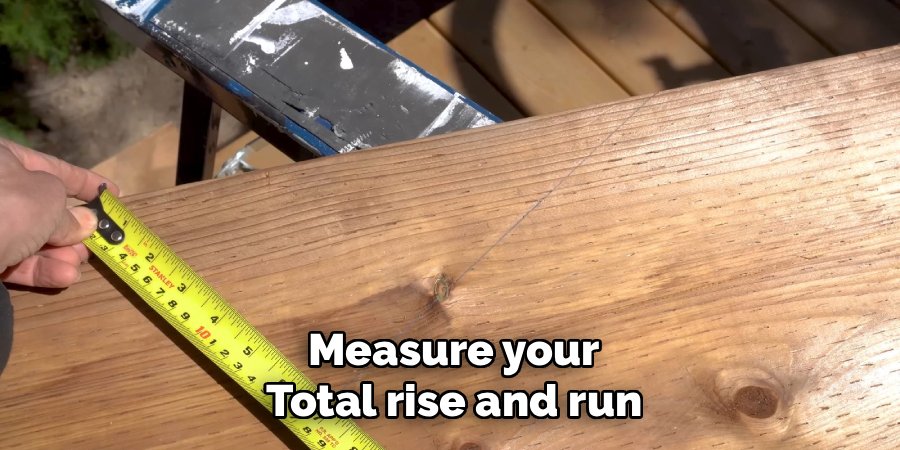
This single measurement drives every calculation that follows, so double-check it. Knowing how to build wrap around deck stairs begins with getting this height exactly right. Standard riser height runs between 7 and 7.75 inches, so divide your total rise by 7.5 to estimate how many steps you’ll need. Round to a whole number, then divide the rise by that count for your final riser height.
Step 2 – Plan your stair layout and wrap angles
Now sketch your design on paper. A wrap-around staircase usually turns a corner, so decide which sides the steps will follow. Mark where each run meets and how the corner ties together. Some builders use a square corner with two separate stringer sets meeting at a 90-degree angle. Others fan the treads around the corner for a softer curve. Pick the approach that matches your skill level — the square corner is friendlier for beginners. Measure the tread depth, which is how far each step sticks out, aiming for at least 10 inches. Confirm your stair layout fits the available yard space before you cut a single board.
Step 3 – Check local building codes
Before cutting lumber, pull up your local building codes. These rules exist for safety and they vary by region. Most codes set maximum riser heights, minimum tread depths, and handrail requirements once you pass a certain number of steps. Some areas require a permit and an inspection for any attached deck stair.
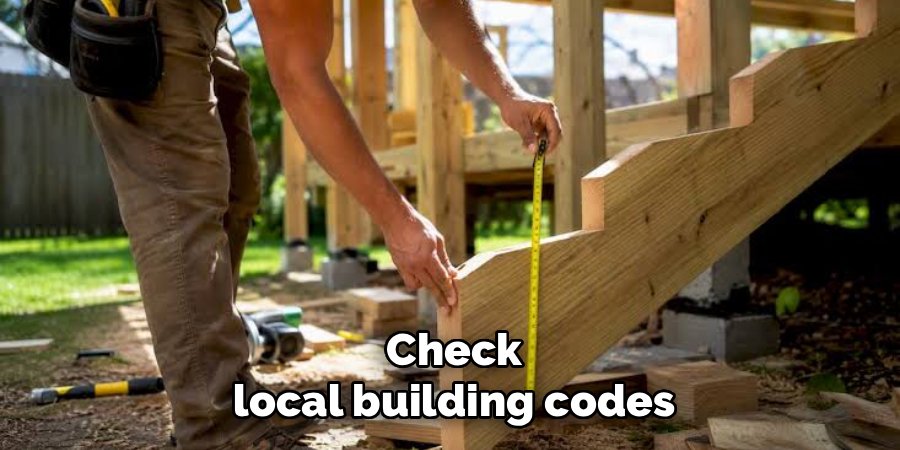
Call your local building department or check their website. Write down the numbers that apply to your project and keep them beside your plans. Skipping this step can mean tearing out finished work later, which is frustrating and expensive. A few minutes of research now protects the hours of labor ahead and keeps your finished stairs both legal and safe.
Step 4 – Pour the footings and prepare the landing
Your stairs need a solid base. Dig holes for concrete footings at the bottom of each stringer run, below your local frost line so the ground won’t heave in winter. Add a few inches of gravel for drainage, then pour concrete and let it cure fully — usually a day or two. While that sets, prepare your deck landing, the flat surface where the stairs touch down. A concrete pad or paver base works well and keeps the wood off wet soil. You’ll feel the difference in stability the moment you stand on a properly anchored base. This foundation does the quiet work of holding everything straight for years.
Step 5 – Cut the stair stringers
The stringers are the angled boards that carry your treads, and they’re the heart of any staircase. Lay a 2×12 pressure-treated board across two sawhorses. Clamp your stair gauges onto a framing square at your riser height and tread depth, then trace the stair-step pattern down the board. Mark each notch clearly with a pencil. Cut along your lines with a circular saw, finishing the inside corners with a handsaw so you don’t overcut. Use this first stringer as a template to trace the rest, keeping every notch identical. For wrap-around deck framing, you’ll cut separate stringer sets for each run. Test-fit one against the deck before cutting them all.
Step 6 – Attach the stringers to the deck
With your stringers cut, fasten them to the deck. Attach a ledger board or stair-stringer hangers to the deck rim joist, then set each stringer in place and check it with a level. The top of each stringer should sit flush so your first tread lands evenly.
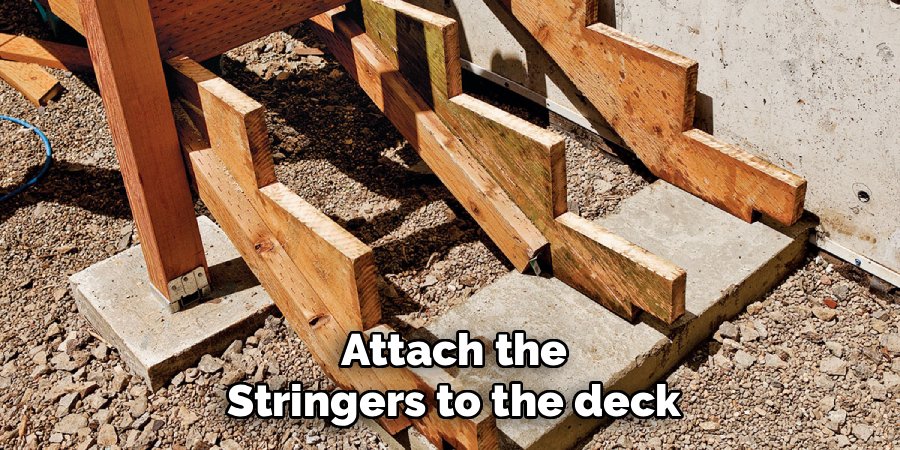
Drive galvanized structural screws or use metal connectors rated for outdoor stair construction. At the corner where two runs meet, secure both stringer sets to a shared post or blocking so they move as one unit. Tug each stringer firmly once installed — there should be zero wobble. This is where many beginners learning how to build wrap around deck stairs feel the project finally take shape.
Step 7 – Install the treads and risers
Now comes the satisfying part. Cut your tread boards to length, allowing a slight overhang past the front of each step for a finished look. If you’re adding risers — the vertical boards that close the back of each step — install those first, then lay the treads on top. Leave a small gap between paired tread boards so rain drains and the wood breathes. Drive two screws into each stringer per board, sinking the heads just below the surface. Work from the bottom step upward around the corner. You’ll hear the solid thunk of each board seating into place, a good sign your fasteners are biting properly.
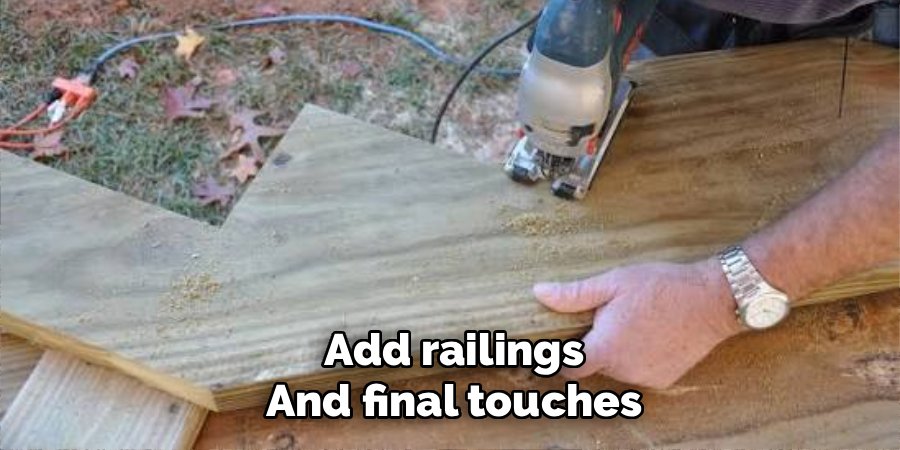
Step 8 – Add railings and final touches
Finish with railings if your step count or local code requires them. Set newel posts at the top and bottom of each run, plus at the corner, and bolt them securely to the framing. Run your handrail at the height your code specifies, usually around 34 to 38 inches above the tread nosing. Sand any rough edges so no one catches a splinter, and sweep away sawdust. Once everything is fastened, walk the full staircase slowly, feeling for any soft spot or rattle. Tighten anything loose. A finishing coat of sealant protects the pressure-treated lumber and gives your new stairs a clean, completed appearance.
Common Mistakes to Avoid With Wrap Around Stairs
Even careful beginners stumble on a few predictable problems. The most common is an inaccurate rise measurement. If your total rise is off by even an inch, every riser height ends up uneven, and uneven steps are both a tripping hazard and an instant giveaway of amateur work. Measure from the finished deck surface to the finished landing, not the bare ground, and confirm it twice.
A second frequent error is ignoring building codes. People assume backyard stairs don’t need a permit, then fail inspection or face a fine. Check first — it costs nothing but a phone call.
The third mistake is mismatched stringers. When you cut each stringer freehand instead of tracing one master template, the notches drift apart and your treads sit crooked. Use the first stringer as your pattern every time.
Fourth, many builders skip proper footings, anchoring stairs directly to soil. The wood absorbs moisture, rots, and shifts. Always set footings below the frost line on a gravel base.
Finally, don’t rush the corner connection. A weak joint where two runs meet is where wobble lives, so tie both stringer sets to shared blocking or a post.
Expert Tips
A few habits separate a smooth build from a stressful one. Dry-fit everything before you fasten anything permanently — set your stringers, treads, and railings in place, then check the fit before driving a single final screw. It saves you from cutting twice.
Buy about ten percent more lumber than your plan calls for. Boards warp, knots split, and mistakes happen, especially on your first project. Having extra on hand keeps you working instead of driving back to the store.
Pre-drill near board ends to stop pressure-treated lumber from splitting. And label your stringers as you cut them so you don’t mix up the two runs at the corner. Small steps like these protect your time and your confidence.
Frequently Asked Questions
How many steps do wrap around deck stairs usually have?
It depends entirely on your deck height. Divide your total rise by a comfortable riser height of about 7.5 inches to find your step count. A deck two feet off the ground might need three or four steps per run, while a higher deck needs more. Wrap-around designs split those steps across two or more sides, so each individual run feels shorter.
Do I need a permit to build deck stairs?
Often, yes. Many local building codes require a permit for any attached deck stair, and some trigger inspection once you pass a set number of steps. Rules vary widely by area, so contact your local building department before starting. Getting a permit protects you, keeps your stairs safe, and prevents costly do-overs if an inspector flags unpermitted work later.
What lumber is best for outdoor stair construction?
Pressure-treated lumber is the standard choice for stringers, treads, and risers because it resists rot, moisture, and insects. For a more upscale look, you can top pressure-treated stringers with cedar, redwood, or composite treads. Whatever you choose, pair it with galvanized or stainless fasteners so the hardware doesn’t corrode and stain your wood over time.
How wide should each tread be on wrap around stairs?
Aim for a tread depth of at least 10 inches measured front to back, which gives your foot room to land safely. Many local codes set this minimum, so confirm yours before cutting. For the width of the staircase itself, 36 inches is comfortable, though wrap-around designs often run wider to take advantage of the open, sweeping layout.
Can a beginner build wrap around deck stairs alone?
Yes, though an extra set of hands makes the heavy lifting and stringer placement much easier. The skills are learnable: measuring, cutting, and fastening. Take your time, follow your plan, and don’t skip the footings or code check. If the corner framing or railing feels beyond your comfort, it’s perfectly reasonable to call a pro for that one part.
Conclusion
Building a staircase that wraps around your deck corner is a project you can absolutely handle with the right preparation. The whole job comes down to a handful of fundamentals: measure your total rise precisely, plan your stair layout on paper, check your local building codes, set solid footings, and cut every stringer from one master template. Get those right and the treads, risers, and railings fall into place naturally.
Take it one step at a time and don’t rush the corner connection — that’s where strength and safety live. Use pressure-treated lumber, dry-fit before you fasten, and keep a little extra material on hand for the inevitable miscut. Now that you know how to build wrap around deck stairs, you have everything you need to turn an intimidating idea into a weekend you’ll feel proud of. When you walk down those finished steps into your yard for the first time, solid and quiet underfoot, you’ll know the careful measuring was worth every minute. Grab your tape measure and get started.