

Feverfew is a delightful and useful addition to any garden, known for its small, daisy-like flowers and traditional medicinal uses. This charming perennial, part of the chrysanthemum family, is not only beautiful but also surprisingly easy to grow. If you’ve ever wondered about how to plant feverfew, you’re in the right place.
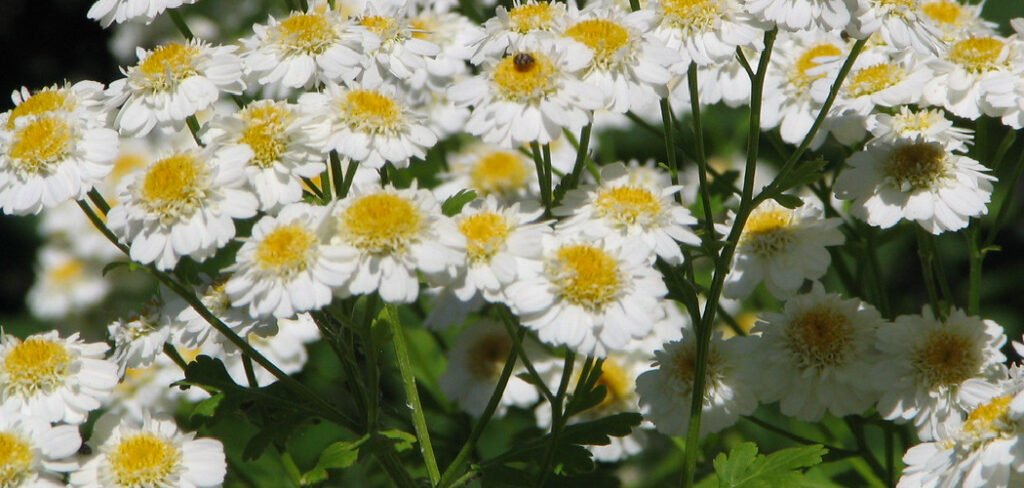
This guide is designed for home gardeners and beginners, providing clear, straightforward instructions to help you successfully cultivate this wonderful herb. From selecting the right spot to caring for your new plants, we’ll cover everything you need to know to get started on your feverfew growing journey.
Why Plant Feverfew
Beyond its cheerful appearance, feverfew offers a variety of benefits that make it a valuable plant for any home garden. Historically, it has been used in herbal medicine for centuries, most famously for managing migraines and fevers.
The leaves contain compounds called parthenolides, which are believed to contribute to these properties. Growing your own feverfew ensures you have a fresh, organic supply right at your fingertips.
In the garden, feverfew acts as a natural pest repellent, helping to protect neighboring plants from aphids and other common insects. Its prolific, daisy-like blooms are a magnet for beneficial pollinators like bees and butterflies, which can improve the overall health and productivity of your garden.
Furthermore, feverfew is a hardy and low-maintenance plant. It readily self-seeds, meaning you can enjoy a continuous display year after year with minimal effort. Its flowers also make excellent additions to bouquets, adding a delicate, wildflower touch to any arrangement.
8 Step-by-Step Guide on How to Plant Feverfew
Step 1: Choose the Right Time to Plant
Timing is crucial for successful germination and growth. The best time to plant feverfew is in the early spring, just after the danger of the last frost has passed. This allows the young plants to establish a strong root system before the intense heat of summer arrives. If you live in a region with mild winters (zones 5-9), you can also plant feverfew seeds in the fall.
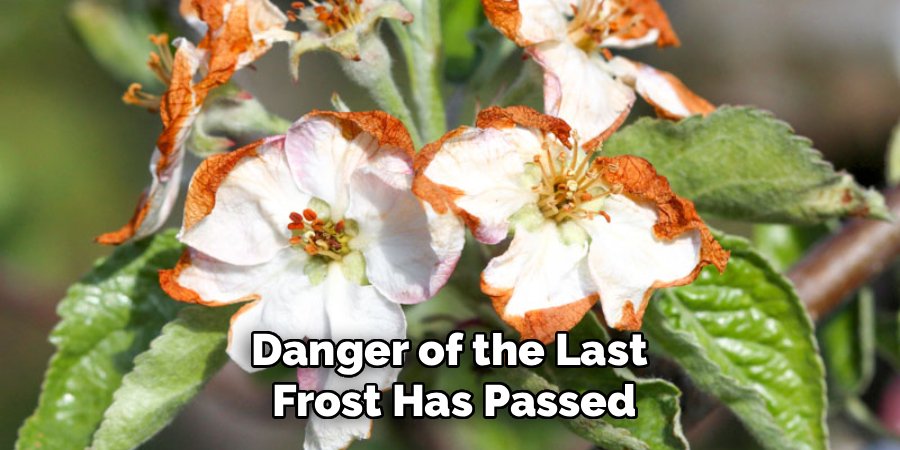
Fall planting gives the seeds a natural cold stratification period over the winter, which can improve germination rates the following spring. Starting seeds indoors 6-8 weeks before the last frost date is another excellent option.
Step 2: Select the Perfect Location
Feverfew thrives in a location that receives full sun, meaning at least six hours of direct sunlight per day. While it can tolerate partial shade, you’ll see more robust growth and a greater abundance of flowers in a sunnier spot. The soil should be well-draining.
Feverfew is not particular about soil type and can grow in average to poor soil, but it does not like to have “wet feet.” If you have heavy clay soil, consider amending it with compost or sand to improve drainage. This preparation will prevent root rot and create an ideal environment for your plants to flourish.
Step 3: Prepare the Soil
Once you have your location, take some time to prepare the soil bed. Start by clearing the area of any weeds or grass that could compete with your feverfew seedlings for nutrients and water. Loosen the soil to a depth of about 6 to 8 inches using a garden fork or tiller. This will make it easier for the young roots to penetrate the ground.
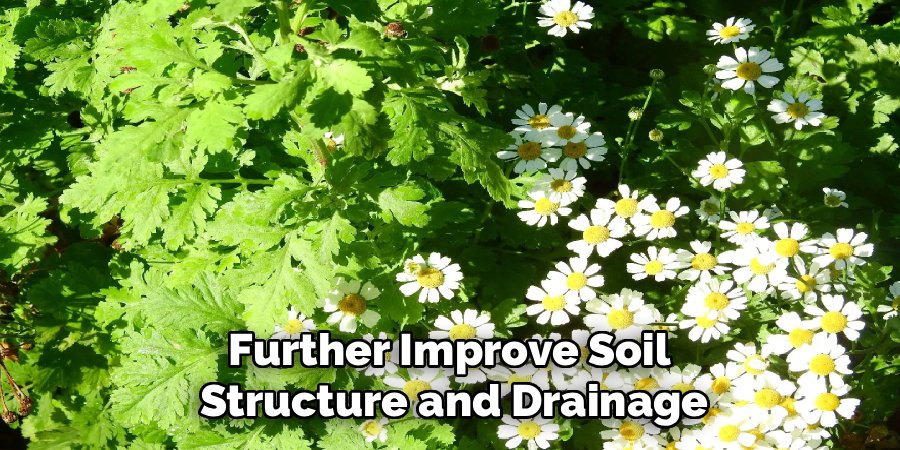
While feverfew isn’t a heavy feeder, incorporating a layer of compost into the top few inches of soil can provide a gentle nutrient boost and further improve soil structure and drainage, giving your plants a healthy start.
Step 4: Sow the Feverfew Seeds
Sowing feverfew seeds is a simple process. Since the seeds require light to germinate, they should not be buried deep in the soil. Simply scatter the seeds lightly over the surface of your prepared soil bed. After scattering, gently press the seeds into the soil with your hand or the back of a rake to ensure good seed-to-soil contact.
Do not cover them with any additional soil. If you are planting in rows, space them about 12 to 18 inches apart to give each plant enough room to grow to its mature size.
Step 5: Water Gently and Consistently
After sowing the seeds, it is important to water the area gently but thoroughly. Use a watering can with a rose attachment or a hose with a fine spray setting to avoid dislodging the tiny seeds. The goal is to keep the soil consistently moist, but not waterlogged, until germination occurs.

This typically takes about 10 to 14 days. During this period, check the soil daily, especially on warm or windy days, and water as needed to prevent it from drying out completely. Consistent moisture is one of the most critical factors for successful germination.
Step 6: Thin the Seedlings
Once your feverfew seedlings have emerged and developed a few sets of true leaves, it’s time to thin them. Thinning is the process of removing weaker seedlings to provide adequate space for the stronger ones to grow without competition. Overcrowded plants are more susceptible to disease and will not grow as vigorously. Aim to space your remaining plants about 12 to 18 inches apart.
This might feel ruthless, but it is an essential step for ensuring healthy, productive plants. You can gently pull the unwanted seedlings or snip them at the soil line with scissors.
Step 7: Provide Ongoing Care
Feverfew is a relatively low-maintenance plant once established. Water the plants deeply about once a week during dry spells, allowing the soil to dry out between waterings. Mature plants are quite drought-tolerant. There is no need to fertilize feverfew; in fact, overly rich soil can lead to leggy growth with fewer flowers.
To encourage a bushier plant and more blooms, you can pinch back the stems in the late spring. Deadheading, or removing spent flowers, will also promote continuous blooming throughout the summer and prevent the plant from self-seeding too aggressively if you wish to control its spread.
Step 8: Harvest Your Feverfew
You can begin harvesting feverfew leaves and flowers once the plant is well-established and actively blooming. For medicinal use, the best time to harvest is just as the flowers are opening, as this is when the concentration of active compounds is at its highest.
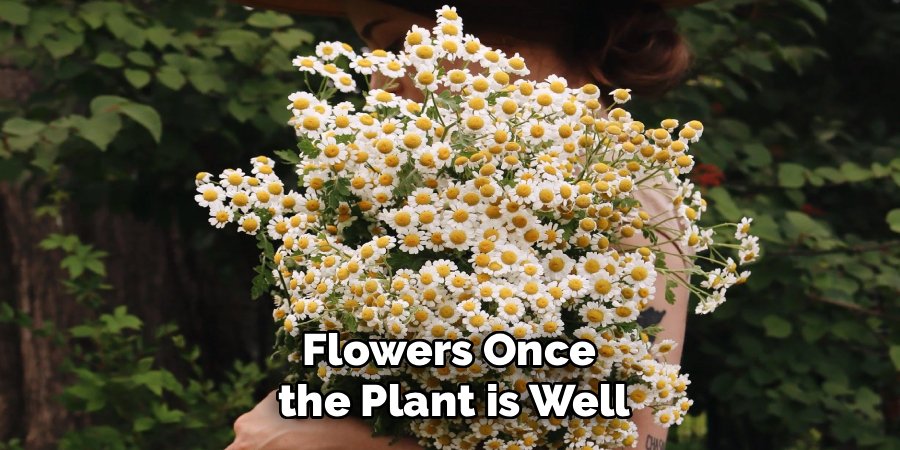
You can snip off entire flower stems or pick individual flowers and leaves. Use them fresh, or dry them for later use by hanging them in small bunches in a cool, dark, and well-ventilated area. Learning this final step completes the full cycle of how to plant feverfew from seed to harvest.
Frequently Asked Questions
Is Feverfew a Perennial or an Annual?
Feverfew (Tanacetum parthenium) is technically a short-lived perennial, typically lasting for two to three years. However, it self-seeds so prolifically that it often behaves like an annual or biennial, with new plants appearing each year to replace the old ones. In colder climates (below USDA zone 5), it is often grown as an annual because it may not survive the winter. In zones 5-9, it will reliably come back for a few seasons.
How Long Does It Take for Feverfew to Flower?
If you start feverfew from seed, you can typically expect it to flower in its first year, especially if planted in early spring. The plants will usually begin to produce their signature daisy-like blooms in mid-summer and continue flowering until the first frost. For plants started indoors, the flowering period may begin slightly earlier.
Consistent deadheading will encourage the plant to produce more flowers throughout the growing season, providing a long-lasting display.
Can I Grow Feverfew in a Pot?
Yes, feverfew grows very well in containers. Choose a pot that is at least 10-12 inches in diameter and has good drainage holes. Use a quality all-purpose potting mix. Growing in a pot is a great option if you have limited garden space or want to control its tendency to self-seed. Potted plants will require more frequent watering than those in the ground, especially during hot weather, as the soil can dry out quickly.
Does Feverfew Spread?
Feverfew is a notorious self-seeder and can spread quite readily throughout the garden if left to its own devices. After the flowers fade, they produce a large number of viable seeds that are easily dispersed by wind and water. To control its spread, you can:
- Deadhead the spent flowers before they go to seed.
- Mulch around the base of the plants to prevent seeds from germinating.
- Easily pull up any unwanted seedlings that appear.
Is Feverfew Safe for Pets?
Feverfew is considered toxic to dogs, cats, and horses. Ingesting the plant can cause a range of symptoms, including vomiting, diarrhea, drooling, and skin irritation (contact dermatitis).
While it is valued for its human medicinal properties, it is best to plant feverfew in an area that is not accessible to your pets to prevent accidental ingestion and ensure their safety. If you suspect your pet has eaten feverfew, contact your veterinarian immediately.
Conclusion
Growing feverfew is a rewarding experience that adds both beauty and function to your garden. From its cheerful, daisy-like blossoms to its traditional use as an herbal remedy, this plant offers something for every gardener.
By following the simple steps outlined in this guide, you can confidently cultivate this hardy perennial. You’ve learned how to choose the right spot, prepare the soil, and care for your plants as they grow. Now that you understand how to plant feverfew, you are ready to enjoy the benefits of having this wonderful herb just outside your door. Happy gardening

About
Jovie Mathews is a backyard and outdoor expert writer with over 12 years of hands-on experience transforming neglected outdoor spaces into thriving gardens and functional retreats. Raised in a family where weekends meant digging in the soil and building raised beds from scratch, Jovie developed a genuine love for the outdoors long before it became a career.
She writes with a practical, no-fluff approach — always testing ideas in her own backyard before sharing them with readers. From composting systems and native plant selection to patio design and pest control, Jovie covers the full spectrum of backyard life with equal parts expertise and enthusiasm.
Education
B.Sc. in Horticulture Science
University of Florida (UF) · Gainesville, FL · 2014
IFAS College of Agricultural and Life Sciences
Minor in Environmental Studies
University of Florida (UF) · Gainesville, FL · 2014
College of Liberal Arts and Sciences
Areas of expertise
- Lawn & Garden Care
- Soil prep, planting, seasonal care
- Outdoor DIY Projects
- Raised beds, fencing, pathways
- Composting & Soil Health
- Organic methods, amendments
- Native Plants & Wildlife
- Pollinators, habitat gardening
When she is not writing, Jovie can be found testing new composting techniques, growing tomatoes in questionable quantities, or convincing her neighbors that clover lawns are actually a great idea. She currently gardens in the Pacific Northwest.




