A fire pit is the heart of any backyard gathering, offering warmth and ambiance on cool evenings. However, leaving it exposed to the elements can quickly lead to rust, clogged burners, or a basin filled with soggy ash and rainwater. While store-bought lids are available, they often come with a hefty price tag or fail to fit custom-sized pits perfectly.
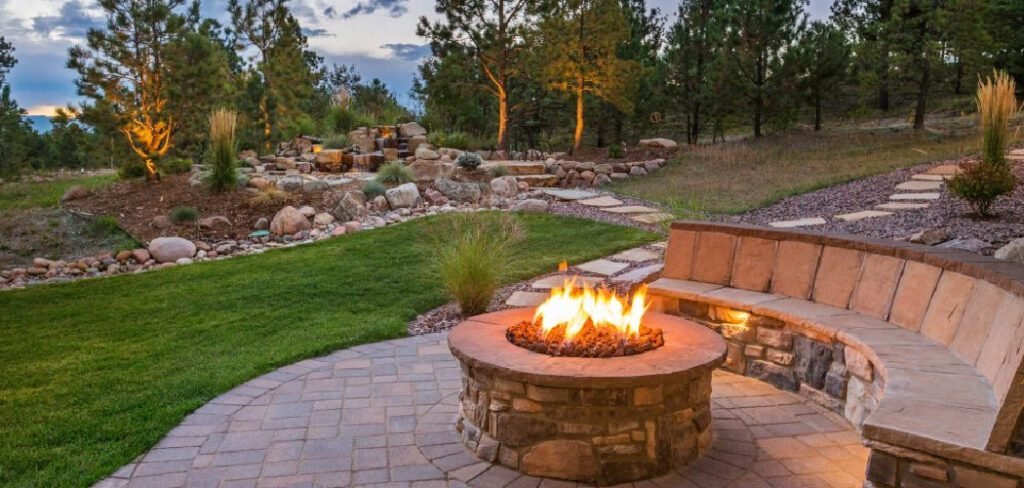
Creating your own solution is not only cost-effective but also allows you to customize the look and durability to match your outdoor aesthetic. A sturdy lid serves multiple purposes: it keeps debris out, prevents embers from escaping after the fire dies down, and can even turn your pit into a functional table when not in use.
This project requires basic metalworking skills but is achievable for most DIY enthusiasts with the right tools. By following this guide on how to make a metal fire pit cover, you will gain a durable accessory that extends the lifespan of your fire feature while adding a professional, custom-finished touch to your patio setup.
Step-by-Step Guide: How to Make a Metal Fire Pit Cover
Step 1: Measure the Dimensions of Your Fire Pit
The foundation of any successful fabrication project lies in accurate measurements. Before you purchase any steel or aluminum sheet, grab your tape measure and determine the precise diameter or width of your fire pit opening. You need to decide if you want the cover to sit flush inside the rim or rest on top of it.
For a lid that rests on top, add at least two inches to the total diameter to create a sufficient overhang. This overlap is crucial because it ensures that rainwater drips off the side rather than running into the fire bowl.
Record these numbers carefully on a sketch pad. Taking the time to double-check your measurements now prevents the frustration of cutting a piece of expensive metal only to find it falls right into the pit or leaves gaps for debris to enter.
Step 2: Select the Right Metal Material
Choosing the appropriate material is a balance between weight, durability, and ease of workability. Mild steel sheet is a popular choice because it is affordable and easy to weld, though it will require painting to prevent rust.
Aluminum is lighter and naturally corrosion-resistant, making it excellent for larger covers that need to be moved frequently, but it is more expensive and harder to weld for beginners. For a standard round cover, a 14-gauge or 16-gauge steel sheet offers a good compromise;
it is thick enough to support snow loads without bowing but light enough for one person to lift. If you do not have metal cutting tools at home, many local metal suppliers will cut the sheet to your rough dimensions for a small fee, saving you significant effort during the initial fabrication phase.
Step 3: Cut the Metal Sheet to Size
Once you have your material, it is time to shape it according to your measurements. If you are working with a square sheet and need a circle, locate the center point and use a string or a beam compass to mark your cutting line. For cutting thin gauge steel, an angle grinder equipped with a thin cutoff wheel is the most accessible tool for DIYers.
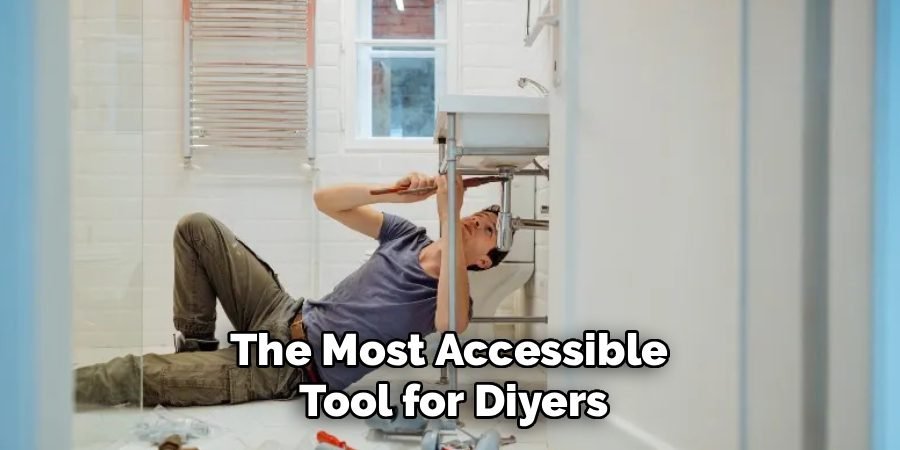
Clamp the metal sheet firmly to a workbench or sawhorses to prevent vibration. Move the grinder slowly along your marked line, letting the tool do the work rather than forcing it.
Safety is paramount here, so ensure you are wearing heavy gloves, eye protection, and earplugs. If you are learning how to make a metal fire pit cover, mastering the angle grinder is essential for achieving a clean, professional edge.
Step 4: Fabricate and Attach a Handle
A flat sheet of metal is difficult to lift off the ground, so adding a handle is a functional necessity. You can purchase a pre-made steel handle from a hardware store or fabricate a simple one using flat bar or round stock. If you have a welder, center the handle on the top surface of your lid and tack it in place before welding it fully.
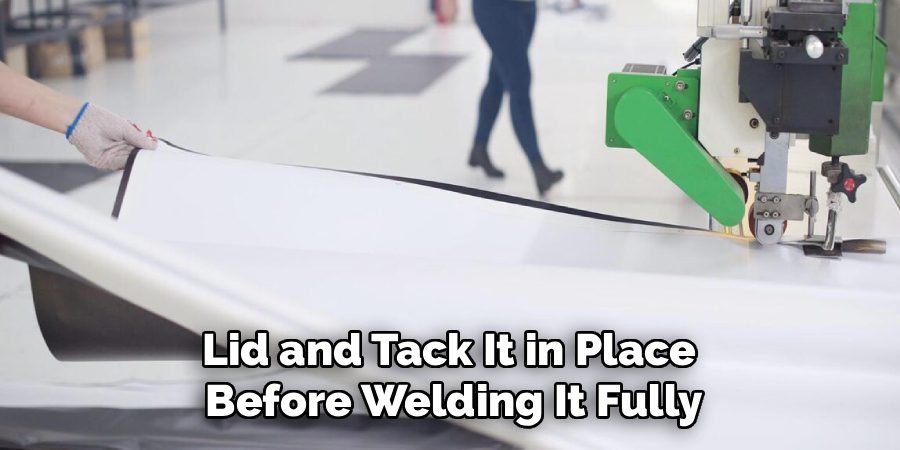
If you do not have welding equipment, you can drill holes through the lid and the handle flanges and secure it with stainless steel bolts and nuts. Ensure the hardware is rust-proof to withstand outdoor conditions.
The handle should be large enough to grip while wearing heavy leather gloves, as the metal cover might still be warm from the fire or cold from the winter air when you go to move it.
Step 5: Smooth and Grind Sharp Edges
Freshly cut metal edges are razor-sharp and pose a significant safety hazard to anyone handling the cover. After cutting your shape and attaching the handle, switch your angle grinder attachment to a flap disc or a grinding stone. Systematically go around the entire perimeter of the lid to deburr and smooth out the raw edge.
You want to create a slightly rounded profile that is safe to touch. Pay extra attention to the corners if you are making a square or rectangular cover, rounding them off slightly to prevent painful shins bumps.
This step transforms your project from a rough piece of scrap metal into a finished, safe product suitable for family use. Taking the time to refine the edges is a hallmark of quality craftsmanship in any metalworking project.
Step 6: Add a Lip or Rim for Stability
To prevent the cover from sliding off during high winds or accidental bumps, you should attach a rim or tabs to the underside. If you are making a flat disc that sits on top of the pit, weld or bolt small strips of flat bar metal perpendicular to the bottom surface, positioned just inside the perimeter of the fire pit’s opening.
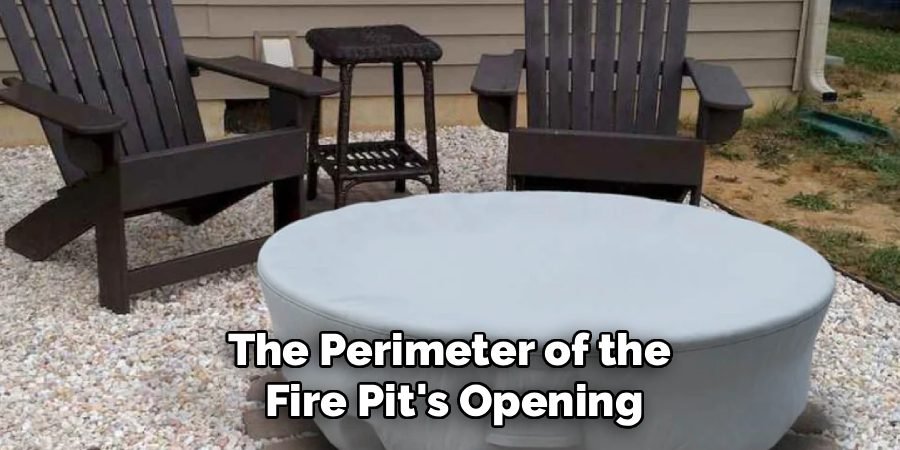
These tabs act as guides, locking the lid in place so it cannot shift laterally. Alternatively, you can bend a long strip of metal into a ring and attach it to the underside to create a continuous lip.
This addition significantly improves the functionality of the cover. When figuring out how to make a metal fire pit cover, adding this stabilizing feature is what separates a makeshift solution from a truly effective protective shield.
Frequently Asked Questions (FAQ)
What Is the Best Thickness for a Fire Pit Cover?
The ideal thickness depends on the size of the pit and the material used.
- Steel: For steel covers, 14-gauge (approx. 0.075 inches) is a great standard. It is heavy enough to stay in place but light enough to lift. 16-gauge is lighter but might warp on larger pits.
- Aluminum: If using aluminum, you need to go thicker, typically around 1/8 inch (0.125 inches), to maintain rigidity.
- Snuffer Lids: If you plan to use the lid to snuff out active fires, opt for thicker 12-gauge steel to resist heat warping.
Do I Need a Welder to Make This Project?
No, you do not strictly need a welder, though it helps.
- Bolting: You can assemble the handle and any stabilizing tabs using drilling and bolting methods. Use stainless steel hardware to prevent rust streaks.
- Riveting: Heavy-duty rivets are another mechanical fastening option that creates a clean look.
- No-Weld Metals: Aluminum can also be brazed with a torch, which is accessible to many DIYers without a full welding rig.
Can I Use Galvanized Steel for a Fire Pit Cover?
It is generally recommended to avoid galvanized steel for any part of a fire pit that might get hot.
- Toxic Fumes: When galvanized metal (zinc-coated) reaches high temperatures, it releases zinc oxide fumes, which can cause “metal fume fever,” a flu-like illness.
- Paint Adhesion: Galvanized surfaces are also notoriously difficult to paint.
- Safe Alternative: Stick to hot-rolled or cold-rolled mild steel and use high-heat paint for protection.
How Do I Make a Perfect Circle Without Expensive Tools?
Cutting a circle is easier than it looks with a simple jig.
- String Method: Tie a string to a marker and tape the other end to the center of your sheet. Pull tight and rotate to draw the circle.
- Wood Strip: Drill two holes in a thin strip of wood—one for a center screw pivot and one for your marker. This creates a rigid compass.
- Cutting: Use a jigsaw with a metal blade for tighter curves or an angle grinder for broader curves, moving slowly along the line.
Will the Metal Cover Get Too Hot to Touch?
Yes, metal is an excellent conductor of heat.
- Direct Sun: Even without a fire, a black metal cover sitting in the summer sun can become scorching hot.
- Residual Heat: If placed over a dying fire, the handle will absorb heat rapidly.
- Safety: Always test the temperature with the back of your hand before grabbing the handle, or simply make it a habit to always wear leather grilling gloves when removing the lid.
Conclusion
Building your own fire pit cover is a rewarding weekend project that pays dividends in protection and style. By taking control of the fabrication process, you ensure a perfect fit that commercial options simply cannot match, especially for custom masonry or odd-sized pits.
You have moved from measuring and cutting raw sheet metal to refining edges and applying a protective finish, gaining valuable workshop skills along the way. This sturdy barrier will keep your fire pit dry, clean, and ready for the next marshmallow roast, regardless of the weather.
Furthermore, the satisfaction of seeing your own handiwork every time you step onto your patio adds a personal pride to your outdoor space. Now that you have mastered the process of how to make a metal fire pit cover, you can relax by the fire knowing your investment is well-protected and built to last.

About
Jovie Mathews is a backyard and outdoor expert writer with over 12 years of hands-on experience transforming neglected outdoor spaces into thriving gardens and functional retreats. Raised in a family where weekends meant digging in the soil and building raised beds from scratch, Jovie developed a genuine love for the outdoors long before it became a career.
She writes with a practical, no-fluff approach — always testing ideas in her own backyard before sharing them with readers. From composting systems and native plant selection to patio design and pest control, Jovie covers the full spectrum of backyard life with equal parts expertise and enthusiasm.
Education
B.Sc. in Horticulture Science
University of Florida (UF) · Gainesville, FL · 2014
IFAS College of Agricultural and Life Sciences
Minor in Environmental Studies
University of Florida (UF) · Gainesville, FL · 2014
College of Liberal Arts and Sciences
Areas of expertise
- Lawn & Garden Care
- Soil prep, planting, seasonal care
- Outdoor DIY Projects
- Raised beds, fencing, pathways
- Composting & Soil Health
- Organic methods, amendments
- Native Plants & Wildlife
- Pollinators, habitat gardening
When she is not writing, Jovie can be found testing new composting techniques, growing tomatoes in questionable quantities, or convincing her neighbors that clover lawns are actually a great idea. She currently gardens in the Pacific Northwest.