
Old deck boards don’t have to be ruined just because you want them gone. With the right approach, you can pry up worn, splintered, or warped planks and keep most of them whole for reuse. The trick is knowing how to remove deck boards with nails without damage, so you protect both the boards and the joists underneath.
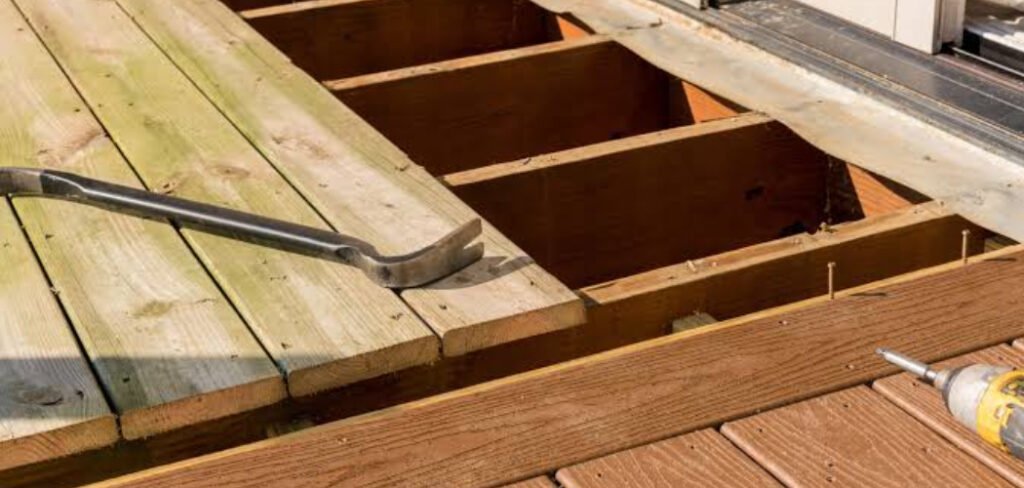
This matters because reclaimed deck wood saves money and reduces waste. A careful removal also keeps your framing intact, which makes reinstalling new boards far easier. Rushing the job, on the other hand, leaves you with cracked planks and gouged joists.
This guide walks you through the tools, the steps, and the common slip-ups so you can lift each board cleanly and confidently, even if this is your first time.
Why Learning to Lift Deck Boards Cleanly Pays Off
Removing deck boards the right way saves you both money and frustration. When you lift planks without splitting them, you can reuse them for raised garden beds, shelving, or patch repairs elsewhere on the deck.
There’s a structural reason too. The joists beneath your deck carry the entire load. Gouge or crack them while prying, and you weaken the frame your new boards will sit on. Clean removal keeps that foundation solid.
For backyard beginners, this skill builds real confidence. You learn how fasteners behave, how wood responds to leverage, and how to read the grain before you pull. Those lessons carry over to fences, sheds, and future deck repairs. One careful afternoon now sets you up for cleaner, faster projects later.
Tools and Materials You’ll Need
Good tools make this job safer and far less likely to wreck your boards. Most of these you may already own, and the rest are inexpensive.
- Pry bar (flat bar): Your main lifting tool for sliding under boards.
- Cat’s paw or nail puller: For grabbing stubborn nail heads.
- Claw hammer: For tapping the pry bar and pulling smaller nails.
- Cordless drill or impact driver: Useful if boards are screwed rather than nailed.
- Pliers or locking pliers: To grip broken or headless nails.
- Scrap wood blocks: As a fulcrum to boost leverage and protect the surface.
- Work gloves and safety glasses: To guard against splinters and flying nails.
- Cordless reciprocating saw (optional): Handy for slicing through nails you can’t pull free.
The reciprocating saw is the one convenience item worth borrowing if you don’t own it. It turns the most stubborn fasteners into a quick fix.
8 Step-by-Step Guide to How to Remove Deck Boards With Nails Without Damage
Work slowly and one board at a time. Patience here is what separates a clean reclaim from a pile of firewood.
Step 1 – Inspect and Plan Your Approach
Start by walking the deck and looking closely at each board. Notice which planks are warped, cracked, or soft, and which ones you want to save. Run your hand along the surface to feel for raised nail heads and splinters.
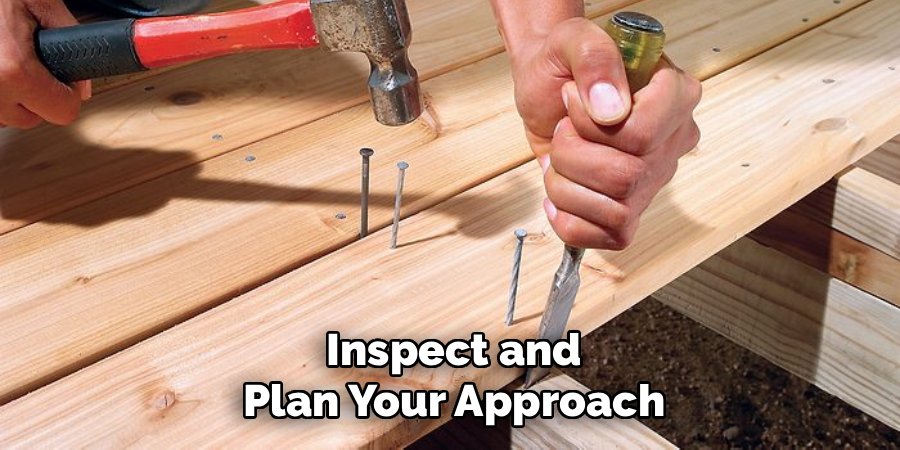
Find the fasteners first. Most deck boards are held by two nails or screws at each joist. Knowing whether you’re dealing with nails or screws decides your method. Nails respond to prying; screws need to be backed out with a drill.
Mark the boards you plan to reuse with chalk or tape. This small step keeps you organized and stops you from forcing a board you’d rather keep. A clear plan now prevents costly mistakes once the prying begins.
Step 2 – Clear the Work Area
Before you lift anything, clear the deck completely. Move furniture, planters, and grills well out of the way so you have room to swing a hammer and step back safely.
Sweep away leaves, dirt, and debris that hide nail heads. A clean surface lets you spot every fastener and avoids the surprise of stepping on a loose plank. You’ll also see the gaps between boards more clearly, which helps you slide your pry bar in.
Check the area below the deck if it’s accessible. Sometimes nails poke through, and you’ll want to know that before you start pulling. A tidy, open workspace gives you better footing and far more control over each board you lift.
Step 3 – Locate and Loosen the First Nail
Pick a board at the edge of the deck, since edge boards give you the most room to work. Find the first nail and tap your pry bar or cat’s paw underneath the board right beside it.
Listen for the creak as the wood begins to lift. That sound tells you the board is releasing its grip on the nail. Work the bar gently, raising the plank just enough to expose the nail shaft.
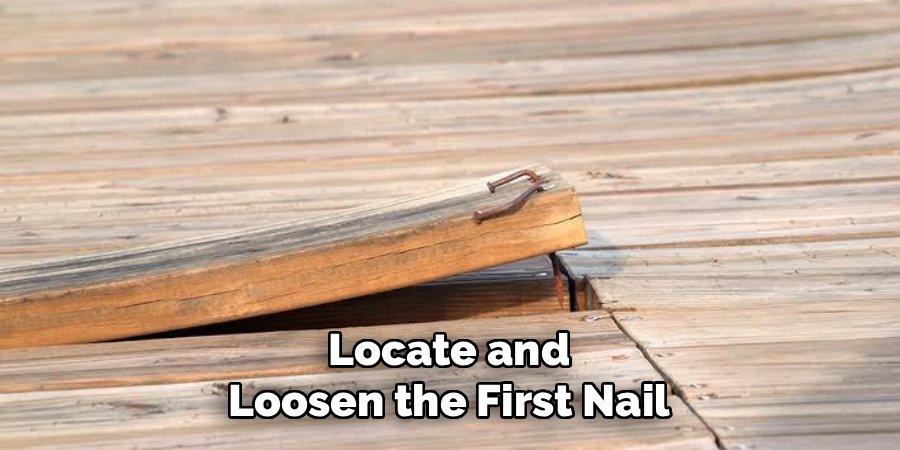
Don’t yank hard yet. The goal is to loosen, not launch. A slow, steady lift keeps the wood fibers from tearing around the nail hole. Once you see daylight under the board, you’re ready to pull the fastener itself.
Step 4 – Pry Up Slowly With Leverage
Place a scrap wood block under your pry bar to act as a fulcrum. This boosts your leverage and protects the board surface from dents. Position the bar close to the nail, never in the center of the board.
Press down on the bar with steady, even pressure. You’ll feel the nail begin to release with a satisfying give. Move along the board, lifting a few inches at each joist rather than forcing one end up all at once.
Spreading the lift across multiple points is the heart of how to remove deck boards with nails without damage. Even pressure prevents the plank from bowing and snapping in the middle. Take your time, and the board rises in one clean piece.
Step 5 – Pull the Nails Free
Once a board lifts at one end, the nails usually stand proud of the surface. Grab each nail head with your cat’s paw or the claw of your hammer and rock it back and forth.
Slide a scrap block under the hammer head to protect the joist below. This keeps the wood from denting as you pull. You’ll hear a low squeak as the nail slides out of the joist, fiber by fiber.
For nails that snap off, switch to locking pliers. Clamp tight on the broken shaft and twist while pulling upward. Work each fastener fully free before moving on. Leaving even one nail half-set can crack the board the moment you lift the next section.
Step 6 – Remove Stubborn or Hidden Nails
Some nails fight back. Older fasteners rust into the wood, and their heads break off or sink below the surface. When a head disappears, your pry bar has nothing to grab.
This is where a reciprocating saw earns its keep. Slide the blade flat between the board and the joist, then cut through the nail shaft. Keep the blade parallel to the wood so you don’t gouge the joist.
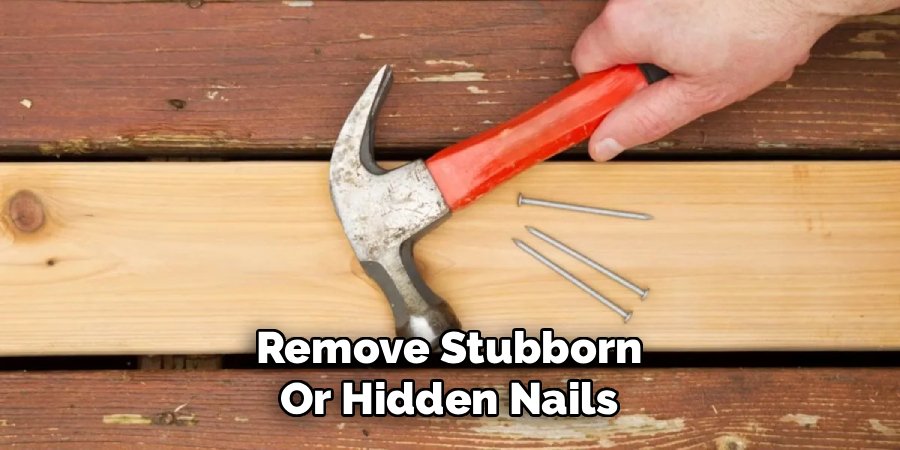
If you’d rather avoid the saw, grip the exposed shaft with pliers and twist it out slowly. The metal will feel warm from friction as it loosens. Either method clears the hidden fastener so the board lifts free without tearing the surrounding wood fibers.
Step 7 – Lift and Set the Board Aside
With every nail loosened or cut, lift the board straight up and away from the joists. Keep your grip even at both ends so the plank doesn’t twist and crack.
Stack reclaimed boards neatly on a flat surface, nail-side up if any fasteners remain. This protects your hands and makes the next cleanup step easier. Set damaged planks in a separate pile for disposal.
Take a moment to check the joist where the board sat. Brush away any rust flakes or splinters. Knowing how to remove deck boards with nails without damage means caring for the frame as much as the planks. A clean joist welcomes the next board far more readily.
Step 8 – Clean and Inspect Reclaimed Boards
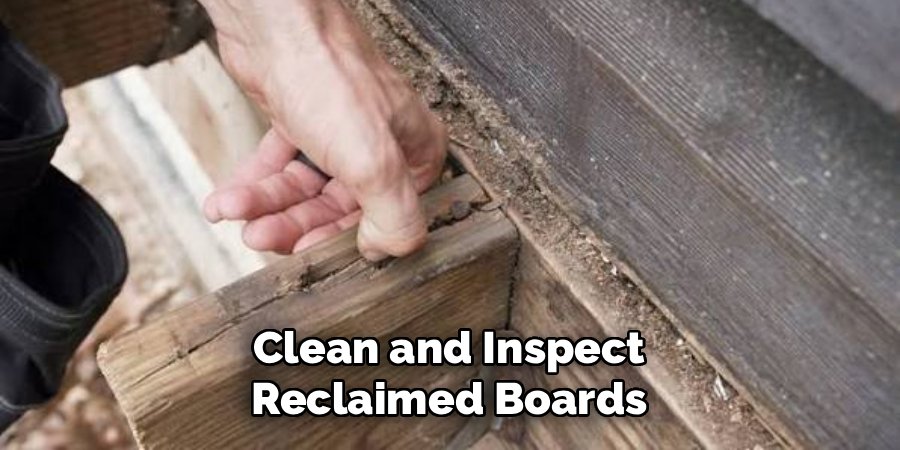
Now examine each saved board in good light. Pull any remaining nails from the underside and tap protruding tips flush or out entirely.
Run your palm across the wood to feel for hidden splinters or soft spots. Press on suspicious areas; if the wood gives or crumbles, set that board aside for scrap. Sound boards feel firm and resist your thumb.
Wipe off dirt and old finish with a stiff brush. Let the boards dry fully before storing them flat and off the ground. Proper storage prevents warping and keeps them ready for your next project. This final inspection turns a pile of old planks into genuinely reusable lumber.
Common Mistakes That Damage Deck Boards During Removal
Even careful beginners trip over a few predictable errors. Knowing them in advance saves boards and joists alike.
Prying from the center: The most common mistake is placing the pry bar in the middle of a board instead of near the nails. Mid-board leverage bows the plank until it snaps. Always pry close to the fastener, where the wood is anchored and least likely to flex and break.
Rushing the lift: Speed is the enemy of clean removal. Yanking a board up all at once forces the wood to crack around tight nails. Lift a few inches at each joist, working back and forth, and let the fasteners release gradually rather than all at once.
Skipping the fulcrum: Without a scrap block under your pry bar, you crush the board surface and gouge the joist. That small piece of wood spreads the force and protects both surfaces. Leaving it out trades a minute of setup for hours of repair.
Ignoring hidden nails: Trying to lift a board while a sunken or rusted nail still holds it is a guaranteed crack. Locate and clear every fastener first.
Skipping safety gear: Bare hands and unprotected eyes invite splinters and flying nail fragments. Gloves and glasses cost little and keep the job painless.
Expert Tips
A few habits separate a tidy job from a frustrating one. Apply these and you’ll work faster with cleaner results.
Warm the wood: On a cold morning, wood and old nails resist movement. Working in mild afternoon warmth makes fibers more flexible and fasteners easier to pull.
Number your boards: If you plan to reinstall the same planks, mark each one and its position with chalk. Reassembly becomes a simple match-up rather than a guessing game.
Keep a nail jar handy: Drop every pulled fastener into a container as you go. Loose nails on a work surface are a fast route to a punctured palm or tire.
Sharpen your saw blade: A dull reciprocating blade tears wood instead of slicing nails cleanly. A fresh blade cuts through fasteners with almost no resistance.
Frequently Asked Questions
Can I remove deck boards without splitting them?
Yes, you can lift most boards intact with patience and the right leverage. Pry close to the nails, never in the center, and raise the plank a little at each joist. A scrap-wood fulcrum spreads the force and protects the surface. Slow, even pressure keeps the wood fibers from tearing, so the board comes up whole and ready to reuse.
What’s the best tool for pulling deck nails?
A cat’s paw paired with a flat pry bar handles most deck nails well. The cat’s paw digs under sunken heads, while the pry bar gives you broad lifting power. For broken or headless nails, locking pliers grip the shaft so you can twist them out. Keep a reciprocating saw nearby for fasteners that simply refuse to budge.
Should I cut nails or pull them out?
Pull nails whenever you can, since pulling leaves the cleanest result. Cutting is your backup for rusted or broken fasteners with no head to grab. Slide a reciprocating saw blade flat between the board and joist, then slice through the shaft. Keep the blade parallel to the wood so you protect the joist from accidental gouges.
How do I avoid damaging the joists underneath?
Always place a scrap block between your tool and the joist before you pull. This cushions the wood and prevents dents and gouges. Pry against the board, not the joist, and lift in small increments. After each board comes up, brush away rust and splinters so the frame stays clean and ready for new planks.
Can old deck boards be reused after removal?
Often, yes, if they’re still firm and free of rot. Inspect each board in good light, press for soft spots, and pull any leftover nails. Sound planks work well for garden beds, shelves, or deck patches. Discard boards that feel spongy, crack easily, or show deep splits. Store the keepers flat and dry to prevent warping.
Conclusion
Removing deck boards cleanly comes down to patience, leverage, and a little planning. When you inspect first, work one board at a time, and pry close to the nails, you protect both your planks and the joists they rest on. A scrap-wood fulcrum, the right pulling tools, and a willingness to go slow turn a messy chore into a satisfying afternoon project.
Remember the big lessons: avoid prying from the center, clear every hidden fastener, and never skip your gloves and glasses. These small habits prevent the cracks and gouges that frustrate so many first-timers.
Now that you understand how to remove deck boards with nails without damage, you can tackle the job with real confidence. Gather your tools, mark the boards you want to save, and start at the edge. Lift each plank carefully, and you’ll finish with reusable lumber, an intact frame, and a new skill you’ll lean on for years of backyard projects.