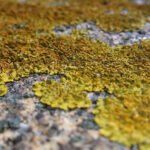
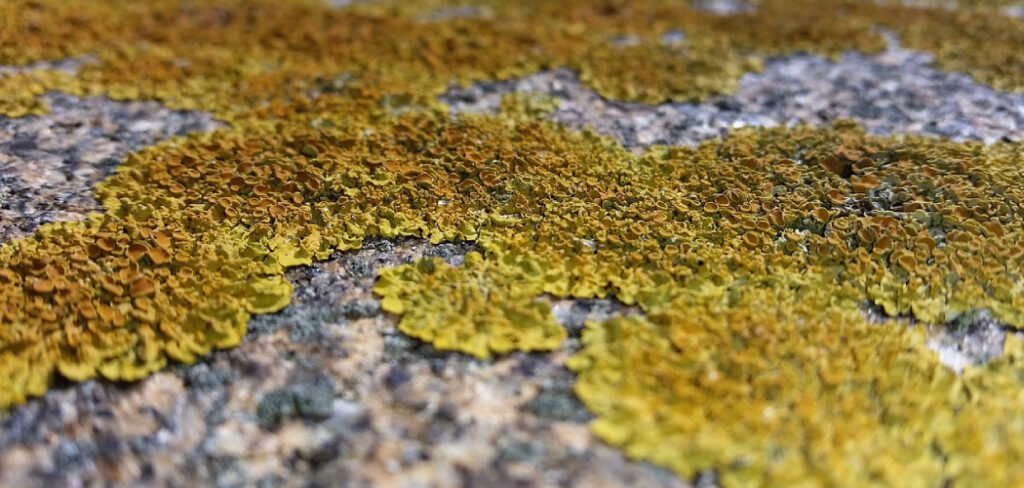
Those crusty patches of green, gray, or orange spreading across your patio, garden wall, or headstone are lichen. Left alone, they slowly etch into the surface and make stone look neglected. The good news? You can clean it off yourself with patience and the right approach.
Learning how to remove lichen from stone protects your paving, walls, and ornaments while restoring their natural color. You don’t need harsh chemicals or professional equipment to get solid results. A bit of elbow grease and a gentle method go a long way. This guide walks you through everything step by step, so you can clear lichen safely without damaging the stone underneath.
Why Removing Lichen from Stone Matters
Lichen isn’t just a cosmetic problem. It’s a living organism — part fungus, part algae — that clings tightly to stone and feeds off moisture and minerals in the surface. Over time, its root-like threads work into tiny pores and cracks.
Why this matters: As lichen grows, it traps water against the stone. That moisture freezes and expands in cold weather, widening cracks and weakening the surface. On smooth paving, lichen also becomes slippery when wet, which is a real safety risk.
For anyone caring for a backyard, a patio, or garden features, regular cleaning keeps stone strong and looking its best. Tackling lichen early saves you from bigger, more expensive repairs down the road.
Tools and Materials You’ll Need
You don’t need much to get started. Most of these items are already in your shed or available at any hardware store.
- Stiff-bristled brush: A nylon or natural-fiber brush for scrubbing. Avoid wire brushes on soft stone.
- Plastic scraper: For lifting thick, raised patches without scratching.
- Garden hose or pressure washer (low setting): To rinse loosened debris.
- Specialized lichen or biocide cleaner: A product made for stone, or a mild homemade solution.
- Bucket and warm water: For mixing and rinsing.
- Rubber gloves and safety goggles: To protect your skin and eyes.
- Old towels or a tarp: To shield nearby plants and surfaces.
- Knee pads (optional): A small comfort that makes ground-level work far easier.
Gather everything before you begin so you’re not running back and forth mid-job.
8 Step-by-Step Guide on How to Remove Lichen from Stone
Follow these steps in order for the safest, most thorough clean. Work in sections rather than rushing the whole area at once.
Step 1 – Choose the Right Day
Pick a dry, overcast day with mild temperatures. Direct sun dries cleaning solutions too quickly, which means they won’t have time to break down the lichen. Rain, on the other hand, washes your product away before it works.
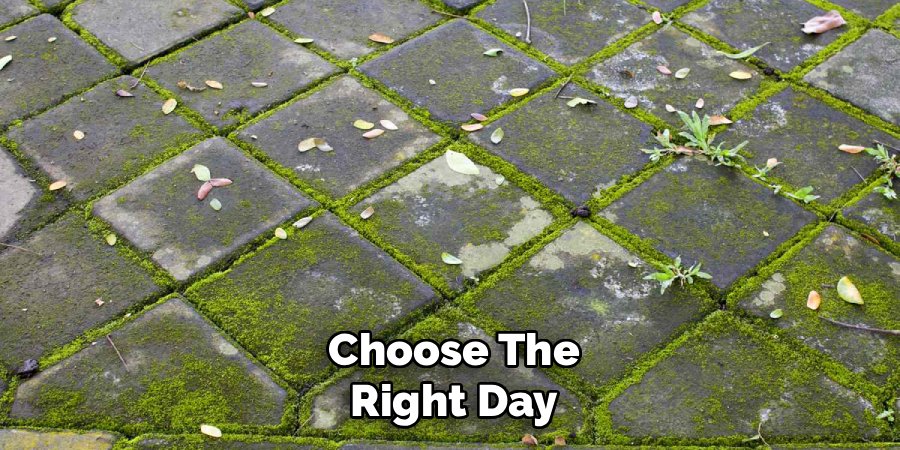
A still day matters too. Wind can blow spray onto plants, furniture, or your face. Damp, calm weather lets the solution sit on the surface and soak in properly.
Check the forecast and give yourself a few clear hours. Lichen removal isn’t something you want to interrupt halfway through. The whole process of how to remove lichen from stone works best when conditions stay steady from start to finish.
Step 2 – Protect the Surrounding Area
Before you spray or scrub anything, shield what you don’t want cleaned. Lichen treatments can harm grass, flowers, and shrubs growing nearby.
Lay down a tarp or old towels along the edges of your work area. Cover delicate plants and move any furniture, pots, or ornaments out of the way. If you’re working near a lawn, wet the grass first — damp soil absorbs less of any runoff.
This step takes five minutes and saves you a lot of regret. Splashing cleaner onto a flowerbed can leave brown patches that linger for weeks. A little preparation keeps your garden healthy while you focus on the stone.
Step 3 – Brush Off Loose Lichen
Start dry, before any liquid touches the stone. Use your stiff-bristled brush to sweep away the loose, flaky surface growth.
You’ll feel the crusty patches give way under the bristles, releasing a faint, earthy smell. Work in firm, steady strokes rather than scrubbing wildly. For thicker, raised colonies, switch to your plastic scraper and gently lift them at an angle.
Don’t force it. The goal here is to clear the top layer, not to gouge the stone. Whatever clings on tightly will loosen later once your cleaning solution softens it. Sweep the loosened debris into a pile and bin it, so it doesn’t reattach or spread spores nearby.
Step 4 – Mix Your Cleaning Solution
Now prepare your cleaner. A ready-made biocide for stone is the most reliable choice, since it kills lichen at the root and slows regrowth. Follow the dilution instructions on the label exactly.
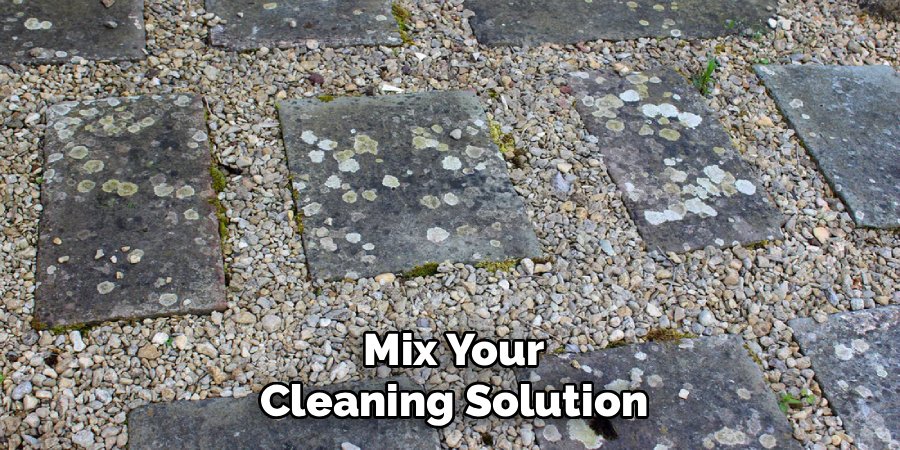
Prefer a gentler option? Mix warm water with a small amount of mild dish soap, or use a diluted solution of one part white vinegar to four parts water for sturdy, non-porous stone. A word of caution: vinegar is acidic and can damage limestone, marble, or other soft stone, so test it first.
Stir your mixture in a bucket. Avoid bleach unless you’ve confirmed it’s safe for your specific stone — it can discolor surfaces and harm plants.
Step 5 – Apply and Let It Sit
Apply your solution generously across the lichen-covered area. Use a watering can, a low-pressure sprayer, or simply pour it on and spread it with your brush.
Make sure every patch is coated. The liquid needs direct contact with the lichen to break down its grip on the stone. You may notice the color start to darken or fade as the solution begins to work.
Then walk away. Let it sit for the time recommended on your product label — usually fifteen minutes to an hour. Homemade solutions often need longer. This waiting period is where the real work happens, so resist the urge to scrub too soon.
Step 6 – Scrub the Treated Area
Once the solution has soaked in, return with your stiff brush. The lichen should feel softer and looser now, lifting away with much less effort than before.
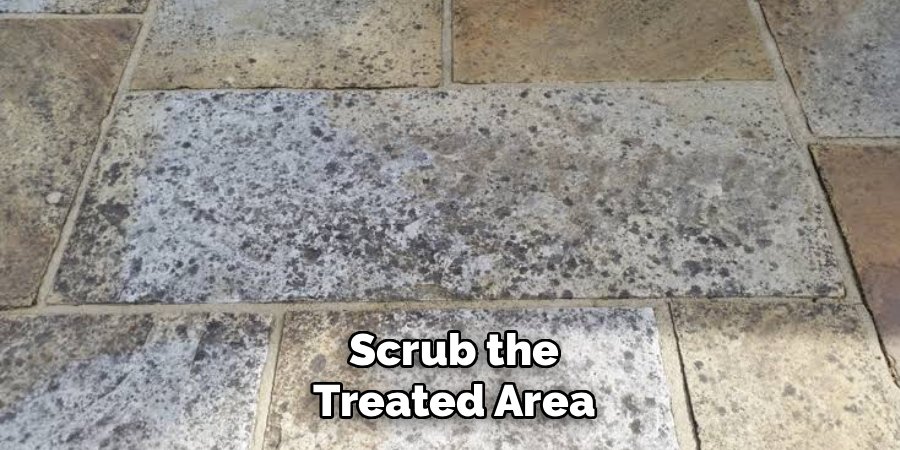
Scrub in small, overlapping sections using firm circular motions. You’ll see the patches break apart and the stone’s true color emerge beneath. Pay extra attention to cracks, joints, and textured spots where lichen anchors deepest.
For stubborn growth, reapply a little solution and give it a few more minutes before scrubbing again. Knowing how to remove lichen from stone often comes down to patience here — repeating the soak-and-scrub cycle beats attacking it with brute force, which can scratch or chip the surface.
Step 7 – Rinse Thoroughly
Rinse the area well with clean water. Use a garden hose or a pressure washer on its lowest setting, holding the nozzle at a steady angle to flush debris away from the stone.
If you use a pressure washer, keep it gentle. High pressure can erode softer stone, blast out mortar joints, and leave permanent marks. A wide, fan-shaped spray is safer than a concentrated jet.
Work from the top of any sloped or vertical surface downward, so dirty runoff doesn’t flow over areas you’ve already cleaned. Rinse until the water runs clear and you no longer see traces of cleaner or loosened lichen. Let the stone air-dry fully.
Step 8 – Inspect and Repeat if Needed
Once dry, step back and check your work. Lichen can be stubborn, and deep-rooted patches sometimes survive the first round.
Look closely at the surface in good light. Any faint discoloration or lingering green tint means a few colonies are still hanging on. That’s normal, especially on rough or porous stone.
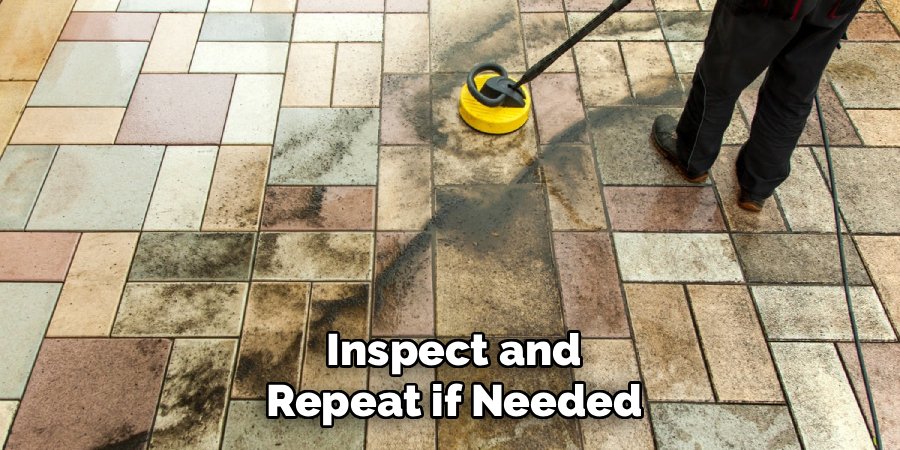
If you spot survivors, repeat the soak, scrub, and rinse on those areas only. A second treatment usually finishes the job. For very old or heavy growth, you might need to wait a few days between rounds to let the biocide keep working. Don’t expect perfection in one go — gradual progress protects the stone better than aggressive scrubbing.
Common Mistakes When Removing Lichen from Stone
A few avoidable errors trip up most first-timers. Knowing them in advance saves your stone and your effort.
Using a wire brush or high-pressure jet on soft stone. This is the most common mistake. Wire bristles and powerful water jets scratch, pit, and erode surfaces like limestone, sandstone, and marble. The damage is permanent and often looks worse than the lichen did. Always match your tool to the hardness of your stone.
Reaching for bleach or harsh acids without testing. Strong chemicals can bleach color out of stone, weaken mortar, and kill nearby plants. Vinegar, while popular, eats into soft and porous stone. Test any solution on a small, hidden patch first and wait a day to check for damage.
Rushing the process. Lichen has anchored itself over months or years. Scrubbing before your solution has had time to soak simply wastes energy and risks scratching. Give treatments the full dwell time.
Skipping plant protection. Runoff from cleaners can scorch grass and flowerbeds. Cover and rinse surrounding greenery before you start.
Avoid these, and your results will look cleaner and last far longer.
Expert Tips
A little extra know-how separates a quick fix from a lasting clean.
Treat the cause, not just the symptom. Lichen thrives in damp, shaded spots. Trim back overhanging branches to let in more sunlight and improve airflow. Drier stone discourages regrowth.
Apply a stone sealant after cleaning. Once the surface is fully dry, a breathable sealant fills tiny pores and makes it harder for spores to take hold. This buys you months, sometimes years, before lichen returns.
Clean during cooler seasons. Autumn and early spring are ideal, since mild, damp weather keeps your solution active longer without baking it dry.
Keep up with light maintenance. A quick rinse and brush every few months stops small patches from becoming entrenched colonies. Prevention is far easier than removal.
Frequently Asked Questions
Will removing lichen damage my stone?
Not if you use the right method. Gentle brushing, an appropriate cleaning solution, and low-pressure rinsing protect the surface. Damage usually comes from wire brushes, harsh acids, or high-pressure jets on soft stone. Match your tools to your stone type, test any product first, and work patiently. Done correctly, removal restores the stone without harming it.
How often should I clean lichen from outdoor stone?
For most surfaces, a thorough clean once a year keeps lichen under control. In shaded, damp areas where growth is faster, you may need to check every six months. A quick brush and rinse between deep cleans stops small patches from spreading. Regular attention makes each cleaning session shorter and gentler on the stone.
Can I use household vinegar to remove lichen?
You can on hard, non-porous stone, but use it carefully. Dilute one part white vinegar to four parts water, and always test a hidden area first. Avoid vinegar entirely on limestone, marble, or sandstone — its acidity eats into soft and porous surfaces, causing lasting damage. A dedicated stone biocide is usually a safer, more effective choice.
Does pressure washing remove lichen effectively?
It helps, but only on its lowest setting and on hard, durable stone. High pressure strips out mortar joints and erodes softer surfaces, leaving permanent marks. Use a wide fan spray rather than a concentrated jet, and always loosen lichen with a cleaning solution first. Pressure washing works best as a rinsing step, not the main removal method.
How can I stop lichen from coming back?
Reduce the moisture and shade that lichen needs to grow. Trim overhanging branches to let in sunlight, improve drainage around the stone, and apply a breathable sealant after cleaning. Light, regular maintenance — a quick brush and rinse every few months — keeps new growth from taking hold. You won’t stop it forever, but you’ll slow it dramatically.
Conclusion
Clearing lichen from your patio, walls, or garden features is a job you can absolutely handle yourself. The key is patience and the right method: choose a calm, damp day, protect nearby plants, brush off loose growth, apply a suitable cleaner, let it soak, scrub gently, and rinse thoroughly. Repeat on stubborn patches rather than forcing the job in one pass.
Remember that the gentlest effective approach always wins. Harsh tools and strong chemicals may seem faster, but they risk permanent damage to the stone you’re trying to protect. Match your method to your surface, test before you commit, and give every treatment time to work.
Now that you know how to remove lichen from stone safely, you can restore the natural color and strength of your outdoor surfaces with confidence. Follow up with a breathable sealant and a little regular maintenance, and you’ll keep that fresh, clean look for years. Grab your brush, pick your day, and get started — your stone will thank you for it.