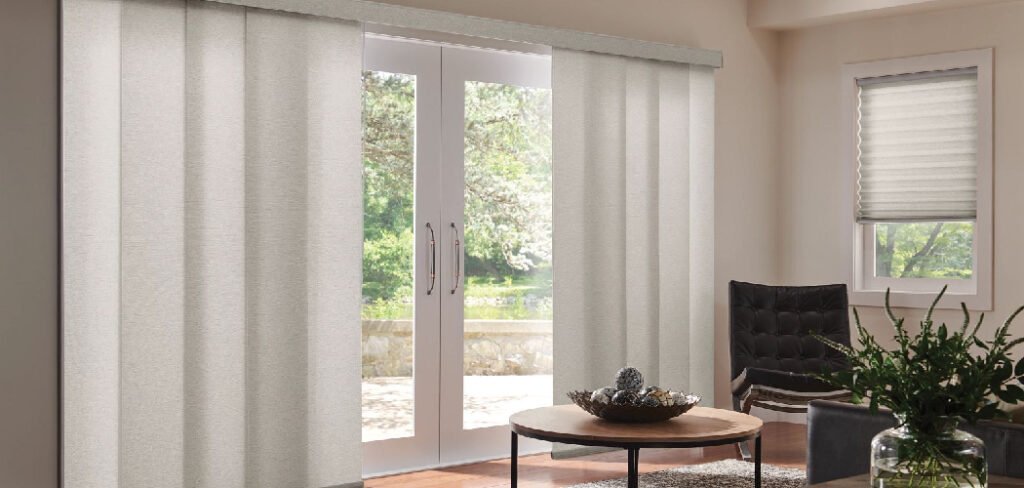
Patio doors are a wonderful feature in any home, flooding the room with natural light and providing easy access to the outdoors. However, dressing them can be a challenge. Unlike standard windows, these large expanses of glass require drapes that are not only stylish but also perfectly sized for function and beauty. Ill-fitting drapes can look awkward, fail to provide privacy, and be cumbersome to operate.
The secret to achieving that polished, professional look lies in one crucial step: accurate measurements. Taking the time to measure correctly ensures your drapes will hang beautifully, open and close smoothly, and provide the right amount of light control. This guide will show you exactly how to measure drapes for patio door applications, breaking down the process into simple, beginner-friendly steps for a perfect fit every time.
The process of measuring for patio door drapes may seem daunting at first, but with the right approach, it becomes straightforward and stress-free. Proper measurements not only enhance the visual appeal of your space but also ensure that your drapes function seamlessly, providing both style and practicality. Whether you’re aiming for a sleek, modern look or a more traditional aesthetic, taking precise measurements is the foundation for achieving the desired outcome.
7 Step-by-Step Guide on How to Measure Drapes for Patio Door
Step 1: Decide on Rod Placement
Before you even touch your tape measure to the wall, you need to decide where your curtain rod will be installed. This decision is the foundation for all subsequent measurements. For a professional and grander look, the standard recommendation is to mount the rod at least 4 to 6 inches above the top of the door frame.
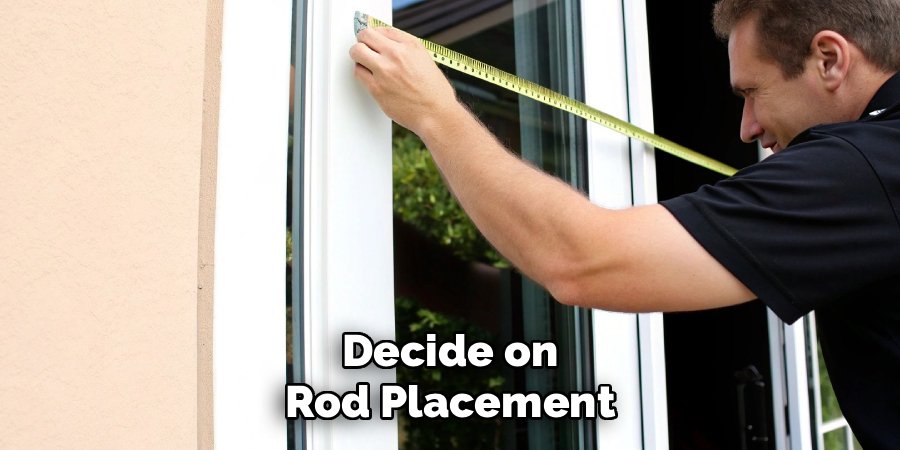
This creates an illusion of height and prevents the drapes from looking cramped. If you have high ceilings, you can go even higher, placing the rod halfway between the top of the door frame and the ceiling. This crucial first step determines the final length of your drapes and sets the stage for a well-proportioned window treatment.
Step 2: Measure the Width for Proper Coverage
Next, you need to determine the width for your curtain rod and panels. Measure the full width of your patio door, including the frame or trim. To ensure the drapes can be pulled completely clear of the glass when open, you need to add “stack-back” space on either side. A good rule of thumb is to add 8 to 12 inches on both the left and right sides of the door frame. This extension allows the draped fabric to rest on the wall without obstructing the view or the doorway. So, your final rod width measurement will be the door width plus 16 to 24 inches.
Step 3: Determine the Finished Length of the Drapes
Now you will measure for the drape length. This measurement starts from where you plan to install the rod (as decided in Step 1) and goes down to where you want the drapes to end. There are three common lengths to consider. For a “puddle” look, measure to the floor and add 6 to 10 inches. For drapes that just “kiss” the floor, measure directly to the floor. For a “floating” look that hangs just above the floor, measure to the floor and subtract about half an inch. Kissing the floor is the most popular choice for a clean, tailored appearance that is easy to maintain.
Step 4: Calculate Panel Width
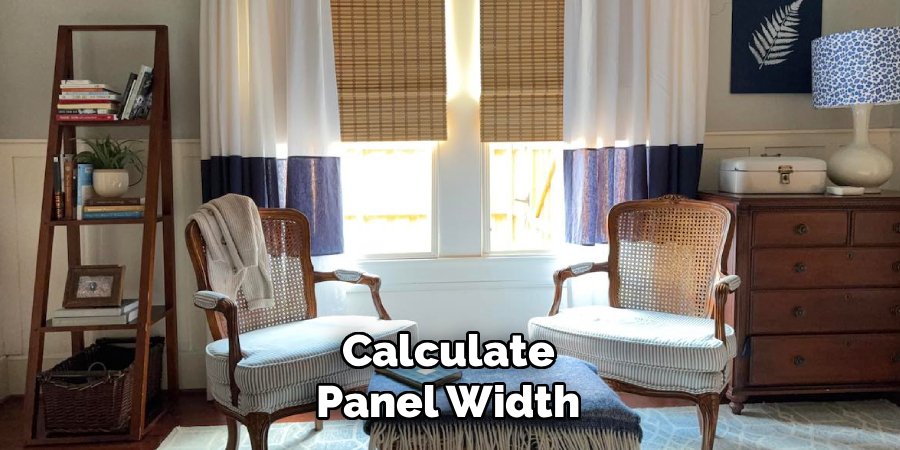
Now that you have your rod width, you need to calculate the total width of the drape panels required to create an attractive, full look when closed. You do not want the drapes to be stretched flat; they should have gentle folds and ripples. The standard rule for fullness is to choose panels that have a combined width of at least 1.5 to 3 times your final rod width. For a standard, full look, a multiplier of 2 is a great starting point. For example, if your rod width is 100 inches, you will want a total panel width of at least 200 inches.
Step 5: Choose the Right Type of Drapes
The style of drape you choose can impact your length measurement. The “header” is the top part of the curtain that attaches to the rod, and different headers hang differently. For example, grommet-top and rod-pocket drapes are measured from the very top of the fabric. Tab-top or tie-top drapes are measured from where the tab or tie sits on the rod, not the absolute top of the fabric. Ring-top curtains are measured from the bottom of the rings. Always check the manufacturer’s instructions for your chosen drape style to confirm the correct point from which to measure the length, ensuring you account for these subtle but important differences.
Step 6: Door with a Center Support
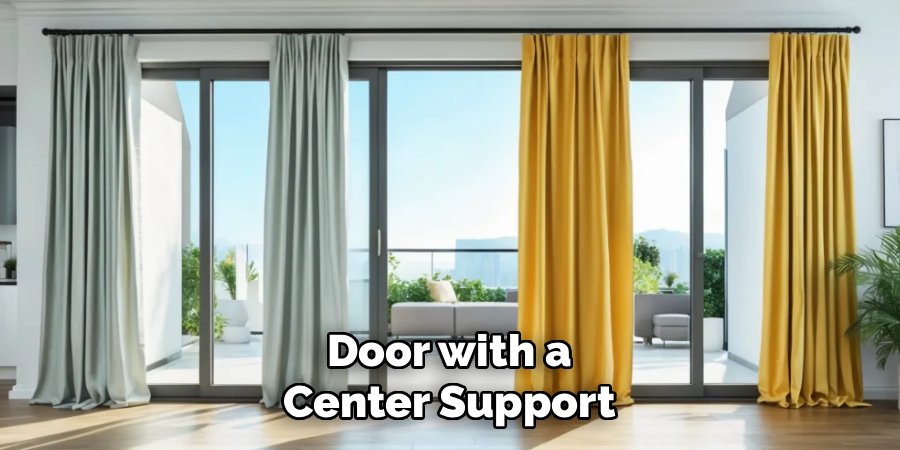
Because of the long span required for a patio door, most curtain rods will need at least one center support bracket to prevent bowing or sagging. This is an important consideration when planning your drapes. You will likely need to use two separate drape panels, one on each side, so they can be drawn open from the center. A single, wide panel would be blocked by the center support bracket. When you calculate your total panel width, you can divide that number by two to determine the minimum width needed for each of the two panels you will hang.
Step 7: Record and Review Your Measurements
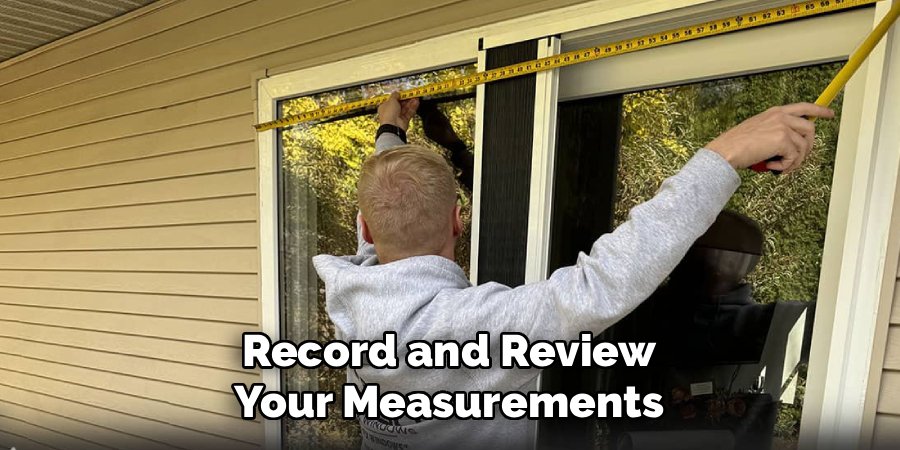
Before you place an order or start sewing, take a moment to double-check all of your figures. It is a good practice to measure everything twice to avoid costly mistakes. Write down your final rod width, your desired finished drape length, and your calculated panel width. Clearly label each number so you do not get them confused. For example: “Rod Width: 104 inches,” “Drape Length (to floor): 88 inches,” “Total Panel Width Needed: 208 inches.” This simple step of reviewing your work ensures you purchase or create drapes that will fit perfectly and function exactly as you envisioned.
Installation Process Steps
Installing your drapes is a straightforward process if you follow a few key steps. Start by gathering all necessary tools and hardware, such as a measuring tape, a level, a drill, screws, and brackets. Begin by marking the placement of the brackets on the wall using your measurements as a guide. Ensure that the marks are level and evenly spaced from the window edges to ensure symmetry.
Next, securely attach the brackets to the wall using a drill and screws. Once the brackets are in place, carefully place the curtain rod onto the brackets, ensuring it is stable and properly set. Finally, hang the drapes onto the rod, adjusting them as needed for even spacing and alignment. Take a step back to assess the overall appearance and make small adjustments if necessary to achieve the perfect look.
Frequently Asked Questions (FAQ)
Should Drapes for a Patio Door Touch the Floor?
This is a matter of personal preference, but the most popular and practical styles either “kiss” the floor or float just above it.
- Kissing the floor: The drapes hang so they just touch the floor. This creates a clean, tailored look.
- Floating: The hem hangs about half an inch above the floor. This is a great choice for high-traffic areas as it prevents the drapes from getting dirty.
- Puddling: The drapes have extra length that pools on the floor. This is a very dramatic, formal look but is not practical for a frequently used door.
How Wide Should Curtain Panels Be for a Sliding Glass Door?
For a full, luxurious look, the total width of your curtain panels should be at least 1.5 to 3 times the width of your curtain rod. A good standard is to double the rod width. For example, if your curtain rod is 120 inches wide, you will want a total panel width of at least 240 inches. This means you could use two panels that are each 120 inches wide.
How Far Should a Curtain Rod Extend Past a Patio Door?
The rod should extend far enough on each side to allow the drapes to be pulled completely clear of the glass. This is called “stack-back.” A good rule of thumb is to extend the rod 8 to 12 inches past the door frame on both sides. This maximizes natural light and provides an unobstructed view when the drapes are open.
What Kind of Drapes Are Best for a Patio Door?
Grommet-top or ring-top drapes are excellent choices for patio doors because they slide easily along the rod, making them perfect for a door that is used often. A traverse rod with carriers and pins is another highly functional option that allows you to open and close the drapes with a simple cord or wand. Rod-pocket curtains are less ideal as they can be difficult to slide back and forth frequently.
Do I Need One or Two Panels for a Patio Door?
You will almost always need two panels. Most curtain rods long enough for a patio door require a center support bracket to prevent sagging. A single, continuous drape panel would not be able to slide past this center support. Using two panels allows you to draw one to the left and one to the right, meeting in the middle when closed.
Conclusion
Measuring for patio door drapes might seem complicated, but it is a straightforward process when broken down into logical steps. The key to success lies in careful planning before you even pick up the tape measure. By deciding on rod placement first, accounting for stack-back space, and calculating for proper fullness, you set yourself up for a flawless result. These steps ensure your drapes will not only enhance your room’s decor but will also be perfectly functional for a high-traffic area. Now that you have a clear understanding of how to measure drapes for patio door applications, you can move forward with confidence, ready to choose and install window treatments that will transform your space.

About
Jovie Mathews is a backyard and outdoor expert writer with over 12 years of hands-on experience transforming neglected outdoor spaces into thriving gardens and functional retreats. Raised in a family where weekends meant digging in the soil and building raised beds from scratch, Jovie developed a genuine love for the outdoors long before it became a career.
She writes with a practical, no-fluff approach — always testing ideas in her own backyard before sharing them with readers. From composting systems and native plant selection to patio design and pest control, Jovie covers the full spectrum of backyard life with equal parts expertise and enthusiasm.
Education
B.Sc. in Horticulture Science
University of Florida (UF) · Gainesville, FL · 2014
IFAS College of Agricultural and Life Sciences
Minor in Environmental Studies
University of Florida (UF) · Gainesville, FL · 2014
College of Liberal Arts and Sciences
Areas of expertise
- Lawn & Garden Care
- Soil prep, planting, seasonal care
- Outdoor DIY Projects
- Raised beds, fencing, pathways
- Composting & Soil Health
- Organic methods, amendments
- Native Plants & Wildlife
- Pollinators, habitat gardening
When she is not writing, Jovie can be found testing new composting techniques, growing tomatoes in questionable quantities, or convincing her neighbors that clover lawns are actually a great idea. She currently gardens in the Pacific Northwest.