Your backyard should be a personal retreat, a place where you can unwind with a book or enjoy a meal with family without feeling like you are on display for the entire neighborhood. Unfortunately, close property lines and nosy neighbors can often make relaxation difficult. While planting a hedge takes years and installing a full fence can be expensive or prohibited by HOA rules, a movable partition offers the perfect middle ground.
It provides immediate seclusion exactly where you need it, whether that is around a hot tub, a patio dining set, or a sunbathing spot. This project is approachable for beginners and customizable to fit your style. In this guide, we will walk you through exactly how to build a freestanding privacy screen that is sturdy, stylish, and functional. By the end of this project, you will have not just a barrier against prying eyes, but a beautiful architectural element that enhances your outdoor living space.
Creating a freestanding privacy screen can transform your outdoor area into a personal retreat. Whether you’re looking to create a peaceful sanctuary or simply add a touch of elegance to your space, this project offers the perfect solution. With just a few tools and materials, you can design a screen that not only provides privacy but also complements your existing decor. It’s a functional yet stylish addition that will elevate the ambiance of your backyard or patio.
7 Step-by-Step Guide on How to Build a Freestanding Privacy Screen
Step 1: Design and Measure Your Ideal Screen Dimensions
Before you purchase a single piece of lumber, you must have a clear plan for your project. Visualize exactly where you want the screen to sit and what specific view you are trying to block. Grab a tape measure and determine the ideal height and width for your needs.
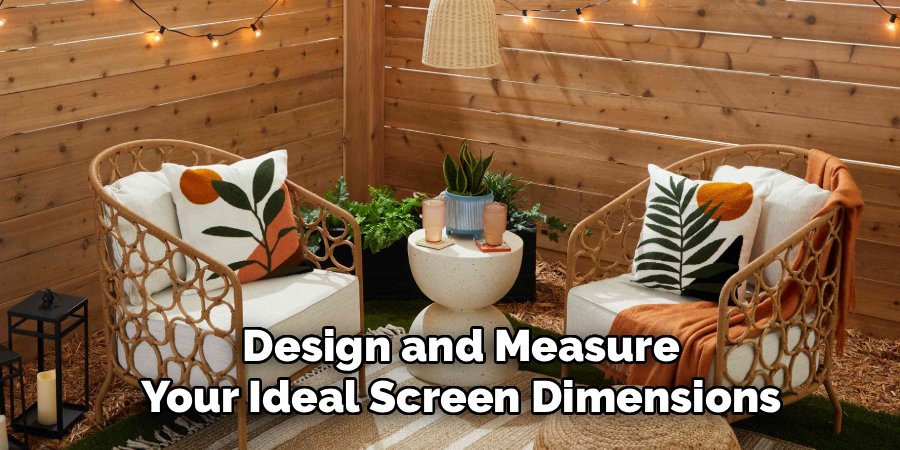
A standard privacy screen is typically around six feet tall and four to six feet wide, which is manageable to move but large enough to be effective. Sketch your design on paper, deciding on the slat spacing and whether you want a modern horizontal look or a traditional lattice style. This planning phase ensures you buy the correct amount of materials and avoid costly waste later.
Step 2: Gather Necessary Tools
Durability is key for any outdoor structure, so selecting the right wood is critical. Pressure-treated pine is a cost-effective choice that resists rot and insects, while cedar or redwood offers natural resistance and a more premium aesthetic. You will need 4×4 posts for the main upright supports, 2x4s for the frame, and 1×6 or 1×4 boards for the horizontal slats. For the tools, ensure you have a circular saw or miter saw for cutting, a power drill with outdoor-rated screws, a tape measure, a level, and a speed square. Having everything organized beforehand makes the process of learning how to build a freestanding privacy screen much smoother and more enjoyable.
Step 3: Cut the Main Posts and Frame Pieces to Size
With your materials gathered, begin by cutting your lumber to the dimensions specified in your design. Start with the two vertical legs, usually made from 4×4 posts. These need to be the full height of your screen plus any clearance you want at the bottom. Next, cut the top and bottom rails from your 2×4 lumber to determine the width of the screen. Accuracy is vital here; if your cuts are not square, the entire frame will be crooked. Use your speed square to mark straight lines before cutting. Sand the cut ends immediately to smooth out any splinters, which gives the final product a professional finish and makes handling the wood safer.
Step 4: Assemble the Outer Rectangular Frame
Now it is time to build the skeleton of your screen. Lay your two vertical posts and your top and bottom rails on a flat surface, such as a garage floor or a driveway. Arrange them into a rectangle, ensuring the corners are perfectly square. You can check for squareness by measuring diagonally from corner to corner; if the measurements are equal, your frame is square.
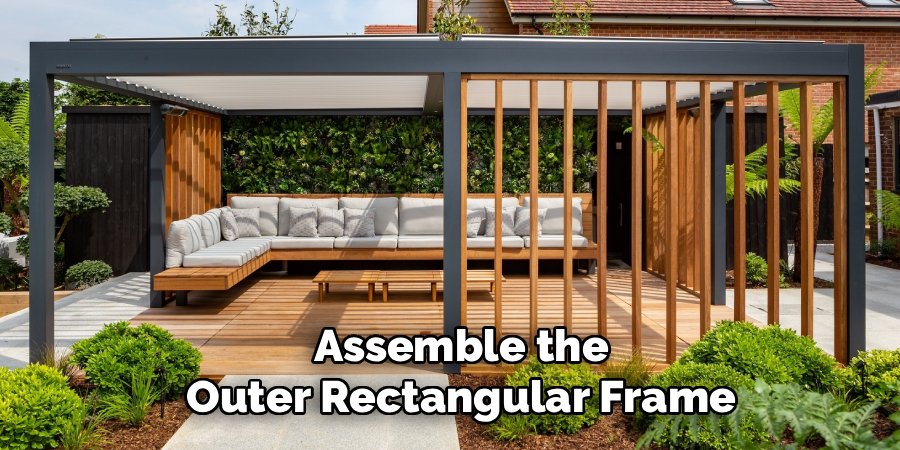
Use long, outdoor-rated deck screws or lag bolts to attach the rails to the posts. Pre-drilling pilot holes is essential to prevent the wood from splitting near the ends. This frame provides the structural integrity for the entire screen, so take your time to ensure it is solid and rigid.
Step 5: Construct the Support Feet for Stability
Since this is a freestanding structure, it needs robust feet to prevent it from tipping over in the wind. Cut four pieces of 2×4 lumber, each about 24 to 30 inches long. You will attach two of these pieces to the bottom of each vertical post, sandwiching the post between them.
To add extra strength, you can cut 45-degree angle braces from 2×4 scrap wood. Attach these braces between the vertical post and the horizontal foot pieces. This creates a wide, stable base that distributes the weight evenly. Ensure the feet are attached perfectly perpendicular to the uprights so the screen stands up straight without leaning.
Step 6: Install the Horizontal Privacy Slats
With the frame standing upright and stable, you can begin adding the slats that create the actual visual barrier. Start at the top of the frame and work your way down. Align your first 1×6 or 1×4 board with the top edge of the frame and screw it into the vertical posts on both sides.
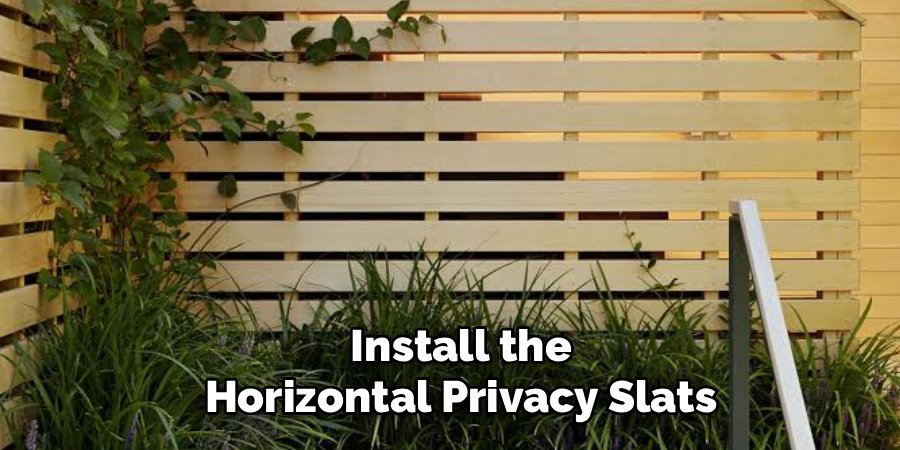
Use two screws per side to prevent the board from warping or twisting over time. Using a spacer block is a great trick for consistent gaps. Cut a small piece of scrap wood to your desired gap width (e.g., half an inch) and place it between boards as you go. This ensures uniform spacing without constant measuring.
Step 7: Adding Decorative Elements or Trim
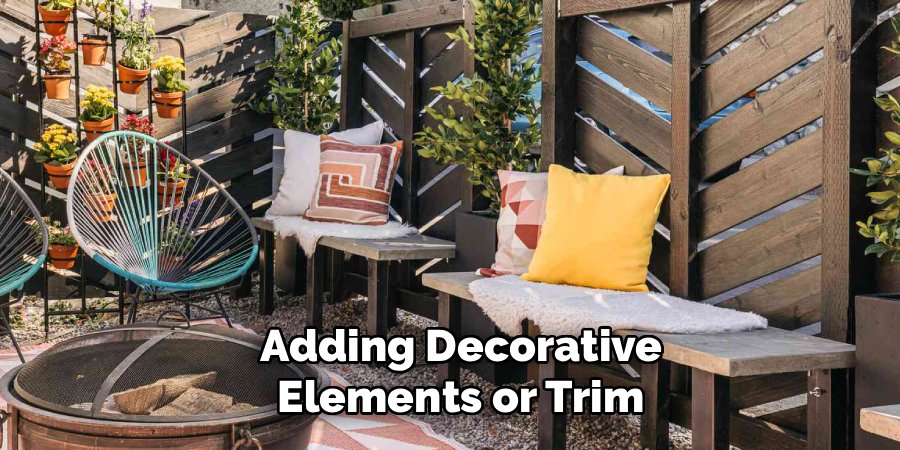
While the horizontal slats provide function, adding trim can significantly elevate the look of your project. If you want a cleaner appearance, you can frame the ends of the slats with vertical 1×2 or 1×4 trim boards. This hides the cut ends of the slats and the screw heads, giving the screen a polished, furniture-like quality. Alternatively, you could incorporate a section of lattice at the top for a more open, airy feel, or attach planter boxes to the base for added weight and greenery. Customizing the design is the fun part of knowing how to build a freestanding privacy screen that reflects your personal style.
Frequently Asked Questions (FAQ)
What Is the Best Wood for an Outdoor Privacy Screen?
The best choices balance durability with cost.
- Pressure-Treated Pine: The most affordable option. It is treated to resist rot and insects but can warp if not sealed properly.
- Cedar: A mid-range option that is naturally resistant to rot and insects. It is lightweight, stable, and smells great.
- Redwood: A premium choice known for its rich color and exceptional durability, though it is the most expensive.
How Tall Should My Privacy Screen Be?
Standard privacy screens are typically 6 feet tall. This height is sufficient to block the view of neighbors while you are standing or sitting. However, check your local zoning laws and HOA regulations before building. Some areas have height restrictions for freestanding structures, even if they aren’t permanent fences. If wind is a concern, a shorter screen (around 4 or 5 feet) offers less resistance and greater stability.
Can I Make the Screen Mobile?
Yes, you can easily make your screen mobile by attaching heavy-duty caster wheels to the bottom of the feet. Ensure you choose locking casters that are rated for outdoor use and can support the weight of the wood. Locking wheels are essential to keep the screen from rolling away on uneven surfaces or during windy days. This is a great option for multi-purpose patios.
How Do I Keep the Screen from Blowing Over?
Stability is the biggest challenge for freestanding screens.
- Wide Feet: Ensure the base feet are at least 24-30 inches long.
- Weight: Add heavy planter boxes to the base of the screen. The weight of the soil and plants acts as a natural anchor.
- Airflow: Leave gaps between the horizontal slats. This allows wind to pass through the screen rather than pushing against it like a solid sail.
Do I Need to Cement the Posts into the Ground?
No, because this is a freestanding screen, cementing posts is not required. The design relies on the perpendicular feet for stability. However, if you want a permanent installation, you certainly can dig holes and set extended posts in concrete. Just remember that once you do this, it is no longer a movable piece of furniture but a permanent fence structure, which may require a building permit.
Conclusion
Building your own privacy screen is one of the most rewarding DIY projects you can undertake for your home. It solves a functional problem by blocking unwanted views while simultaneously adding a custom architectural feature to your landscape. By following these steps, you have transformed raw lumber into a sturdy, freestanding structure that defines your space without the hassle or expense of a permanent fence.
Whether you choose to stain it a rich walnut color or paint it to match your house trim, the result is a cozy, secluded corner that invites you to relax. Now that you have mastered how to build a freestanding privacy screen, you can enjoy your morning coffee or evening glass of wine in the peace and privacy you deserve.

About
Jovie Mathews is a backyard and outdoor expert writer with over 12 years of hands-on experience transforming neglected outdoor spaces into thriving gardens and functional retreats. Raised in a family where weekends meant digging in the soil and building raised beds from scratch, Jovie developed a genuine love for the outdoors long before it became a career.
She writes with a practical, no-fluff approach — always testing ideas in her own backyard before sharing them with readers. From composting systems and native plant selection to patio design and pest control, Jovie covers the full spectrum of backyard life with equal parts expertise and enthusiasm.
Education
B.Sc. in Horticulture Science
University of Florida (UF) · Gainesville, FL · 2014
IFAS College of Agricultural and Life Sciences
Minor in Environmental Studies
University of Florida (UF) · Gainesville, FL · 2014
College of Liberal Arts and Sciences
Areas of expertise
- Lawn & Garden Care
- Soil prep, planting, seasonal care
- Outdoor DIY Projects
- Raised beds, fencing, pathways
- Composting & Soil Health
- Organic methods, amendments
- Native Plants & Wildlife
- Pollinators, habitat gardening
When she is not writing, Jovie can be found testing new composting techniques, growing tomatoes in questionable quantities, or convincing her neighbors that clover lawns are actually a great idea. She currently gardens in the Pacific Northwest.