Nothing disrupts a weekend renovation project quite like a stubborn fastener refusing to budge. Whether you are replacing a few damaged boards or completely tearing down an old structure to build a new garden oasis, learning how to remove decking screws is an essential skill for any home gardener or DIY enthusiast.
Over time, exposure to rain, sun, and fluctuating temperatures can cause screws to rust, strip, or snap, turning a simple task into a frustrating ordeal. The good news is that you don’t need to be a professional contractor to solve this problem.
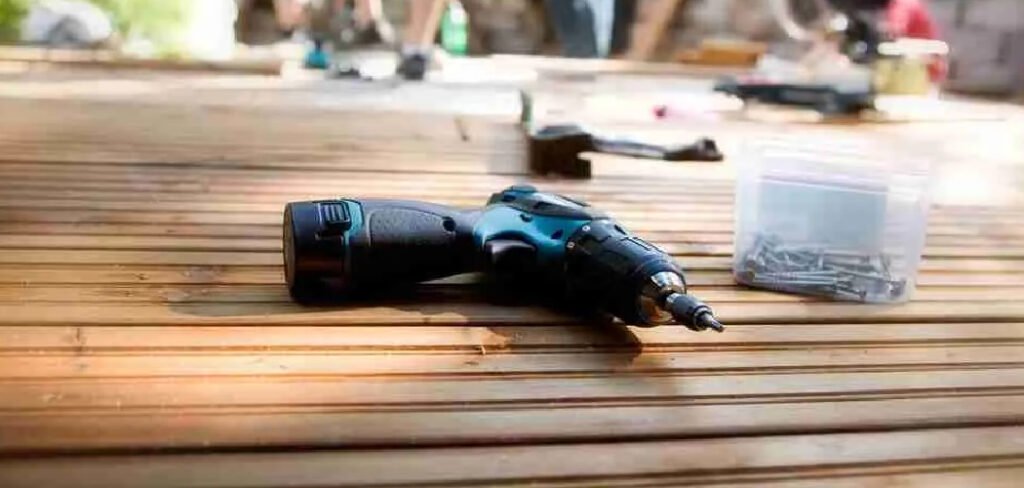
This guide is designed to walk you through the process safely and efficiently, even if you have never handled a power drill before. We will cover everything from the basic tools you need to advanced tricks for dealing with stripped heads and rusted shanks.
By following these clear, actionable steps, you will save time, protect your decking material from unnecessary damage, and gain the confidence to tackle future repairs. Let’s get those stubborn screws out so you can get back to enjoying your outdoor space.
Why Removing Decking Screws Matters
Understanding the mechanics of screw removal is more than just a demolition skill; it is about preserving the integrity of your outdoor structures. Decking boards are expensive, and often, the wood itself is still in great condition even if the fasteners have failed. By successfully removing screws rather than prying boards loose with brute force, you can salvage valuable lumber for other garden projects, such as raised beds, compost bins, or rustic furniture.
Furthermore, improper removal techniques can leave behind jagged metal shards or splintered wood, creating safety hazards for children, pets, and bare feet. Leaving old, rusting screws embedded in the joists can also accelerate rot in the underlying structure, compromising the stability of your deck over time.
Mastering this skill ensures that your renovations are clean, safe, and professional-looking. It also saves you money on materials and tools in the long run, as you won’t need to replace damaged joists or buy specialized heavy-duty extraction equipment for every minor repair.
Step-by-Step Guide on How to Remove Decking Screws
Removing old fasteners requires patience and the right approach. This section breaks down the process into manageable actions, ensuring you can handle even the most stubborn screws without damaging your deck.
Step 1: Clean the Screw Heads Thoroughly
The first and often most overlooked step in this process is ensuring you have a clean surface to work with. Over the years, dirt, grit, paint, and old deck stain can accumulate inside the screw head, making it impossible for your screwdriver bit to get a solid grip. Use a stiff wire brush or a small pick tool to scrape away any debris impacted into the drive recess.

If the screw is painted over, you might need to tap the screwdriver bit gently into the head with a hammer to break the paint seal. This simple preparation prevents the bit from slipping, which is the leading cause of stripped screws. A clean interface between the tool and the fastener significantly increases your chances of backing it out smoothly on the first try.
Step 2: Choose the Correct Driver Bit
Selecting the right tool for the job is critical for success and prevents unnecessary frustration. Decking screws typically come with Phillips, square (Robertson), or star (Torx) drive heads, and using a mismatched bit is a recipe for disaster. Inspect the screw head closely to identify the drive type and size. Insert your chosen bit into the screw head by hand before attaching it to your drill; it should fit snugly with zero wobble. If there is any play, try a different size.
Using an impact driver instead of a standard drill can also provide the extra torque needed to break the rust bond without stripping the head. This precision ensures that the force you apply translates directly into rotation rather than damaging the fastener further.
Step 3: Apply Penetrating Oil to Rusted Screws
If your deck has weathered many seasons, rust is likely cementing the screws to the wood fibers. Before attempting to turn them, apply a generous amount of penetrating oil specifically designed to break down corrosion. Spray the oil around the head of the screw and let it sit for at least fifteen to twenty minutes. For severely rusted fasteners, waiting an hour or even overnight can make a world of difference.

The liquid works its way down the shank, lubricating the threads and softening the rust that locks the metal in place. This patience pays off by reducing the torque required to turn the screw, minimizing the risk of the head snapping off during removal.
Step 4: Use the Reverse and Forward Technique
When you are finally ready to turn the screw, resist the urge to just gun the drill in reverse immediately. Instead, try a technique that mimics rocking a car out of snow. gently pulse the drill in reverse, then switch to forward for a split second, and then back to reverse. This back-and-forth motion helps to break the initial corrosion seal without applying continuous, overwhelming stress on the metal shaft.
Listen to the wood; a cracking sound often indicates the rust bond is breaking. Once you feel movement, proceed slowly in reverse. If you encounter resistance halfway up, stop, apply more oil, and drive it back down slightly before backing it out again to clear the threads of debris.
Step 5: Strategies for Stripped Screw Heads
Despite your best efforts, sometimes the head strips out, leaving a rounded hole with no grip. When this happens, learning how to remove decking screws requires a different approach. One effective trick is to place a wide rubber band over the stripped screw head before inserting your driver bit. The rubber fills the gaps and provides just enough friction to turn the fastener.
If that fails, you can use a Dremel tool or a hacksaw to cut a new slot across the top of the screw head. You can then use a large flathead screwdriver to back it out manually. These creative solutions often save you from having to resort to more destructive extraction methods.
Step 6: Utilizing a Screw Extractor Kit
If the rubber band trick fails, it is time to employ a dedicated screw extractor, often called an “easy-out.” These specialized bits have reverse threads that dig into the metal as you turn them counter-clockwise. To use one, you first drill a small pilot hole into the center of the damaged screw head using a metal drill bit. Then, you switch to the extractor bit and drive it into that hole in reverse.
As the extractor bites into the metal, it transfers the torque to the screw shaft, unscrewing it. This method is highly effective for heads that are completely rounded off or broken, allowing you to remove the fastener without damaging the surrounding wood board.
Step 7: Managing Snapped Screw Shanks
Sometimes the head of the screw snaps off entirely, leaving the shank buried deep within the wood. If a portion of the shank is protruding above the surface, you can lock a pair of high-quality locking pliers (Vise-Grips) onto the metal stump and turn it counter-clockwise to unscrew it. However, if the break is flush with or below the surface, you may need to use a plug cutter.
This tool cuts a small cylinder of wood around the screw, allowing you to pull the wood plug and the screw out together. You can then glue a new dowel into the hole to restore the deck surface. While more invasive, this method completely removes the obstruction.
Step 8: Dealing with Spinning Screws
Occasionally, you will encounter a “spinner”—a screw that turns freely but refuses to back out because the threads have stripped the wood hole. To fix this, you need to create upward pressure while turning. Wedge a flat pry bar or a stiff putty knife under the head of the screw if it is slightly raised.
Apply upward leverage with the tool while simultaneously turning the screw slowly with your drill. The upward force helps the threads catch onto fresh wood fibers, allowing the screw to climb out. If the head is flush, try prying up on the deck board itself near the screw while reversing the drill. This combined action is usually enough to engage the threads and extract the fastener.
Frequently Asked Question (Faq)
What Is The Best Tool For Removing Old Decking Screws?
An impact driver is generally the superior tool for removing old decking screws compared to a standard cordless drill. Impact drivers deliver concussive rotational force (torque) that helps break the bond of rust and corrosion without stripping the screw head as easily.
However, for screws that are already stripped or damaged, a specialized screw extractor kit or locking pliers are essential additions to your toolkit.
Can I Reuse The Old Decking Screws I Removed?
It is generally not recommended to reuse old decking screws, especially if they show signs of rust, corrosion, or thread damage. The structural integrity of a screw is compromised after being driven in and exposed to the elements for years.
Reusing them increases the risk of the screw snapping off or stripping during re-installation. It is always safer and more durable to invest in new, high-quality coated deck screws for your project.
How Do I Remove A Screw With No Head?
If the screw head has snapped off flush with the wood, you have a few options. You can use a screw extractor kit, which involves drilling into the shank and reversing it out. Alternatively, you can use a hollow screw extractor or plug cutter to bore around the screw and remove a plug of wood containing the metal.
If the look isn’t critical, you can simply hammer the shank deeper into the joist and fill the hole with wood putty.
Why Do Deck Screws Snap When Being Removed?
Deck screws snap primarily due to metal fatigue and corrosion. Over time, moisture causes the metal to rust, weakening the shaft. Additionally, the wood of the deck expands and contracts with the seasons, putting constant shearing pressure on the screws.
When you apply high torque to remove them, the friction from the rusted threads combined with the weakened metal often exceeds the screw’s shear strength, causing it to snap.
Should I Drill Out A Stuck Screw?
Drilling out a screw should be a last resort because it is difficult to do without damaging the surrounding wood threads. If you try to drill through the entire screw, the bit will often wander into the softer wood.
It is better to try penetrating oil, heat, impact drivers, and extractors first. If you must drill, use a bit designed for metal and try to drill only enough to use an extractor tool.
Conclusion
Revamping your deck doesn’t have to be a battle against rusty metal. By following the right techniques and having a bit of patience, you can clear away old fasteners without destroying your lumber or your sanity.
From cleaning debris out of screw heads to utilizing impact drivers and extractor kits, you now have a full arsenal of strategies to handle any situation your renovation throws at you.
Remember, the goal is not just demolition, but preservation—saving the wood structure so it can be enjoyed for years to come.
Learning how to remove decking screws properly is a small but mighty skill that elevates the quality of your work and ensures your garden projects are safe and sturdy. So grab your drill, put on your safety glasses, and get started on transforming your outdoor space with confidence.

About
Jovie Mathews is a backyard and outdoor expert writer with over 12 years of hands-on experience transforming neglected outdoor spaces into thriving gardens and functional retreats. Raised in a family where weekends meant digging in the soil and building raised beds from scratch, Jovie developed a genuine love for the outdoors long before it became a career.
She writes with a practical, no-fluff approach — always testing ideas in her own backyard before sharing them with readers. From composting systems and native plant selection to patio design and pest control, Jovie covers the full spectrum of backyard life with equal parts expertise and enthusiasm.
Education
B.Sc. in Horticulture Science
University of Florida (UF) · Gainesville, FL · 2014
IFAS College of Agricultural and Life Sciences
Minor in Environmental Studies
University of Florida (UF) · Gainesville, FL · 2014
College of Liberal Arts and Sciences
Areas of expertise
- Lawn & Garden Care
- Soil prep, planting, seasonal care
- Outdoor DIY Projects
- Raised beds, fencing, pathways
- Composting & Soil Health
- Organic methods, amendments
- Native Plants & Wildlife
- Pollinators, habitat gardening
When she is not writing, Jovie can be found testing new composting techniques, growing tomatoes in questionable quantities, or convincing her neighbors that clover lawns are actually a great idea. She currently gardens in the Pacific Northwest.