A freshly stained deck can completely transform your outdoor living space, adding beauty, value, and protection against the elements. While the project might seem intimidating, using a roller makes the process surprisingly fast and efficient, even for beginners.

Many homeowners wonder how to stain a deck with a roller to achieve a smooth, professional-looking finish without the time-consuming work of using a brush alone. A roller allows you to cover large, flat surfaces like deck boards quickly and evenly, saving you hours of labor. This guide will walk you through every step of the process, from proper surface preparation to the final application techniques, ensuring your deck looks fantastic and is well-protected for years to come.
Choosing the right tools is essential for any DIY project, and when it comes to deck staining, a roller offers significant advantages. The primary benefit is speed. A roller can apply stain to large sections of decking far more quickly than a brush, dramatically reducing the overall project time. This efficiency is especially valuable for large or multi-level decks where manual brushing would be a monumental task.
Step-by-Step Guide on How to Stain a Deck with a Roller
Follow these detailed steps to ensure a beautiful and durable finish that will protect your deck for seasons to come.
Step 1: Check the Weather Forecast
The success of your staining project is highly dependent on the weather. Before you start any prep work, check the forecast for a clear, dry period of at least two to three days. You need dry conditions for cleaning, for the wood to dry completely, and for the stain to cure properly.
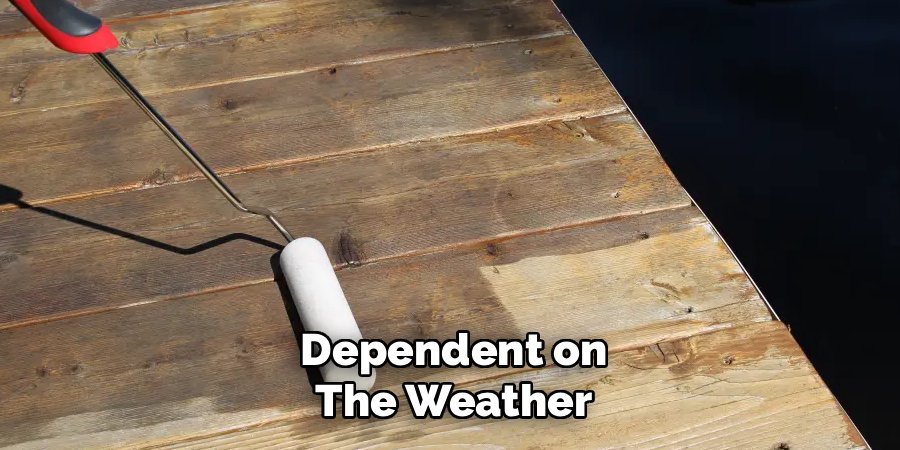
The ideal temperature for staining is between 50 and 90 degrees Fahrenheit. Avoid staining in direct, intense sunlight, as the heat can cause the stain to dry too quickly, leading to lap marks and an uneven finish. An overcast, mild day is perfect.
Step 2: Clear and Clean the Deck Surface
Begin by removing all furniture, grills, planters, and other items from the deck. Once the surface is clear, use a stiff-bristled brush or a broom to sweep away all loose debris, including leaves, dirt, and cobwebs.
Next, you need to deep clean the wood to remove ground-in dirt, mildew, and any failing old stain. Use a commercial deck cleaner appropriate for your deck’s condition. Follow the product’s instructions carefully, which usually involve applying the cleaner, scrubbing the surface with a brush, and then rinsing thoroughly with a garden hose or a pressure washer on a low setting.
Step 3: Sand the Deck for a Smooth Finish
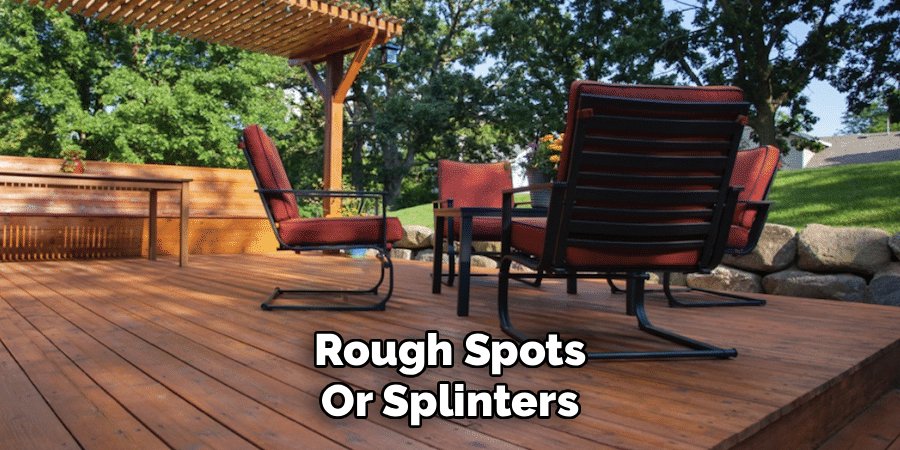
After the deck is completely dry, which may take 24 to 48 hours, it’s time to sand. Sanding is a crucial step that opens up the wood pores, allowing the stain to penetrate deeply and adhere properly.
It also smooths out any rough spots or splinters. Use a pole sander or a random orbital sander with 60- to 80-grit sandpaper. Focus on creating a uniform, smooth surface across all the boards and railings. Once you’re finished sanding, vacuum or sweep up all the dust, then wipe the surface with a tack cloth for a perfectly clean base.
Step 4: Gather Your Staining Tools and Materials
Before you open the stain, make sure you have everything you need within reach. You will need a quality deck stain, a paint tray, a roller with a synthetic nap (typically 3/8-inch or 1/2-inch), a small paintbrush for details, an extension pole for the roller, and clean rags for wiping up drips.
It’s also wise to have painter’s tape to protect your home’s siding, door trim, or any other adjacent surfaces you don’t want stained. Stir your stain thoroughly with a stir stick, making sure to mix in any solids that have settled at the bottom.
Step 5: Protect Adjacent Surfaces with Tape
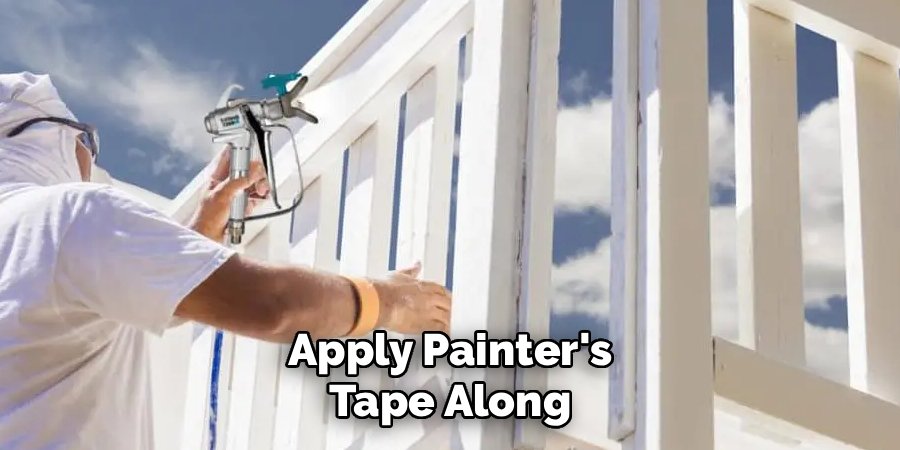
To achieve clean, crisp lines and protect your house from accidental splatters, apply painter’s tape along any surfaces that meet the deck. This includes siding, door frames, posts, and concrete patios. Take your time during this step to ensure the tape is applied straight and is well-adhered.
This small bit of prep work makes a huge difference in the final appearance of your project and saves you from a frustrating cleanup process later. It’s much easier to prevent a mess than it is to remove dried stain from your home’s siding.
Step 6: Deck with a Roller
Start with the railings and other vertical elements first, using your paintbrush. Once those are done, you can begin staining the main deck boards. Pour the stain into your paint tray and load your roller, making sure it’s saturated but not dripping.
Begin at one corner of the deck and work your way out, staining in sections of two to three boards at a time. Apply the stain in long, even strokes, following the direction of the wood grain. Maintain a wet edge to prevent lap marks where sections overlap.
Step 7: Back-Brush for Better Penetration
Immediately after rolling a section, use your paintbrush to back-brush the stain into the wood. This technique involves lightly running a brush over the freshly rolled area to work the stain into the grain and remove any excess pooling in cracks or between boards.
Back-brushing is a critical step in the process of how to stain a deck with a roller, as it ensures deeper penetration and a more uniform, professional-looking finish. It also helps to smooth out any roller marks, giving the deck a hand-brushed appearance without the time-consuming labor.
Step 8: Wipe Away Excess Stain
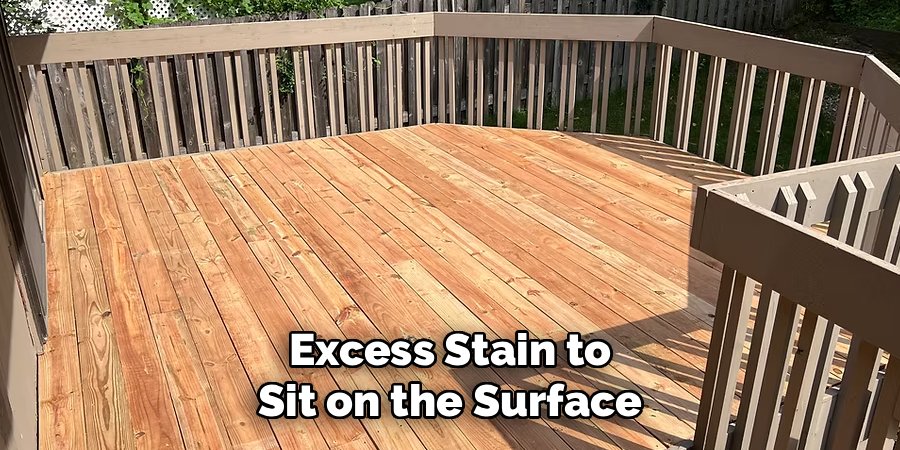
Most semi-transparent stains are designed to penetrate the wood, not form a film on top of it. Allowing excess stain to sit on the surface can result in a sticky, shiny, and uneven finish that is prone to premature failure.
After letting the stain penetrate for the time recommended by the manufacturer (usually 15-20 minutes), use a clean, lint-free rag to wipe away any stain that has not soaked into the wood. This ensures the wood’s natural texture shows through and the finish will cure properly.
Step 9: Allow the Deck to Dry Completely
The final step is to let the deck dry and cure. This is a waiting game that requires patience. Keep foot traffic off the deck for at least 24 to 48 hours, or as long as the stain manufacturer recommends.
Curing time can vary based on the type of stain, temperature, and humidity. While the surface may feel dry to the touch sooner, a full cure can take several days. Wait at least 72 hours before returning furniture to the deck to avoid scuffing the new finish.
Alternative Staining Methods
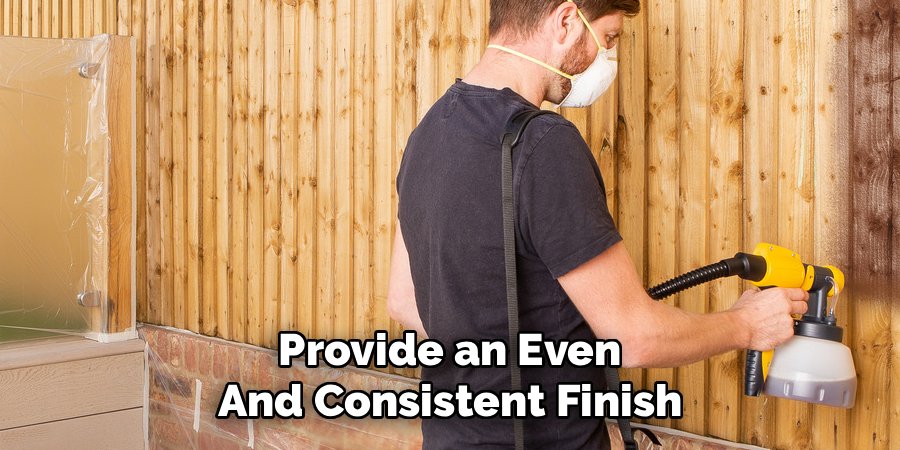
While the traditional staining method involves using a brush or roller, there are alternative approaches that may better suit specific needs or preferences. One popular option is using a spray applicator, which can provide an even and consistent finish, particularly on large decks or those with intricate patterns.
Spraying can significantly reduce application time but requires masking off surrounding areas to avoid overspray. Another method is using a staining pad, which combines the precision of a brush with the speed of a roller. This technique allows for more control and often results in a smoother, streak-free finish.
Finally, pre-stained wood boards are an alternative for new deck projects, saving time by eliminating the need for on-site staining altogether. Each method has its advantages, and the best choice will depend on the deck’s design, the type of stain used, and the homeowner’s comfort level with the tools involved.
Frequently Asked Question (Faq)
What Kind of Roller Is Best for Staining a Deck?
The best roller for staining a deck has a synthetic nap, as natural fibers can be damaged by the solvents in some stains. A 3/8-inch or 1/2-inch nap is ideal.
This length is short enough to provide a smooth finish but long enough to hold a good amount of stain and get into the slight texture of the wood boards. Using a roller specifically designed for stains or rough surfaces will yield the best results.
Is It Better to Brush or Roll Stain on a Deck?
The best method often involves a combination of both. Rolling is much faster for covering the large, flat surfaces of the deck boards, while brushing is necessary for detailed areas like railings, stairs, and cutting in along the house.
The most professional technique, called back-brushing, involves rolling a section and then immediately going over it with a brush to ensure the stain penetrates evenly into the wood grain.
Do I Need to Apply a Second Coat of Stain?
Whether you need a second coat depends on the type of stain and the condition of your wood. For most penetrating semi-transparent stains, one coat is sufficient. Applying a second coat can often create a film on the surface that may peel or become sticky.
However, if the wood is very old and porous, it may absorb the first coat unevenly, and a light second coat might be needed. Always follow the manufacturer’s specific recommendations.
How Do I Avoid Lap Marks When Staining?
To avoid lap marks, you must maintain a “wet edge.” This means you should always work from a wet, freshly stained area into a dry, unstained area.
Stain small, manageable sections at a time (e.g., two or three boards across their full length) and blend each new section into the previous one before it has a chance to dry. Working on a cool, overcast day also helps by slowing the drying time.
Can You Use a Paint Sprayer to Stain a Deck?
Yes, a paint sprayer can be a very fast and effective way to stain a deck, especially for railings and complex spindles. However, it requires more prep work to mask off and protect your house, plants, and surrounding areas from overspray. Like rolling, you should always back-brush after spraying to work the stain into the wood and ensure an even finish.
Conclusion
Staining your deck is one of the most rewarding DIY projects you can undertake, and using a roller makes it accessible to everyone. With careful preparation, the right tools, and a methodical approach, you can achieve a finish that not only looks stunning but also provides critical protection against sun and moisture.
By following the steps outlined in this guide—from thorough cleaning and sanding to the final application and back-brushing—you have everything you need to succeed. Now that you understand how to stain a deck with a roller, you can confidently tackle this project and enjoy your beautiful, revitalized outdoor space for many seasons to come.

About
Jovie Mathews is a backyard and outdoor expert writer with over 12 years of hands-on experience transforming neglected outdoor spaces into thriving gardens and functional retreats. Raised in a family where weekends meant digging in the soil and building raised beds from scratch, Jovie developed a genuine love for the outdoors long before it became a career.
She writes with a practical, no-fluff approach — always testing ideas in her own backyard before sharing them with readers. From composting systems and native plant selection to patio design and pest control, Jovie covers the full spectrum of backyard life with equal parts expertise and enthusiasm.
Education
B.Sc. in Horticulture Science
University of Florida (UF) · Gainesville, FL · 2014
IFAS College of Agricultural and Life Sciences
Minor in Environmental Studies
University of Florida (UF) · Gainesville, FL · 2014
College of Liberal Arts and Sciences
Areas of expertise
- Lawn & Garden Care
- Soil prep, planting, seasonal care
- Outdoor DIY Projects
- Raised beds, fencing, pathways
- Composting & Soil Health
- Organic methods, amendments
- Native Plants & Wildlife
- Pollinators, habitat gardening
When she is not writing, Jovie can be found testing new composting techniques, growing tomatoes in questionable quantities, or convincing her neighbors that clover lawns are actually a great idea. She currently gardens in the Pacific Northwest.